
Quick Summary: A carbide end mill, especially a 1/8 inch 6mm shank extra-long variant with proven long tool life, is your go-to for effortless HDPE cutting. It offers superior chip clearance and durability, making precise and clean cuts achievable for hobbyists and pros alike.
Carbide End Mill: Your Secret Weapon for Effortless HDPE Machining
Working with High-Density Polyethylene (HDPE) can sometimes feel like wrestling a slippery, gooey mess. The material tends to melt and gum up standard cutting tools, leaving you with frustrated sighs and messy parts. But what if I told you there’s a tool that makes cutting HDPE almost… easy? Meet the carbide end mill. For anyone dabbling in CNC machining or even manual milling, understanding how to properly tackle HDPE is key to unlocking great projects. This guide will show you how this specific tool can transform your HDPE cutting experience, making it precise and surprisingly smooth. We’ll dive into why it works so well and how to use it confidently, even if you’re just starting out.
Why HDPE Can Be Tricky (And Why Carbide is the Hero)
HDPE is incredibly popular for its durability, chemical resistance, and affordability. It’s perfect for prototypes, jigs, cutting boards, and countless other applications. However, its low melting point and tendency to “gum up” when cut with standard tools like HSS (High-Speed Steel) bits can be a real headache. When the material heats up too much, it softens and sticks to the cutting edges, leading to:
- Rough, melted edges
- Poor surface finish
- Tool breakage
- Inaccurate cuts
- Frustration!
This is where the carbide end mill shines. Carbide is a much harder and more heat-resistant material than HSS. This superior hardness and heat resistance allow it to slice through HDPE cleanly, evacuating chips effectively and minimizing the melting that plagues other cutters. Specifically, an 1/8 inch 6mm shank extra-long carbide end mill for HDPE with long tool life is often the perfect combination:
- Carbide: The core material providing hardness and heat resistance.
- 1/8 inch (or 6mm) shank: A versatile size that fits most machines and offers good rigidity for its size.
- Extra-long: Provides greater reach for deeper cuts or complex shapes without needing multiple setups.
- Designed for HDPE/Plastics: Often features specific flute geometries for optimized chip evacuation.
- Long Tool Life: Indicates a higher quality carbide grade and manufacturing process, meaning it will last longer, saving you money and hassle.
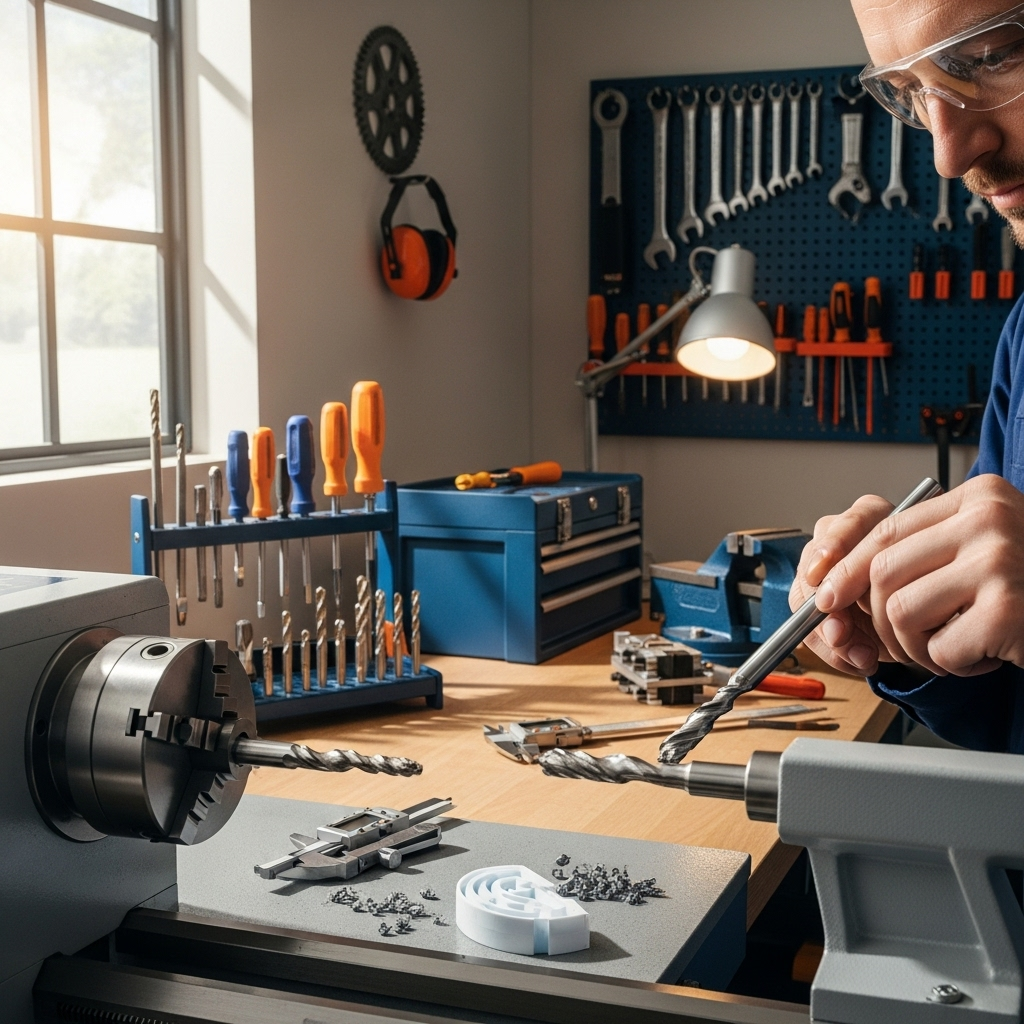
Getting Started: What You’ll Need

Before you even think about spinning a tool in your machine, let’s gather the essentials. Having the right setup will ensure your success and, more importantly, your safety.
Essential Tools and Materials:
- Carbide End Mill (1/8 inch or 6mm shank, designed for plastics/HDPE): This is your star player. Look for bits with polished flutes and a geometry that helps clear chips.
- HDPE Sheet Material: Start with a manageable size, maybe 1/4-inch or 1/2-inch thick.
- CNC Router or Milling Machine: This guide assumes you have access to a machine capable of making precise cuts.
- Workholding System: Clamps, a vise, or a vacuum table to securely hold your HDPE sheet. It MUST NOT move during cutting.
- Safety Glasses: Non-negotiable. Always protect your eyes.
- Dust Mask or Respirator: Fine plastic particles can be generated.
- Hearing Protection: Machines can be noisy.
- End Mill Holder or Collet: To securely grip the end mill shank (make sure it matches your 1/8″ or 6mm shank).
- Coolant/Lubricant (Optional but Recommended): A general-purpose cutting fluid or even a blast of compressed air can help manage heat and chips. Some dedicated plastic machining lubricants exist.
- Measuring Tools: Calipers or a ruler to verify your dimensions.
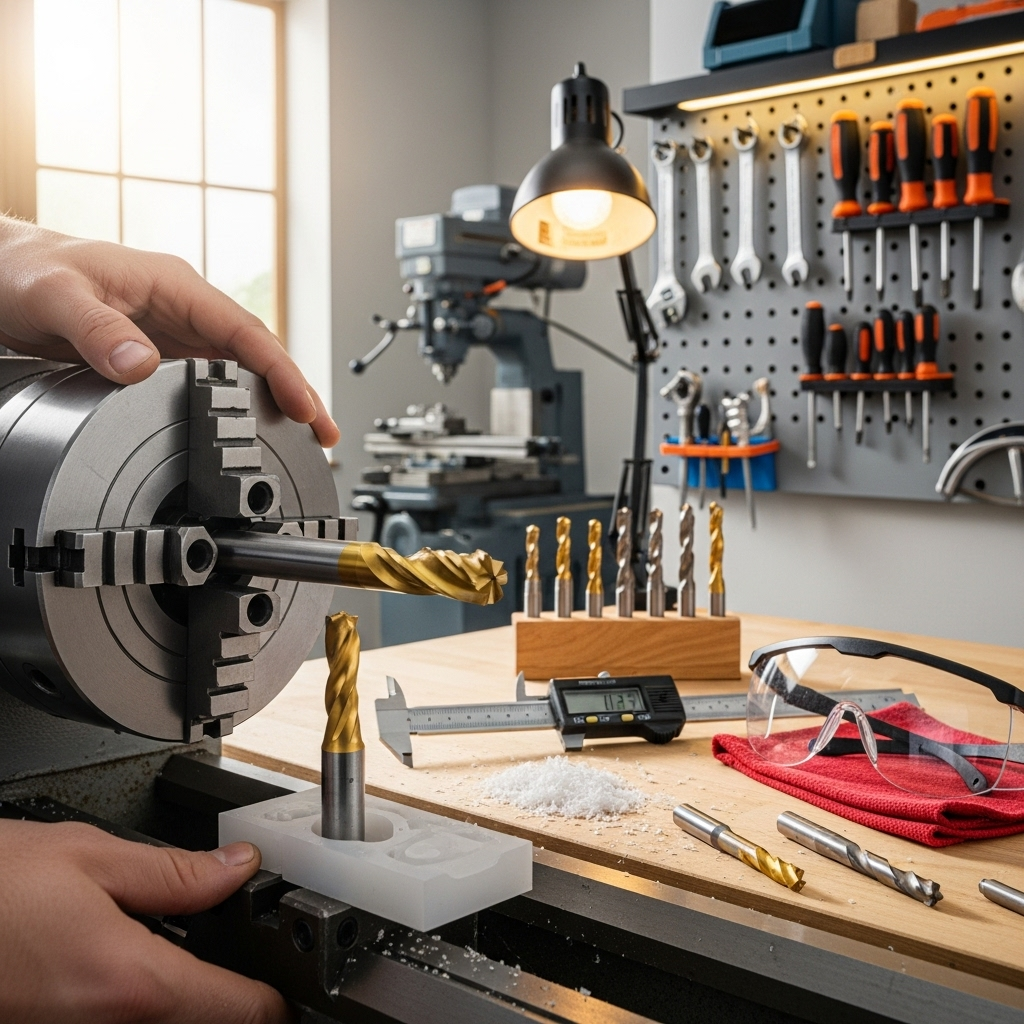
Understanding Your Carbide End Mill: Anatomy of a Cutter
Not all end mills are created equal. For HDPE, certain features of a carbide end mill are particularly important. Let’s break down the key parts:
| Feature | Why it Matters for HDPE |
|---|---|
| Material (Carbide): | Extremely hard and resistant to heat, preventing melting and sticking. |
| Number of Flutes: | Generally, 2 or 3 flutes are best for plastics like HDPE. Fewer flutes allow for better chip evacuation compared to high-flute count tools designed for metals. |
| Helix Angle: | A steeper helix (e.g., 30-45 degrees) can help “pull” chips out of the cut more effectively, reducing recutting and gumming. |
| Coating: | While not always necessary for HDPE, some coatings can further reduce friction and improve chip flow. However, often a polished, uncoated carbide end mill is preferred for plastics. |
| End Cut Type (e.g., Square, Ball): | Square end mills are for general profiling and pocketing. Ball end mills are for curved surfaces and contouring. Choose based on your desired cut. |
| Shank Diameter (1/8″ or 6mm): | A smaller shank diameter can be beneficial for detailed work but offers less rigidity. A 1/8″ or 6mm shank is a good balance for many hobbyist machines. |
| Length: | “Extra-long” shanks provide more reach, which can be useful but also introduces potential for deflection if not used carefully. |
Step-by-Step: Machining HDPE with Your Carbide End Mill

Now, let’s get to the good part: making those clean cuts! This process is about balancing speed, depth, and cooling to keep the material from melting.
Step 1: Secure Your Workpiece
This is paramount. HDPE is relatively soft and can easily shift. Use clamps or a vise to ensure your sheet is absolutely immobile. For larger sheets, consider using a spoilboard and hold-down clamps around the perimeter. A secure workpiece prevents accidents and ensures your cuts are accurate. Remember, even a tiny bit of movement can ruin a part or damage your tool.
Step 2: Set Up Your Machine and End Mill
Install your chosen 1/8″ or 6mm shank carbide end mill into your machine’s collet or holder. Ensure it’s seated properly and tightened securely. For CNC users, this involves setting your work offsets (zeroing your X, Y, and Z axes) and ensuring the end mill is clean and free of debris.
Step 3: Determine Your Cutting Parameters (Speeds and Feeds)
This is where the magic happens. Getting the right speed (how fast the tool spins) and feed rate (how fast the tool moves through the material) is crucial for HDPE. The goal is to remove material quickly enough to create chips, but not so fast that the tool overheats and melts the plastic.
Here are some general guidelines for a 1/8″ (3mm) or 6mm 2-flute carbide end mill in HDPE. These are starting points, and you may need to adjust based on your specific machine, the exact type of HDPE, and the end mill geometry:
- Spindle Speed (RPM): Start around 18,000 – 24,000 RPM. Higher RPMs generally help with faster material removal and can produce a better finish if managed correctly.
- Feed Rate (IPM or mm/min): This is highly dependent on the depth of cut. For a light finishing pass, you might be in the range of 20-40 IPM (500-1000 mm/min). For roughing, you might push it higher, but always listen to the cut. A common starting point for a shallow cut (e.g., 0.1″ or 2.5mm) could be around 15-25 IPM (380-635 mm/min).
- Depth of Cut (DOC): For 1/4″ (6mm) HDPE, a 0.1″ (2.5mm) depth of cut per pass is a good starting point. For thicker material, you might take multiple passes. Avoid taking the full material thickness in one pass if possible.
- Stepover: For profiling, a 40-50% stepover is common. For pocketing, this can be increased up to 75% or more if your goal is speed, but a smaller stepover will yield a smoother surface finish.
Important Considerations for Feeds and Speeds:
- Listen to the cut: A smooth humming sound is good. A chattering, screaming, or lugging sound means your feeds/speeds are off.
- Look at the chips: You want small, dry chips, not melted strings of plastic.
- Feel the workpiece: If the HDPE feels excessively hot, you’re generating too much friction.
- Machine rigidity: A more rigid machine can handle faster feed rates.
Where to Find More Data: Many end mill manufacturers provide recommended cutting parameters for various materials. Always check their websites or datasheets. For general guidance on machining plastics, resources like MachineryParts.com offer valuable insights into plastic machining best practices.
Step 4: Perform a Test Cut
Before cutting your final part, always, always do a test cut on a scrap piece of the same HDPE. This allows you to:
- Verify your cutting parameters work correctly.
- Check the accuracy of your machine and setup.
- Get a feel for the cutting process.
- Ensure your tool is sharp and properly installed.
Cut a simple shape, like a square or a circle, and afterwards, examine the edges. Are they clean? Is there any melting? Are the dimensions correct?
Step 5: Execute the Cut
Once your test cut is successful, you can proceed with your main project. If you’re using a CNC, load your G-code. If you’re milling manually, carefully control the feed rate by hand, using your machine’s handwheels. Maintain consistent pressure and feed. Periodically clear chips from the workpiece and tool if your machine doesn’t have robust chip evacuation. Using compressed air directed at the cutting zone can be very helpful.
Step 6: Chip Management and Cooling
As mentioned, chip evacuation is key. If your machine has an air blast attachment, use it. If not, periodically pause the cut (if safe to do so on a CNC) or manually clear chips with a brush or compressed air. For less aggressive cutting, a light mist of coolant can help, but be cautious – too much coolant can sometimes create a mess with plastic. Air blast is often preferred for plastics as it helps keep chips away from the tool and workpiece without adding another liquid that needs managing.
A crucial tip here: avoid stopping the spindle mid-cut in HDPE unless absolutely necessary, and always re-engage the feed with caution. Stopping and starting can lead to melting and fusing at the point where the cut resumes.
Step 7: Finishing Touches
After the cutting is complete, carefully remove the part from the machine. You should find yourself with crisp, clean edges. Any small burrs can typically be removed with a deburring tool, a file, or a utility knife. You’ll be amazed at how much easier it is compared to wrestling with dull tools!
Tips for Maximizing Tool Life
An “extra-long tool life” end mill means you’ve invested in quality. To ensure you get the most out of it:
- Stick to recommended speeds and feeds. Pushing the tool too hard is the fastest way to wear it out.
- Use a proper workholding setup. Vibration and deflection due to poor clamping put undue stress on the cutting edge.
- Clear chips effectively. Recutting chips is like rubbing sandpaper on your tool – it dulls it quickly.
- Avoid accidental crashes. Colliding the tool with the workpiece or machine is the quickest way to ruin an end mill.
- Clean your end mills. After a job, wipe down your end mills to remove any residual plastic or coolant.
- Consider a light lubricant/coolant. While not always necessary, a little can go a long way in reducing friction and heat, especially on longer cuts. Products specifically designed for machining plastics are often best. Check out guides on plastic safety from sources like the NJ Department of Health for general material handling awareness.
Troubleshooting Common HDPE Machining Issues
Even with the best tools, you might run into a few snags. Here’s how to fix them:
<td style="border: 1px solid
| Problem | Cause | Solution |
|---|---|---|
| Melting / Gumming | Too slow feed rate, too deep of a cut, insufficient chip clearance, or tool rubbing instead of cutting. | Increase feed rate, decrease depth of cut, improve chip evacuation (air blast), ensure tool is sharp and cutting correctly. |
| Rough Edges / Chipping | Feed rate too high, dull tool, or workholding problem. | Decrease feed rate, use a sharp end mill, check workholding to ensure no vibration or movement. |
| Tool Breakage | Taking too deep of a cut, plunging too aggressively, excessive side load, or a weak point in the tool. | Reduce depth of cut and stepover, use helical (ramping) moves for plunging, ensure tool holder is clean and providing adequate support, maintain correct speeds and feeds. |
| Inaccurate Dimensions |