Quick Summary
Mastering the 1/8-inch, 1/2-inch shank extra-long carbide end mill for PMMa dry cutting unlocks precision and efficiency for detailed CNC projects. This guide breaks down choosing, using, and optimizing this specialized tool for flawless results in plastics.
Achieve Precision: Your Guide to Dry Cutting 1/8-Inch Extra-Long Carbide End Mills for PMMa
Hey there, fellow makers! Daniel Bates here from Lathe Hub, and I want to talk about a tool that might seem a bit niche but can be a total game-changer for your projects: the 1/8-inch, 1/2-inch shank, extra-long carbide end mill designed specifically for dry cutting PMMa. If you’ve ever struggled to get clean, precise cuts in acrylics or similar plastics on your CNC machine, this is the guide for you. We’ll dive into why this specific end mill is so effective and how you can use it to bring your ideas to life with confidence.
Working with plastics like PMMa (often known as acrylic or Plexiglas) can be tricky. They tend to melt, chip, or grab if you don’t use the right tools and techniques. That’s where specialized end mills come in. An extra-long, small-diameter carbide end mill offers remarkable control for intricate details, and when it’s designed for dry cutting PMMa, it means less mess and simpler setup. Let’s get your CNC cutting like a dream!
Understanding the Tool: Why This Specific End Mill Matters
Before we get cutting, let’s break down what makes this particular end mill so special. It’s not just a generic cutting tool; each part of its description tells us something important about its purpose.
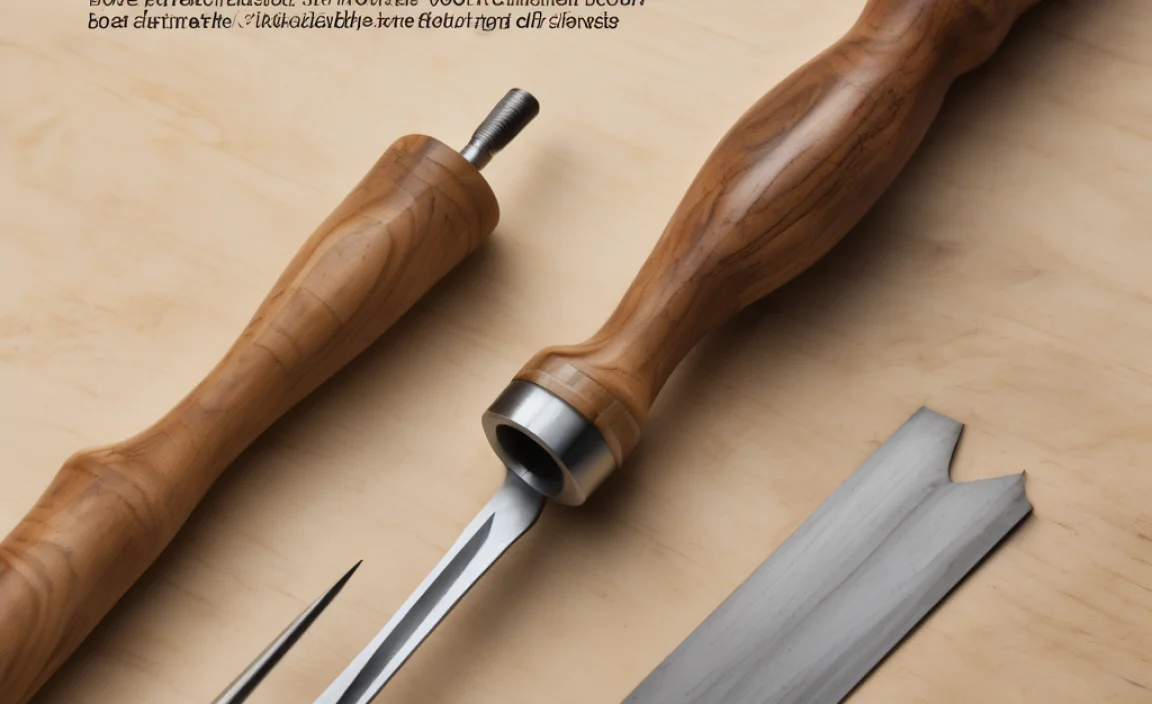
The Anatomy of Your End Mill
- Carbide: This is a super-hard material, much harder than steel. It means the end mill stays sharp longer and can cut materials like PMMa effectively without excessive wear. Its hardness also helps manage heat, which is crucial when cutting plastic.
- 1/8-inch Diameter: This small diameter is key for detailed work. It allows you to create fine lines, sharp corners, and intricate patterns that larger tools simply can’t manage. Think of it as a precision pen for your CNC.
- 1/2-inch Shank: The shank is the part that grips into your CNC spindle. A 1/2-inch shank is common and offers a solid, stable connection, reducing vibration and improving cutting accuracy.
- Extra-Long: This is a significant feature. An extended flute length (the cutting part) allows you to cut deeper into your material in a single pass or reach into pockets and cavities that a standard-length end mill might not access. It’s also useful for materials that might require a specific chip-clearing strategy.
- For PMMa Dry Cutting: This is where specialization really shines. PMMa (Polymethyl methacrylate) is a type of acrylic. Traditional machining of plastics often requires coolant to prevent melting and chip welding. However, specialized end mills designed for “dry cutting” are engineered with geometry (like polished flutes and specific helix angles) that helps evacuate chips effectively and manage heat without liquid. This simplifies your setup, keeps your workspace cleaner, and avoids potential issues with coolant on your machine or workpiece.
Why Dry Cutting PMMa with This End Mill is a Smart Choice
You might be wondering, “Why dry cutting?” It’s a fantastic option for many PMMa applications because:
- Simplicity: No need for pumps, coolant tanks, or cleanup related to liquid coolants.
- Cleanliness: Your workshop stays much cleaner, which is a big plus for home and hobbyist setups.
- Material Integrity: For some projects, avoiding liquid can prevent fogging or staining of the plastic.
- Efficiency: With the right speeds and feeds, dry cutting can be just as effective and much faster to set up.
This specialized end mill is designed to make these benefits a reality. Its polished flutes help prevent plastic chips from sticking, and its geometry is optimized to shear the material cleanly. For more on cutting plastics, the Custom Part Net resource on PMMa offers great material property insights.
Getting Started: What You’ll Need
To make the most of your 1/8-inch extra-long end mill for PMMa, ensure you have the right setup. A few key things will set you up for success:
- CNC Router or Mill: A machine capable of precise movement and holding small tools securely.
- Collet or Chuck: A high-quality collet system is essential for gripping the 1/2-inch shank of the end mill securely and accurately. A worn or cheap collet can lead to runout and poor cuts.
- Dust Collection System: Even though it’s “dry cutting,” PMMa dust is fine and can be a respiratory irritant. A good dust shoe and vacuum are highly recommended. The OSHA guidelines for dust exposure underscore the importance of this.
- Material Hold-Down: Securely clamping your PMMa is critical to prevent it from moving during machining. Vacuum tables, clamps, or double-sided tape can work, depending on your machine and project.
- Safety Gear: Always wear safety glasses. Hearing protection is also a good idea.
Choosing the Right End Mill: Key Features to Look For
Not all end mills are created equal. When selecting your 1/8-inch extra-long carbide end mill for PMMa dry cutting, keep these features in mind:
Table: Essential End Mill Specifications
| Feature | Why It Matters for PMMa Dry Cutting | What to Look For |
|---|---|---|
| Flute Count | Fewer flutes (e.g., 2) generally provide better chip clearance for plastics, preventing melting and chip recasting. | 2-flute is often ideal. |
| Flute Type | Polished or high-gloss flutes help prevent PMMa from sticking to the cutting edges. | Look for “polished,” “high-gloss,” or “plastic-specific.” |
| Helix Angle | A higher helix angle can improve chip evacuation and create a smoother cut. | Often around 30-45 degrees for plastics. |
| Coating | While many plastic end mills are uncoated with polished flutes, some specialized coatings can improve performance and tool life. | Generally uncoated is fine; check manufacturer recommendations. |
| Overall Length & Effective Cutting Length | “Extra-long” means the cutting edges extend further down the shank, useful for deeper pockets or multiple passes. | Ensure the effective cutting length is sufficient for your deepest cut needs. |
When in doubt, consult the manufacturer’s specifications. Reputable tool suppliers often provide detailed information on the best applications for their end mills. For instance, companies like Harvey Tool offer end mills specifically engineered for various plastics.
Your First Cuts: Setting Speeds and Feeds
This is often the trickiest part for beginners. Setting the right spindle speed (RPM) and feed rate (how fast the tool moves through the material) is crucial for getting clean cuts without melting or tool breakage. These are not hard-and-fast rules and will vary based on your specific machine, the PMMa thickness, and the exact end mill geometry.
General Guidelines for PMMa
For a 1/8-inch carbide end mill, you’ll typically be in a moderate to high RPM range. Feed rates need to be aggressive enough to allow the tool to cut rather than rub, which generates heat.
- Spindle Speed (RPM): Start around 18,000 to 24,000 RPM.
- Feed Rate (IPM or mm/min): For a 1/8-inch end mill, a good starting point might be 20-40 inches per minute (or 500-1000 mm/min). You want to hear the tool cutting, not squealing.
- Depth of Cut (DOC): For PMMa with a small end mill, it’s often best to take lighter passes. A depth of cut between 0.050″ and 0.125″ (1.25mm to 3mm) is a common starting range. Taking multiple shallower passes is usually better than one deep pass.
Key Principle: Chip Load. Chip load is the thickness of the material removed by each cutting edge on each revolution of the tool. For plastics, you want a chip load that effectively slices the material. Too small a chip load causes rubbing and melting; too large can overload the tool or cause chatter.
Here’s a simplified formula: Chip Load = (Feed Rate) / (RPM Number of Flutes)
We want to achieve a chip load that’s suitable for plastics, typically in the range of 0.001″ to 0.003″ per tooth.
Calculating Example:
Let’s say you want a rough chip load of 0.002″ per tooth with a 2-flute end mill.
- Target Feed Rate = Chip Load RPM Number of Flutes
- Target Feed Rate = 0.002″ 20,000 RPM * 2 flutes = 80 IPM
This gives you a ballpark figure. Always test on a scrap piece if possible.
For more advanced machining calculations and resources on feeds and speeds, the Machinery Lab Speed and Feed Calculator can be an invaluable tool, though be sure to adjust their general recommendations for plastic-specific requirements.
Step-by-Step: Cutting PMMa with Your End Mill
Let’s walk through the process of setting up and making your cuts. This is where the rubber meets the road!
Step 1: Prepare Your Machine and Material
- Clean Spindle and Collet: Remove any dust or debris from your CNC spindle taper and the collet you’ll be using.
- Insert End Mill: Carefully insert the 1/8-inch carbide end mill into the collet. Ensure it’s seated properly and tighten the collet nut securely.
- Mount End Mill in Spindle: Insert the collet into your spindle and tighten it according to your machine’s specifications.
- Secure PMMa: Place your PMMa sheet on your machine bed. Use your chosen hold-down method (clamps, vacuum, tape) to ensure it cannot move during machining. Over-clamping can cause distortion, so find a balance.
- Set Dust Collection: Ensure your dust collection shoe is positioned correctly near where the tool will cut.
Step 2: Set Your Zero Points
- Home the Machine: If your machine has a homing routine, run it.
- Jog to Material Surface: Carefully jog your CNC tool down to the surface of the PMMa sheet.
- Set Z-Zero: Use your CNC control software to set the Z-axis zero point at the surface of the PMMa. This tells the machine where the top of your material is.
- Set XY Origin: Jog your tool to the desired starting point (X and Y coordinates) for your cut and set your XY origin there.
Step 3: Program Your Toolpath
This is done in your CAM (Computer-Aided Manufacturing) software. You’ll define the shape, select your end mill (the 1/8-inch, 1/2-inch shank, extra-long, 2-flute plastic end mill), and input your desired speeds and feeds.
- Create Geometry: Draw or import the shapes you want to cut.
- Select Tool: Choose the correct end mill from your tool library. Ensure its diameter (1/8″) and all other parameters are accurately entered.
- Choose Operation: Select a profile (outside or inside cut), pocketing, or engraving operation.
- Set Passes: Define your depth of cut per pass and the total depth. It’s generally better to make multiple shallow passes than one deep one.
- Apply Speeds and Feeds: Enter your calculated (or recommended) spindle speed and feed rate.
- Generate G-code: Your CAM software will then generate the machine code (G-code) that tells your CNC how to move.
For learning CAM software, resources like Autodesk Fusion 360 offer free licenses for hobbyists and students and have extensive tutorials.
Step 4: Perform a Test Cut
This is arguably the MOST IMPORTANT step. Always perform a test cut on a scrap piece of PMMa before cutting your final workpiece.
- Set Up Scrap: Secure a piece of scrap PMMa identical to your project material.
- Load G-code: Load your G-code for the test cut. Ensure the Z-zero is set correctly for the scrap material.
- Run Job: Stand clear and let the machine run the test. Listen carefully.
- Evaluate Cut: Examine the cut edge.
- Is it clean and shard-free?
- Is there any sign of melting or the plastic sticking to the tool?
- Is the material vibrating or chattering?
- Adjust if Necessary: If you see melting or sticking, try increasing the feed rate slightly or reducing the depth of cut. If you hear chattering, you might need to adjust feed rate, spindle speed, or ensure your material hold-down is more secure.
Step 5: Make Your Final Cut
Once your test cut is perfect, you can be confident in running the operation on your main workpiece.
- Load Workpiece: Ensure your project material is securely mounted.
- Set Z-Zero Correctly: Double-check that your Z-zero is set precisely on the surface of your project material, matching the setup used for the test cut.
- Load Final G-code: Load and run the G-code for your project.
- Monitor: Keep an eye on the process, especially during the first few passes, to ensure everything is proceeding as expected. Listen for any unusual noises.
Troubleshooting Common Issues
Even with the best preparation, you might run into a few snags. Here’s how to tackle them:
Table: Common PMMa Cutting Problems & Solutions
| Problem | Possible Cause | Solution |
|---|---|---|
| Melting/Chip Welding | Feed rate too slow, spindle speed too high, insufficient chip clearance, dull tool. | Increase feed rate, decrease spindle speed (but not too much), ensure tool flutes are clean, take lighter passes. For this specific tool, ensure flutes are polished. |
| Chipping/Brittleness along edges | Feed rate too fast, spindle speed too low, excessive vibration, material not properly supported. | Decrease feed rate, increase spindle speed, ensure robust hold-down, check for machine rigidity issues. |
| Tool Breakage | Feed rate too high, depth of cut too deep, incorrect tool engagement, material shifting. | Reduce feed rate and depth of cut, ensure material is firmly clamped, use climb milling where appropriate (consult CAM software). |
| Surface Finish is Rough | Dull tool, incorrect speeds/feeds, tool runout, vibration. | Use a sharp tool, experiment with slight adjustments to RPM and feed, ensure collet and spindle are clean and precise, check for loose machine components. |
| Plastic is gumming up flutes | Not enough chip load,
Related Posts |