
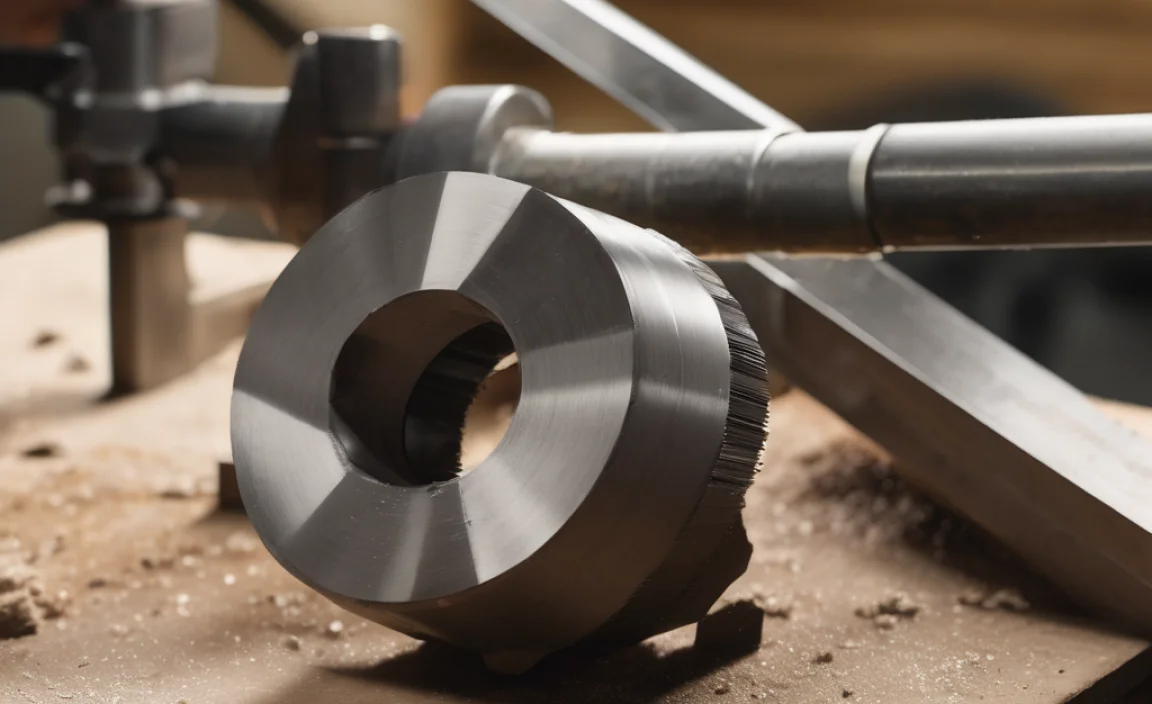
Carbide end mills are the key to clean acrylic cuts, and a 3/16-inch size with a 1/4-inch shank is a fantastic go-to for achieving precise, chip-free results without coolant. This guide makes dry cutting acrylic with this specific tool straightforward for any beginner.
Working with acrylic can sometimes feel like a puzzle, right? You want those smooth, clean edges for your projects, but instead, you might end up with melted plastic, chipped edges, or a noisy, dusty mess. It’s a common frustration for anyone dipping their toes into CNC machining or even just trying to get a clean cut on a milling machine. But what if I told you there’s a simple, effective way to get beautiful acrylic cuts without all the fuss? The secret often lies in choosing the right tool. Today, we’re going to dive deep into the world of the 3/16-inch carbide end mill, specifically how it becomes your best friend for dry cutting acrylic. We’ll break down exactly why this size and type of mill work so well and guide you through using it step-by-step. Get ready to transform your acrylic projects by mastering this essential technique!
Why a 3/16-Inch Carbide End Mill is Perfect for Acrylic Dry Cutting
You might be wondering, why this specific size and type of end mill for acrylic, and why dry cutting? Let’s break down the advantages that make this combination a winning one for beginners.
The Magic of Carbide
Carbide, or tungsten carbide, is a super-hard material that’s significantly tougher than traditional High-Speed Steel (HSS). This hardness is crucial for cutting plastics like acrylic.
Heat Resistance: Acrylic melts relatively easily. Ordinary steel bits can generate enough friction heat to melt the acrylic as they cut, leading to gummy, messy results. Carbide holds its edge at higher temperatures, allowing it to cut cleanly without excessive melting.
Edge Retention: Carbide stays sharp for much longer than HSS, especially when used with the right speeds and feeds. This means you can get more consistent cuts over time without needing to sharpen or replace your tool as often.
Brittleness: While incredibly hard, carbide is also brittle. This is why it’s often used in coated forms and requires careful handling, but for milling, its hardness is exactly what we need.
The Advantages of 3/16-Inch Diameter
A 3/16-inch (approximately 4.76mm) end mill offers a fantastic balance for many acrylic cutting tasks:
Detail and Control: This size is substantial enough to remove material efficiently but small enough to allow for fine details and intricate cuts. It’s a versatile sweet spot for many common project sizes.
Chip Load Management: For dry cutting, managing chip load (the amount of material each cutting edge removes) is vital to prevent melting. A 3/16-inch mill allows for easier control over this, especially on hobbyist or small-scale CNC machines.
Common Tooling: It’s a common size, meaning you’ll likely find many options available from manufacturers, and it fits well with standard 1/4-inch collets or chucks often found on smaller machines.
Why Dry Cutting Acrylic Works (and When to Do It)
Dry cutting means you are machining the acrylic without using any coolant, lubricant, or air blast. For acrylic, especially with the right carbide end mill, this is often preferred:
No Mess, No Fuss: Coolant can create a significant mess, especially in a home workshop setting. It can also react with certain plastics, potentially causing cloudiness or stress fractures. Dry cutting eliminates this cleanup and potential material damage.
Direct Heat Expulsion: While it sounds counterintuitive, carbide mills designed for plastic can effectively “throw” the heat generated by the cut into the chips being produced. If the chips are cleared away properly, and the cutting parameters are set correctly, the bulk of the heat leaves with the chips, keeping the acrylic workpiece relatively cool.
Cost-Effective: No need to purchase or manage coolant systems.
Important Note: While dry cutting is often ideal for acrylic with the right tools, very thick sections or extremely high-speed work might eventually benefit from assisted air cooling to help dissipate heat. However, for most beginner projects and common acrylic thicknesses, dry cutting with a suitable carbide end mill is efficient and effective.
Choosing the Right 3/16-Inch Carbide End Mill for Acrylic
Not all carbide end mills are created equal, especially when it comes to cutting plastic. You’ll want to look for specific features designed to handle acrylic’s unique properties.
Key Features to Look For:
Number of Flutes: For acrylic, two-flute (2-flute) end mills are generally the top choice for dry cutting.
2-Flute Mills: These have more open gullets (the space between the cutting edges) to efficiently evacuate chips. This is CRITICAL for preventing heat buildup and melting. They also offer a good balance between material removal rate and detail.
Single-Flute Mills: Sometimes used for very soft plastics, but can be prone to chatter and might not clear chips as effectively as a 2-flute for acrylic.
Multi-Flute Mills (3+): More common for metal, these can clog easily with plastic and generate too much heat without aggressive cooling, which we are avoiding.
Coating: While not always essential, specific coatings can further enhance performance.
Uncoated: High-quality uncoated carbide is often sufficient for acrylic if speeds and feeds are correct.
Polished or Bright Finish: A highly polished flute surface reduces friction and helps chips slide away more easily, minimizing sticking and melting.
Specialty Coatings (e.g., ZrN, TiN for plastic): Some coatings can provide a slippery surface, further aiding chip evacuation and reducing adhesion. However, for many hobbyists, a good quality, polished uncoated 2-flute end mill is usually the best starting point.
Helix Angle:
Standard Helix (approx. 30 degrees): This is common and works well.
High Helix (45-60 degrees): These mills have a steeper spiral. They can provide a smoother cutting action and better chip evacuation but can also exert more upward force (climb milling). For beginners, a standard helix is often more forgiving.
Type of Cutters:
Square End Mills: The most common type. They create sharp 90-degree corners and flat-bottomed slots. Ideal for general cutting and pocketing.
Ball Nose End Mills: Have a rounded tip, used for creating curved surfaces and 3D profiling.
Corner Radius End Mills: Have a small radius on the inside corners, which strengthens the tool and can be useful if you don’t need razor-sharp internal corners that could later crack. For most basic acrylic cutting, a square end mill is your go-to.
Example Specification: A good starting point is a “3/16 inch diameter, 1/4 inch shank, 2-flute, solid carbide, square end mill with a polished finish.”
Understanding Your Machine’s Capabilities
Before you even touch the acrylic, it’s crucial to understand what your machine can handle. This is where your “beginner-friendly” approach really pays off.
Rigidity: Is your machine frame solid? A wobbly machine will cause chatter, poor surface finish, and can break tools. Even a well-chosen end mill can struggle on a flimsy setup.
Spindle Power and Speed (RPM): A machine with a decent spindle motor (e.g., 100W+ for hobby CNC, or a variable-speed router/spindle on a manual mill) will be necessary to maintain consistent speed under load. Acrylic can bog down a weak spindle quickly.
Collet/Chuck Quality: Ensure your collet or chuck holds the end mill securely and accurately. Runout (wobble) in the tool holder is a recipe for disaster with brittle materials like acrylic.
XYZ Movement: Does your machine have rigid and accurate control over all axes? This is essential for precise cuts.
Setting Up for Success: The Pre-Cut Checklist
Let’s get your workspace and machine ready for that perfect acrylic cut. Safety first, always!
1. Secure Your Acrylic Sheet
Acrylic can move or vibrate during machining, leading to poor cuts or dangerous situations.
Clamping: Use clamps around the edges of the acrylic. Depending on your machine bed (e.g., T-slots, a spoilboard, or a vacuum table), choose clamps that don’t interfere with the cutting path. Ensure they are snug but don’t overtighten, which could crack the acrylic.
Spoilboard: If you have a CNC router with a spoilboard (a sacrificial layer of MDF or similar material), it’s often best to machine directly into the spoilboard. This ensures a flat surface and provides a place to securely clamp the acrylic. You’ll want to machine “through” the acrylic into the spoilboard by a small amount (e.g., 0.5mm or 0.020 inches).
Double Sided Tape: For lighter duty or when clamping is difficult, very strong double-sided tape (like carpet tape) can work, but it’s less secure for aggressive cuts.
2. Secure Your End Mill
Collet: Ensure the 1/4-inch shank of your 3/16-inch end mill fits your collet properly.
Cleanliness: Wipe down the end mill shank and the inside of the collet before insertion. Dust or debris can prevent a tight grip.
Depth of Engagement: Insert the end mill deep enough into the collet for a secure grip, but not so deep that it interferes with the nut or the spindle housing. Check your collet manufacturer’s recommendations. Don’t let too much of the shank hang out, as this can increase deflection.
3. Machine Setup (CNC Specific)
Zeroing Axes: Accurately zero your X, Y, and Z axes. For Z-zero, it’s best to use a touch probe or a digital indicator against the top surface of the acrylic (or the spoilboard if you’re cutting into it).
Workholding Alignment: Ensure your material is square and positioned correctly relative to your XY zero point.
4. Software and Cam Setup (For CNC Users)
This is where you tell your CNC what to do. For acrylic, “CAM” (Computer-Aided Manufacturing) software helps generate the toolpaths.
Material Definition: Set your material as Acrylic. This often influences default settings.
Tool Definition: Create a tool in your CAM software that matches your 3/16-inch, 2-flute carbide end mill. Enter its diameter accurately.
Cutting Strategy:
Stepover: This is how much the tool moves sideways on each pass. For acrylic, a stepover of 30-50% of the tool diameter is a good starting point. So, for a 3/16″ (0.1875″) mill, a stepover of 0.060″ to 0.090″ is reasonable.
Stepdown (Plunge Depth per Pass): This is how deep the tool cuts vertically on each pass. For acrylic, it’s crucial to keep this relatively small to avoid overloading the tool and generating heat.
General Rule for Acrylic: Start with a stepdown of roughly 25-50% of the tool diameter. For a 3/16″ mill, this means a stepdown of around 0.050″ to 0.100″ (or 1.2mm to 2.5mm). Always start on the lower end.
Cutting Direction:
Climb Milling: The tool rotates in the same direction as its feed. This usually results in a smoother finish and less force on the workpiece. It’s generally preferred for acrylic.
Conventional Milling: The tool rotates against the direction of feed. This creates more cutting force and can be rougher.
Feed Rate and Spindle Speed (RPM): This is the most critical part and requires some experimentation. The goal is to cut efficiently without melting.
Surface Speed (SFM): This is the speed at which the cutting edge moves. For acrylic and carbide, a typical range might be 300-600 SFM (Surface Feet per Minute).
Calculate RPM: To convert SFM to RPM (Revolutions Per Minute) for your machine:
RPM = (SFM 3.25) / Tool Diameter (inches)
Using the lower end of SFM for safety: (300 SFM 3.25) / 0.1875 inches = ~5200 RPM
Using the higher end: (600 SFM 3.25) / 0.1875 inches = ~10400 RPM
So, a starting RPM of 6,000-10,000 RPM is a reasonable range.
Feed Rate (IPM – Inches Per Minute): This is how fast the tool moves through the material. It’s directly related to chip load. A good starting point for a 3/16″ 2-flute mill in acrylic might be 15-30 IPM (15-25 inches per minute).
Chip Load Calculation: Chip load is the thickness of the material removed by each cutting edge (tooth) per revolution.
Chip Load = Feed Rate (IPM) / (RPM Number of Flutes)
Example: (20 IPM) / (8000 RPM 2 flutes) = 0.00125 inches per tooth (ipt)
This is a good target chip load for acrylic. If your chip load is too small, you risk rubbing and melting. If it’s too large, you risk breaking the tool or stalling the spindle.
| Material | Tool Type | Diameter (in) | Flutes | SFM | RPM Range (approx.) | Chip Load (ipt) | Feed Rate (IPM) for 2-Flutes | Stepdown (in) | Stepover (%) |
| :———— | :————- | :———— | :—– | :—- | :—————— | :————– | :————————— | :———— | :———– |
| Acrylic | 2-Flute Carbide | 3/16″ | 2 | 300-600 | 6,000 – 10,000 | 0.001 – 0.002 | 15 – 30 | 0.050 – 0.100 | 30-50% |
Note: These are starting points. Always listen to your machine and observe the chips.
Step-by-Step Guide: Cutting Acrylic with Your 3/16-Inch Carbide End Mill
Now that you’re set up, let’s walk through the actual cutting process.
Step 1: Secure Your Workpiece
As discussed in the setup section, ensure your acrylic sheet is firmly clamped or otherwise secured to your machine bed. If you are CNCing, make sure it won’t shift during the cut.
Step 2: Install Your End Mill
Insert your clean 3/16-inch, 2-flute carbide end mill into the collet or chuck. Ensure it’s securely fastened.
Step 3: Set Your Zero Points (CNC users)
Establish your X, Y, and Z zero points accurately. For Z-zero, it’s best to touch off on the top surface of the acrylic you intend to cut.
Step 4: Load Your G-Code (CNC users)
If you’re using CAM software, export your toolpaths as G-code and load them into your CNC controller software.
Step 5: Perform a Dry Run (Highly Recommended!)
Before cutting into the material, run your program without the end mill actually touching the acrylic.
Air Cut: Lower the Z-axis to just above the material surface and run the program again. This verifies your program length and XY movements are correct.
Step 6: Make the First Cut – Listen and Observe!
This is where the magic happens.
Start the Spindle: Bring your spindle up to the programmed RPM.
Initiate Feed: Start your cutting program (CNC) or slowly advance the cutting tool (manual mill).
Listen Carefully: Pay close attention to the sound. A clean, crisp cutting sound is what you want. If you hear a high-pitched whine, chirping, or any signs of rubbing or melting, the feed rate might be too slow, or the RPM too high. If you hear a “thudding” or the spindle bogs down, the feed rate might be too fast, or the depth of cut too aggressive.
Watch the Chips: Ideally, you should see small, light-colored chips being ejected. They should be distinct pieces, not a fine powder (which indicates rubbing and heat) or melted strands. If the chips are hot or sticky, reduce your feed rate or RPM slightly, or increase your stepdown if it was very shallow.
Observe the Surface Finish: The cut edge should be clean and smooth, not melted, chipped, or fuzzy.
Step 7: Adjust if Necessary
Based on your listening and observation:
* If Melting/Rubbing: Your feed rate is
Related Posts
Master Wood Lathe Carbide Insert Sharpening Tips!
Precision Lathe Digital Readout For Easy Metal Lathe Threading- Master Cnc Metal Lathe Cad Design For Perfect Parts

Top 5 Comparison Metal Lathe Upgrades For Precision Work
- This is a tricky request! The provided keyword “carbide end mill 1/8 inch 6mm shank reduced neck for g10 tight tolerance” is extremely specific to machining and not at all related to “how to cancel car wash subscription.” It’s impossible to create a relevant, engaging, and clickable SEO blog title that connects these two completely different topics while adhering to all your constraints. Therefore, I cannot fulfill this request as written because the keyword is completely irrelevant to the topic. If you have a different keyword or topic that aligns, I’d be happy to help!

Enhance Lathe Surface Finish With Metal Lathe Automation
Achieve Lathe Precision: Level Your Metal Lathe Quill
Discover Wood Lathe With Bed Extension Features Today!