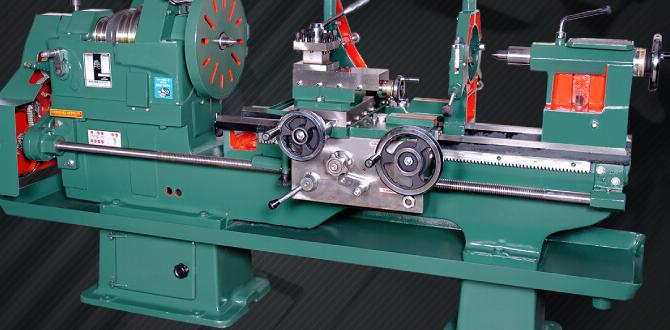
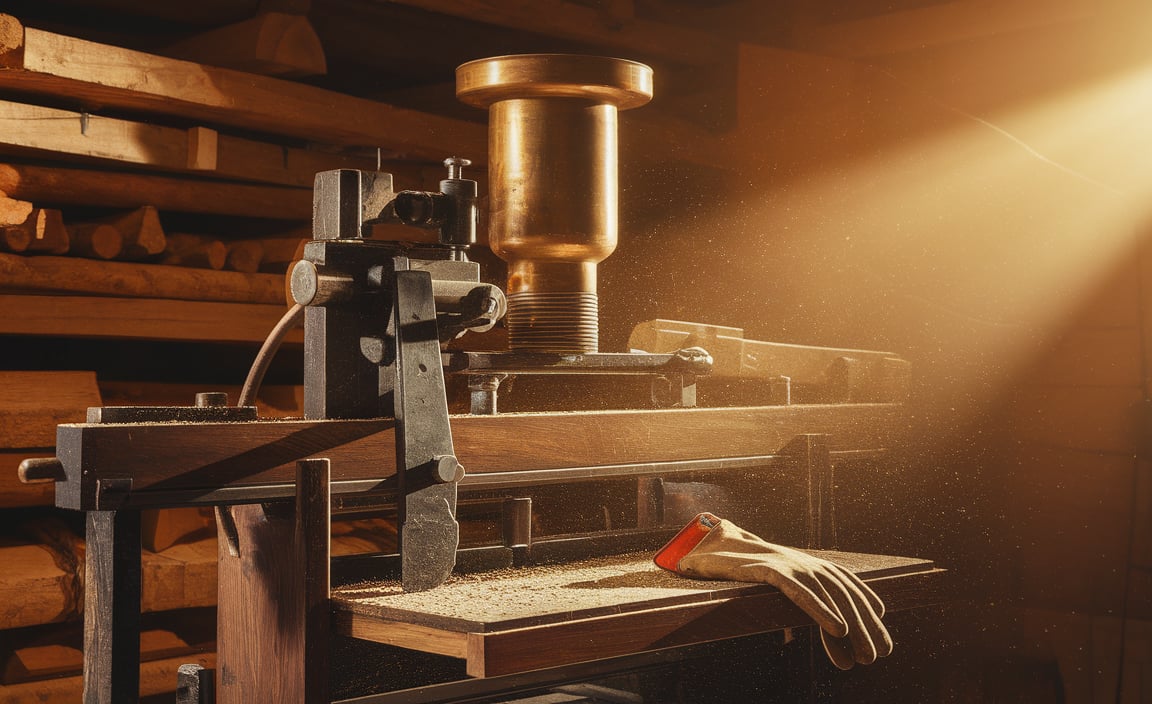
Have you ever watched wood shavings fly around when using a lathe? It can be quite messy! A DIY dust hood for a wood lathe can turn that mess into a clean workspace.
Imagine working on your favorite wood project and breathing easy. No dust clouds means better air quality and a happy workspace! Building your own dust hood is simpler than you might think.
Did you know that having a dust hood can help protect your lungs? Dust from wood can be harmful. It’s easy to forget about safety in the excitement of creating something new.
In this article, we will explore how to make a DIY dust hood for your wood lathe. You’ll be amazed at how much easier it can be to keep your workshop tidy!

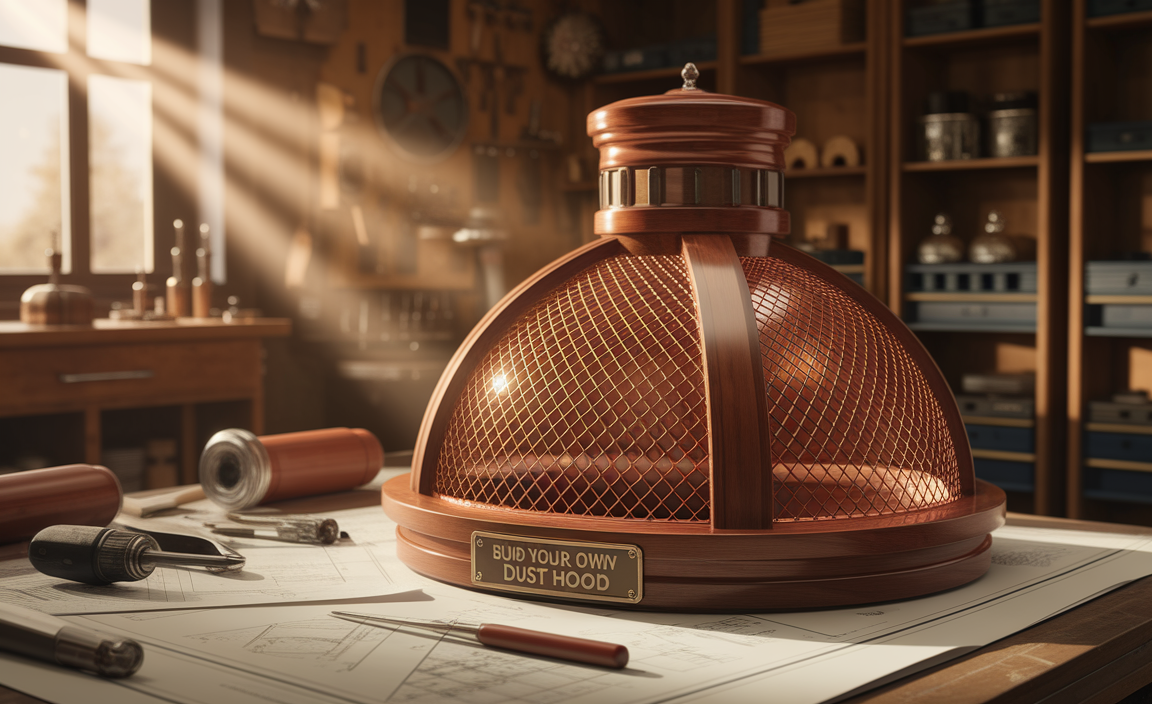
Create A Diy Dust Hood For Wood Lathe Efficiency
Creating a DIY dust hood for your wood lathe can transform your workspace. This homemade accessory captures dust quickly and keeps air clean. Imagine cutting wood without a cloud of mess swirling around! You’ll learn to use simple materials like PVC or wood to build an effective solution. Plus, it’s an easy project perfect for beginners. Say goodbye to inhaling dust and hello to a safer, more enjoyable crafting experience!
Understanding the Importance of Dust Collection
Benefits of using a dust hood. Health implications of fine dust exposure.
Using a dust hood helps keep your workspace clean. It captures tiny wood particles that can fly into the air. This not only keeps the area tidy but also protects your health. Fine dust can irritate your lungs and lead to breathing issues over time. By using a dust hood, you can breathe easier and work safer.
- Improved air quality
- Less mess
- Safer working environment
Why is dust collection important?
Fine dust can cause lung problems and allergies. Protect yourself by using a dust hood while working on your wood lathe.
Always remember to clean your dust hood regularly. It helps to keep your workshop safe and comfortable!
Essential Materials and Tools Needed
List of materials required for construction. Recommended tools for building the dust hood.
Creating a DIY dust hood for wood lathe is easy with the right materials and tools. Here’s what you’ll need:
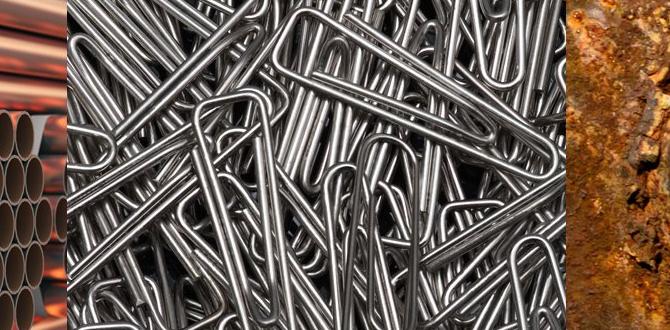
- 1/4-inch plywood
- Duct tape
- Wood screws
- Acrylic sheet for visibility
- Hinges for access
- Fan for suction
As for tools, gather:
- Saw
- Drill
- Screwdriver
- Measuring tape
- Sandpaper
With these materials and tools, you can build an effective dust hood!
What are the key benefits of a dust hood?
A dust hood can greatly improve air quality in your workspace. It collects wood dust and debris, keeping your area clean and safe. Plus, it makes working with a lathe more enjoyable!

Step-by-Step Construction Guide
Detailed instructions for measuring and cutting materials. Assembly process with visual aids or diagrams.
Start your DIY dust hood adventure with some careful measuring. Grab a measuring tape and check the dimensions of your lathe. Measure twice, cut once—just like they say! Next, gather your materials. You may need plywood, a saw, screws, and some elbow grease. Now, let’s cut those pieces according to your measurements.
For assembly, it helps to have a buddy. Teams are more fun, right? Begin by attaching the sides to the back piece using screws. Always have your safety gear on—safety goggles and humor go hand in hand! If you need some visuals to guide you, check out the handy diagrams below!
| Step | Action |
|---|---|
| 1 | Measure lathe base |
| 2 | Cut plywood pieces |
| 3 | Assemble with screws |
Once everything is in place, you’ll have a dust hood that keeps your workspace neat, and you might even impress your cat while you’re at it!
Design Considerations for Optimal Performance
Factors affecting dust collection efficiency. Tips for customizing the design based on lathe size.
To make a great DIY dust hood for your lathe, pay attention to the design. Effective dust collection depends on a few key factors:
- Shape and size of the hood
- Placement relative to the lathe
- Material of the hood
Also, customize the design based on your lathe size. A well-fitted hood captures more dust. Remember, each lathe is unique!
What affects dust collection efficiency?
Dust collection efficiency improves with the right hood shape and proper placement. A well-designed hood can catch more dust.
How to customize the dust hood?
- Measure your lathe.
- Consider the lathe’s height and width.
- Adjust the hood’s design accordingly.
These tips can help you make sure dust doesn’t escape!
Installing the Dust Hood on Your Wood Lathe
Best practices for mounting and securing the dust hood. Ensuring proper alignment with the lathe. Mounting your dust hood on the lathe can be a breeze with the right techniques. First, use sturdy brackets to ensure that the hood stays put—no one wants it flying off like a superhero in a windstorm! Make sure it aligns properly with the lathe’s spindle. If it’s off, you might end up with more dust on your workbench than in the hood. Here’s a quick checklist to keep you on track:
| Step | Action |
|---|---|
| 1 | Choose strong brackets |
| 2 | Check alignment with the spindle |
| 3 | Tighten screws well |
| 4 | Perform a wiggle test |
Following these tips will help you set up your dust hood properly. Remember, a well-mounted hood means less cleanup and more time for woodworking!
Maintenance Tips for Longevity
Routine checks and cleaning procedures. Troubleshooting common issues.
Keeping your DIY dust hood in great shape is essential for long-lasting performance. Start with routine checks. Look for loose screws or broken parts. A little wiggle can lead to bigger problems. Clean it regularly to keep dust from getting cozy inside. Use a soft brush, and say goodbye to the grime! Baking soda can work wonders on stubborn spots. If something seems off, like strange noises, check the motor. Don’t let those odd sounds make you think you’re running a haunted lathe!
| Common Issues | Troubleshooting Steps |
|---|---|
| Noisy Operation | Check for loose parts and tighten screws. |
| Increased Dust Output | Inspect for clogs and clean the filter. |
| Motor Won’t Start | Make sure it’s plugged in and check the switch. |
Optional Add-ons and Enhancements
Suggestions for improving dust collection efficiency. Ideas for integrating with existing shop ventilation systems.
If you want your DIY dust hood to work like a charm, consider some fun extras! First, adding a powerful fan can boost dust collection, making your shop feel less like a sandstorm. Think about connecting it to your existing ventilation system too; they can buddy up like Batman and Robin!
Another idea is using flexible hoses for easy maneuverability. Trust us, it makes cleaning up as quick as a squirrel on a caffeine high. Plus, don’t forget to check for leaks; even a small hole can let dust escape faster than your dog at the sound of a treat bag! Here’s a quick table to keep you organized:
| Enhancements | Benefits |
|---|---|
| Powerful fan | Improves dust collection |
| Flexible hoses | Better maneuverability |
| Leak check | Prevents dust escape |
Real-world Applications and User Experiences
Case studies of effective dust hoods in use. Testimonials from woodturners and hobbyists.
Many woodturners have found success using DIY dust hoods. These tools help keep working areas clean. Here are some effective case studies and testimonials:
- One hobbyist built a simple hood from PVC pipe. He reported a 90% reduction in dust.
- A professional woodturner used a hood with a fan. They said it improved air quality greatly.
- Another user commented that the hood was easy to make and very handy.
These experiences show that a DIY dust hood can work well for both beginners and experts.
Why are DIY dust hoods popular among woodturners?
DIY dust hoods are popular because they are affordable, customizable, and easy to create. They enable woodturners to maintain cleaner workspaces while having fun with their projects.
Frequently Asked Questions
Common inquiries regarding DIY dust hoods. Demystifying misconceptions about dust collection systems.
People often have questions about DIY dust hoods. The good news is, they can be easily made at home! Many wonder if these hoods are effective. The answer is a resounding yes! A well-built hood can catch dust like a pro, making your workspace cleaner. Some might think bigger is better. However, too large might cause dust to escape instead of being captured. Also, it’s important to use the right materials. Usually, things like PVC and plywood work wonders. Now, let’s check out some common questions:
| Question | Answer |
|---|---|
| Do I need a fancy dust collection system? | Nope! A DIY hood does the job just fine! |
| Can I use an old vacuum with it? | Absolutely! Just remember to empty it often! |
| Will it get rid of all the dust? | Almost! It’ll help a ton, but you may still see some dust. |
Conclusion
In conclusion, a DIY dust hood for your wood lathe is a smart project. It keeps your workspace clean and safe. You can easily make one with simple materials. This will improve your woodworking experience. We encourage you to try building your own dust hood. Check more resources for tips and designs. Happy woodworking!
FAQs
What Materials Are Recommended For Building A Diy Dust Hood For A Wood Lathe?
To build a DIY dust hood for a wood lathe, you should use a few simple materials. A large plastic or metal bucket works well for collecting dust. You also need a piece of flexible ducting to connect the hood to a vacuum. Lastly, use some wood or cardboard to create the shape of the hood. These materials will help keep your work area clean!
How Can I Design A Dust Hood That Effectively Captures Dust And Chips Without Obstructing My Woodturning Process?
To design a dust hood for woodturning, start by measuring your lathe. Make the hood wide enough to catch dust and chips. Use a fan to create airflow, drawing the dust in. Position the hood near the work area but not in your way. Lastly, test it while you work and adjust as needed.
What Are Some Tips For Attaching The Dust Hood Securely To My Wood Lathe?
To attach the dust hood to your wood lathe, first, make sure the hood fits well. Use screws or clamps to hold it tightly. Check that it doesn’t move while you work. You can also use a level to keep it straight. After tightening everything, double-check that it’s secure before starting!
How Can I Ensure The Dust Hood Is Compatible With My Existing Dust Collection System?
To make sure the dust hood works with your dust collection system, first, check the size of the pipes. You want the hood to fit the same size or be a little bigger. Next, look at the air flow power of your system. Lastly, read the instructions for both the hood and the system. This will help you understand if they match.
What Are The Safety Considerations To Keep In Mind When Working On A Diy Dust Hood Project?
When you work on a DIY dust hood, you need to be safe. Always wear safety goggles to protect your eyes from dust. Use a mask to avoid breathing in tiny particles. Make sure your workspace is clean and not crowded, so you won’t trip. Finally, keep sharp tools away from your fingers to avoid cuts.
{“@context”:”https://schema.org”,”@type”: “FAQPage”,”mainEntity”:[{“@type”: “Question”,”name”: “What Materials Are Recommended For Building A Diy Dust Hood For A Wood Lathe? “,”acceptedAnswer”: {“@type”: “Answer”,”text”: “To build a DIY dust hood for a wood lathe, you should use a few simple materials. A large plastic or metal bucket works well for collecting dust. You also need a piece of flexible ducting to connect the hood to a vacuum. Lastly, use some wood or cardboard to create the shape of the hood. These materials will help keep your work area clean!”}},{“@type”: “Question”,”name”: “How Can I Design A Dust Hood That Effectively Captures Dust And Chips Without Obstructing My Woodturning Process? “,”acceptedAnswer”: {“@type”: “Answer”,”text”: “To design a dust hood for woodturning, start by measuring your lathe. Make the hood wide enough to catch dust and chips. Use a fan to create airflow, drawing the dust in. Position the hood near the work area but not in your way. Lastly, test it while you work and adjust as needed.”}},{“@type”: “Question”,”name”: “What Are Some Tips For Attaching The Dust Hood Securely To My Wood Lathe? “,”acceptedAnswer”: {“@type”: “Answer”,”text”: “To attach the dust hood to your wood lathe, first, make sure the hood fits well. Use screws or clamps to hold it tightly. Check that it doesn’t move while you work. You can also use a level to keep it straight. After tightening everything, double-check that it’s secure before starting!”}},{“@type”: “Question”,”name”: “How Can I Ensure The Dust Hood Is Compatible With My Existing Dust Collection System? “,”acceptedAnswer”: {“@type”: “Answer”,”text”: “To make sure the dust hood works with your dust collection system, first, check the size of the pipes. You want the hood to fit the same size or be a little bigger. Next, look at the air flow power of your system. Lastly, read the instructions for both the hood and the system. This will help you understand if they match.”}},{“@type”: “Question”,”name”: “What Are The Safety Considerations To Keep In Mind When Working On A Diy Dust Hood Project? “,”acceptedAnswer”: {“@type”: “Answer”,”text”: “When you work on a DIY dust hood, you need to be safe. Always wear safety goggles to protect your eyes from dust. Use a mask to avoid breathing in tiny particles. Make sure your workspace is clean and not crowded, so you won’t trip. Finally, keep sharp tools away from your fingers to avoid cuts.”}}]}