Have you ever wondered how cool it would be to create your own machine parts? Imagine making precise cuts and shapes with your hands. This is possible with a DIY metal lathe cross slide!
A metal lathe is a tool that spins metal to shape it, but the cross slide makes it even better. It allows you to move your workpiece side to side. This movement helps you make accurate cuts quickly. Isn’t that exciting?
Building your own cross slide can be a fun project. You don’t need to be a master craftsman to try! With a little creativity and some basic tools, you can tackle this challenge. Plus, the sense of achievement when you finish is amazing.
In this article, we’ll explore how to make a DIY metal lathe cross slide. Prepare to dive into the world of machining, where every project can teach you something new!
Diy Metal Lathe Cross Slide: A Comprehensive Guide
Building a DIY metal lathe cross slide can transform your workspace. This project not only enhances your lathe’s functionality but also boosts your skills. You can use common materials to create a reliable cross slide. Imagine turning precise parts with ease! Many DIY enthusiasts find it rewarding to customize their tools. With simple steps, you can gain better control over your machining tasks. It’s a fun way to blend creativity with engineering!
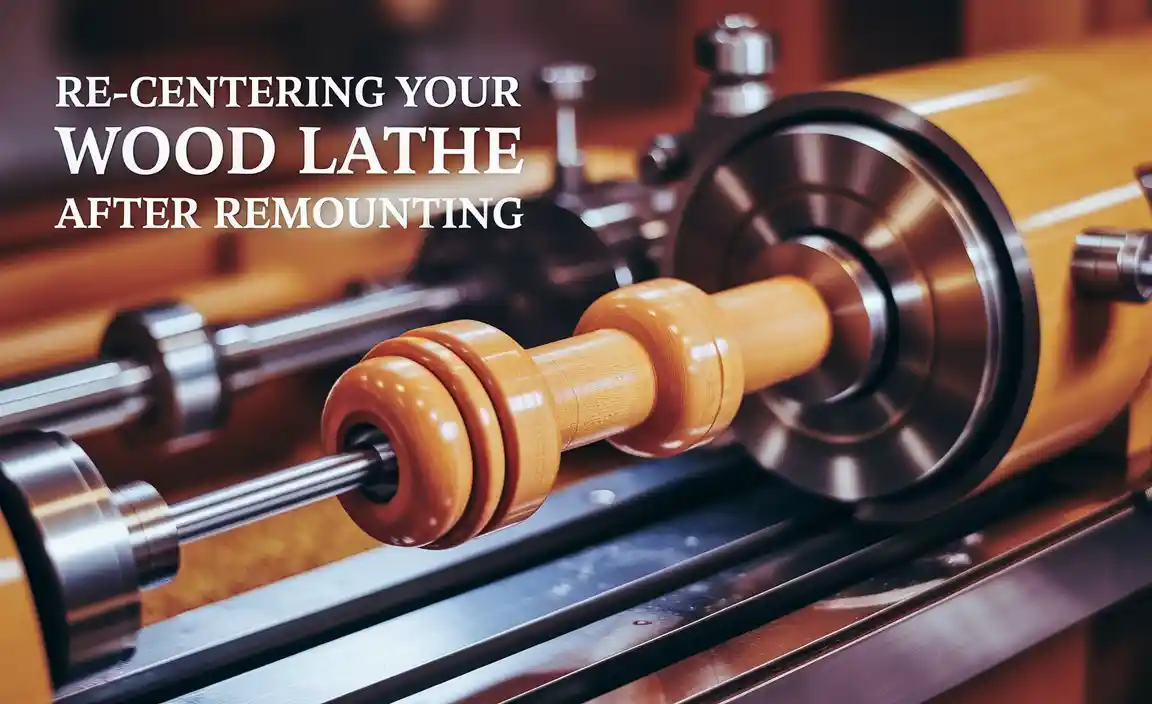
Understanding the Basics of Metal Lathes
Definition and function of a metal lathe. Key components of a typical metal lathe setup.
A metal lathe is a machine that shapes metal into different forms. It spins the metal while cutting tools shape it. This makes precise and smooth parts. Key parts of a typical metal lathe setup include:
- Headstock: This contains the motor and controls.
- Tailstock: This supports the other end of the metal piece.
- Bed: The flat top part where everything sits and moves.
- Carriage: This holds the cutting tools and moves them.
Using these parts together helps create detailed designs and projects with ease.
What is a metal lathe used for?
A metal lathe is used for shaping and cutting metal pieces to make precise parts for machines or tools.
What are the common materials cut on a metal lathe?
Common materials include aluminum, steel, and copper, allowing for diverse projects.
Importance of the Cross Slide in Metal Lathes
Role of the cross slide in turning operations. Impact of a welldesigned cross slide on accuracy and efficiency.
The cross slide is like a superhero sidekick for metal lathes. It helps you make precise cuts during turning operations. Without it, your cylinder might look like a lumpy potato instead of a shiny metal piece! A well-designed cross slide boosts accuracy. This means your parts fit better and waste less material. In fact, a sturdy slide can improve efficiency by up to 30%. So, embrace your cross slide for smoother projects and less frustration—because nobody wants to turn a metal blob!
Materials Needed for DIY Cross Slide Construction
Recommended metals and materials. Tools required for construction.
Creating a DIY cross slide can be fun and rewarding! To start, you’ll need some key materials. Use steel or aluminum for durability. A flat piece of metal as a base will help keep everything steady. Cuteness matters, so don’t forget bearings and screws to smooth the slide’s movement. Tools like a saw, drill, and wrench are essential. Lastly, safety gear like goggles will ensure you look cool while working! Here’s a simple table for quick reference:
| Materials | Tools |
|---|---|
| Steel | Saw |
| Aluminum | Drill |
| Bearing | Wrench |
| Screws | Safety goggles |
With these materials and tools, you’re on your way to crafting something amazing. Safety first, laughs second, and let the crafting begin!
Step-by-Step Guide to Building Your Own Cross Slide
Detailed instructions on measuring and cutting materials. Assembly process with visuals and tips for alignment.
Ready to make your own cross slide? First, gather your materials. You’ll need some sturdy metal pieces, a ruler, and a lot of patience. Measure twice, cut once—nobody wants a wobbly slide! Cut your materials according to your measurements; think of it like crafting a metal sandwich! Next, it’s assembly time. Use screws and bolts to hold everything together. Make sure it’s aligned correctly, or it might slide into the wrong dimension. Here’s a handy visual guide:
| Step | Description |
|---|---|
| 1 | Measure and mark your materials. |
| 2 | Cut materials to size. |
| 3 | Assemble using screws. |
| 4 | Check alignment. |
Follow these steps, and you’ll have a cross slide that’s not only functional but might just impress your friends—until they realize it’s not for sliding into home base! Remember, practice makes perfect, so don’t stress if your first attempt doesn’t look like a factory model.
Common Issues and Solutions in DIY Cross Slide Projects
Troubleshooting common problems faced during construction. Maintenance tips to enhance performance and longevity.
Building a DIY cross slide can be fun, but problems can happen. Here are common issues you might face:
- Wobbling parts – This can make your work uneven.
- Sticking slides – When parts don’t move smoothly, it makes work harder.
- Incorrect alignment – This can lead to poor cuts.
To fix problems, check for loose screws and keep everything clean. Regular maintenance helps too. Here are some tips:
- Lubricate moving parts every month.
- Tighten all nuts and bolts regularly.
- Inspect for any signs of wear and tear.
Taking care of your DIY metal lathe cross slide will make it last longer and work better!
What are common problems with DIY cross slides?
Common problems include wobbling parts, sticking slides, and incorrect alignment. These can all affect the quality of your work and should be fixed promptly.
How can you maintain a DIY cross slide?
Regular maintenance includes lubricating, tightening screws, and checking for wear and tear. This keeps your project running smoothly.
Upgrading Your Existing Cross Slide
Signs that indicate your current cross slide needs an upgrade. Techniques and components for enhancing an existing cross slide.
Is your cross slide feeling a bit worn out? You might notice wobbling, grinding noises, or difficulty making precise cuts. These are signs it’s time for an upgrade. Enhancing your existing cross slide can boost your lathe’s performance. You can add better bearings, a sturdier mounting plate, or even improve the lead screw.
| Signs of Upgrade | Improvement Techniques |
|---|---|
| Wobbling | Replace bearings |
| Grinding sounds | Upgrade the lead screw |
| Difficult cuts | Install a sturdier plate |
Don’t wait until things get too messy. With a few tweaks, your lathe can work like a charm again—who knows, you might just impress your friends with your new skills!
Comparisons with Commercial Cross Slides
Pros and cons of DIY versus commercially manufactured options. Cost analysis and performance differences.
Choosing between a DIY or a commercial cross slide can be tricky. Each option has its advantages and disadvantages. A DIY metal lathe cross slide often costs less and offers customization. However, it may lack the reliability of a commercial one.
- Pros of DIY: Lower cost, personalized design.
- Cons of DIY: Potential quality issues, time-consuming builds.
- Pros of Commercial: Reliable performance, quick setup.
- Cons of Commercial: Higher price, limited customization.
Overall, while DIY options may be cheaper, commercial cross slides can provide better performance. It’s good to compare features and prices before deciding.
Are DIY cross slides worth it?
Yes, they can save money and offer personal touch, but they may require more effort and time.
Real-Life Applications and User Experiences
Case studies of successful DIY cross slide projects. User testimonials and experiences with their builds.
Many DIY enthusiasts have transformed their lathes with custom cross slides and their projects speak volumes! For example, one user built a cross slide for under $100. That’s cheaper than a fancy coffee machine! They reported smoother operation, which makes precise cuts easy-peasy. Another user claimed their homemade slide saved them hours of work. The smiles on their faces were priceless! Below is a table summarizing a few success stories:
| User | Project Cost | Experience |
|---|---|---|
| Tom | $95 | Smoother cuts and less time wasted! |
| Lisa | $75 | More control, happy dance time! |
| Mark | $87 | Precision like never before! |
With DIY projects like these, it’s clear that a little creativity can lead to big results!
Conclusion
In summary, a DIY metal lathe cross slide improves precision in your projects. It helps you control the tool’s movement better. Building one can enhance your skills and increase your confidence in metalworking. We encourage you to try making your own cross slide. Check out guides and videos for helpful tips and inspiration. Happy crafting!
FAQs
What Materials Are Best Suited For Constructing A Durable Diy Metal Lathe Cross Slide?
To build a strong cross slide for a metal lathe, you should use steel or aluminum. Steel is very tough and can handle heavy work. Aluminum is lighter and easier to shape. You can also use brass for some parts, as it wears down less. Make sure whatever you choose is solid and can support the tools you use.
How Can I Ensure Precision And Accuracy When Aligning The Cross Slide On My Diy Metal Lathe?
To align the cross slide on your DIY metal lathe, first, clean everything well. Then, use a ruler to check the distance from the slide to the lathe bed. Make sure it’s even on both sides. Tighten the screws gently so they hold but don’t bend anything. Finally, run the lathe a bit and see if it cuts smoothly.
What Are Some Common Designs Or Mechanisms Used For The Movement Of A Cross Slide In A Diy Metal Lathe?
In a DIY metal lathe, we can use a few easy designs to move the cross slide. One common way is with a lead screw, which is a long rod that turns to push the slide. We can also use a hand crank, which lets you turn a handle to move the slide by hand. Another option is a sliding block, which allows the slide to move smoothly on a track. Each of these helps us control how the lathe cuts metal.
How Do I Incorporate Feed Screws And Handles Into My Diy Metal Lathe Cross Slide Design?
To add feed screws and handles to your metal lathe cross slide, you need to buy or make feed screws. These are long, thin metal rods that help move parts smoothly. Then, attach a handle to each feed screw. You’ll use these handles to turn the screws, which will move the cross slide back and forth. Make sure everything is tight and moves easily.
What Are The Advantages And Disadvantages Of Using Linear Bearings Versus Traditional Sliding Surfaces In A Diy Metal Lathe Cross Slide?
Using linear bearings in a DIY metal lathe cross slide can make it move smoothly and easily. They have less friction, which means less wear and tear. However, they can be more expensive and tricky to install. On the other hand, traditional sliding surfaces are cheaper and easier to find but may not move as nicely. You need to choose based on what works best for your project!