Have you ever wondered how to make precise threads on a metal lathe? If so, you’re not alone. Many hobbyists and craftsmen struggle with this task. A DIY metal lathe threading dial can be the perfect solution. This handy tool helps keep your work accurate and efficient.
Imagine you’re working on a project, but your measurements keep going off. Frustrating, right? With a threading dial, you can avoid these mistakes. You’ll create perfect threads every time.
Surprisingly, many people think threading is complex. But with the right tools, like a DIY metal lathe threading dial, anyone can learn. It’s easier than you might think! Let’s explore how you can make one for yourself and improve your metalworking skills.
Diy Metal Lathe Threading Dial: Enhance Your Machining Skills
Creating a DIY metal lathe threading dial can transform your lathe experience. This tool helps you make precise threads easily and accurately. You can adjust the dial to suit different threading sizes, which saves time on your project. Plus, building one gives you a sense of accomplishment. Imagine being able to craft perfect threads on any metal piece! With simple materials and step-by-step ideas, anyone can create their own threading dial at home.
Understanding the Basics of Threading Dials
Definition and function of a threading dial. Importance of threading dials in metal lathe operations.
A threading dial is a tool used on metal lathes. It helps you make precise threads on metal pieces. This tool shows you how far to move the tool bit while cutting. It helps keep the cuts straight and evenly spaced. Using a threading dial is important because it:
- Helps with measurement accuracy.
- Reduces mistakes when cutting threads.
- Makes the threading process easier and faster.
With a threading dial, lathing becomes more fun and productive!
What is a threading dial used for?
A threading dial is mainly used to aid in thread cutting on a metal lathe. It provides guidance for the tool’s position, ensuring consistent and accurate threads every time. This tool is essential for achieving high-quality metalwork.
Choosing the Right Lathe for DIY Threading Dial Projects
Key features to look for in a metal lathe. Recommendations for popular metal lathes suitable for DIY enthusiasts.
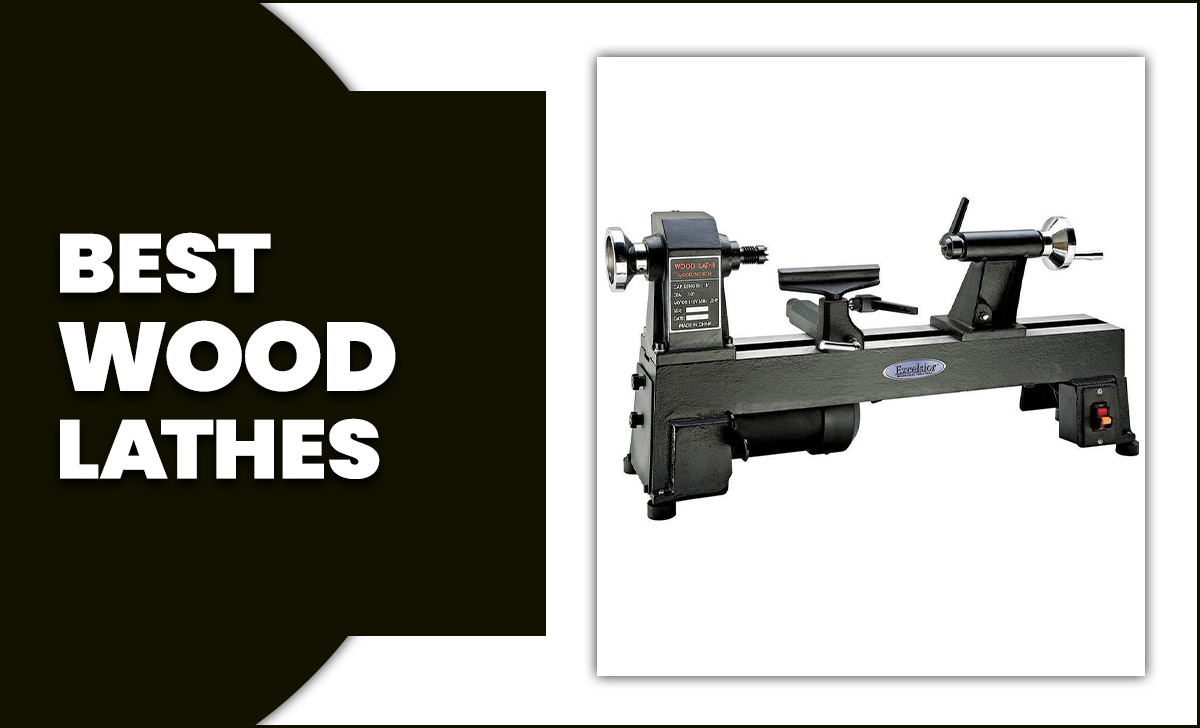
Finding the right lathe makes DIY projects exciting! Look for a metal lathe with precision controls and a strong motor. A good size for beginners is around 7×14 inches, offering enough room for various projects. Don’t forget about ease of use; a simple threading dial can save you time and headaches!
| Lathe Model | Key Features | Why It’s Great |
|---|---|---|
| Grizzly G8688 | Strong motor, compact size | Perfect for small workshops |
| Jet JWL-1442 | Heavy-duty, versatile | Great for all skill levels |
| WEN 34061 | Variable speed, portable | Easy to move around! |
Getting a lathe shouldn’t feel like rocket science. With the right features, you’ll be threading like a pro in no time! Remember to pick a model that fits your needs and keeps the fun alive in your projects.
Materials Needed for Building a DIY Threading Dial
Common materials used in the construction of threading dials. Recommended tools for assembling your threading dial.
Building a threading dial can be fun! You need some common materials and tools to make it happen. Here are some simple supplies you can use:
- Metal or plastic for the dial body
- A ruler for measuring
- Mounting screws
- A knob for easy turning
- A small bearing for smooth movement
To put everything together, you’ll need these tools:
- Drill
- Screwdriver
- File or sandpaper
- Wrench
With these materials and tools, you can create your very own threading dial!
What materials are used to make a DIY threading dial?
The main materials are metal or plastic for the body, mounting screws, and a knob. These help create a sturdy and functional tool!
Step-by-Step Guide to Constructing Your Own Threading Dial
Detailed instructions for measuring and cutting materials. Assembly process with tips for accuracy and precision.
First, gather all your materials; you’ll need a few basic tools like a ruler, saw, and a drill. Measure your pieces carefully—remember, *measure twice, cut once*! Next, cut the parts according to your measurements. This is crucial for a proper fit. When you start assembling, take your time. Align everything well; nothing is worse than a lopsided dial! For extra help, here’s a handy table:
| Material | Measurement | Tools Needed |
|---|---|---|
| Metal Plate | 6” x 6” | Ruler, Saw |
| Dial Mechanism | 1 Piece | Drill, Screwdriver |
| Knob | 1 Piece | Drill, Wrench |
Lastly, use a level to check accuracy. A well-made threading dial can make your DIY projects smoother than a buttered otter! Happy crafting!
Adjusting and Calibrating Your Threading Dial
How to properly calibrate your dial for precise threading. Troubleshooting common issues with dial adjustments.
Calibrating your threading dial is key for perfect metalworking. Start with your lathe off and check the dial’s position. Turn the dial and note its movement. Make adjustments to match the threads you want. Troubleshooting is simple too. If it sticks or misses counts, clean the dial and check for damage. Always ensure it aligns perfectly with the spindle for accuracy.
How do I know if my threading dial is correct?
To check your dial’s accuracy, compare the markings with test threads. If they match perfectly, your dial is set right. If they don’t, adjust and test again!
Common Issues with Threading Dial Adjustments
- Sticking dial: Clean and lubricate.
- Missing counts: Check alignment and ensure no obstructions.
- Wrong readouts: Calibrate frequently for best results.
Benefits of Using a DIY Threading Dial
Cost savings compared to purchasing a premade unit. Increased customization and functionality tailored to your needs.
Making your own threading dial can save you money. Why buy a ready-made one when you can design it to fit your needs? Here are some benefits:
- Cost Savings: Building your own is often cheaper than buying.
- Customization: You can add special features that fit your projects.
- Fun Project: It’s enjoyable to create something unique.
With a DIY threading dial, you have full control. This makes your metal lathe work better for you.
How does a DIY threading dial save money?
Building it yourself cuts costs. A store-bought unit can be expensive, while materials for a DIY project are usually less. You keep your cash while enjoying the process!
What features can you customize?
You can choose sizes and designs that work best for your tasks. This means you can create a tool that matches your needs perfectly!
Advanced Techniques and Modifications
Ideas for enhancing your threading dial’s functionality. Performance upgrades to consider for advanced users.
To make your threading dial even better, consider these tips. You can add fine adjustments for greater accuracy. A smooth handle can make turning easier. Try using better materials to increase strength over time. Also, adding digital readouts can help you see measurements instantly. Upgrades can improve your skills and make projects smoother.
What are some performance upgrades for advanced users?
Some useful upgrades include:
- Enhanced gears for smoother operation.
- Better materials for durability.
- Digital displays for quick readings.
Maintenance Tips for Longevity of Your Threading Dial
Routine maintenance practices for optimal performance. Signs of wear and how to address them effectively.
To keep your threading dial in top shape, routine checks are key. Regularly clean it from dust, oil, and shavings—like giving your tools a nice bubble bath. Look for signs of wear, like rough edges or unusual noises. If things seem off, don’t let it slide. Tackle issues early! Remember, a happy threading dial means smoother projects ahead. Regular love for your tools pays off! Check out the table below for easy maintenance tips:
| Task | Frequency |
|---|---|
| Clean | Weekly |
| Lubricate | Monthly |
| Inspect for wear | Every 3 months |
Common FAQs About DIY Metal Lathe Threading Dials
Answers to frequently asked questions by DIY enthusiasts. Additional resources for further learning and support.
Many DIY enthusiasts have questions about metal lathe threading dials. Here are some common ones.
What is a DIY metal lathe threading dial?
It is a tool that helps you measure and cut threads accurately on a lathe. This dial makes your work easier and more precise.
How do I install it?
Follow these steps:
- Start with clean parts.
- Secure the dial base on the lathe.
- Attach the dial to the base.
Make sure everything is tight and straight!
Where can I learn more?
Check online forums or videos for tips. DIY websites often have guides. Books on lathe work can also help!
Always reach out to fellow DIYers for support. They can share their experiences and tricks!
Conclusion
In summary, a DIY metal lathe threading dial helps you cut threads accurately and easily. It saves time and improves your projects. You can build your own with basic tools and materials. Explore more tutorials online for ideas and tips. With practice, you’ll master threading. Let’s get started on your next metalworking adventure!
FAQs
What Materials Are Best Suited For Building A Diy Threading Dial For A Metal Lathe?
To build a DIY threading dial for a metal lathe, you can use a few simple materials. First, find a sturdy piece of metal or plastic for the body. You will also need a small gear or wheel that spins easily. A spring can keep the dial in place and let it move smoothly. Finally, use screws to hold everything together tightly.
How Can I Accurately Calibrate A Threading Dial On My Homemade Lathe To Ensure Precise Threading?
To calibrate your threading dial, start by making a test cut on a piece of scrap metal. Measure the distance between the threads with a caliper or ruler. Then, adjust the dial settings until the spacing matches the measurement. Repeat the test until it’s just right. This way, you’ll get accurate threads every time you use your lathe!
What Are The Key Components Of A Threading Dial Mechanism, And How Can I Design Them For A Diy Project?
A threading dial mechanism helps you make grooves or threads on metal. The key parts are the dial, gears, and a pointer. You can design it by using a round dial with numbers, attaching it to a small gear that turns. Make sure the pointer shows where you are on the dial as you work. Just use some cardboard and a small motor to create a simple version!
Are There Any Specific Design Considerations To Improve The Visibility And Usability Of A Threading Dial On A Metal Lathe?
Yes, we can make the threading dial easier to see and use on a metal lathe. First, we can choose bright colors for the dial so it stands out. Next, we can use bigger numbers or markers to help you read it easily. Adding a light can also help you see it better in darker areas. Finally, we can make sure the dial is easy to turn and feels comfortable in your hand.
How Can I Troubleshoot Common Issues Encountered While Using A Diy Threading Dial On A Metal Lathe?
If your DIY threading dial isn’t working right, first check if it’s attached properly to the lathe. Make sure the gears are aligned and not stuck. If the numbers are hard to read, wipe them clean or add a light to see better. Lastly, try turning the dial slowly to see if it catches or skips. If it still doesn’t work, we can ask someone with more experience for help.