Quick Summary:
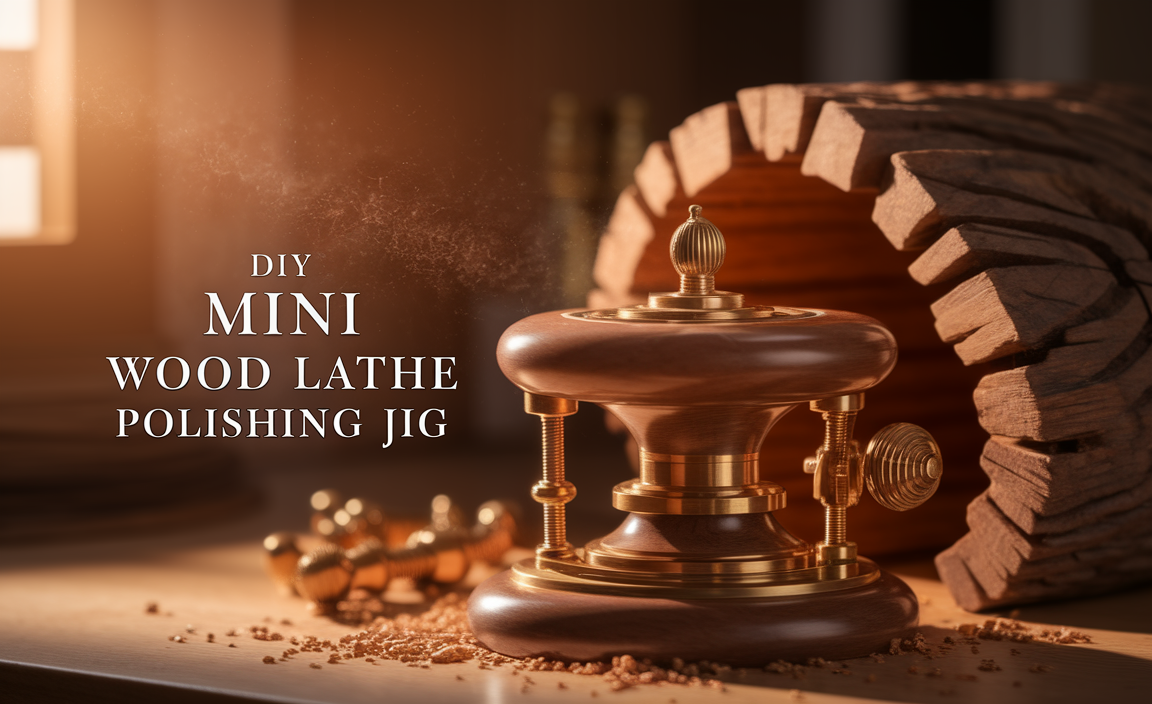
Build a DIY mini wood lathe polishing jig to achieve professional, smooth finishes on your turned projects with ease. This essential guide provides step-by-step instructions, material lists, and tips for creating a reliable jig that enhances your woodworking capabilities.
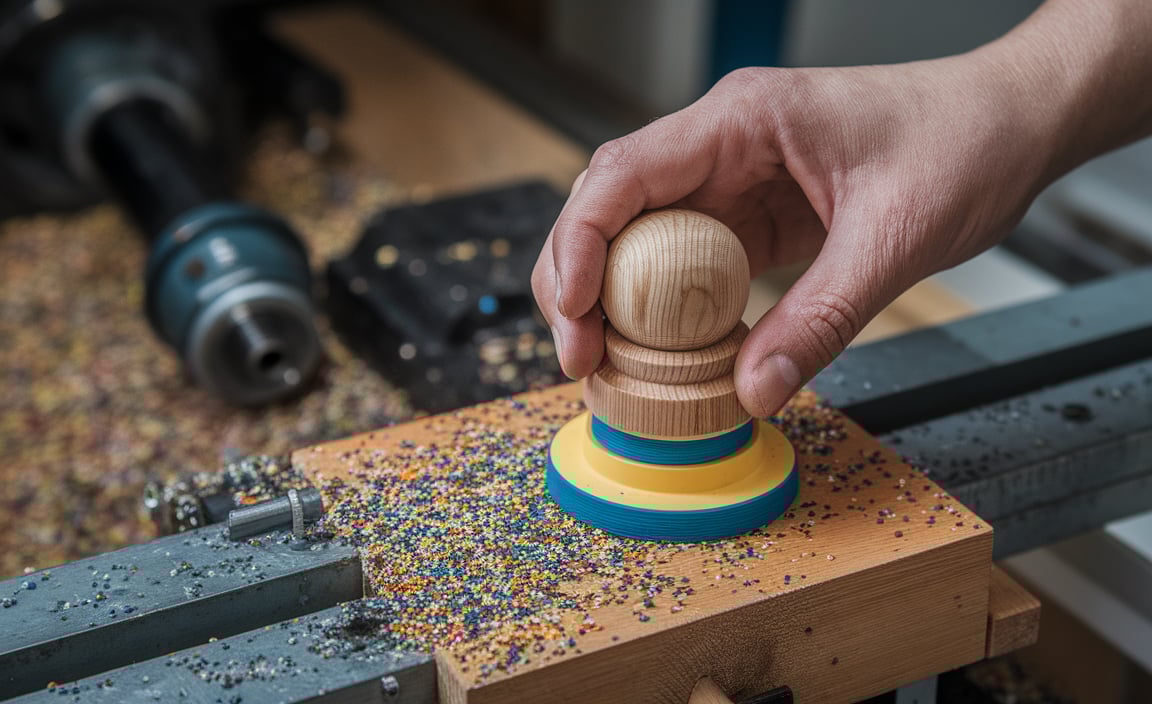
Welcome to Lathe Hub! As a fellow enthusiast who loves making things spin, I know how frustrating it can be to get that perfectly smooth, polished finish on your turned projects. Sometimes, reaching those tricky curves or maintaining consistent pressure with just your hands and abrasive papers can feel like a wrestling match. But what if you could create a simple, effective tool right in your workshop to help get those flawless results? That’s exactly what we’re going to do today with a DIY mini wood lathe polishing jig.
This jig isn’t about reinventing the wheel; it’s about making your polishing process much easier and more effective, especially on smaller turning projects or those tricky areas. We’ll break down the entire process into easy-to-follow steps, so you can build your own jig and start polishing like a pro. Get ready to transform your finishes – let’s dive in!
Why You Need a DIY Mini Wood Lathe Polishing Jig
Achieving a mirror-like finish on your turned wood pieces is a hallmark of quality craftsmanship. While sanding by hand is an option, it’s often time-consuming, can lead to inconsistent results, and can be particularly challenging on smaller or intricately shaped items. Your hands can only apply so much uniform pressure, and getting into tight coves or around delicate features becomes a real struggle.
A well-designed polishing jig mounted on your mini wood lathe can revolutionize this final, crucial stage of your project. It allows for controlled, consistent application of abrasive materials and polishing compounds. This means less hand fatigue, more even finishes, and the ability to tackle a wider range of shapes and sizes with confidence. For anyone looking to elevate their turned work without breaking the bank on specialized equipment, a DIY jig is an incredibly smart and rewarding project.
Understanding the Concept: How it Works
At its core, a DIY mini wood lathe polishing jig is a simple mechanism designed to hold abrasive materials (like sandpaper or polishing pads) and present them to your spinning workpiece at a controlled angle and pressure. Instead of you holding the sandpaper directly against the spinning wood, the jig guides and supports the abrasive. This offers several key benefits:
- Consistent Pressure: The jig applies a steady, even pressure, preventing low spots or gouges caused by uneven hand pressure.
- Improved Control: You can guide the jig more precisely than just your hand, allowing for better control over textured surfaces and compound curves.
- Reduced Hand Fatigue: Holding sandpaper for extended periods can be tiring. The jig does the heavy lifting.
- Access to Difficult Areas: Certain jig designs can help you reach concave curves, tight corners, or shallow features that are hard to access by hand.
- Enhanced Safety: By providing a stable way to hold abrasives, it can reduce the risk of sandpaper catching and wrapping around the workpiece.
The most common DIY designs mimic commercial polishing systems by using a flexible arm or a simple block that pivots or slides, allowing you to bring the abrasive material into contact with the spinning workpiece.
Essential Tools and Materials for Your Jig
Building a DIY polishing jig doesn’t require a massive workshop or exotic materials. You can often construct a very effective one using common items found in most home workshops. Here’s a breakdown of what you’ll likely need:
Tools You’ll Likely Use:
- Safety Glasses (Always!)
- Drill and Drill Bits
- Saw (Hand saw, Jigsaw, or Bandsaw)
- Screwdriver Set
- Measuring Tape or Ruler
- Pencil or Marking Tool
- Clamps (Optional, but helpful)
- Sandpaper (Various grits)
- Wood glue (if using wood components)
- Workbench or sturdy work surface
Potential Materials (Depending on Jig Design):
The beauty of a DIY jig is its adaptability. Here are some common materials that work well:
- Wood: Scrap hardwood (like oak, maple, or beech) is ideal for creating sturdy components. Plywood can also be used for some parts.
- Metal: You might incorporate small metal brackets, screws, bolts, nuts, and washers for pivot points or mounting. Some designs might use metal tubing or flat stock.
- Plastic: Certain types of plastic sheets or even rigid foam can be used for backing pads or buffer elements, though wood is generally more durable.
- Hardware: Screws, bolts, nuts, washers, locking nuts (nyloc nuts) are crucial for assembling moving parts securely.
- Abrasive Material Holders: This could be simple wood blocks, custom-shaped pieces to hold discs, or even Velcro/hook-and-loop fasteners for attaching sanding pads.
For this guide, we’ll focus on a common and effective design using primarily wood and basic hardware, which is accessible to most beginners.
Step-by-Step: Building a Simple Pivoting Polishing Jig
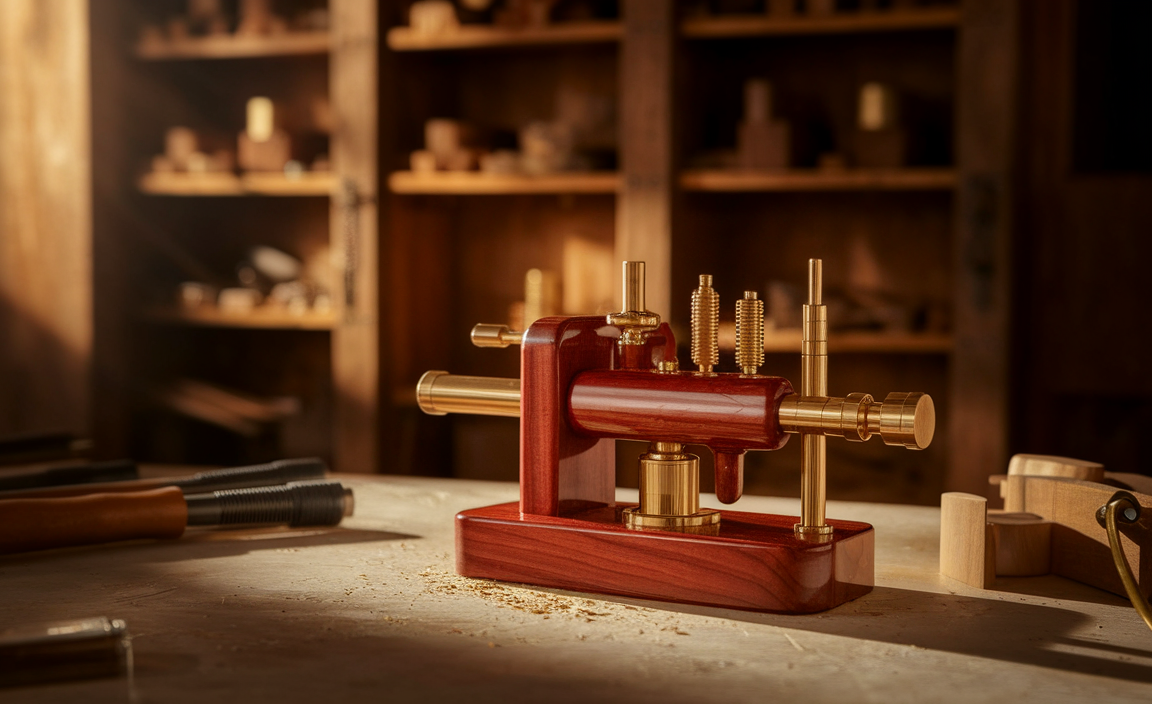
This design focuses on a pivoting arm that you can position against the spinning workpiece. It’s versatile and relatively easy to build.
Step 1: Design and Planning
Before you cut anything, sketch out your idea. A good starting point is a base that can be clamped to your lathe’s tool rest or bed. From this base, a pivoting arm extends. The end of the arm will hold your abrasive material.
Consider these points:
- Length of the Arm: Should be long enough to reach your workpiece comfortably without being too wobbly.
- Pivot Point: Needs to be strong and allow smooth movement. A bolt and nut are common.
- Abrasive Holder: How will you attach sandpaper or polishing pads? A simple “gripper” created by two pieces of wood with a gap works well for wrapping sandpaper.
- Mounting System: How will it attach to your lathe? A common method is to create a bracket that fits where your tool rest normally sits, or a base that clamps directly to the lathe bed.
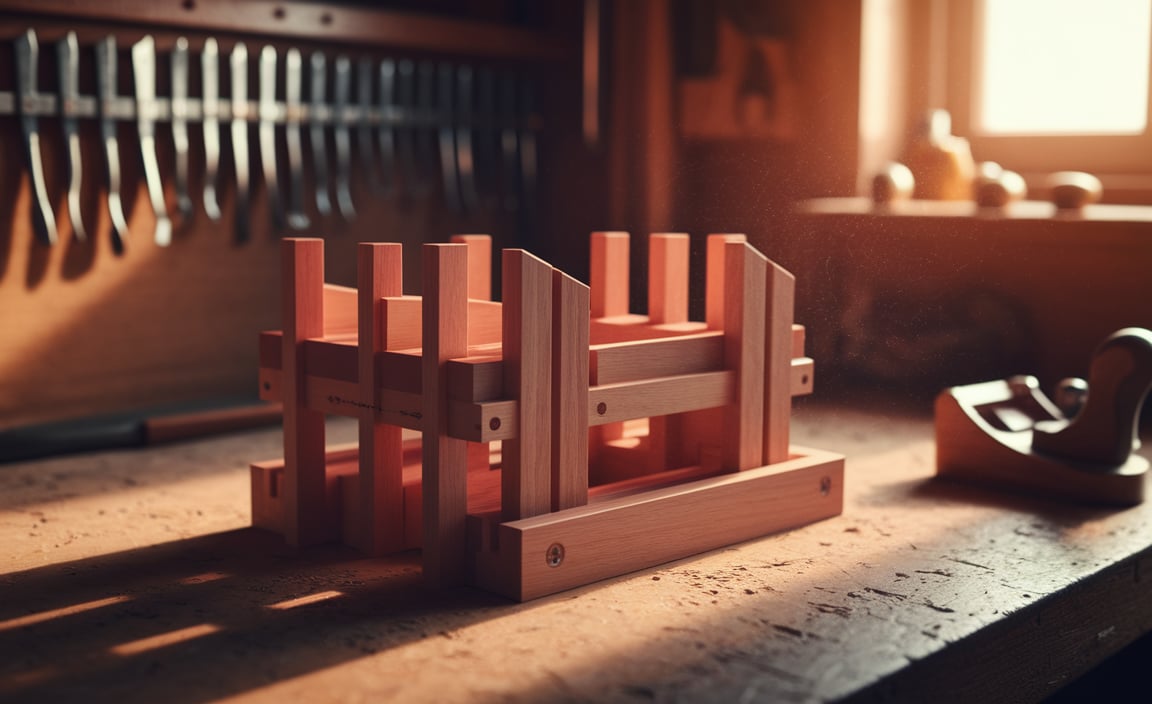
A common design involves a rectangular wooden base, an arm pivoted to this base, and a way to secure sandpaper at the end of the arm.
Step 2: Construct the Base
Cut a piece of hardwood for the base. A good size might be around 6 inches long by 3 inches wide and 3/4 inch thick. You’ll need to drill a hole through this base where the pivot arm will attach. Also, drill a hole or create a slot on one end to allow it to be secured to your lathe’s tool rest post. If using a standard round tool rest post, a simple round hole that slides over the post is often sufficient. For other mounting systems, you might need a clamp mechanism or a way to bolt it on.
Step 3: Create the Pivoting Arm
Cut a piece of hardwood for the arm, perhaps 8-10 inches long, 1.5 inches wide, and 3/4 inch thick. Drill a corresponding hole at one end of the arm to align with the hole in the base for the pivot. Make sure this hole is slightly larger than your bolt to allow for free movement.
Step 4: Attach the Abrasive Holder
This is where you’ll attach your sanding or polishing material. A simple method is to create a “sandwich” at the end of the arm:
- Cut two smaller pieces of wood (e.g., 2 inches by 2 inches) for the abrasive holder.
- On one piece, rout or chisel out a shallow recess slightly smaller than your sandpaper grit you’ll use, or create “jaws” that will grip the sandpaper.
- Attach these two pieces together at the end of the pivoting arm, trapping a piece of sandpaper between them. You can do this with screws, but ensure the screws don’t interfere with your abrasive.
- Alternatively, you can use a simple screw or bolt with a wingnut at the very end of the arm to clamp down a small piece of sandpaper.
For a more advanced approach, you could attach a small piece of thick cardboard or firm foam to the end of the arm and use a hook-and-loop (Velcro) system to attach sanding discs or polishing pads.
Step 5: Assemble the Jig
Align the pivot hole in the arm with the pivot hole in the base. Insert a bolt (preferably a carriage bolt for a smooth head) and secure it with a washer and a nut. A locking nut (nyloc nut) is highly recommended here to prevent the pivot from loosening with vibration. Don’t overtighten; the arm should move freely but without excessive wobble.
Step 6: Mount to Your Lathe
Slide the jig’s base over your lathe’s tool rest post. Ensure it’s snug and won’t rotate unexpectedly. Some designs might require you to temporarily remove your usual tool rest. Secure it firmly. If your lathe bed has mounting holes, you might design a base that bolts directly to the bed for maximum stability.
Step 7: Prepare and Use Your Jig
- Turn your lathe on at a relatively slow speed. This is crucial for safety, especially when starting out. A speed around 500-1000 RPM is often a good starting point.
- Cut a piece of sandpaper or attach your polishing pad to the jig’s holder. Start with a medium grit (like 220 or 320) and work your way up to finer grits as needed.
- Gently bring the abrasive material into contact with the spinning workpiece. Apply steady, even pressure.
- Move the jig slowly back and forth along the length of the workpiece, allowing the abrasive to do its work. Avoid dwelling in one spot.
- Gradually increase the grit of your sandpaper, or switch to polishing compounds on a suitable pad as you approach your final finish.
- Use a vacuum system to remove dust if possible, especially when working with finer grits.
Always remove the jig when you are done polishing and before turning the lathe on without something attached to the jig. Never force the jig or the abrasive against the wood.
Refining the Design: Advanced Tips and Variations
Once you have a basic jig working, you might want to refine it or try different approaches. Here are some ideas:
- Adjustable Pressure: Implement a spring-loaded mechanism or a thumbscrew system that allows you to adjust the pressure applied by the jig.
- Interchangeable Holders: Design the end of the arm to accept different attachments – one for sandpaper, one for buffing wheels, one for felt pads with polishing compound.
- Longer Throw: For larger workpieces, you might need a longer arm on your jig, but ensure it’s well-supported to prevent flexing.
- Clamping Base: Instead of relying on the tool rest post, create a base that uses a small C-clamp or quick-release bar clamp to secure it to the lathe bed. This can offer more stability.
- Material Considerations: For very fine polishing, consider using a backing pad made from a slightly yielding material like dense upholstery foam or a firm rubber sheet, glued to the wooden holder. This helps the abrasive conform better to curves.
A great resource for inspiration on tool making and jigs can be found on sites like Popular Mechanics, which often features DIY projects and workshop tips.
Safety First: Always!
Working with a lathe, even a mini one, requires a commitment to safety. When building and using a polishing jig, keep these critical points in mind:
- Wear Safety Glasses: Always, without exception. Wood chips and dust can fly unexpectedly.
- Secure Your Jig: Ensure the jig is firmly attached to the lathe. A loose jig can become a dangerous projectile.
- Start Slow: Begin polishing at a slow lathe speed. Gradually increase speed only if comfortable and necessary.
- Don’t Force It: Let the abrasive do the work. Forcing the jig can overload the lathe, break your jig, or damage your workpiece.
- Keep Hands Clear: Never place your hands directly in front of the spinning workpiece or jig. Keep fingers and tools away from moving parts.
- Dust Collection: If possible, use a dust collection system. Wood dust can be a health hazard.
- Listen to Your Lathe: If the lathe sounds strained or is vibrating excessively, stop immediately and assess the situation.
- No Loose Clothing or Jewelry: These can get caught in the spinning lathe.
Always consult your lathe’s manual for specific safety guidelines related to your machine. The Occupational Safety and Health Administration (OSHA) also provides comprehensive guidelines on machine safety that are transferable to a workshop environment.
Table: Jig Design Elements Comparison
Here’s a quick look at common design choices and their pros and cons:

| Jig Element | Common Material/Method | Pros | Cons | Best For |
|---|---|---|---|---|
| Base Mounting | Tool Rest Slot | Easy to attach/remove | Can be less stable, only fits specific tool rests | Quick setup for small projects |
| Base Mounting | Clamp to Lathe Bed | Very stable, versatile | Requires more secure hardware, might take longer to attach | Larger projects, demanding finishes |
| Pivot Arm Material | Hardwood (Oak, Maple) | Strong, easy to machine | Can be heavy | General purpose jigs |
| Pivot Arm Material | Aluminum Extrusion | Lightweight, strong potential | Requires metalworking tools to cut and drill | Sturdy, long-lasting jigs |
| Abrasive Holder | Wooden Clip/Jaws | Simple, effective for sandpaper | Can mar soft wood jigs if overtightened | Sandpaper use |
| Abrasive Holder | Hook-and-Loop (Velcro) | Quick troca de lixas/pads | Can wear out, some pads might not stick well | Frequent changes needed, polishing pads |
Frequently Asked Questions (FAQ)
Q1: How fast should I run my lathe when using a polishing jig?
It’s best to start at a slow speed, typically between 500-1000 RPM. You can gradually increase the speed if needed and if you feel comfortable, but faster speeds mean more potential for things to go wrong if your jig or workpiece isn’t perfectly secure.
Q2: Can I use this jig for metal polishing?
While the principles are similar, metal polishing on a lathe usually involves different abrasives (like buffing wheels with compounds) and often higher speeds. This DIY jig is primarily designed for wood. For metal, you’d need a much more robust jig and potentially a more powerful lathe, often with variable speed control.
Q3: What kind of sandpaper should I use?
Start with medium grits like 220 or 320 for initial smoothing, then move to finer grits (400, 600, 800, 1000, and even higher). For the final stages, you might switch from sandpaper to polishing pads with specialized wood polishing compounds.
Q4: My jig feels wobbly. How can I make it more stable?
Ensure all pivot points are tightened sufficiently (but still allow movement). Using a locking nut (nyloc nut) on the pivot bolt is highly recommended. Check that the base is clamped very securely to your lathe bed or tool rest post. A wider or heavier base can also improve stability.
Q5: How do I get a really smooth finish with the jig?
The key is to use progressively finer grits of sandpaper, and then move on to polishing compounds. Make sure each grit removes the scratches from the previous one before moving up. Apply compounds to a clean pad on the jig and let the lathe (at a moderate speed) do the work.
Q6: Can I make the jig to hold power sanding attachments?
Yes, with modifications! If you want to use a rotary tool attachment or a small orbital pad, you’ll need to design the end of your jig to securely hold that specific attachment. This typically requires a more rigid arm and a very stable mounting system, as these can exert more force.
Conclusion
Building and using a DIY mini wood lathe polishing jig is a fantastic way to enhance your woodworking skills and achieve those sought-after professional finishes. It’s a project that combines basic woodworking techniques with practical lathe application, offering tangible benefits for your turned projects. By following these steps, you can create a reliable, safe, and effective tool that will serve you well for years to come.
<p