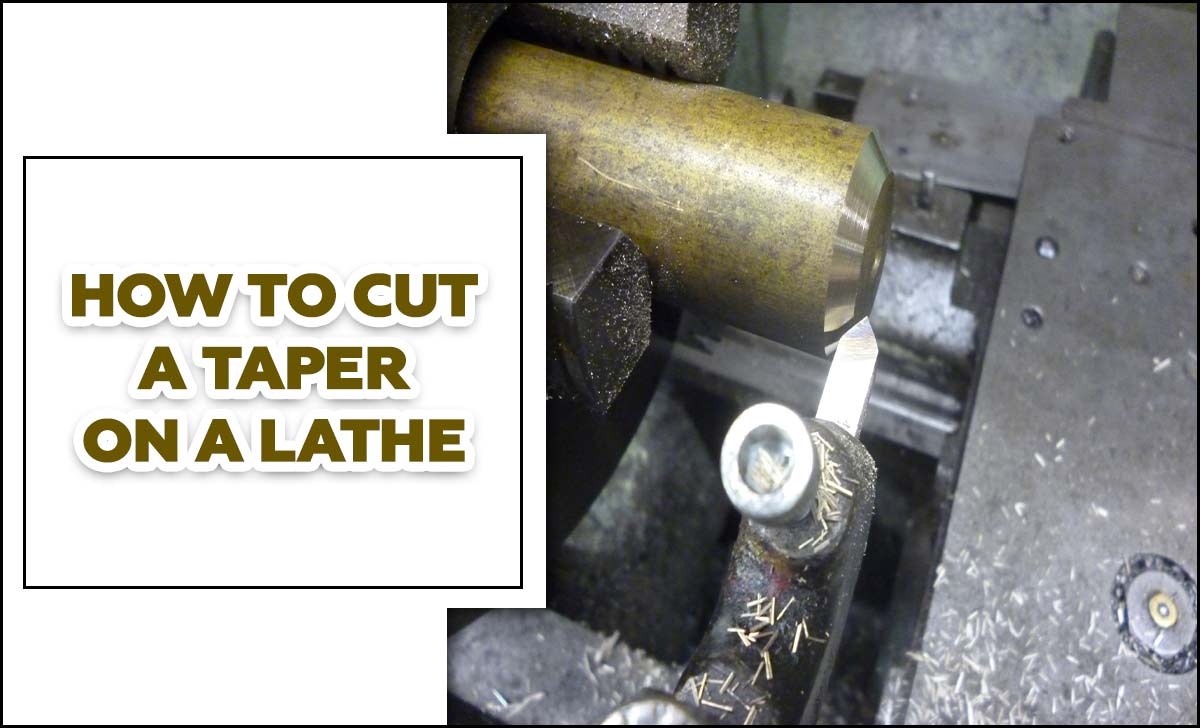
Build your own DIY mini wood lathe polishing machine to achieve a professional finish on your turned projects. This guide offers a straightforward, budget-friendly approach for beginners to enhance their workshop capabilities.
Ever finish a beautiful turned piece on your mini wood lathe, only to be let down by a less-than-perfect polish? Getting that smooth, professional sheen can be tricky, and buying specialized polishing machines can really add up. Many beginners struggle to find an affordable and effective way to get that final, showroom polish. Don’t worry! With a few common workshop items and some simple steps, you can build a fantastic DIY mini wood lathe polishing machine that will make your projects shine. This guide will walk you through everything you need, from materials to the final setup, ensuring you can achieve those stunning, professional-looking finishes right at home. Get ready to elevate your woodworking!

Why Build a DIY Mini Wood Lathe Polishing Machine?
As a maker and a long-time machinist, I’ve always appreciated tools that are both functional and accessible. A dedicated polishing machine for a mini wood lathe isn’t always the first thing a beginner thinks of, but it can dramatically improve the look and feel of your turned items. Here’s why it’s a project worth your time:
- Cost-Effective: Pre-made polishing machines can be expensive. Building your own saves a significant amount of money.
- Improved Finish Quality: Achieve a much smoother, more professional finish than you can often get by hand, even with fine-grit sandpaper.
- Versatility: You can adapt your DIY machine for various polishing tasks, from buffing to applying finishes.
- Skill Building: It’s a great project to practice basic construction and assembly skills, applicable to many other DIY endeavors.
- Efficiency: Polishing becomes faster and less physically demanding.
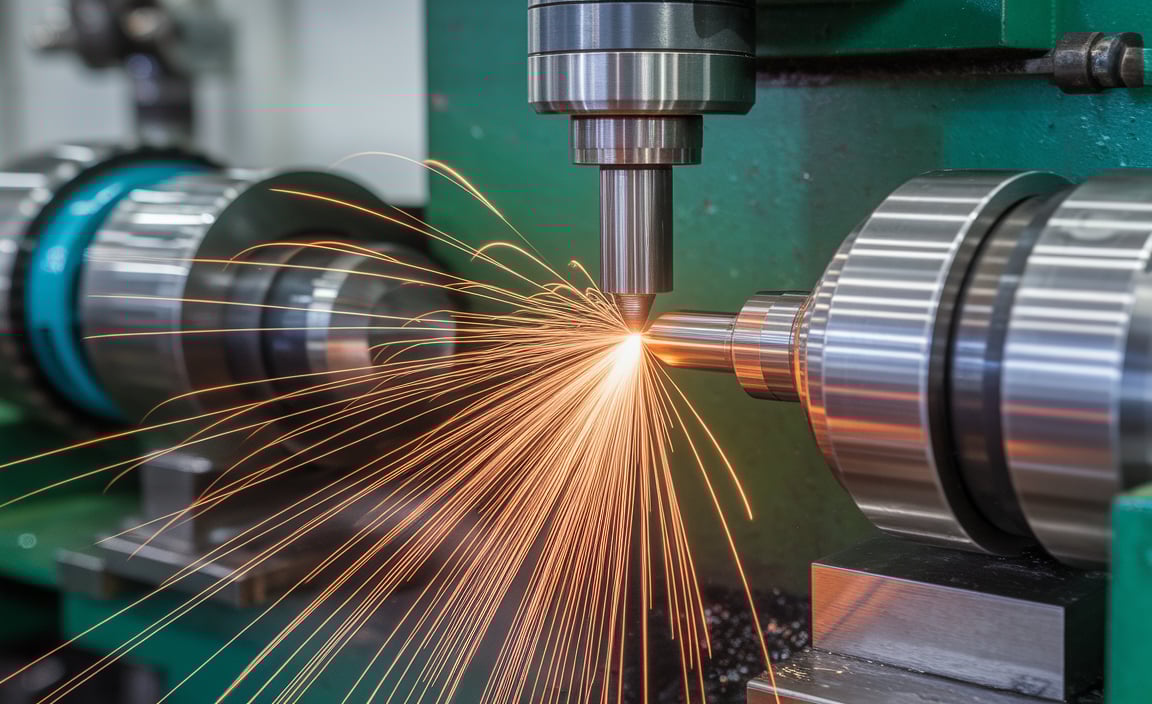
Understanding the Basics: How Polishing Works on a Lathe
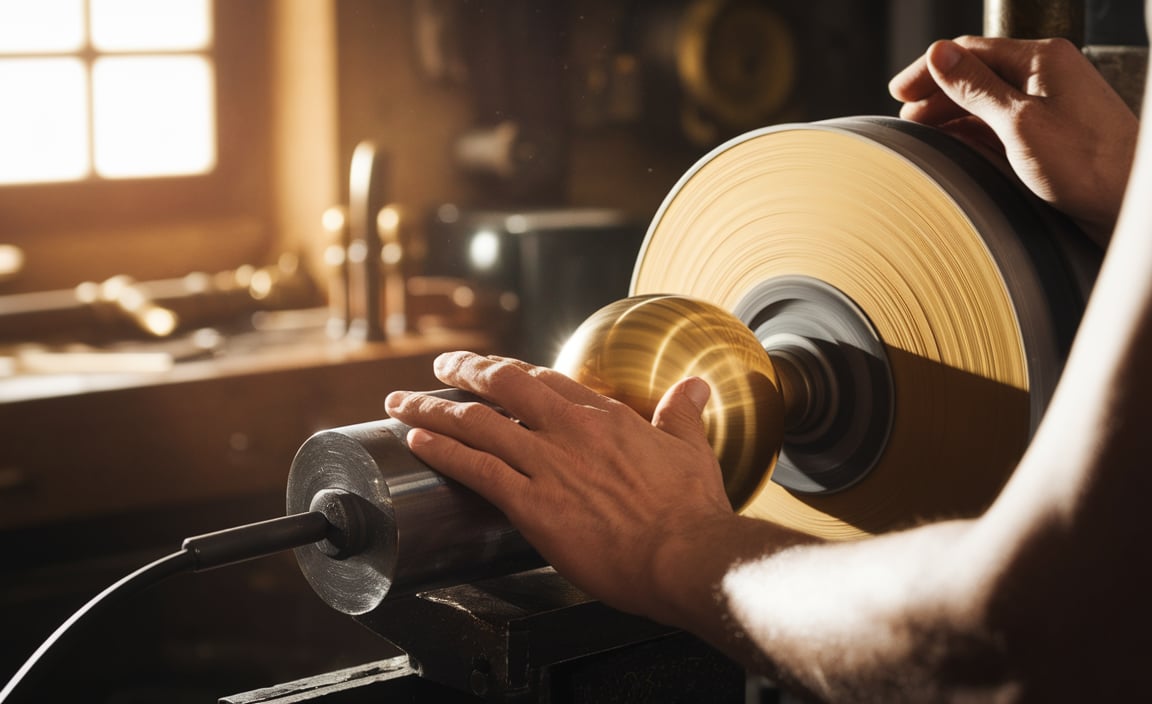
At its core, polishing on a lathe involves using abrasive compounds or buffing wheels to smooth out imperfections and create a high-gloss surface. Unlike sanding, which removes material by abrading it, polishing uses finer abrasives to burnish the surface, creating a reflective quality. The key is to use progressively finer materials and proper technique. Our DIY machine will facilitate this process by providing a stable platform and controlled speed for these finer finishing stages.
The speeds and types of abrasives are crucial. For wood, you’ll often use buffing wheels with polishing compounds. For metal, the process can be similar but may involve specialized buffs and rouges. Since we’re focusing on a mini wood lathe polishing machine, we’ll lean towards techniques and materials suitable for wood.
Essential Materials and Tools
Gathering your materials is the first step. Don’t be intimidated if you don’t have everything; many items can be sourced from hardware stores, online retailers, or even repurposed from other projects. Safety first is always my mantra, so ensure you have appropriate safety gear!
Materials List:
- Old or Small Motor: An old sewing machine motor (around 1/4 to 1/2 HP) or a similar-sized AC motor from an old appliance works well. Ensure it has a suitable RPM for polishing (higher RPM is generally better for buffing). Look for motors with a speed around 1725 RPM or higher.
- Pulley System:
- Motor Pulley: A small pulley that fits the motor shaft.
- Headstock Pulley: A larger pulley that will attach to the spindle holding your buffing wheel. The size difference creates the speed reduction or increase needed for effective polishing. Often, a DIY machine will aim to increase the relative speed at the buffing wheel compared to the motor speed by using a smaller motor pulley and a larger spindle pulley setup.
- V-Belt: To connect the two pulleys.
- Shaft or Spindle: A threaded rod or a dedicated spindle (like a 1/2″-10 or 5/8″-11 threaded rod is common for buffing wheels) long enough to accommodate buffing wheels and attach securely.
- Bearings (Optional but Recommended): Two pillow block bearings or flange bearings to support the shaft, reducing wobble and strain.
- Mounting Base: A sturdy piece of wood (like a 2×6 or plywood) or metal to mount the motor and shaft assembly.
- Tool Rest (Optional but Highly Recommended): A piece of metal or wood that can be positioned near the buffing wheel to support your workpiece.
- Buffing Wheels: Various types are available, such as
- Cotton buffs (for general polishing)
- Flannel buffs (for finer finishes)
- Sisal buffs (for cutting or initial polishing stages)
- Polishing Compounds: Specific compounds designed for wood, such as Tripoli, Aluminum Oxide, or Carnauba wax-based polishes.
- Hardware: Nuts, bolts, washers for mounting everything securely.
- Electrical Components:
- Power Cord with Plug
- Toggle Switch
- Wire Nuts or Terminal Block
- Electrical Wire (appropriate gauge for the motor)
Tools Needed:
- Drill and Drill Bits
- Screwdriver Set
- Wrench Set or Adjustable Wrench
- Measuring Tape or Ruler
- Safety Glasses
- Hearing Protection
- Work Gloves
- Jigsaw or Hand Saw (for cutting the base)
- Bench Grinder (Optional, for cleaning up parts)
- Files
For anyone serious about woodworking and wanting to learn more about tool safety and operation, the Wood Magazine’s safety essentials is an invaluable resource. It’s always best to over-prepare on safety!
Step-by-Step Guide to Building Your Polishing Machine
Let’s get building! This process is designed to be straightforward. Remember to take your time and double-check each step.
Step 1: Prepare the Motor and Pulleys
Ensure your motor is in good working order. If it’s a salvaged motor, test it carefully in a safe environment before integrating it. Attach the small motor pulley to the motor shaft according to the pulley manufacturer’s instructions. This usually involves set screws. Make sure it’s centered and securely fastened.
Step 2: Design and Cut the Base
Choose a sturdy base material, like a piece of 3/4-inch plywood or a solid wood plank. The size will depend on your motor and the desired stability. A base around 12×8 inches should be sufficient for a small setup. Cut your base to size using a jigsaw or hand saw. Mark where the motor will be mounted, ensuring there’s enough clearance for the belt and pulleys. Also, mark the positions for your shaft/spindle mount.
Step 3: Mount the Motor
Position the motor on the base. You might need to create a small cleat or use longer bolts to get it just right. Drill pilot holes and secure the motor to the base using bolts, nuts, and washers. Ensure the motor shaft is parallel to where the polishing shaft will be.
Step 4: Install the Shaft/Spindle and Bearings (If Used)
If you are using bearings, mount them onto the base first. Align them so the shaft will run parallel to the motor shaft. Then, insert your threaded rod or spindle through the bearings. If not using bearings, you’ll need to devise a sturdy mount for the shaft that allows it to spin freely. This could involve using a piece of pipe or specialized shaft hangers.
Ensure the shaft is long enough on one end to securely mount your buffing wheels and on the other end, you might need a way to prevent it from spinning (e.g., a locknut) or you might accept that it spins with a very low resistance when the motor is off, which is acceptable for many DIY setups.
On the end of the shaft that will hold the buffing wheels, attach the larger pulley. This pulley should be positioned so that the V-belt from the motor pulley will run smoothly between them. Secure this pulley to the shaft using appropriate nuts and washers. If your shaft is threaded, you’ll typically use a nut to hold the pulley against a shoulder or washer, and another nut (or two jammed together) to lock it in place.
Step 5: Connect the Pulleys with the Belt
Place the V-belt over both pulleys. You may need to adjust the position of the motor slightly to achieve proper belt tension. The belt shouldn’t be so tight that it strains the motor or bearings, nor so loose that it slips. A snug fit is ideal. The ratio of the pulley sizes will determine the rotation speed of your polishing shaft. A smaller motor pulley and a larger shaft pulley will increase the speed at the polishing wheel relative to the motor’s speed, which is usually what you want for effective buffing.
Step 6: Wire the Motor
This step requires basic electrical knowledge. If you’re not comfortable with wiring, consider getting help from someone who is.
- Connect the power cord to the toggle switch.
- Connect the toggle switch to the motor terminals.
- Ensure all connections are secure and insulated (use wire nuts or terminal blocks).
- Double-check wiring diagrams for your specific motor type if unsure.
Safety Note: Always ensure the power is unplugged before performing any wiring. If you are unsure about electrical work, consult a qualified electrician. You can find helpful diagrams for simple motor wiring online through resources like electricians’ forums or electronics hobby sites.
Step 7: Install the Tool Rest (Optional but Recommended)
A tool rest is crucial for safety and control when polishing. Position a sturdy piece of metal or wood on the base, close to the buffing wheel. It should extend out enough to support your workpiece. You can mount it permanently or use a bracket system that allows for adjustment. Ensure it’s at a height that allows your workpiece to contact the buffing wheel without excessive force, and that it directs any dust or debris away from you.
Step 8: Attach Buffing Wheels and Polishing Compound
Select your buffing wheels. Typically, you’ll start with a firmer wheel (like sisal or a stitched cotton buff) with a cutting compound, followed by softer wheels (like flannel or loose cotton buffs) with finer polishing compounds. Mount the wheels onto the threaded shaft. They are usually held on by a nut. Ensure they are securely attached but don’t overtighten to the point of damaging the buffing wheel fabric.
To apply the polishing compound, spin the wheel and gently press the compound stick against the surface of the rotating wheel. A little goes a long way! You’ll want to “load” the wheel rather than just smear it on.
Using Your DIY Polishing Machine Safely and Effectively
Now for the fun part! Using your new tool correctly will give you the best results and keep you safe.
Safety First!
- Wear Safety Glasses: Always, always wear them. Buffing can send small particles flying.
- Hearing Protection: Motors can be noisy.
- Gloves: Protect your hands from compounds and buffing wheels.
- Dust Mask: Polishing creates fine dust.
- Secure Your Workpiece: Ensure your workpiece is firmly held. Never try to polish a freehand piece.
- Keep Hands Away from Rotating Parts: This is paramount.
- No Loose Clothing or Jewelry: Anything that can get caught.
- Proper Ventilation: Ensure you are in a well-ventilated area.
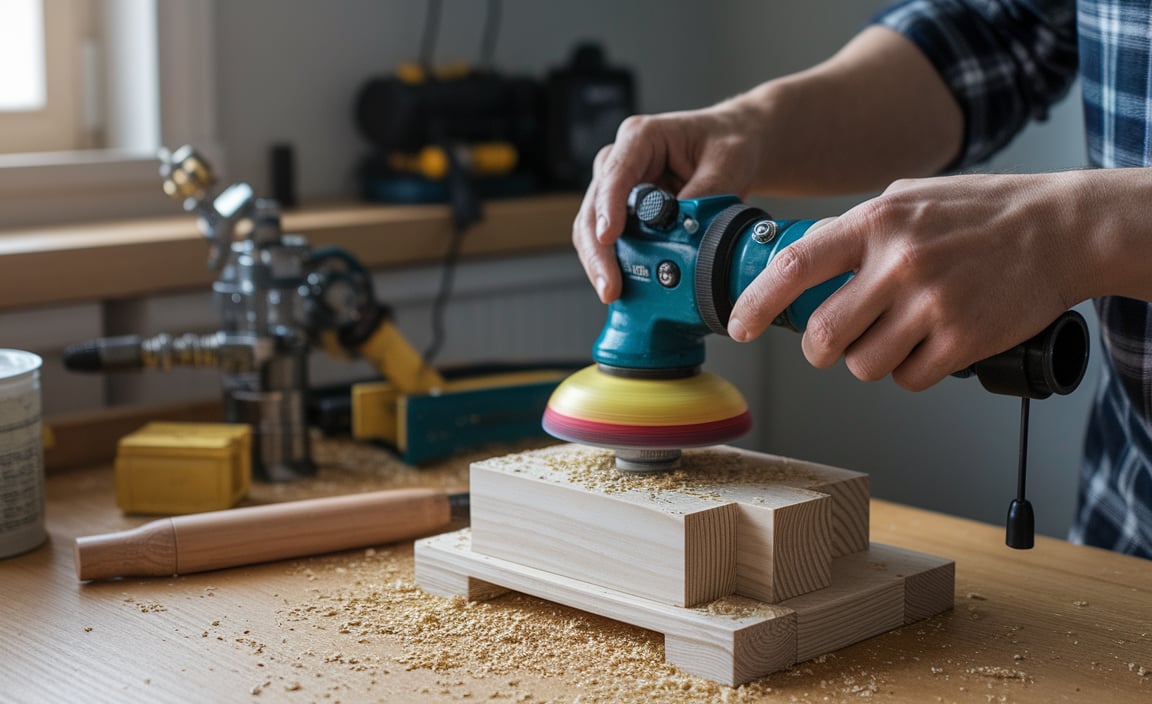
Polishing Technique for Wood
The goal is to move the wood across the buffing wheel, letting the wheel do the work.
- Start with a Clean Surface: Ensure your workpiece is sanded to at least 220 or 320 grit. Any imperfections left from sanding will show up after polishing.
- Load the Buffing Wheel: Spin the wheel and apply your first compound (e.g., Tripoli) to it.
- Engage the Workpiece: Hold your workpiece firmly against the rotating wheel. Use the tool rest to support it. Move the workpiece back and forth and rotate it slightly across the face of the buffing wheel. Don’t force it; let the compound and wheel abrade and smooth the surface.
- Inspect and Repeat: Check your progress. You should see a smoother surface emerging.
- Switch to Finer Compounds/Wheels: Once you have a good initial polish, switch to a softer wheel and a finer polishing compound (e.g., a final glaze or a paste wax compound). Repeat the process, using lighter pressure.
- Final Polish: A clean, soft flannel wheel can be used for a final buff to really bring out the shine. You can often “burnish” with this wheel, using very light pressure.
Many woodworkers find excellent tips on finishing techniques from resources like Popular Mechanics, which often covers DIY jig building and finishing.
Troubleshooting Common Issues
Even with a DIY project, things can go wrong. Here are a few common issues and how to fix them:
| Problem | Possible Cause | Solution |
|---|---|---|
| Excessive Vibration or Wobble | Unbalanced pulleys, loose bearings, bent shaft, or improperly mounted motor. | Ensure pulleys are balanced and firmly attached. Check and tighten bearing mounts. Straighten or replace the shaft if bent. Verify motor mounts are secure. |
| Belt Slipping | Loose belt tension, worn belt, or pulleys not aligned. | Adjust motor position to tighten the belt. Inspect belt for wear and replace if necessary. Ensure pulleys are perfectly aligned. |
| Motor Overheating | Motor is too small for the load, poor ventilation, or bearings are seized. | Use the machine for shorter durations. Ensure motor has adequate airflow. Check and lubricate or replace bearings. Consider a more powerful motor. |
| Poor Polishing Finish | Incorrect or low-quality polishing compound, wrong buffing wheel, work too hot, or insufficient sanding prep. | Use appropriate, fresh polishing compounds for wood. Experiment with different buffing wheels. Keep workpiece moving to avoid overheating. Ensure workpiece is sanded to a high grit before polishing. |
| Workpiece Getting Stuck/Pulled | Too much pressure, tool rest not positioned correctly, or wheel spinning too fast. | Use lighter pressure. Adjust tool rest to provide proper support and angle. Ensure rotational speed is appropriate for the material and compound. |
When to Upgrade: Knowing the Limits of a DIY System
Your DIY mini wood lathe polishing machine is fantastic for getting started and achieving great results. However, as your skills and demands grow, you might consider upgrading to a larger, purpose-built machine. Here’s when that might be the case:
- Heavier Workpieces: If you start turning larger pieces, your small motor might struggle, or your base might not be stable enough.
- More Variety of Materials: If you branch out into polishing harder materials or metals, a dedicated machine will offer better speed control and power.
- Increased Frequency of Use: For professional use or very frequent hobbyist use, a commercial-grade machine will be more durable.
- Specialized Tasks: Some machines come with specific attachments for tasks like buffing plastics or very fine detailing, which can be hard to replicate with a DIY setup.
For a good overview of polishing wheels and compounds, the Rockler Woodworking and Hardware website often has excellent guides explaining the nuances of different polishing materials and their applications.
Frequently Asked Questions (FAQ)
Q1: What kind of motor is best for a DIY polishing machine?
A1: A motor between 1/4 to 1/2 horsepower (HP) is generally suitable for a mini wood lathe polishing setup. AC motors, like those found in old sewing machines, can work well if they have a decent RPM. Higher RPM is generally better for buffing.
Q2: How fast should the buffing wheel spin?
A2: For wood, a surface speed between 2,000 to 4,000 surface feet per minute (SFPM) is often recommended. The actual RPM of your wheel will depend on its diameter