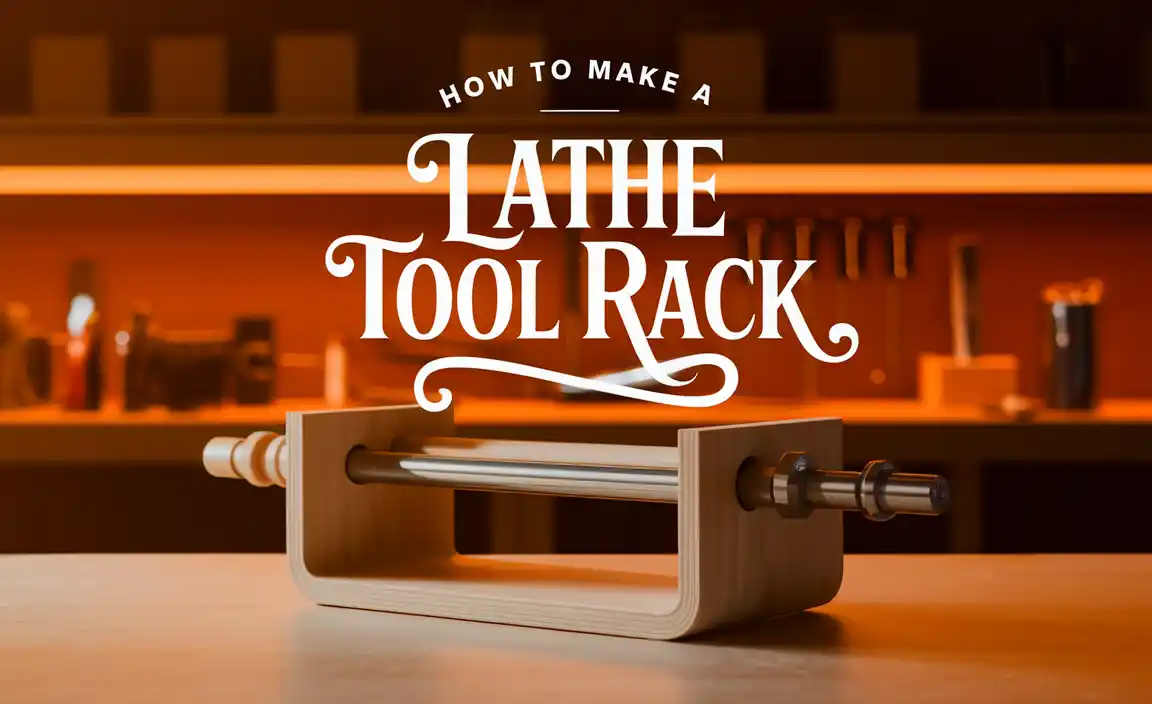
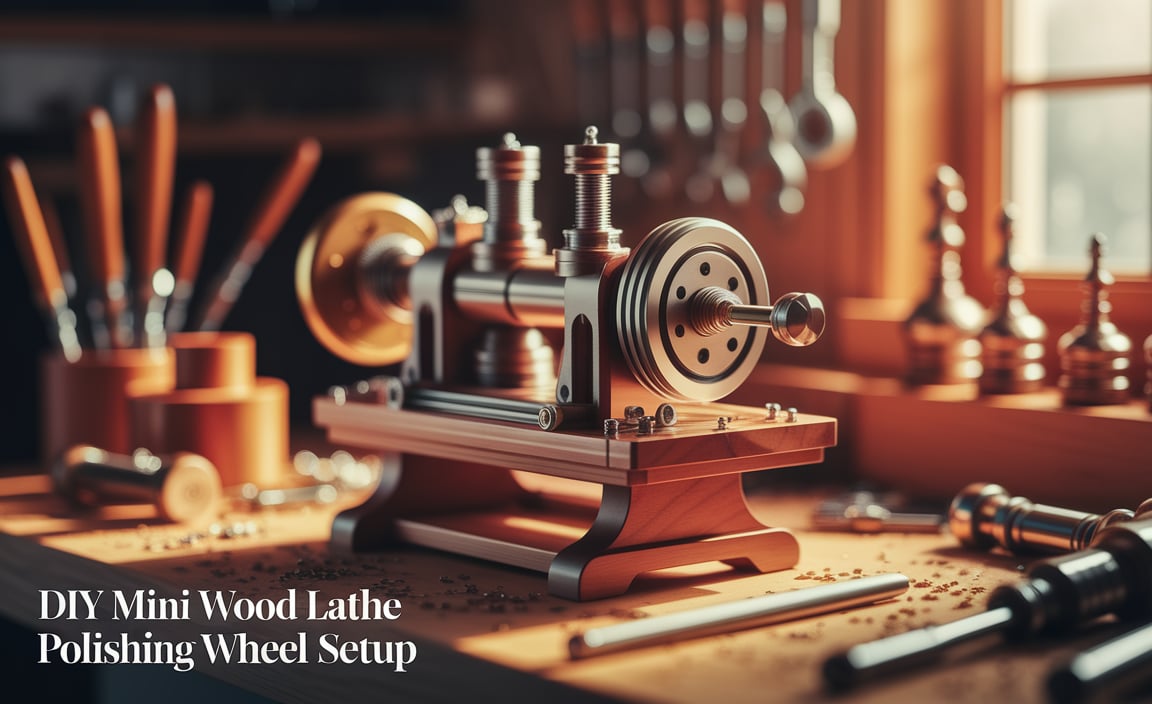
Can you build a DIY mini wood lathe polishing wheel setup? Yes! This guide shows beginners how to easily attach a polishing wheel to your mini wood lathe for a professional finish on your projects. We’ll cover essential tools, simple steps, and safety tips to get you there.
Finishing your turned projects often means achieving that smooth, polished look. While many mini wood lathes are fantastic for shaping, attaching a dedicated polishing wheel setup can transform your results. If you’ve ever struggled to get that showroom shine, you’re not alone. Sometimes, commercial polishing attachments can be pricey or don’t quite fit your specific lathe. That’s where a DIY approach shines!
Don’t worry if you’re new to this. This guide breaks down exactly how to build a simple yet effective polishing wheel setup for your mini wood lathe. We’ll go step-by-step, making it easy to understand and implement. Get ready to give your creations the perfect final touch!
Why a DIY Polishing Wheel Setup for Your Mini Wood Lathe?
Adding a polishing wheel to your miniature wood lathe might seem like a luxury, but it’s a practical upgrade for anyone serious about their craft. Commercial polishing kits can work well, but they often come with a hefty price tag or might not be compatible with every mini lathe model. Building your own setup gives you a custom solution that fits your budget and your tools.
Beyond cost savings, a DIY setup allows you to tailor the polishing wheel size, material, and speed to your specific needs. Whether you’re working with delicate small spindles or larger bowl projects on a mini lathe, you can create a system that performs optimally. It also provides a fantastic learning opportunity for understanding your lathe’s capabilities and how different accessories can enhance its function.
Benefits of a DIY System:
- Cost-Effective: Significantly cheaper than purchasing a pre-made polishing setup.
- Customizable: Tailor the wheel type, size, and mounting method to your lathe and projects.
- Learning Opportunity: Gain hands-on experience with lathe accessories and fine-tuning.
- Improved Finishes: Achieve a professional, high-gloss finish on woodturning projects.
- Versatility: Can be adapted for various materials and project sizes suitable for mini lathes.
Essential Components for Your DIY Setup
Setting up a polishing wheel on your mini wood lathe requires a few key parts. The goal is to securely attach a suitable wheel to your lathe’s headstock spindle so it spins at a controlled speed. Here’s what you’ll likely need:
The Polishing Wheel
This is your primary tool for buffing. Several types are available, each suited for different stages of polishing and materials.
- Spindle Wheels: These are designed to fit directly onto a threaded spindle or a special mandrel. Flannel, cotton, or felt wheels are common for wood. For metal polishing, you might look at firmer buffing wheels.
- Buffing Wheels: Often made of layered cloth, they come in various densities for cutting, coloring, and finishing.
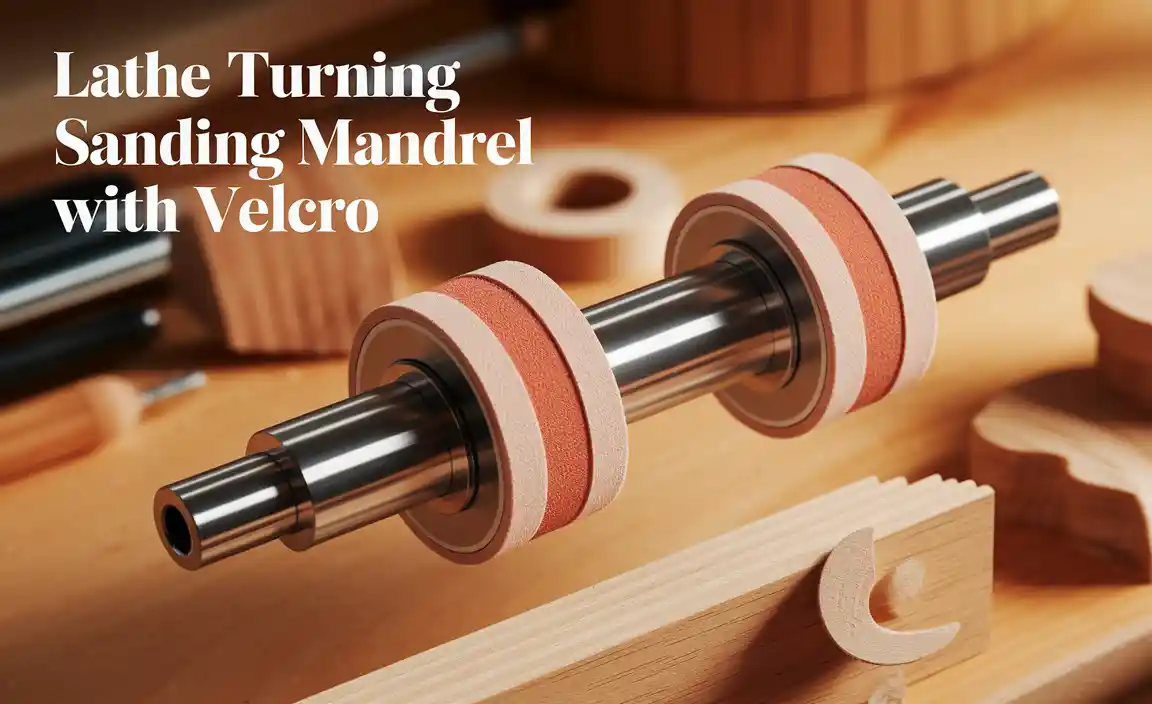
- Sanding/Finishing Discs with Adapters: Some systems use hook-and-loop discs on a backing pad, which can be adapted to a lathe.
For most mini wood lathes, a spindle wheel is the easiest to adapt. Look for wheels with a center hole that matches your lathe’s spindle thread or can be adapted with a special threaded mandrel.
Mounting Hardware
This is how you’ll connect the wheel to your lathe’s drive spindle. The most common solution for DIY setups is a lathe spindle mandrel.
- Mandrel: This is a shaft that screws into your lathe’s headstock spindle. It typically has a threaded end to accept the polishing wheel and a portion that grips the wheel’s center bore. Mandrels often have a small flange to help center the wheel, and some rely on compression against a washer or the lathe faceplate.
- Washers and Nuts: Depending on your mandrel and wheel, you might need specific washers (flat, lock, or cone washers) and nuts to secure the wheel tightly onto the mandrel.
The crucial part here is matching the mandrel’s threads to your lathe’s headstock spindle thread. Common mini wood lathe spindle sizes are 1″ x 8 TPI (Threads Per Inch) or M33 x 3.5mm. Always check your lathe’s specifications!
Polishing Compounds
You need something to make the polishing happen! These are abrasive pastes or waxes applied to the spinning wheel.
- Coarse Compounds: For initial smoothing and removing minor imperfections.
- Medium Compounds: For general buffing and removing slight hazing.
- Fine/Finishing Compounds: For achieving a high-gloss, mirror-like finish.
Specialty wood polishing compounds are available, often in bar or paste form. Examples include Tripoli, White Diamond, and Carnauba wax-based polishes.
Safety Gear
This is NON-NEGOTIABLE for any workshop activity, especially with spinning tools!
- Safety Glasses: Always wear them—no exceptions. Small particles can fly off.
- Dust Mask or Respirator: Protect your lungs from fine dust and compound particles.
- Hearing Protection: Lathes can be noisy.
- No Loose Clothing or Jewelry: These can get caught in moving parts.
Choosing the Right Spindle Mandrel
The spindle mandrel is the bridge between your lathe and your polishing wheel. Selecting the correct one is key to a safe and functional setup.
Key Considerations for Mandrels:
- Thread Size: This is the most critical factor. It MUST match your lathe’s headstock spindle thread. If your lathe has a 1″ x 8 TPI spindle, you need a mandrel with 1″ x 8 TPI threading on one end. For metric lathes, common sizes include M33 x 3.5mm. Always double-check your lathe’s manual or measure the spindle thread. If you’re unsure, contact your lathe manufacturer or a local machinist.
- Shaft Diameter: The body of the mandrel needs to accommodate the mounting hole of your polishing wheel. Most mandrels are designed for standard wheel hub sizes used in metalworking or polishing.
- Flange/Washer: Some mandrels have a built-in flange to help seat the wheel. Others rely on a separate washer or nut for securing.
- Material: High-quality steel is standard for mandrels, ensuring durability and strength.
Where to Find Lathe Mandrels:
You can find these specialized mandrels at:
- Woodworking Tool Suppliers: Companies like Grizzly Industrial, Jet, and Woodcraft often carry them.
- Metalworking Supply Stores: Even if you’re primarily a woodworker, these stores can be a good source.
- Online Marketplaces: Amazon, eBay, and specialized online tool shops.
When searching, use terms like “lathe spindle mandrel,” “polishing wheel mandrel,” or “buffing wheel arbor” along with your lathe’s spindle thread size (e.g., “1 x 8 TPI mandrel”).
Step-by-Step: Assembling Your DIY Polishing Wheel Setup
Now, let’s get your polishing setup ready to go. This process is straightforward and focuses on secure attachment.
Step 1: Ensure Lathe is Powered Off and Safe
Before you do anything, make absolutely sure your mini wood lathe is unplugged and turned off. Safety is paramount. Engage the brake if your lathe has one, and ensure the spindle is locked or prevented from turning accidentally.
Step 2: Remove Existing Faceplate or Spur Center
Unscrew whatever is currently attached to your headstock spindle. Most often, this will be a faceplate, a spur drive center, or a live center. Turn it counter-clockwise. It might be tight, so a spanner wrench or a block of wood to gently tap it might be helpful.
Step 3: Screw the Mandrel into the Headstock Spindle
Take your chosen spindle mandrel and locate the threaded end. Carefully thread it into the headstock spindle by turning it clockwise. Hand-tighten it firmly. Ensure it’s screwed in all the way. Once seated, give it a gentle snug with a wrench if needed, but do not overtighten. Over-tightening can damage your spindle threads.
Step 4: Prepare the Polishing Wheel
If your polishing wheel has a metal hub with a center hole, ensure this hole is clear of any debris. If the hole is slightly larger than the mandrel shaft, you might need to use a washer or a specific adapter sleeve provided with the wheel or mandrel to ensure a snug fit. For many small buffing wheels, the hole is designed to be a press-fit onto the mandrel shaft.
Step 5: Mount the Polishing Wheel onto the Mandrel
This can vary slightly depending on your mandrel and wheel design.
- Press-Fit: If the wheel’s center hole is a snug fit for the mandrel shaft, you’ll simply press the wheel onto the mandrel. It might require a bit of force.
- Threaded Mandrel Ends: Some mandrels have a threaded section and a nut. In this case, you’ll slide the wheel onto the mandrel shaft, possibly with a washer, and then thread a nut onto the end of the mandrel to secure the wheel. This is common for larger buffing wheels.
- Compression: Some mandrels rely on a nut that compresses a flange or washer against the wheel, which in turn tightens against the mandrel shaft.
Whatever the method, the wheel MUST be mounted securely. It should not wobble or move independently of the mandrel. Ensure the wheel is centered as much as possible on the mandrel.
Step 6: Tighten and Verify
If you used a nut, tighten it securely. If it’s a press-fit, ensure the wheel is seated fully. Spin the wheel gently by hand to check for any wobbles or imbalance. A slight wobble is sometimes unavoidable with DIY setups, but a pronounced wobble indicates a problem. Make sure the wheel is spinning true with the mandrel and that everything is tight.
Step 7: (Optional) Mount a Second Mandrel for Sanding/Finishing Discs
Some woodworkers prefer to use a separate mandrel for sanding discs or specialized finishing pads. This often involves a mandrel with a threaded stud that accepts hook-and-loop backing pads. The process is similar: screw the mandrel in, attach the backing pad, and then attach your chosen abrasive or foam finishing disc.
Using Your DIY Polishing Setup Safely and Effectively
You’ve built it – now let’s use it wisely. Polishing on a lathe involves centrifugal force and fine particles, so safety and technique are crucial.
Polishing Techniques for Wood
The general principle is to let the wheel do the work. You’ll apply the turning piece to the spinning wheel.
- Compound Application: First, apply your chosen polishing compound to the stationary wheel. Gently touch the compound bar or paste to the face of the wheel while it’s at a low to medium speed. Don’t overload it. The wheel should have a light coating.
- Turning Speed: Start at a slower speed for your lathe. For polishing, you usually don’t need the maximum speed. Too fast can generate excessive heat or cause the compound to fly off. Speeds between 500-1500 RPM are often sufficient, but consult your compound and wheel recommendations.
- Applying the Workpiece: Hold the turned piece lightly against the face of the spinning wheel. Move the workpiece gently across the face of the wheel to ensure even contact. Don’t force it, and don’t hold it in one spot for too long, as this can build up heat and create an uneven finish or mark the wood.
- Working Through Compounds: Start with a coarser compound to remove any minor tool marks or haze. Then, clean the workpiece and change to a finer compound for a higher gloss. Repeat the process with progressively finer compounds.
- Cleaning: Clean your workpiece thoroughly between compounds. A tack cloth or a clean, dry cloth works well. Also, clean the polishing wheel periodically if it becomes loaded with debris or compound buildup.
Essential Safety Reminders
This bears repeating. Always prioritize safety.
- Eye Protection: Always wear safety glasses. Particle deflection is common.
- Respiratory Protection: Use a dust mask or respirator to avoid inhaling fine dust and compound particles.
- Check for Balance: Before turning on the lathe, give the wheel a spin by hand. If it’s very unbalanced, it could cause excessive vibration or even fly apart at speed. Securely mounted wheels should be relatively stable.
- Secure Mounting: Double-check that your mandrel and wheel are still tight before each use. Vibrations can sometimes loosen things over time.
- Beware of Heat: Polishing can generate heat, especially if you apply too much pressure or hold the workpiece on the wheel for too long. This can scorch wood or affect finishes. Keep the contact light and steady.
- Lathe Speed: Never operate the polishing wheel at speeds exceeding the recommendations for the wheel itself or your lathe’s capability.
Troubleshooting Common Issues
Even with a DIY setup, you might encounter a few hiccups. Here’s how to address them.
Wobbly Wheel
Cause: Imbalanced wheel, loose mounting, or the mandrel isn’t running true.
Solution:
- Ensure the wheel is centered on the mandrel.
- Check that all mounting nuts and washers are tight.
- If the wheel itself is warped or damaged, it may need replacing.
- Verify that the mandrel is fully and squarely seated in the headstock spindle. A slight wobble might be acceptable for polishing if it’s minor, but significant wobble means it needs fixing.
Compound Not Adhering or Flying Off
Cause: Wheel is too clean, too much speed, or wrong compound for the wheel.
Solution:
- Ensure the wheel has a light, even coating of compound.
- Reduce lathe speed.
- Try a different type of compound that is known to work well with your wheel material (e.g., some compounds are designed for specific cloth densities).
Scorching or Uneven Finish
Cause: Too much pressure, holding workpiece in one spot, or too much heat buildup.
Solution:
- Apply less pressure. Let the wheel do the work.
- Keep the workpiece moving across the face of the wheel.
- Allow the workpiece to cool if it feels warm.
- Ensure your lathe speed isn’t excessively high.
Mandrel Won’t Screw In Properly
Cause: Wrong thread size or damaged threads on spindle or mandrel.
Solution:
- Crucially, verify you have the correct thread size for your lathe’s spindle.
- Inspect both the spindle and mandrel threads for damage. Clean them gently with a wire brush if they’re dirty, but avoid forcing a damaged thread. If threads are damaged, you may need professional help or replacement parts.
Table: Polishing Compounds and Their Uses
| Compound Type | Primary Use | Appearance | Best For |
|---|---|---|---|
| Tripoli | Cutting and removing minor scratches/hazes | Brownish | Initial smoothing, general buffing |
| White Diamond | Coloring and medium-fine finishing | White/Off-white | Removing Tripoli marks, preparing for final polish |
| Carnauba-Based (e.g., Jewelers Rouge, colored pastes) | High-gloss finishing, maximum shine | Red, pink, blue, etc. | Achieving mirror-like finishes |
| General Wood Polishes (e.g., Fusion, Friction Polish) | Fast finish, often applied directly to wood | Varies | Quick shine, often used instead of traditional buffing compounds |
Note: Always test compounds on a scrap piece of wood to understand their effect and the best application method.
Extending Your Setup: Other Finishing Options
A polishing wheel is fantastic, but your mini lathe can handle other finishing techniques too. Exploring these can add even more versatility to your workshop.
Sanding on the Lathe
Using sandpaper on the lathe, often with a foam or rubber sanding drum on a mandrel, is a classic method. You can advance through grits from coarse to very fine (up to 4