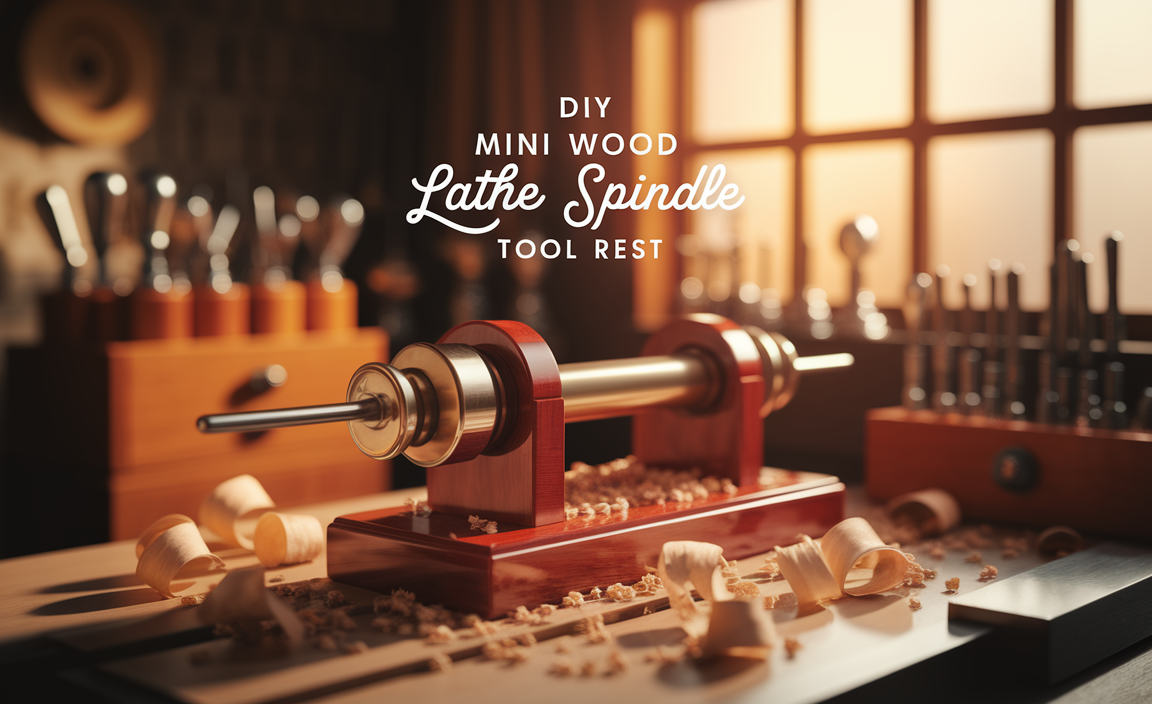
<strong>Build your own mini wood lathe spindle tool rest! This guide simplifies the process, giving you a custom, sturdy tool rest perfect for small turning projects and improving your control and safety. Get ready to enhance your mini lathe experience with this achievable DIY project.</strong>
<p>Ever found yourself wishing your mini wood lathe had a super handy tool rest that fits just right, especially for those smaller, trickier spindle turning jobs? Many beginners run into this. The standard rests can sometimes feel a bit cumbersome for mini lathes, making it harder to get that smooth, controlled cut. This can lead to frustration, less-than-perfect results, and even a bit of wobbly turning! But don’t worry, solving this is simpler than you might think. Imagine having a custom-made tool rest that’s perfectly sized and shaped for your mini lathe, giving you better support and confidence. We’ll walk through exactly how to make one yourself, step-by-step. Let’s get your mini lathe set up for success!</p>
<h2>Why a DIY Spindle Tool Rest is a Game-Changer for Your Mini Lathe</h2>
<p>As you dive into the world of mini wood lathes, you’ll quickly discover that the right accessories can make a huge difference. The spindle tool rest is a prime example. While off-the-shelf options exist, crafting your own offers several fantastic benefits especially tailored for smaller lathes and spindle work.</p>
<h3>Benefits of a Custom Spindle Tool Rest</h3>
<ul>
<li><strong>Perfect Fit:</strong> You can design it to perfectly match the radius of your mini lathe’s ways (the bed or rails the tool rest slides on) and the specific distances you need for spindle turning. No more resting on points that don’t quite line up!</li>
<li><strong>Optimized for Spindle Turning:</strong> Spindle turners often need a tool rest that’s a bit closer to the workpiece for better control. A DIY rest lets you achieve the ideal clearance for gouges and skew chisels used on spindles.</li>
<li><strong>Enhanced Stability and Safety:</strong> A well-made rest provides a solid platform for your tools. This reduces chatter, improves cut quality, and, most importantly, increases safety by minimizing the chance of your tool digging in unexpectedly.</li>
<li><strong>Cost-Effective:</strong> Sometimes, specialized rests can be pricey. Building your own can be a much more budget-friendly option, especially if you have some scrap metal or wood on hand.</li>
<li><strong>Learning Experience:</strong> It’s a fantastic project to hone your metalworking or woodworking skills. You’ll learn about basic fabrication, fitting, and finishing that can be applied to many other workshop projects.</li>
</ul>
<h2>Understanding the Parts of a Spindle Tool Rest</h2>
<p>Before we start building, let’s break down the essential components of a typical spindle tool rest. Knowing these parts will help you understand the design and how to put yours together.</p>
<h3>Key Components</h3>
<ul>
<li><strong>Tool Rest Surface:</strong> This is the part where your cutting tool actually rests. It needs to be smooth, flat, and strong enough to handle the forces during turning. For spindle turning, this is often a narrower, more accessible surface.</li>
<li><strong>Post (or Stem):</strong> This is the vertical shaft that inserts into your lathe’s tool rest banjo or holder. It needs to be the correct diameter to fit snugly and securely. For mini lathes, this is often around 5/8″ or 3/4″ (approx. 16mm to 19mm).</li>
<li><strong>Base (Optional but Recommended):</strong> Some designs have a wider base attached to the post for added stability or to provide different mounting options if you’re not using a standard banjo.</li>
<li><strong>Locking Mechanism (Part of the Lathe):</strong> While not part of the DIY rest itself, your lathe’s banjo will have a knob or lever to lock the rest in place. This is crucial for safety – always ensure it’s tightened!</li>
</ul>
<h2>Materials and Tools You’ll Need</h2>
<p>Gathering your materials and tools beforehand makes the entire DIY process smoother and more enjoyable. We’ll explore options for both metal and wood rests, as both can be excellent choices depending on your lathe and preferences.</p>
<h3>For a Metal Tool Rest (More Durable and Precise)</h3>
<p>Metal rests offer superior durability and a very smooth surface for your tools. Steel or aluminum are great choices.</p>
<h4>Materials:</h4>
<ul>
<li><strong>Steel Tubing or Rod:</strong> For the post (e.g., 5/8″ or 3/4″ diameter cold-rolled steel round bar or thick-walled tubing). Ensure it’s the correct size for your banjo.</li>
<li><strong>Steel or Aluminum Plate:</strong> For the tool rest surface (e.g., 1/8″ to 1/4″ thick). A piece roughly 4″ x 2″ (10cm x 5cm) is a good starting point.</li>
<li><strong>Optional:</strong> A small piece of steel for a reinforcing bracket if needed.</li>
</ul>
<h4>Tools:</h4>
<ul>
<li><strong>Metal Cutting Saw:</strong> Bandsaw, chop saw with metal blade, or even a hacksaw (for smaller pieces).</li>
<li><strong>Drill Press or Hand Drill:</strong> With metal drill bits.</li>
<li><strong>Welder (MIG, TIG, or Stick):</strong> If you’re comfortable with welding. This offers the strongest and most integrated approach.</li>
<li><strong>Angle Grinder:</strong> With cutting and grinding discs for shaping and smoothing.</li>
<li><strong>Metal File Set:</strong> Various shapes and sizes for refining edges.</li>
<li><strong>Measuring Tools:</strong> Tape measure, ruler, calipers for precision.</li>
<li><strong>Clamps:</strong> For holding pieces securely during welding or drilling.</li>
<li><strong>Optional (if no welding):</strong> Bolts, nuts, and potentially a tap and die set for threaded connections.</li>
<li><strong>Safety Gear:</strong> Safety glasses, hearing protection, gloves, and a welding mask if applicable.</li>
</ul>
<h3>For a Wood Tool Rest (Easier to Fabricate, Good for Lighter Duty)</h4>
<p>Wood rests are quicker to make and can be perfectly functional, especially for smaller, lighter projects. Hardwoods are recommended for durability.</p>
<h4>Materials:</h4>
<ul>
<li><strong>Hardwood:</strong> A piece of dense hardwood like maple, oak, or walnut. A block around 4″ x 2″ x 1″ (10cm x 5cm x 2.5cm) is a good start for the rest surface.</li>
<li><strong>Dowel Rod or Hardwood Spigot:</strong> For the post. Ensure it’s the correct diameter to fit your banjo. A 5/8″ or 3/4″ diameter dowel is common.</li>
<li><strong>Wood Glue:</strong> A good quality PVA wood glue.</li>
<li><strong>Sandpaper:</strong> Various grits from coarse to very fine (e.g., 80, 120, 220, 400 grit).</li>
<li><strong>Finish:</strong> Danish oil, lacquer, or beeswax polish.</li>
</ul>
<h4>Tools:</h4>
<ul>
<li><strong>Saw:</strong> Handsaw, bandsaw, or table saw for cutting wood to size.</li>
<li><strong>Drill and Drill Bits:</strong> Including a bit sized for your dowel rod, and potentially a Forstner bit for a cleaner socket.</li>
<li><strong>Block Plane or Spokeshave:</strong> For shaping the rest surface, or use sandpaper and sanding blocks.</li>
<li><strong>Rasp or File:</strong> For rough shaping.</li>
<li><strong>Measuring Tools:</strong> Tape measure, ruler.</li>
<li><strong>Clamps:</strong> For gluing.</li>
<li><strong>Safety Gear:</strong> Safety glasses, dust mask.</li>
</ul>
<h2>Step-by-Step Guide: Building Your DIY Spindle Tool Rest</h2>
<p>Now that you have your materials and tools, let’s get to work! We’ll break this down into manageable steps. We’ll cover a common approach using welding for metal, and a straightforward glue-and-dowel method for wood. Choose the method that best suits your skills and available resources.</p>
<h3>Option 1: The Welded Metal Spindle Tool Rest</h3>
<p>This method results in a very strong and durable tool rest. It assumes you have basic welding skills and equipment. Always prioritize safety when welding.</p>
<h4>Step 1: Prepare Your Materials</h4>
<ol>
<li><strong>Cut the Post:</strong> Cut your steel rod or tubing to the desired length for the post. A common length is 3-5 inches (7-12 cm), depending on how high you want the rest. Ensure the cut is square.</li>
<li><strong>Cut the Rest Surface:</strong> Cut your steel or aluminum plate to the desired size for the rest. A common size is about 4 inches long by 2 inches wide (10cm x 5cm). One edge will be the working surface for your tools.</li>
<li><strong>Clean All Surfaces:</strong> Thoroughly clean all cut edges and areas where welding will occur. Remove any rust, paint, or grease. This is vital for good weld penetration.</li>
</ol>
<h4>Step 2: Shape the Rest Surface</h4>
<ol>
<li><strong>Create the Working Edge:</strong> Using an angle grinder with a flap disc or grinding wheel, carefully grind one of the long edges of your plate to a slight radius or bevel. This will be the edge your tools rest on. Aim for a smooth, consistent curve, about 1/8″ to 3/16″ (3-5mm) radius. Check with your lathe tool for fit.</li>
<li><strong>Smooth All Edges:</strong> Use the angle grinder and/or files to deburr and slightly round over all sharp edges on the plate and post for safety and a cleaner finish.</li>
</ol>
<h4>Step 3: Weld the Post to the Rest Surface</h4>
<ol>
<li><strong>Position the Post:</strong> Place the prepared post perpendicularly to the underside of the rest surface plate. Typically, you’ll center it or offset it slightly depending on your desired ergonomics. Ensure it’s exactly 90 degrees.</li>
<li><strong>Tack Weld:</strong> Clamp the post securely in place. Make a few small tack welds to hold it in position. This allows you to check alignment before committing.</li>
<li><strong>Full Weld:</strong> Once satisfied with the alignment, proceed with welding the post to the plate. Weld all around the joint for maximum strength. If you’re not welding, you could drill and tap holes to bolt them together, but this is less robust.</li>
</ol>
<h4>Step 4: Finishing Touches</h4>
<ol>
<li><strong>Grind and Smooth:</strong> After welding, use your angle grinder and files to clean up the welds. Smooth the entire rest surface, especially the working edge, until it’s perfectly smooth. A progression of sandpaper grits on the angle grinder or orbital sander can achieve a mirror finish.</li>
<li><strong>Clean and Protect:</strong> Thoroughly clean the rest to remove all metal dust. You can apply a clear coat or a light oil to prevent rust, especially on steel.</li>
</ol>
<h3>Option 2: The Wood Spindle Tool Rest</h3>
<p>This is a great entry-level project. It’s faster and requires fewer specialized tools than metalworking.</p>
<h4>Step 1: Prepare Your Wood Pieces</h4>
<ol>
<li><strong>Cut the Rest Surface Block:</strong> Cut your hardwood block to the desired size for the rest surface. A common size might be 4 inches long by 2 inches wide and 1 inch thick (10cm x 5cm x 2.5cm).</li>
<li><strong>Cut the Post Dowel:</strong> Cut your hardwood dowel or spigot to the appropriate length for the post. This usually needs to be long enough to insert securely into