Quick Summary:
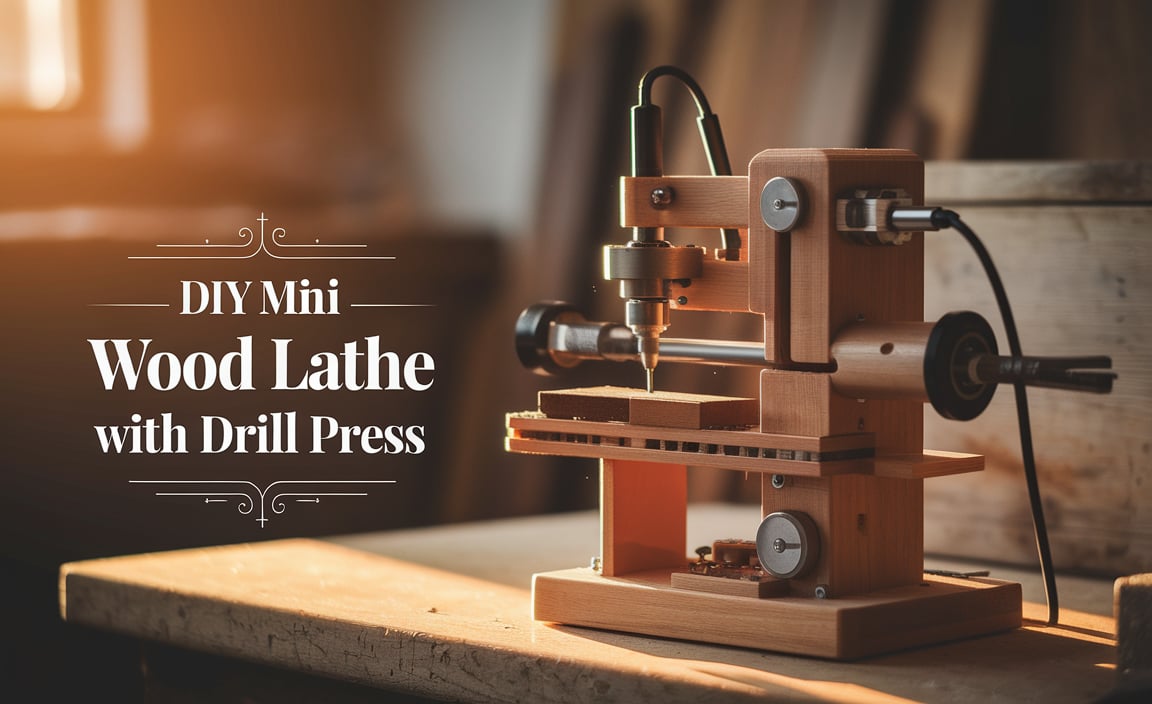
Build a custom DIY tool holder for your wood lathe workshop for efficient, organized, and safe storage. This guide offers genius, beginner-friendly ideas to keep your essential tools accessible and your workspace tidy.
Tired of rummaging through drawers or digging through tool chests to find the right gouge or scraper when you’re mid-project? Your wood lathe is a fantastic machine, but a cluttered workshop can slow you down and even be a safety hazard. Keeping your turning tools organized and within easy reach is crucial for smooth workflow and focus. This guide is here to help you create a brilliant, DIY tool holder specifically for your wood lathe setup. We’ll break down simple, effective designs that anyone can build, turning that jumble into a well-organized, inspiring workspace.
Why a Dedicated Wood Lathe Tool Holder is a Game-Changer
As a woodturner, your tools are an extension of your hands. When they’re scattered, it’s not just frustrating; it can interrupt your creative flow and, more importantly, lead to accidents. Imagine reaching for a sharp chisel in a hurry and encountering a stray piece of stock or another tool. Not ideal, right?
A well-designed tool holder does more than just tidy up. It:
- Enhances Safety: Keeps sharp edges safely stored and prevents tripping hazards.
- Improves Efficiency: Your most-used tools are right where you need them, saving precious time.
- Protects Your Tools: Prevents nicks, dents, and damage to expensive turning tools.
- Boosts Workspace Aesthetics: A well-organized shop is a more pleasant and inspiring place to work.
- Reduces Stress: Knowing exactly where everything is takes a load off your mind.
The joy of woodworking often comes from the satisfaction of building something with your own hands. Why not apply that to your workshop organization too? A DIY approach means you can tailor the design precisely to your tools, your lathe, and your workspace. Plus, it’s a fantastic way to get more comfortable with basic tools and woodworking skills.
Planning Your Wood Lathe Tool Holder: What to Consider
Before you grab your tools and start cutting, a little planning goes a long way. Think about what you need your tool holder to do and what will work best in your specific workshop environment. Here’s what to ponder:
1. What Tools Will It Hold?
List out all the tools you want to store. This will vary depending on your specialization (bowl turning, spindle turning, etc.) and your collection size. Common items include:
- Gouges (bowl, spindle)
- Scrapers (round, square, diamond)
- Skew chisels
- Parting tools
- Reamers
- Calipers
- Measuring tapes
- Pencils/marking tools
- Small accessories (e.g., chuck keys, wrench sets)
2. Where Will It Live?
Location is key. Consider these options:
- Beside the Lathe: The most common and convenient spot. It can be mounted to the wall, a stand, or even the lathe itself (if safe and stable).
- On the Lathe Stand: If your stand has flat surfaces or shelves, you might integrate a holder directly onto it.
- Near the Workbench: If you do a lot of prep or finishing work away from the lathe.
3. What Materials Will You Use?
Keep it simple, especially for a first project. Good choices include:
- Plywood: Versatile, strong, and easy to work with. 3/4-inch plywood is a good thickness for most projects.
- Solid Wood: Pine, poplar, or hardwoods can be used, but might be more expensive and require more finishing.
- Scrap Wood: Don’t overlook usable offcuts from other projects!
- Hardware: Screws, possibly some wooden dowels or even PVC pipe sections for tool slots.
4. How Many Tools and What Types of Slots?
Think about the handles and shafts of your tools. Some holders use simple drilled holes, while others use routed slots, or even angled holders. Consider:
- Gouges: Often have larger, rounder handles and thicker shanks.
- Scrapers/Rakes: Usually have thinner shafts and smaller handles.
- Skew Chisels: Have distinct oval or flat oval handles.
A mix of hole sizes and slot types will likely be necessary.
5. How Much Space Do You Have?
Measure the area where you plan to install the holder. This will dictate the maximum size and shape you can build.
DIY Wood Lathe Tool Holder Ideas & Designs
Let’s dive into some practical and beginner-friendly designs. These ideas can be mixed, matched, and adapted to your needs.
Design 1: The Simple Plywood Wall-Mounted Holder
This is a classic for a reason. It’s straightforward, customizable, and very effective. This design uses two pieces of plywood – one for the back and one with holes/slots for the front.
Tools You’ll Need:
- Measuring tape
- Pencil
- Saw (hand saw, jigsaw, or table saw)
- Drill with various drill bits (including spade bits or Forstner bits for larger holes)
- Screwdriver or drill driver
- Sandpaper (medium and fine grit)
- Clamps (optional, but helpful)
- Safety glasses
- Hearing protection
Materials:
- 3/4-inch plywood (a piece around 24″ x 18″ should be a good starting point)
- 1 1/4-inch wood screws
- Mounting screws (appropriate for your wall type – e.g., wood screws for studs, drywall anchors)
Step-by-Step Guide:
- Cut Plywood Pieces: Cut two pieces of plywood to your desired size. For example, 18 inches wide by 12 inches tall. One will be the backer, the other the front holder.
- Mark Tool Positions: Lay your backer piece flat. Arrange your tools on it as you’d want them stored. Mark the center point for each tool’s handle (for drills) or along the desired slot path. Consider vertical spacing to avoid tool handles bumping into each other.
- Layout Front Piece Markings: Transfer these marks to your front plywood piece. For drill locations, mark the center of the desired holes. For slotted tools (like some scrapers), you might want to mark a line and later cut a slot.
- Drill Holes: For tools where handles sit in holes, select a drill bit that’s slightly larger than the tool handle’s thickest part. For instance, if a gouge handle is 1 inch, a 1 1/8-inch or 1 1/4-inch bit would work well. Use spade bits or Forstner bits for clean, large holes. For thinner tool shafts (scrapers, parting tools), you can drill smaller holes or, even better, cut slots.
- Create Slots (Optional but Recommended): For tools with narrow shafts or those you want to slide in and out easily, cut slots. You can do this with a router and a straight bit, or by drilling a series of overlapping holes and cleaning them up with a chisel or a jigsaw. A good method is to drill a starter hole for your jigsaw blade. Learn more about using a jigsaw safely from Popular Mechanics.
- Cut the Front Piece Profile (Optional): You can leave the front piece rectangular, or you can cut a decorative shape or a gentle curve along the top edge.
- Sand Everything: Smooth all the edges of both plywood pieces. Pay special attention to the inside of the drilled holes and slots to prevent them from snagging or damaging your tools.
- Assemble the Holder: Place the front piece on top of the backer piece, aligning the edges. Pre-drill pilot holes through the front piece and into the backer, especially near the edges, to prevent the plywood from splitting. Drive screws through the front piece into the backer, spaced evenly. Aim for 3-4 screws per foot of width.
- Mount the Holder: Locate wall studs using a stud finder. Hold the assembled holder against the wall at your desired height. Mark the mounting hole locations on the wall through the backer board. Remove the holder, drill pilot holes into the studs, and then re-attach the holder securely using long wood screws. Ensure it’s level and stable.
Pro-Tip: For very long or heavy tools, consider adding small lips or retaining clips to prevent them from falling out.
Design 2: Angled Tool Rack on the Lathe Stand
This design is great for keeping frequently used tools like gouges and scrapers within arm’s reach, often mounted directly to the side of your lathe’s stand if it’s sturdy enough.
Tools You’ll Need:
- Measuring tape
- Pencil
- Saw
- Drill with bits
- Screwdriver or drill driver
- Sandpaper
- Safety glasses
- Hearing protection
- Optional: Router with a straight bit or V-groove bit (for angled slots)
Materials:
- 1/2-inch or 3/4-inch plywood or solid wood
- Wood screws
- Optional: Wood glue
- Mounting screws/bolts (if attaching to lathe stand)
Step-by-Step Guide:
- Determine Angle: Decide on an angle for your tool slots. A slight angle (10-20 degrees) usually works well for gravity to help hold tools in place.
- Cut the Main Piece: Cut a piece of wood for the angled base. This could be a simple rectangle or have a curved top. The length will depend on how many tools you want to hold and the width of your lathe stand.
- Create Angled Slots: This is the core of this design.
- Using a Router: Set your router to the desired angle. Use a straight bit for shallow slots or a V-groove bit to create a V-shaped channel that cradles the tool shank. You can route multiple parallel slots. Vary the width if you have different tool shank sizes. Ensure the slots are deep enough to securely hold the tools. Forrester, M. (n.d.). Router Basics. Wood Magazine.
- Using a Drill Press with an Angled Jig: If you have a drill press, you can create an angled jig to drill holes at an angle. This works well for individual tool slots.
- Simpler Method (Less Clean): Cut a piece of wood to act as a base. Then, cut thin strips of wood and glue/screw them to the base, leaving gaps between the strips to form slots. This requires more pieces but is achievable without a router.
- Add a Backing/Support Piece: You might want a second piece of wood attached to the back of the angled slots to provide a solid anchor point and to stop tools from being pushed too far back.
- Sand and Finish: Sand all surfaces and edges smooth. You can leave it unfinished, or apply a coat of Danish oil or varnish for protection.
- Attach to Lathe Stand: Measure and mark the location on your lathe stand. Ensure the stand is stable and robust for this addition. If drilling into the stand, ensure you’re not compromising its structural integrity. Use appropriate screws or bolts. You might need to add small blocking or cleats to the stand to screw into.
Design 3: The “French Cleat” System for Versatility
While not exclusively for wood lathe tools, a French cleat system is incredibly versatile for workshop storage and can be adapted wonderfully. It allows you to create individual tool holders (like a gouge rack, a scraper tray, a shelf for chuck keys) that then hang on a wall-mounted cleat system. This means you can rearrange your storage as needed.
A French cleat is essentially two interlocking 45-degree bevels. One is attached to the wall, and a corresponding one is attached to the back of your storage item. The item then hooks onto the wall cleat.
Tools You’ll Need:
- Table saw (essential for accurate bevel cuts)
- Measuring tape
- Pencil
- Drill with bits
- Screwdriver
- Sandpaper
- Safety glasses
- Hearing protection
Materials:
- 3/4-inch plywood or solid wood (for cleats), 1/2-inch or 3/4-inch plywood (for tool holders)
- Wood screws
- Wall mounting screws (robust type)
Step-by-Step Guide for a Basic Gouge Holder:
- Create the Wall Cleat: Cut a long strip of 3/4-inch plywood to your desired length (e.g., 3 feet for a good section of wall space). Set your table saw blade to 45 degrees. Rip the edge of the plywood strip lengthwise, beveling one face. Ensure the bevel creates a downward-facing edge. WoodworkingProject.ca offers great visual guides on French cleats.
- Create the Holder Cleat: Cut a piece of 3/4-inch plywood for the back of your tool holder. On your table saw, bevel one edge at 45 degrees. This bevel should be the opposite direction to the wall cleat’s bevel, so they interlock. The height of this strip will determine how far your holder sits off the wall.
- Build the Tool Holder Body: Create a simple box or tray shape from 1/2-inch or 3/4-inch plywood to hold your tools. Add rows of holes or slots as needed.
- Attach the Holder Cleat: Glue and screw the holder cleat to the back of your assembled tool holder, ensuring the bevel is facing upwards and away from the holder.
- Mount the Wall Cleat: Locate wall studs. Hold the wall cleat level against the wall, bevel facing downwards. Screw it securely into at least two studs.
- Hang Your Holder: Simply hook the holder cleat over the wall cleat. It should hang securely at a slight downward angle.
This system is highly adaptable. You could create separate holders for:
- A set of gouges
- Various scrapers
- A section for your chuck keys and wrenches
- A small shelf for hand tools like pliers or screwdrivers
This modular approach means you can add, remove, or rearrange your tool organization with ease.
Choosing the Right Slot/Hole Size: A Handy Reference
Getting the hole and slot sizes just right is key to a functional tool holder. Too tight, and you’ll struggle to get tools in and out. Too loose, and they might fall out or rattle. Here’s a rough guide, but always measure your own tools:
| Tool Type | Typical Shank Diameter Range | Recommended Hole/Slot Size (+ Clearance) |
|---|---|---|
| Bowl Gouge (e.g., 1/2″, 5/8″) | .500″ to.625″ (12.7mm to 15.9mm) | .650″ to .750″ (16.5mm to 19mm) for holes, or slots 0.600″ to 0.700″ wide |
| Spindle Gouge (e.g., 1/4″, 3/8″) | .250″ to .375″ (6.4mm to 9.5mm) | .400″ to .500″ (10mm to 12.7mm) for holes, or slots 0.300″ to 0.400″ wide |
| Skew Chisel (e.g., 1/2″, 3/4″) | .500″ to .750″ (12.7mm to 19mm) | Slots approximately 0.550″ to 0
Related Posts |