Quick Summary
Build a DIY wood lathe duplicator for legs to easily craft identical turned wood pieces. This guide provides a simple, step-by-step setup for consistent results, perfect for furniture making or any project requiring matching turned components. Get ready to replicate your designs with precision and ease!
Turning matching legs for a table, chair, or other furniture can be a real challenge, especially for beginners. Getting each leg to look exactly the same, with the same curves and details, often involves a lot of measuring, scribing, and hopeful guesswork. This can lead to frustration and uneven results. But what if there was a way to make every turned leg a perfect copy of the first? There is! With a DIY wood lathe duplicator, you can take the guesswork out of the equation and achieve consistent, professional-looking results every time. This guide will walk you through a genius, beginner-friendly setup for creating your very own wood lathe duplicator for legs.
Why You Need a Wood Lathe Duplicator
Imagine building a dining table where all four legs are subtly different. Not ideal, right? Similarly, if you’re creating multiple identical spindles for a railing or a set of chair legs, the time and effort required to ensure perfect uniformity can be immense. This is where a lathe duplicator shines. It acts as a guide, tracing the shape of a master pattern onto your workpiece. This means:
- Perfect Replication: Every piece turned will be an exact replica of your pattern piece.
- Time Savings: Once set up, turning multiple identical pieces is significantly faster.
- Reduced Errors: Eliminates the need for constant re-measuring and on-the-fly adjustments.
- Increased Confidence: Greatly reduces the stress of achieving perfect symmetry, especially for new woodturners.
- Professional Finish: Elevates the quality and consistency of your finished projects.
It’s a fantastic addition to any home workshop, allowing hobbyists and DIYers to tackle more complex projects with confidence. We’ll be focusing on a straightforward duplicator setup that’s perfect for turning matching table legs or similar turned components.
Understanding How a Lathe Duplicator Works
At its core, a lathe duplicator is a mechanical tracing system. It consists of a master pattern and a follower. As your lathe spins the workpiece, the follower slides along the contours of your master pattern. This movement is transferred to a cutting tool (or a guide that holds your cutting tool), which then carves the same shape into the spinning workpiece. Think of an old record player’s needle tracing a groove – but in 3D and on your lathe!
There are various designs, from elaborate commercial units to simple DIY setups. For this project, we’ll focus on a design that’s:
- Easy to Build: Uses readily available materials and simple construction techniques.
- Affordable: Won’t break the bank with expensive components.
- Effective: Delivers reliable and accurate results for furniture legs and similarTurnings.
- Beginner-Friendly: Designed with ease of use and setup in mind.
Tools and Materials You’ll Need
Gathering your supplies before you start is key to a smooth building process. For this DIY wood lathe duplicator, you’ll need:
Essential Materials:
- Wood for the Master Pattern and Support Structure: Pine, poplar, or plywood (3/4 inch or 1-inch thickness is good). You’ll need enough for a long tracing piece and a sturdy mounting base.
- Hardwood Dowel Rod or Metal Rod: For the pivot point of the follower arm. About 1/2 inch to 3/4 inch diameter and at least 18-24 inches long.
- Knobs, Bolts, and Washers: For adjustments and securing parts. Standard hardware store items.
- Wood Screws: Various lengths for assembly.
- Contact Cement or Strong Adhesive: To attach the wood workpiece to the pattern.
- Optional: Drawer Slide Hardware: For a smoother follower action, though not strictly necessary for a basic setup.
Essential Tools:
- Wood Lathe: Of course, you’ll need a lathe to use the duplicator!
- Saw: Either a table saw, miter saw, or jigsaw for cutting wood pieces.
- Drill and Drill Bits: For pilot holes and clearance holes.
- Screwdriver or Drill Driver: For driving screws.
- Measuring Tape and Pencil: For accurate marking.
- Clamps: To hold pieces while gluing or assembling.
- Sanding Supplies: To smooth edges and the master pattern.
- Safety Glasses: Always wear safety glasses when working with tools.
- Optional: Router: Can be helpful for creating a perfectly smooth master pattern, but can be done with sanding.
Designing Your Genius Setup
Our design focuses on simplicity and effectiveness. We’ll build a sturdy base that mounts to your lathe bed, a pivoting arm, and a follower mechanism. The magic happens with the master pattern, which will be a precisely shaped piece of wood.
Step 1: Build the Base Mount
This part attaches to your lathe’s bed. The goal is to create a stable platform that won’t vibrate or move during operation.
- Measure your lathe bed: Determine the width and available mounting area.
- Cut two pieces of wood: These will be your mounting rails. They should be wide enough to span your lathe bed securely. For a standard lathe, 3-4 inches wide and 12-18 inches long is a good starting point.
- Cut a connecting piece: This piece will join the two rails and provide a mounting point for the follower arm. Its length will depend on the distance between your lathe’s headstock and tailstock.
- Assemble the base: Screw the two rails to the connecting piece, forming a sturdy U-shape or rectangular frame that can be clamped or bolted to your lathe bed. Ensure it’s square and robust.
- Attach to lathe: Securely clamp or bolt this base assembly to your lathe bed. Double-check that it’s stable and doesn’t interfere with the banjo or tailstock movement.
Step 2: Construct the Follower Arm
This arm will pivot and guide the cutting tool. It needs to be strong enough to hold your tool steady but flexible enough to move freely.
- Cut the main arm piece: A piece of wood (e.g., 1×3 or similar) about 24-36 inches long should suffice for most applications.
- Drill pivot holes: Drill a hole near one end of the arm. This will be the pivot point.
- Create pivot mounting plate: Cut a smaller piece of wood or metal that will attach to your base mount. Drill a corresponding hole in this plate.
- Assemble the pivot: Use a bolt, washers, and a locknut (or a knob nut for ease of adjustment) to connect the follower arm to the mounting plate on the base. Ensure the arm swings smoothly but without excessive wobble. You want it to be firm but articulate.
Step 3: Create the Follower Assembly
This is where the magic happens – the part that interacts with your master pattern.
- Prepare the follower rod/wheel: You can use a simple hardwood dowel that you shape to a point or a round-over to follow curves. Alternatively, a small, smooth metal rod or even a bearing can work if you’re feeling more advanced.
- Create a housing: Fashion a small block of wood or a metal bracket that will hold this follower rod/wheel.
- Attach housing to arm: Mount this housing to the opposite end of the follower arm from the pivot. The follower rod/wheel should extend out and be able to slide against your master pattern. Ensure the follower is perpendicular to the arm.
Step 4: Mount the Tool Rest Holder
Your cutting tool will be held against the follower. You need a way to secure it.
- Add a tool rest block: Mount a sturdy block of wood or metal to the follower arm, positioned so that your lathe’s cutting tool can rest against it and be held firmly. This block needs to be positioned correctly relative to your follower; typically, it’s slightly offset.
- Consider adjustability: You might want to allow for some adjustment of the tool rest block to accommodate different tool shapes or angles.
Step 5: Create Your Master Pattern
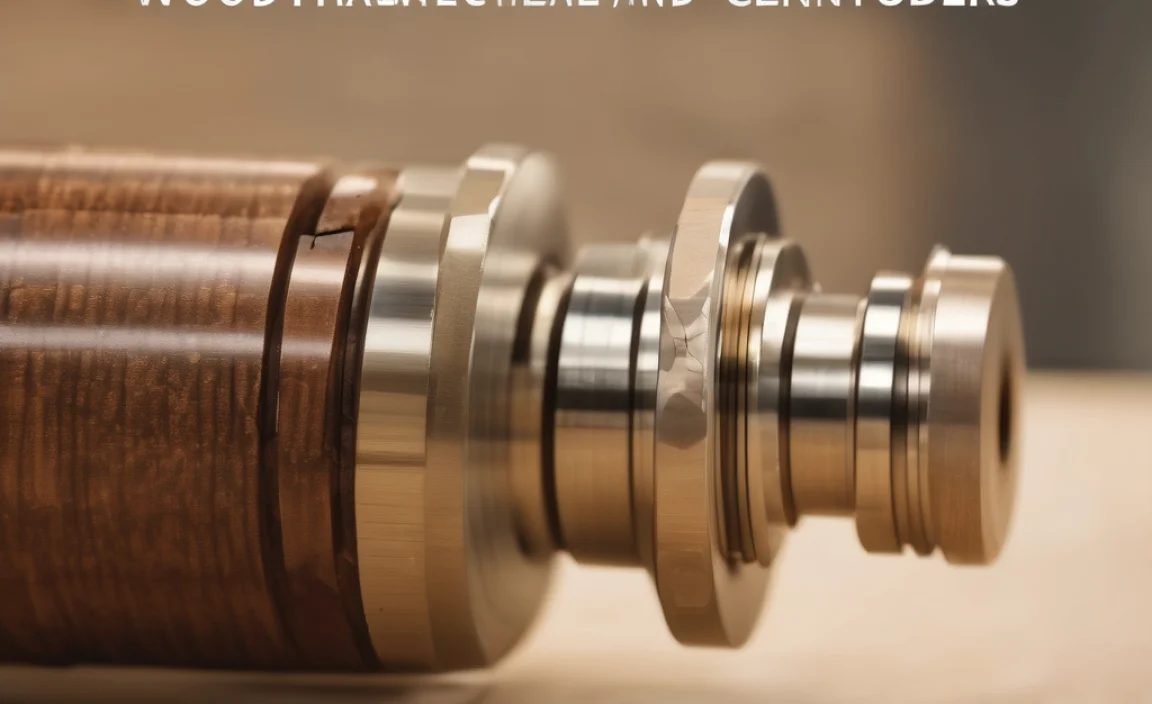
This is arguably the most crucial part for replication! You’ll create a solid piece of wood with the exact shape you want to duplicate.
- Select a good piece of wood: A dense hardwood like maple or cherry is ideal for durability, but pine or poplar can work for less frequent use. It should be long enough to accommodate the full length of the leg you want to turn.
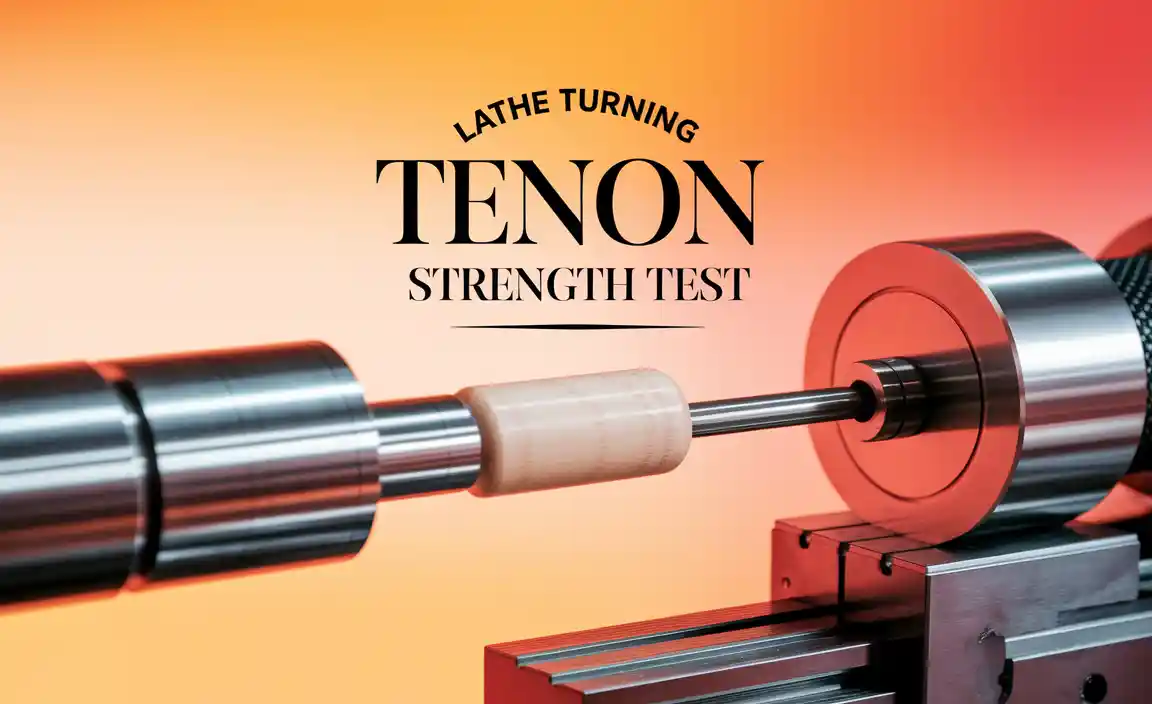
- Turn your first leg perfectly: This first piece you meticulously turn will be your pattern. Take your time, use your best measuring and turning techniques.
- Transfer the shape: Once turned, you can either mount this piece and very carefully trace its contours onto a flat board, or simply use it as a reference. The easiest way is often to mount the turned piece on the lathe again and use a pencil or scribe held against the follower mechanism to mark the shape onto a parallel piece of wood that will become your master pattern. Ensure the pattern piece is mounted parallel to the lathe’s center line.
- Shape the master pattern: Mount the marked board on your workbench and use saws, files, and sanders to carefully shape it precisely to your marked lines. The goal is a smooth, exact profile of your desired leg shape. Sand it incredibly smooth.
- Mount the master pattern: You can attach this master pattern to a long piece of plywood or a sturdy wooden beam that will run parallel to your workpiece on the lathe. Use screws or clamps. The surface that the follower will touch must be perfectly smooth and parallel to the lathe centers.
Step 6: Mount the Master Pattern to the Lathe
The master pattern needs to be aligned parallel to the workpiece.
- Prepare a support beam: This could be a piece of 1×4 or 1×6 lumber, at least as long as your lathe bed or the piece you intend to turn.
- Attach the master pattern: Screw or clamp your shaped master pattern onto this support beam, ensuring its profile is accessible and clear.
- Position the beam: Mount this entire assembly onto your lathe bed slides, parallel to the headstock and tailstock centers. You might need to fashion simple cradles or blocks to hold this beam securely. It needs to be rigid and precisely parallel, just like your workpiece.
Step 7: Setting Up for Your First Duplicated Turn
This is where you bring it all together.
- Mount your workpiece: Prepare a blank piece of wood for turning. Mount it between centers on your lathe as usual.
- Position the duplicator: Slide the follower arm so the follower is just touching the master pattern.
- Align the tool rest: Bring your cutting tool up to the tool rest block on the follower arm. Ensure it’s held securely and at the correct angle for your first cut. You’re essentially using the duplicator to guide your tool.
- Slow Speed is Key: Begin at a slow lathe speed. This is crucial for safety and accuracy.
- Make the First Cut: Gently engage the tool. The follower should slide along the master pattern, and your cutting tool, guided by the tool rest block, will carve a similar shape into your workpiece. You’ll likely need to move the tool carriage forward and backward manually, allowing the follower mechanism to guide the depth of cut.
- Refine and Repeat: As you make passes, you’ll gradually remove material until your workpiece matches the master pattern.
Pro Tips for a Genius Duplicator Setup
To make your DIY duplicator even more effective and user-friendly, consider these tips:
- Material Choice: For the master pattern, use a dense hardwood like maple or even a piece of laminated plywood. These materials are durable and offer a smooth tracing surface.
- Follower Design: A hardened steel rod or a small, smooth ball bearing inserted into a housing can provide a much smoother tracing action than a simple wooden dowel, reducing friction and improving accuracy.
- Smoothness is Paramount: The smoother your master pattern, the cleaner your duplicated turn will be. Spend extra time sanding and finishing the pattern. A coat of paste wax can also help.
- Rigidity is King: Ensure every part of your duplicator – the base mount, the arm, and the pattern support – is as rigid as possible. Any flex will translate into inaccuracies.
- Proper Alignment: The master pattern support beam must be perfectly parallel to the lathe’s center line. This is non-negotiable for accurate duplication. A good way to check this alignment is to use a dial indicator. You can also find guides online for this basic alignment procedure on your lathe. [Check out this guide from Wood Magazine on basic lathe setup, which includes alignment principles.]
- Tool Holder Adjustability: A simple sliding or pivoting tool holder on the arm allows you to fine-tune the position of your cutting tool to match the contours precisely.
- Patience and Practice: Like any new tool, it takes practice to get perfect results. Don’t get discouraged if your first few attempts aren’t flawless.
Duplicator vs. Conventional Turning: Pros and Cons
While a duplicator is incredibly useful, it’s good to know its advantages and disadvantages compared to traditional freehand turning.
| Feature | DIY Lathe Duplicator | Conventional Turning |
|---|---|---|
| Consistency | Excellent. Perfect replication of master pattern. | Requires skill and practice for uniformity. |
| Speed for Multiple Pieces | Much faster once set up. | Slower, as each piece is turned individually. |
| Skill Level (for basic copies) | Beginner-friendly for replication. | Intermediate to advanced for complex shapes. |
| Initial Setup Time | Significant building and alignment time. | Minimal. Mount workpiece and go. |
| Design Complexity | Limited by the master pattern’s complexity. | Can achieve highly intricate, non-repeating shapes. |
| Tool Wear | Can lead to more consistent tool engagement. | Variable depending on technique. |
| Learning Curve | Building and accurate setup. |