Quick Summary: Learn how to make a reliable DIY wood lathe faceplate from scratch. This guide offers step-by-step instructions for creating a crucial, essential woodworking tool safely and effectively, even with basic equipment. Achieve professional results for your lathe projects with this practical, indispensable skill.
There’s nothing quite like the feeling of turning wood on a lathe. You bring a beautiful piece to life right before your eyes. But to get started, you need the right accessories. One of the most important is a faceplate – it’s how you securely attach larger, flatter pieces to your lathe. Sometimes, buying the perfect faceplate can be tricky. They might be expensive, hard to find in the right size, or not quite what you need. That’s why learning to make your own DIY wood lathe faceplate is such a valuable skill for any woodworker. It’s more achievable than you might think, and this guide will show you exactly how to do it, step-by-step, with safety and accuracy in mind. Let’s get your lathe ready for bigger projects!
Why Make Your Own Wood Lathe Faceplate?
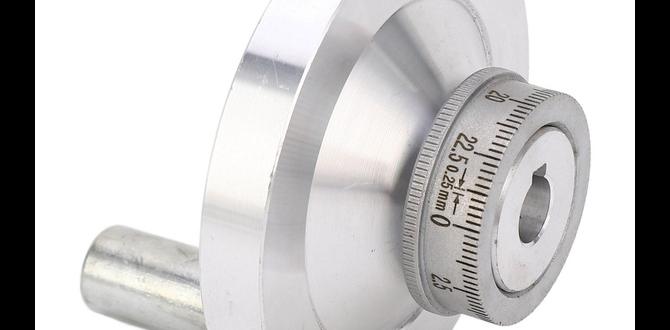
A wood lathe faceplate is a simple but vital piece of equipment. It’s a metal disc that screws onto the spindle of your lathe, providing a flat surface with pre-drilled holes. You then use screws to fix your wood blank to this plate. This method is ideal for irregularly shaped blanks, large face-mounted bowls, platters, or any project that can’t be easily held by a chuck or between centers.
So, why go through the trouble of making one yourself? There are several compelling reasons:
-
- Customization: You might need a specific diameter or hole pattern that isn’t readily available commercially. Making your own lets you tailor it exactly to your needs.
- Cost-Effectiveness: Depending on the material and size, a custom or even a standard faceplate can be pricey. DIY can often be more economical, especially if you have scrap metal available.
- Skill Development: Learning to fabricate essential tools like a faceplate is incredibly rewarding and builds confidence in your workshop abilities. It’s a great introduction to basic metalworking techniques relevant to woodworking.
- Accessibility: Sometimes, you just need a faceplate and ordering one will take too long. Making your own means you can get that project started sooner!
Troubleshooting Odd Threads: Faceplates need to match your lathe’s spindle thread. Sometimes, especially with older or imported machines, finding the exact thread size can be challenging. Making your own ensures a perfect fit.
Understanding Faceplate Threads
Before you even think about cutting metal, the most crucial step is understanding the thread on your lathe’s spindle. The faceplate you make needs to screw onto this perfectly. Most wood lathes use a standard thread size, but there are variations.
Common spindle thread sizes for wood lathes include:
| Thread Size (Example) | Description |
|---|---|
| 1″ x 8 TPI | 1 inch in diameter, 8 threads per inch. Very common in North America. |
| 3/4″ x 16 TPI | Common on smaller lathes. |
| M33 x 3.5 | A European standard. |
How do you find your lathe’s thread size?
- Check Your Lathe Manual: This is the most reliable source.
- Measure Existing Accessories: If you have a chuck or another faceplate that fits, inspect it for markings or measure the diameter and count the threads per inch (TPI). You can use a thread gauge or measure the length of one thread and then divide that into the total diameter.
- Consult Online Resources: Many manufacturers list specifications online. Websites dedicated to lathe restoration or woodworking forums can also be great resources.
Once you know your thread, you’ll need a tap with that exact size to cut the internal threads into your faceplate. You can purchase taps from industrial supply stores or specialized metalworking tool suppliers. For example, if your lathe has a 1″ x 8 TPI spindle, you’ll need a 1″ x 8 TPI tap.
Materials and Tools You’ll Need
Making a robust DIY wood lathe faceplate requires a few specific items. Don’t let a long list intimidate you; many of these are basic workshop staples. Safety first, always.
Materials:
-
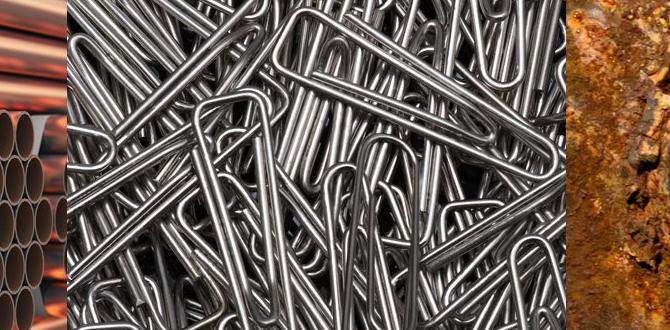
- Steel Plate: A piece of mild steel (like A36) is ideal. You can often find suitable disc shapes at metal supply yards, or you can cut a circle from a larger plate. The thickness depends on the size of your faceplate – typically 1/4 inch (6mm) to 1/2 inch (13mm) is sufficient for most wood lathe applications.
- Tap: As identified above, the correct tap for your lathe’s spindle thread (e.g., 1″ x 8 TPI, M33 x 3.5, etc.).
- Drill Bits: High-speed steel (HSS) bits for drilling steel. You’ll need one for the tap drill size (slightly smaller than the tap’s minor diameter) and others for mounting holes (usually 1/4″ or 5/16″ or M6/M8).
- Cutting Fluid/Lubricant: Essential for drilling and tapping steel to prevent overheating and bit breakage.
- Optional: Steel Bar Stock: If you can’t find a suitable steel disc, you might need a thicker bar to machine a disc from scratch.
Optional: Threading Die: If you decide to thread the center of the faceplate to screw onto a threaded rod for dust collection or other accessories, a die of the appropriate size will be needed.
Tools:
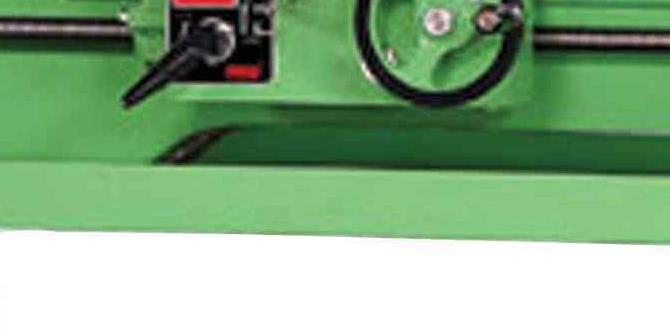
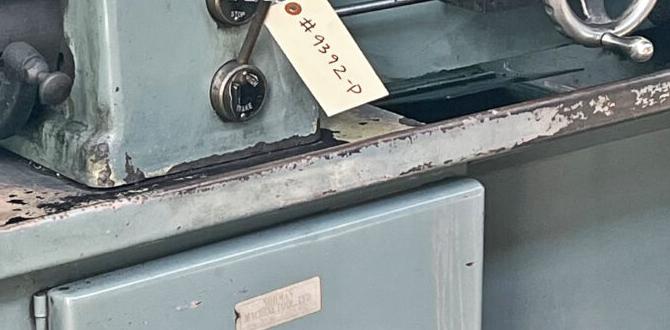
- metal lathe (Recommended): While you can make a functional faceplate without one, a metal lathe makes it significantly easier to ensure concentricity and a clean finish, especially for threading.
- Drill Press (Recommended): For accurate, perpendicular holes. A high-quality hand drill can work, but a drill press is far superior for this task.
- Tap Wrench / Tapping Handle: To securely hold and turn the tap.
- Metal Files: For deburring and shaping.
- Calipers (Digital or Vernier): For precise measurements.
- Center Punch: To mark hole locations accurately.
- Measuring Tape or Ruler:
- Marker Pen (e.g., Sharpie):
- Safety Glasses: Always!
- Gloves: For handling metal.
- Optional: Angle Grinder or Bandsaw: For cutting a circle from a larger plate if you don’t have a pre-made disc.
- Optional: Bench Vise: For securely holding the metal disc while drilling or filing.
- Optional: Metal Cutting Fluid Dispenser: For easier application during drilling/tapping.
- Optional: Magnetic Drill press or Hole Saw Fixture: If you lack a large drill press but have access to a metal lathe, these can be useful for creating the initial disc. Check out examples of magnetic drills here which are common in metal fabrication.
Step-by-Step: DIY Wood Lathe Faceplate Making
This guide assumes you have a reasonably sized steel disc or can cut one. The threading process is the most critical for function. We’ll focus on that.
Step 1: Prepare Your Steel Disc
If you bought a pre-cut disc, ensure the edges are relatively smooth. If you cut one from a larger sheet using a bandsaw or angle grinder, now is the time to clean up the edge. You want it to be reasonably flat and free of sharp burrs. A bench grinder or belt sander can help here. If you have a metal lathe, chucking it up and facing off the surfaces will give the most professional result.
Step 2: Mark the Center and Drill the Spindle Thread Hole
Accuracy is paramount. Find the exact center of your steel disc. You can do this by drawing diagonal lines from edge to edge; their intersection is the center.
- Center Punch: Place the tip of your center punch precisely on the center mark and give it a sharp tap with a hammer. This creates a small indent that will guide your drill bit.
- Select the Tap Drill: You need to drill a hole that is the correct size for your tap. This is called the “tap drill size.” It’s slightly smaller than the tap’s major diameter. You can find charts online or often from tap manufacturers that list the correct drill bit size for any given tap (e.g., for a 1″ x 8 TPI tap, you’d typically use a #21 drill bit, which measures 0.161 inches or ~4.1mm). Let’s assume for this example we are using a 1″ x 8 TPI tap and a #21 drill bit.
- Drill the Hole: Mount your steel disc securely in a vise or on your drill press table. Use cutting fluid/lubricant. Drill the center hole perfectly perpendicular to the surface. Go slowly and clear chips frequently. If using a hand drill, try to keep it as straight as possible.
Step 3: Tap the Spindle Thread (The Most Critical Step!)
This requires patience and care. Tapping steel can be challenging, and a broken tap can ruin your workpiece.
- Lubricate Generously: Apply plenty of cutting fluid to the drilled hole and the tap itself.
- Start the Tap Straight: Insert the tap into the tap wrench. Place the tap’s tip into the center-punched hole. Begin turning the tap wrench counter-clockwise to start. Ensure the tap is perfectly vertical. You can use a small machinist’s square to check alignment.
- The “One-Third Turn” Rule: For steel, a common and effective technique is to turn the tap clockwise about one-third to one-half of a turn, then back it off counter-clockwise a half turn. This releases the chips that have been cut, preventing them from binding the tap, and it also helps clear the flutes. Repeat this process.
- Clear Chips Regularly: After every few turns, completely back the tap out of the hole to clean off any accumulated chips. Reapply lubricant before continuing.
- Feel for Resistance: As you get deeper, you’ll feel more resistance. Keep your movements steady. The goal is to cut full threads. You’ll know you’re through the thickness when the tap starts cutting freely from the backside into the hole.
- Finishing: Back the tap completely out of the hole. Use a rag to clean any remaining metal filings and lubricant. You can chase the threads with the tap again if they feel rough, but be gentle.
Step 4: Drill Mounting Holes
Now you need holes to screw your wood to the faceplate. The number and placement depend on your preference and the size of the faceplate. Four to six holes are typical for medium-sized faceplates, evenly spaced around the circumference.
- Determine Hole Locations: Mark out where you want your mounting holes. They should be well away from the center thread, typically in a circular pattern. A good rule of thumb is to place them about halfway between the center hole and the outer edge of the face.