Have you ever wondered how woodworkers create beautiful bowls? One exciting way is through a process called lathe turning. Imagine stacking several wooden rings together, then shaping them into a stunning bowl! This technique is not only creative but also allows you to showcase your skills.
Lathe turning stacked ring bowls is a fun project you can try. Picture yourself in a workshop, surrounded by tools and shavings of wood. As you turn the lathe, the rough wood slowly transforms into a smooth, beautiful piece. It’s like magic!
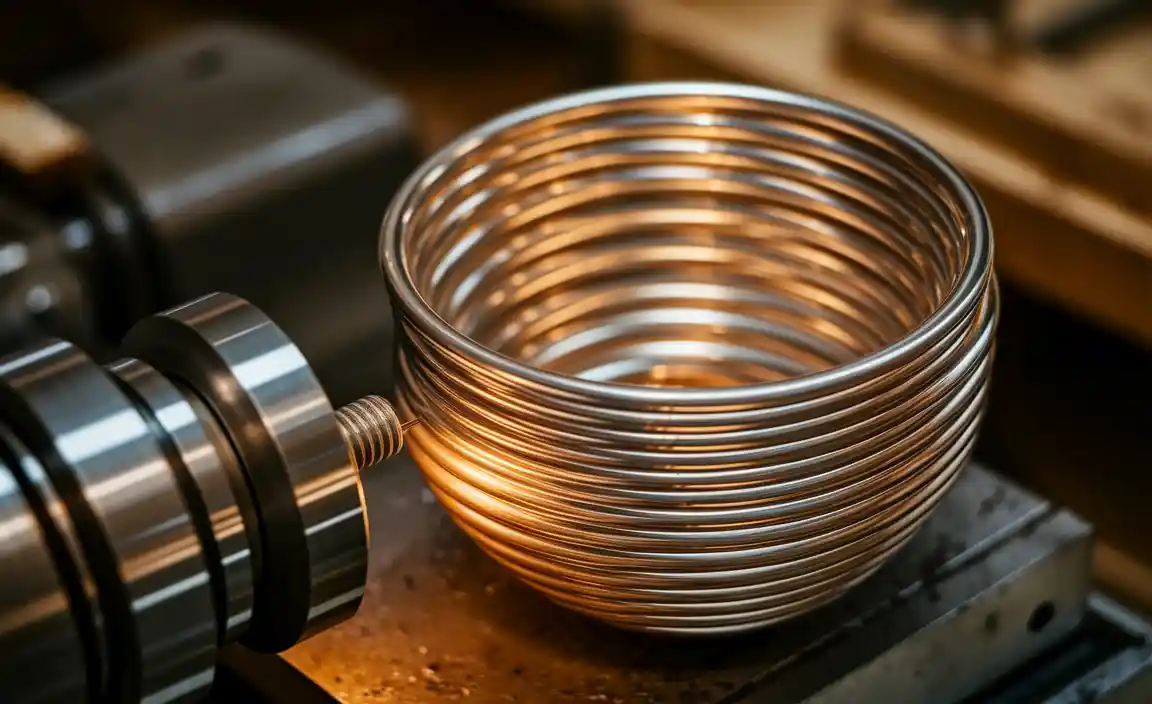
Did you know that many woodworkers enjoy this type of project because it challenges their creativity? Each layer adds a new design element, making each bowl unique. With some patience and practice, you can master this skill and impress your friends.
Are you ready to dive in and start your own lathe turning stacked ring bowl build? Let’s explore the steps together!
Lathe Turning Stacked Ring Bowl Build: A Step-By-Step Guide
Materials Needed for Stacked Ring Bowl
Types of wood suitable for bowl turning. Additional tools and equipment required.
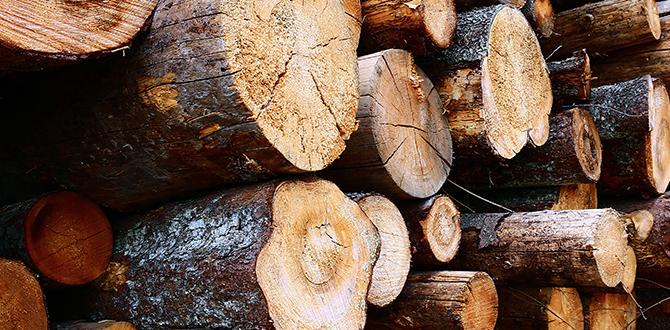
Creating a stacked ring bowl can be fun and rewarding! First, choose the right types of wood. Popular choices include maple, cherry, and walnut. These woods are strong and look great. You’ll need some tools too, like a lathe, a chisel, and a sanding block. Don’t forget safety gear! Trust us, you don’t want to lose a finger trying to impress your friends. Here’s a quick overview of materials:
| Wood Type | Features |
|---|---|
| Maple | Hard and smooth, great for shiny finishes. |
| Cherry | Rich color, ages beautifully over time. |
| Walnut | Dark, beautiful grain; perfect for eye-catching bowls. |
With these materials, you’re all set to make something amazing!
Designing Your Stacked Ring Bowl
Tips for developing a bowl design. Sketching and planning the dimensions.
Creating a unique bowl design is exciting! Start by thinking about how you want your bowl to look. Draw sketches of different shapes and sizes. Make a plan for the dimensions that fit your design. Here are some tips:
- Use simple shapes to begin your design.
- Consider the size according to where you’ll use the bowl.
- Keep it balanced so it stays steady on a table.
- Think about colors and details to make it special.
By sketching your ideas, you can see which design works best. Planning helps make the building process fun and easy!
What are some tips to develop a bowl design?
Focus on simple shapes and balanced dimensions. Sketch your ideas to visualize the bowl better.
Preparing the Wood for Turning
Cutting and shaping the wood pieces. Best practices for gluing and stacking the rings.
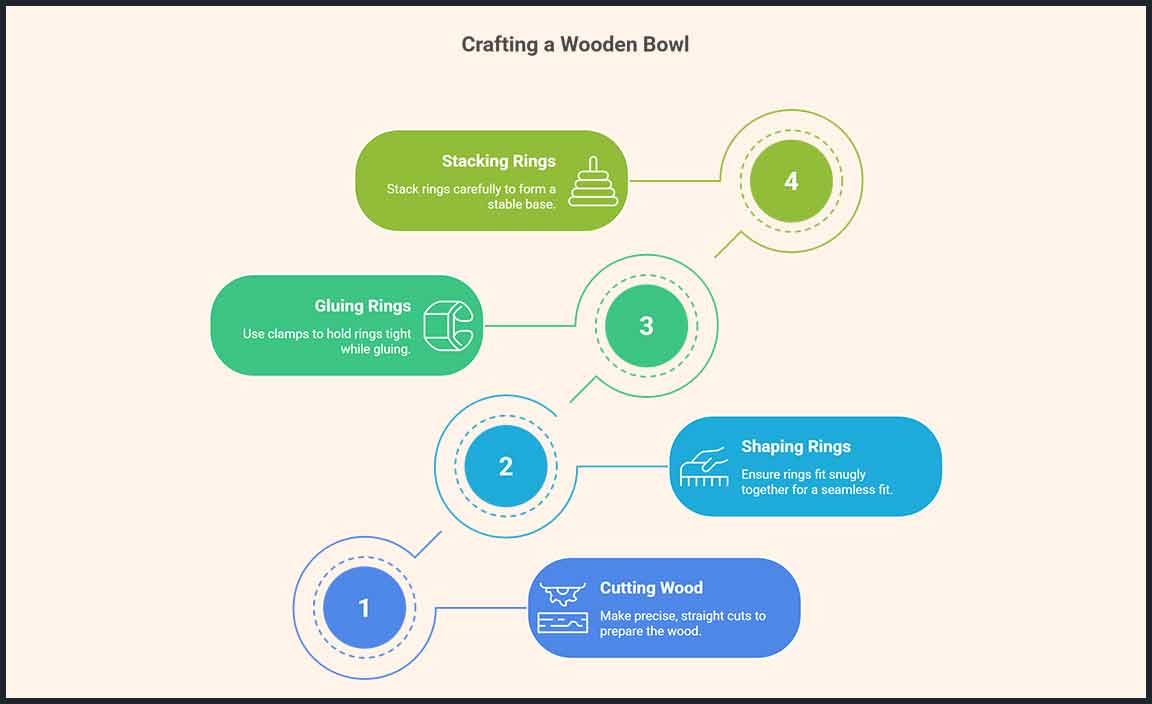
Cutting and shaping wood for your bowl is like preparing a cake—they need the right slices! First, start with straight cuts to ensure a smooth base. Aim for the perfect ring size to keep it snug. Remember, size matters! Use clamps while gluing to prevent any ring drama. Stack carefully, like the world’s tallest pancake tower—no wobbling allowed. Let it dry, and then you’re ready to turn your beautiful creation on the lathe!
| Step | Description |
|---|---|
| Cutting | Make precise, straight cuts. |
| Shaping | Ensure rings fit snugly together. |
| Gluing | Use clamps to hold rings tight. |
| Stacking | Stack rings like perfect pancakes. |
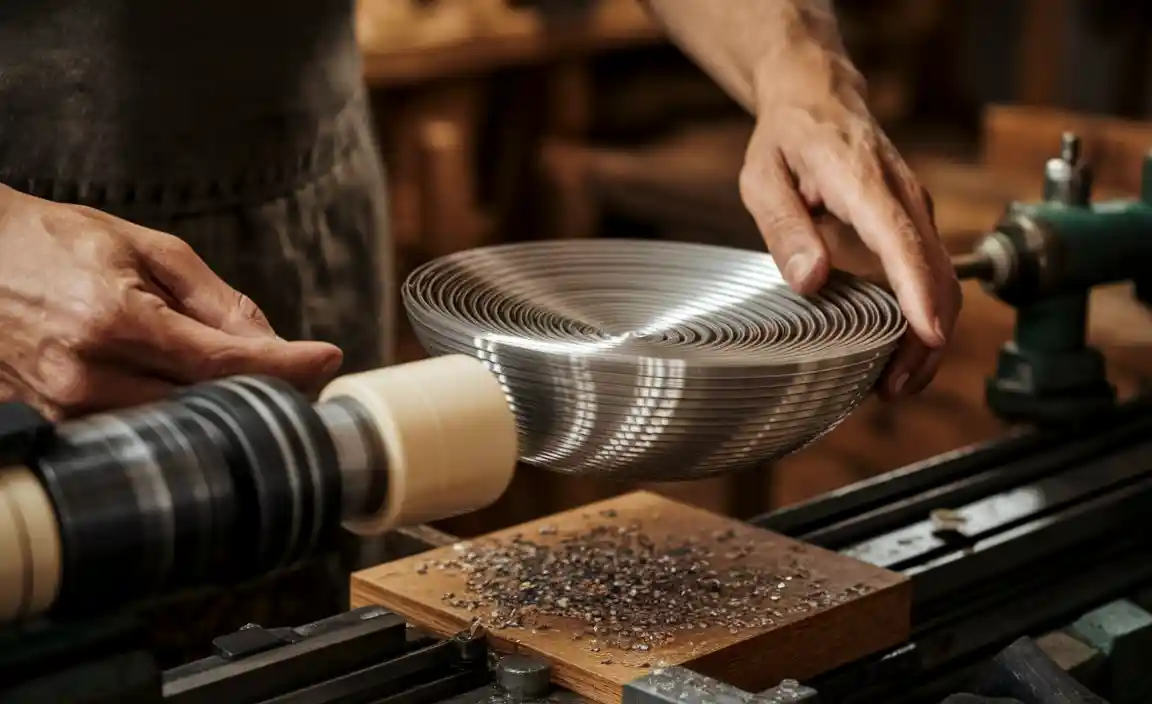
Turning the Bowl on the Lathe
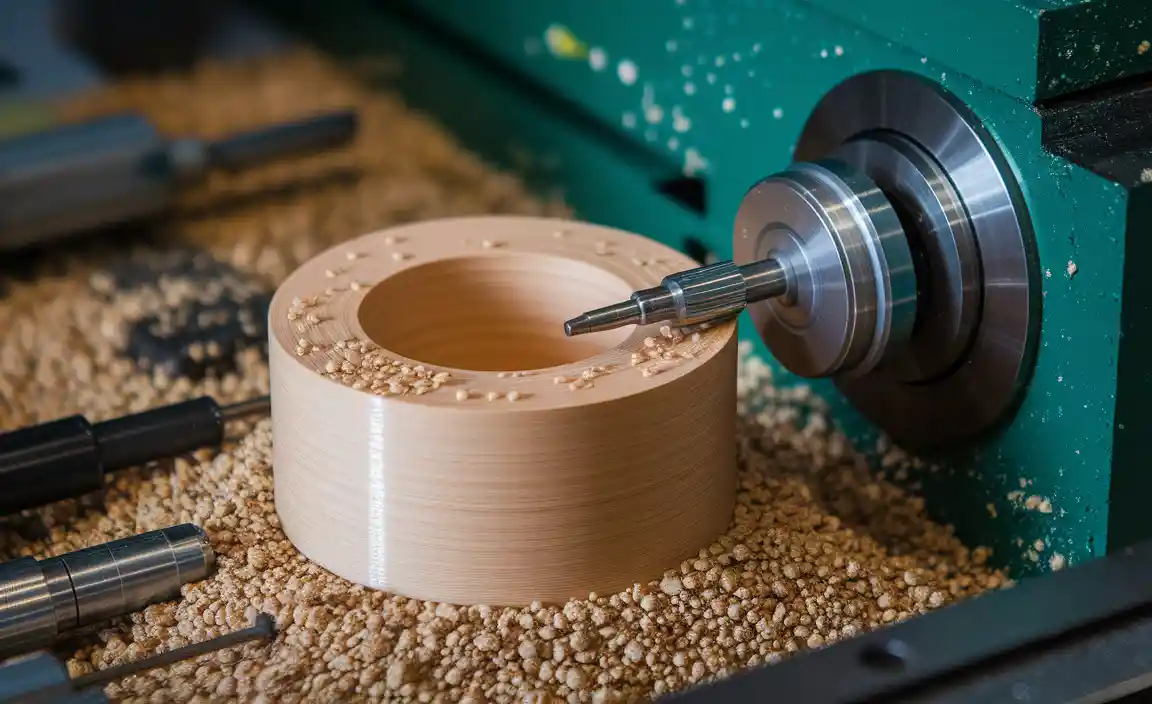
Stepbystep process of securing the wood on the lathe. Techniques for shaping the bowl accurately.
Start by securing your wood on the lathe. First, make sure the wood is clean and dry. Use a faceplate if the bowl is going to be round. It helps hold the wood tight like a cozy hug. Next, turn on the lathe and slowly increase the speed. Watch your speed; too fast can make things spin out of control—just like when you spin your friend in circles!
| Steps | Tips |
|---|---|
| 1. Clean the wood | For a smooth finish |
| 2. Use a faceplate | Essential for stability |
| 3. Increase speed slowly | To avoid accidents! |
As you shape the bowl, keep your tools sharp. A dull tool is like a sleepy sloth—no fun to work with! Curve gently to get that perfect bowl shape. Remember, it’s all about precision and practice. With time, your skills will shine like a newly polished bowl!
Finishing Touches on Your Bowl
Sanding techniques for a smooth finish. Types of finishes to apply (oils, sealers, etc.).
To make your bowl shine, sanding is important. Start with rough sandpaper to remove bumps. Then, use finer paper for a smooth touch. After sanding, choose a finish to protect your bowl. Here are some options:
- Oils: They nourish the wood and add a nice sheen.
- Sealants: They protect against water and stains.
Using these techniques gives your bowl a beautiful, lasting finish.
What are good finishing options for wood bowls?
Good options include oils like walnut or mineral oil, which enhance the wood’s natural colors. Sealers are also great for added protection against spills.
Common Mistakes to Avoid
Frequent errors in bowl turning. Tips for troubleshooting issues.
Turning a bowl can be a fun adventure. But, like any good journey, there are bumps in the road to avoid. One common mistake is rushing the process, which often leads to uneven cuts. Remember, patience makes perfect bowls! Another pitfall is not checking the grain direction. Chopping against it can create more trouble than a bee in a bathtub. Always pay attention to your tools; dull blades won’t get you far. Here’s a handy table to keep these tips in mind:
| Common Mistakes | Tips |
|---|---|
| Rushing the process | Take your time for even cuts |
| Ineffective grain direction | Always check before turning |
| Dull tools | Keep your tools sharp and clean |
Check these points to improve your bowl turning. Avoiding these mistakes will help you make beautiful stacked ring bowls without going bananas!
Showcasing Your Finished Product
Ideas for displaying your bowl. Possibilities for gifting or selling your creation.
Once you’ve crafted your bowl, it’s time to show it off! You could place it on a shelf, where it will catch the eye of every visitor. A sunny windowsill makes a perfect spot too! Consider gifting it to a friend; handmade gifts say, “I care” without using a Hallmark card. Selling your creation is also an option—many folks love unique home decor. Just think about this: You could turn your hobby into a little money!
| Display Ideas | Gifting Options | Selling Platforms |
|---|---|---|
| Shelves | Friends and Family | Online Marketplaces |
| Windowsills | Special Occasions | Local Craft Fairs |
| Table Centerpieces | Personalized Gifts | Social Media Shops |
Remember, a unique bowl can spark conversation and make hearts smile!
Conclusion
In conclusion, making a lathe-turned stacked ring bowl is a fun project. You can choose different woods for unique designs. Remember to measure carefully and follow safety rules while using the lathe. We encourage you to try this craft and explore more about woodworking. Start with small projects, and soon you’ll create amazing bowls! Happy turning!
FAQs
What Types Of Wood Are Best Suited For Creating Stacked Ring Bowls On A Lathe, And How Do Their Properties Affect The Final Design?
Great woods for stacked ring bowls are maple, cherry, and walnut. Maple is strong and smooth, making it easy to shape. Cherry has a rich color that gets deeper over time. Walnut is dark and beautiful, giving your bowl a nice look. All these woods help make your bowl sturdy and attractive!
What Essential Tools And Equipment Are Needed For Turning A Stacked Ring Bowl, And How Do They Contribute To The Accuracy Of The Project?
To turn a stacked ring bowl, you need a few important tools. First, you need a lathe, which spins the wood. You also need chisels to shape the bowl. A measuring tape helps you check the size of the rings. Finally, sandpaper smooths the bowl’s surface. These tools help you make sure everything looks just right!
What Techniques Can Be Used To Ensure Precise Alignment And Gluing Of The Stacked Rings During The Construction Of The Bowl?
To align and glue the stacked rings for your bowl, you can use some simple techniques. First, lay the rings flat on a table. Make sure each ring is lined up perfectly with the one below it. You can use a pencil to mark where they should go. Then, apply glue carefully and press them together. Hold them tight for a few seconds to make sure they stick well.
How Can Different Colors And Patterns In Wood Be Integrated Into A Stacked Ring Bowl To Enhance Its Aesthetic Appeal?
You can pick different types of wood for a stacked ring bowl. Each type can have its own color and pattern. Using lighter and darker woods together can make pretty designs. You can also change the arrangement of the rings for more fun patterns. This way, the bowl becomes a colorful and interesting piece!
What Are Some Common Challenges Encountered During The Lathe Turning Process For Stacked Ring Bowls, And How Can They Be Overcome?
When we make stacked ring bowls on a lathe, we can face some problems. The rings might not fit together well. To fix this, we need to measure carefully and cut evenly. Sometimes, the wood can crack while we turn it. We can prevent cracks by using nice, dry wood and working gently. Always keep the lathe sharp to make smooth cuts!
Resource:
-
Woodworking Safety Tips: https://www.familyhandyman.com/project/woodworking-safety-tips/
-
Types of Wood Finishes Explained: https://www.thisoldhouse.com/woodworking/21015148/types-of-wood-finishes
-
How to Use a Wood Lathe for Beginners: https://www.instructables.com/How-to-Use-a-Wood-Lathe/
-
Creative Woodworking Project Ideas: https://www.bhg.com/home-improvement/woodworking-projects/