For woodworking, a lathe is a machine that spins wood, allowing you to shape it with sharp tools into round or cylindrical objects like bowls, spindles, and table legs. It’s a foundational tool for creating decorative and functional pieces, turning raw lumber into refined craft.
Hey there, fellow makers! Daniel Bates here from Lathe Hub. So, you’re looking to add a lathe to your woodworking shop? That’s fantastic! It’s a machine that can truly transform your projects, taking them from flat boards to beautifully turned creations. But diving into lathes can feel a bit overwhelming at first, with all the different types and features. Don’t worry, that’s exactly why I’m here! We’re going to break down what you need to know to pick the right lathe, get started safely, and begin turning some amazing pieces. Get ready to turn your woodworking dreams into reality!
Why a Woodworking Lathe is a Must-Have Tool
Imagine crafting elegant bowls, perfectly turned chair legs, or delicate pens. A wood lathe makes these projects not just possible, but enjoyable. It’s a cornerstone of many woodworking disciplines, from furniture making to instrument building and intricate decorative work. Without a lathe, creating these symmetrical, rounded forms would be incredibly difficult, if not impossible, with hand tools alone. It’s a tool that unlocks a whole new dimension of creativity and precision in your workshop.
Understanding the Basics: How a Wood Lathe Works
At its core, a woodworking lathe is surprisingly simple. It uses an electric motor to spin a piece of wood. This spinning workpiece is then met with sharp tools, which the user guides by hand to remove material and create the desired shape.
The main components you’ll see on almost any lathe are:
Bed: The sturdy base of the lathe, which provides stability and supports the other components.
Headstock: This houses the motor and the spindle, which grips the wood. It’s where the wood starts spinning.
Tailstock: Located at the opposite end from the headstock, it provides support for longer workpieces. It can also be used to hold drill bits for drilling holes into the center of your turning.
Tool Rest: An adjustable support arm where you rest your turning tools as you work. This is crucial for leverage and control.
Carriage/Ways: The part of the lathe that allows the tailstock and tool rest to move along the bed.
Types of Woodworking Lathes: Finding Your Perfect Match
When you’re starting out, you’ll encounter a few main types of lathes, each suited for different needs and budgets.
1. Mini Lathes
These are fantastic starter lathes. They are compact, affordable, and perfect for smaller projects like pens, bottle stoppers, small bowls, and spindles. They don’t take up much space, making them ideal for hobbyists with limited workshop areas.
Pros: Affordable, compact, easy to store, great for small projects.
Cons: Limited turning capacity (length and diameter), generally less powerful motors.
2. Midi Lathes
Stepping up from mini lathes, midi lathes offer more power and a larger swing (the maximum diameter of a workpiece they can handle). They provide a good balance of size, power, and versatility, allowing for the creation of medium-sized bowls and spindles. Many midi lathes have bed extensions available, increasing their turning length.
Pros: Good balance of size and capacity, more power than mini lathes, can often handle larger projects with extensions.
Cons: More expensive than mini lathes, take up more space.
3. Full-Size (Stationary) Lathes
These are the workhorses of the professional woodturner’s shop. They are heavy, powerful, and designed for turning large bowls, long table legs, and other substantial pieces. They offer the greatest capacity and features but come with a higher price tag and require a dedicated space.
Pros: Highest capacity for large and heavy items, most powerful motors, often have advanced features.
Cons: Expensive, require significant workshop space, heavy and difficult to move.
4. Benchtop Lathes
These are essentially compact versions of larger lathes, designed to sit on a workbench. They offer a middle ground between mini and midi lathes, providing reasonable power and capacity for a variety of projects without requiring a massive footprint.
Pros: More capable than mini lathes, compact enough for many workshops.
Cons: Less capacity than full-size lathes, can vibrate more if not properly secured.
Key Features to Consider When Buying
When you’re ready to buy, here are some essential features to keep an eye on:
Motor Power: Measured in horsepower (HP). More power means the lathe can handle larger or denser woods without bogging down. For beginners, 1/2 HP to 1 HP is usually sufficient.
Swing: This refers to the maximum diameter of a workpiece that can be turned. It’s determined by the distance from the center of the headstock spindle to the top of the bed. A larger swing allows for larger bowls.
Distance Between Centers (or Bed Length): This is the maximum length of a workpiece that can be mounted between the headstock and tailstock.
Variable Speed Control: This is a highly desirable feature. It allows you to easily adjust the RPM (revolutions per minute) of the lathe. Lower speeds are safer for roughing out shapes and when working with larger pieces, while higher speeds are good for finishing. Look for lathes with a wide speed range.
Reversible Spindle: Some lathes allow the spindle to turn in the opposite direction. This can be helpful for certain finishing techniques.
Indexing Head: This feature allows you to lock the spindle in set positions, which is useful for drilling holes or carving flutes around the workpiece.
Weight and Stability: A heavier lathe will generally vibrate less, leading to smoother cuts and a more enjoyable experience. Ensure the lathe you choose is stable or can be securely mounted.
Here’s a quick comparison table for common lathe types:
| Lathe Type | Typical Swing Diameter | Typical Distance Between Centers | Best For | Beginner Friendly |
|---|---|---|---|---|
| Mini Lathe | 8 to 12 inches | 16 to 18 inches | Pens, small bowls, spindles | Excellent |
| Midi Lathe | 12 to 16 inches | 18 to 40 inches (often expandable) | Medium bowls, spindles, smaller furniture parts | Very Good |
| Full-Size Lathe | 16 inches and up | 40 inches and up (often expandable) | Large bowls, furniture legs, large projects | Good (with proper training) |
| Benchtop Lathe | 10 to 14 inches | 16 to 36 inches | A good all-rounder for many projects | Very Good |
Essential Lathe Tools for Woodworking Beginners
You can’t turn wood without tools! Here are the essential chisels and accessories you’ll need to get started:
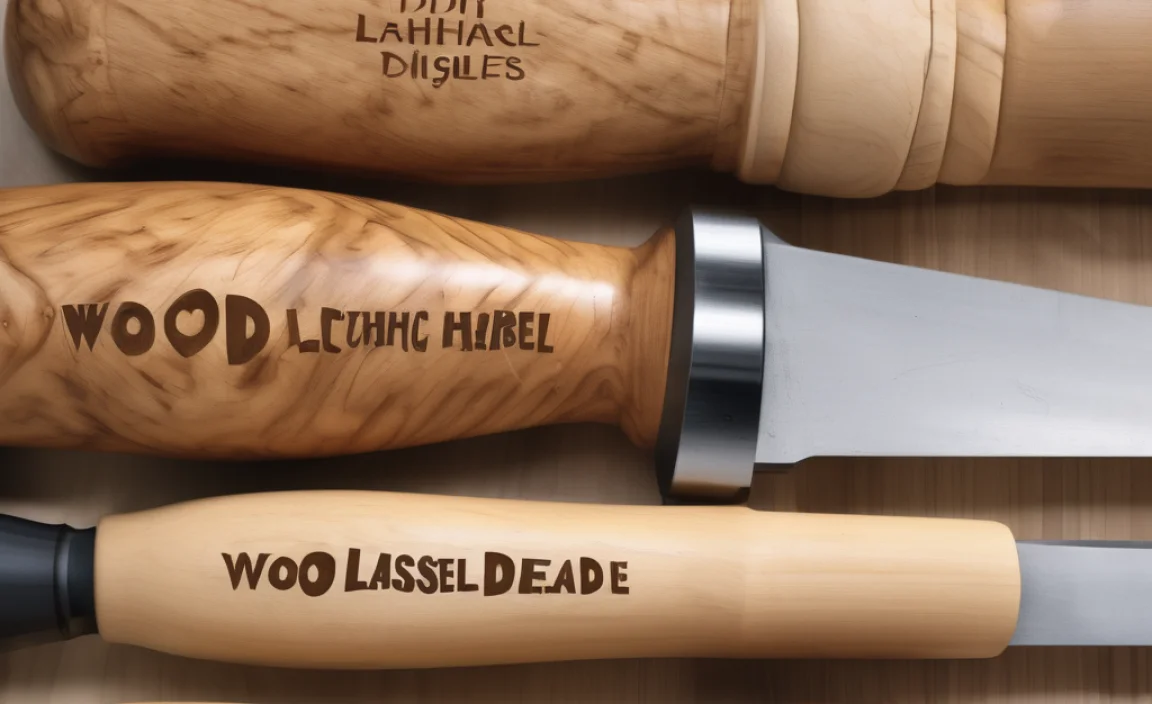
Turning Tools (Chisels)
These are the sharp blades you’ll use to shape the wood. It’s always better to invest in good quality tools, as they hold an edge longer and are easier to sharpen.
Spindle Gouge: Used for shaping spindle turnings (like legs or balusters). It has a fluted, scooped shape.
Bowl Gouge: Similar to a spindle gouge but usually larger and more robust, designed for turning bowls.
Scraper: Used for smoothing surfaces, especially on bowls. They don’t cut like gouges but “shave” the wood.
Parting Tool: A thin, sharp tool used to cut narrow grooves, often to separate a finished piece from the stock.
Skew Chisel: A flat chisel with an angled cutting edge, useful for shaving end grain and creating smooth surfaces on spindles.
Beginner Tip: Start with a basic set that includes a spindle gouge, a bowl gouge, and perhaps a scraper. You can always add more specialized tools later.
Other Essential Accessories
Faceplate: A flat disc that screws onto the headstock spindle. You can attach larger workpieces, like bowl blanks, to it.
Drive Center/Spur Drive: This fits into the tailstock and drives into the wood workpiece, preventing it from spinning on the spindle.
Live Center: This fits into the tailstock and spins with the workpiece, providing support without digging into the wood. Essential for longer turnings.
Chucks: These are specialized devices that grip the workpiece either from the inside or outside of a hole. They are incredibly versatile, especially for bowl turning, and allow for easy mounting and remounting of pieces. While not strictly essential for absolute beginners, a chuck significantly enhances capabilities and is a worthwhile investment.
Safety Gear: Absolutely non-negotiable!
Safety Glasses/Face Shield: Protect your eyes from flying chips.
Dust Mask/Respirator: Wood dust can be harmful to your lungs.
Hearing Protection: Lathes can be noisy.
Appropriate Clothing: Avoid loose clothing or jewelry that could get caught.
Setting Up Your Lathe Safely
Safety is paramount when operating any machinery, and a lathe is no exception. Before you even turn it on, ensure your setup is secure.
1. Stable Location: Place your lathe on a sturdy, level surface. A dedicated stand or very robust workbench is ideal. Avoid placing it on anything wobbly.
2. Secure Mounting: If your lathe allows, bolt it down to its stand or workbench. This prevents it from “walking” or vibrating excessively during operation.
3. Clear Workspace: Ensure the area around your lathe is free of clutter. You need space to move around the lathe safely and to catch any pieces that might break free.
4. Check Power: Make sure the power cord is in good condition and grounded.
5. Inspect Lathe: Before each use, check that the tool rest is securely positioned, the tailstock is locked, and there are no loose parts.
You can find great safety guidelines from organizations like the Occupational Safety and Health Administration (OSHA) which provide general guidance for woodworking machinery safety, applicable to lathes: https://www.osha.gov/.
Your First Turning Project: A Simple Spindle
Let’s get you turning! A simple spindle is a classic first project. It teaches you basic tool control and shaping.
Materials Needed:
A piece of straight-grained hardwood (like maple or cherry), about 12 inches long and 3-4 inches square.
Your lathe, set up safely.
Essential turning tools: spindle gouge, skew chisel, parting tool.
Drive center and live center.
Safety gear!
Steps:
1. Prepare the Blank: Measure and cut your wood blank to the desired length and ensure the ends are somewhat square. This will make mounting easier.
2. Mark Center Lines: Find and mark the center point on both ends of your blank. This is crucial for accurate mounting.
3. Mount the Blank:
Place the drive center (the one with spurs) into the tailstock. Position the tailstock near the headstock.
Place your wood blank onto the headstock spindle. Screw on a faceplate or mount it between centers.
If using centers: Insert the live center (the one that spins) into the tailstock quill.
Advance the tailstock until it lightly contacts the blank. Ensure the blank is snug between the drive center (headstock) and live center (tailstock).
Lock the tailstock in place and retract its quill slightly so the blank is held firmly but not excessively stressed. The distance between centers should be such that the blank can barely be turned by hand.
4. Position Tool Rest: Adjust the tool rest so it’s close to the workpiece (about 1/8 inch gap) and positioned slightly below the center line of the spindle for initial cuts. It should be parallel to the blank.
5. Set Lathe Speed: Start at a low speed, around 500-800 RPM. For a 12-inch blank, you might start around 800 RPM. Higher speeds are for smaller pieces.
6. Roughing the Blank:
Turn the lathe on.
Using the spindle gouge, start at the headstock end and gently begin to round over the square blank. Make light cuts, moving from end to end. The goal is to remove the corners and create a basic cylinder.
As you remove material, the blank will become more round, and the vibration will decrease.
7. Shaping the Spindle:
Once you have a cylinder, you can start shaping. Use your spindle gouge or skew chisel to create tapers, beads, and coves.
Remember to make light, shearing cuts. Rest your tool on the tool rest and use your body for leverage.
Keep the tool rest very close to the wood as you shape.
8. Using the Parting Tool: Use the parting tool to create narrow grooves where you want to define sections or eventually part the piece off.
9. Final Sanding: Once you’re happy with the shape, turn the lathe off and sand the workpiece. Start with a medium grit (like 120) and move to finer grits (220, 320, or higher) while the lathe is spinning at a moderate speed. Turn off the lathe for lower grit sanding.
10. Parting Off: With the lathe at a slow speed, use the parting tool to carefully cut the finished spindle from the remaining stock. Leave a small shoulder to avoid the tool digging in too quickly. Once parted, you’ll have a small tenon on each end to clean up on a different setup if needed, or you can use sandpaper for this.
Advanced Techniques & Projects
Once you’ve mastered the basics, the world of woodturning opens up!
Bowl Turning: This involves hollowing out a blank on the lathe. It requires a chuck for secure mounting and specialized bowl gouges.
Spindle Work: Creating decorative elements like balusters for staircases, chair legs, and lamp bases.
Segmented Turning: Building up hollow forms from many small pieces of wood glued together.
Hollowing and Finishing: Learning techniques for safely hollowing bowls and applying durable finishes.
Texturing and Graining: Using specialized tools to add decorative textures or accent wood grain.
For more on advanced techniques and safety, the American Association of Woodturners (AAW) is an excellent resource: https://www.woodturner.org/
Lathe Maintenance: Keeping Your Machine in Top Shape
Just like any tool, your lathe needs a little TLC to keep it running smoothly and safely.
Cleaning: Regularly wipe down the bed, ways, and headstock/tailstock to remove wood dust and debris. A clean machine is a safer machine.
Lubrication: Check your lathe’s manual for lubrication points (like the ways or tailstock mechanism) and apply lubricant as recommended.
Tool Sharpening: Your turning tools will dull with use. Invest in a good sharpening system (grinding wheel, honing stones) and learn to keep your tools razor-sharp. Dull tools are dangerous and produce poor results.
Belt Tension: If your lathe has a belt-driven motor, check the belt tension periodically. Too loose and it can slip; too tight and it can strain the motor.
Frequently Asked Questions About Woodworking Lathes
What kind of wood is best for lathe beginners?
Hardwoods like maple, cherry, walnut, and ash are generally best for beginners. They are dense enough to hold their shape but not so hard that they are difficult to cut. Softwoods can be too fuzzy or tear out easily.
How much should I expect to spend on a beginner lathe?
For a quality mini or midi lathe, expect to spend anywhere from $300 to $800, depending on features and brand. Full-size lathes can range from $1,000 to several thousand dollars. Don’t forget to budget for essential tools and safety gear, which can add another $200-$500.
Is woodturning safe? What are the biggest risks?
Woodturning can be very safe if you follow proper procedures and always wear your safety gear. The biggest risks include:
Flying debris: Wood chips or entire workpieces breaking apart. Always wear eye and face protection.
Catching loose clothing/hair: Never wear loose clothing, jewelry, or have long, untied hair near a spinning lathe.
Tool kickback: When a tool catches incorrectly, it can be thrown back at the operator. Proper tool angles and a secure tool rest help prevent this.
* Dust inhalation: Always use a dust mask or respirator.
What’s the difference between a lathe for woodworking and a lathe for metalworking?
Wood lathes are designed for woodworking and typically operate at slower speeds with much higher torque. They use cutting tools applied by hand. Metal lathes operate at much higher speeds and are designed to cut metal with fixed tool bits. They are built much more robustly and are significantly more expensive.
Do I need a lathe chuck to start turning bowls?
While you can start turning bowls using a faceplate, a chuck significantly improves safety and versatility with bowl turning. It allows you to hold the bowl


