Imagine you’re in a workshop, working on a cool project. Suddenly, your milling tool breaks. What do you do? This common problem frustrates many makers and craftsmen. Milling tool breakage can ruin your work and waste time.
In this article, we’ll dive into troubleshooting methods for milling tool breakage. You’ll learn how to spot the signs of wear and tear. You’ll also discover ways to prevent these breakages from happening. Did you know that even the most experienced machinists face these issues? Understanding why tools break can help you improve your skills.
Are you ready to become a better craftsman? Let’s explore this topic together and turn those tool troubles into triumphs!
Milling Tool Breakage Troubleshooting: Causes And Solutions
Milling tool breakage can be frustrating. Understanding the causes helps prevent issues. Check for improper speeds and feeds. Also, inspect for tool wear or damage. Did you know that most breakage occurs in the first few uses? This shows the importance of proper setup. Additionally, ensuring your workpiece is secure can make a big difference. Making small adjustments can save time and money. Effective troubleshooting can lead to smoother operations and better results.
Understanding Milling Tool Breakage
Definition and importance of milling tools in manufacturing. Common causes of milling tool breakage. “`html
Milling tools are essential in manufacturing. They cut, shape, and smooth materials, turning raw stuff into cool products. Think of them like magic wands—but for machines! When these tools break, it can cause delays and waste time. Some common reasons for breakage include too much pressure, dull edges, or even just bad luck. Yes, bad luck is a thing in milling!
| Common Causes of Breakage | Details |
|---|---|
| Excessive Force | Putting too much weight can snap a tool like a dry twig! |
| Dull Cutting Edges | When tools get tired, they don’t cut well, leading to breakage. |
| Improper Setup | If things aren’t lined up, chaos can ensue—and so can breakage! |
Understanding these causes helps improve efficiency and keeps production running smoothly. Remember, a healthy milling tool is a happy milling tool!
“`
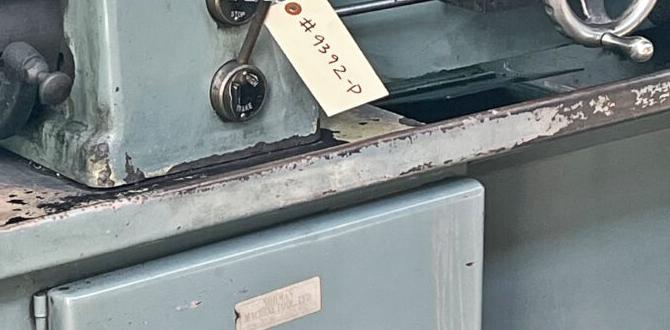
Signs of Milling Tool Wear and Breakage
Visual indicators of tool wear. Performance issues and their relation to tool breakage.
Keeping an eye on your milling tools can save you time and money. Wear and breakage can show themselves in sneaky ways. Look for visible signs like chips, scratches, or dull edges on the tool. These could mean it’s time to retire your trusty companion! Performance issues often follow. If the tool starts making odd noises or creates rough surfaces, it might be crying out for help. Always pay attention! A little poke here and there might save you from a big mess later!
| Visual Signs | Performance Issues |
|---|---|
| Chips on edges | Odd noises during operation |
| Dull surfaces | Rough finished products |
| Scratches | Increased vibrations |
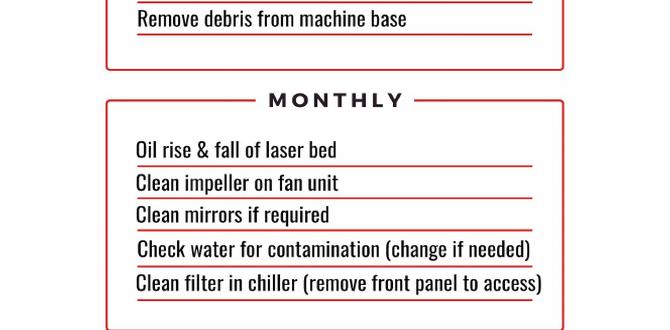
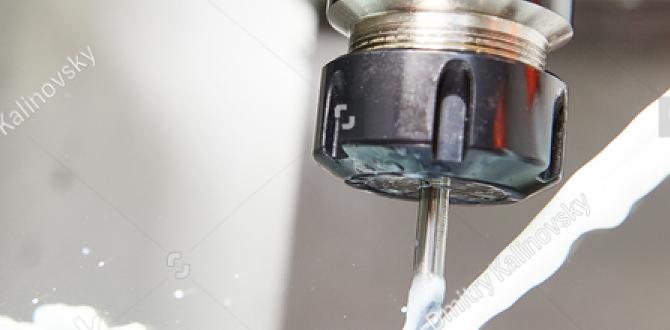
Preventive Measures for Tool Breakage
Best practices in tool selection and maintenance. The role of coolant and lubrication in preventing breakage.
Choosing the right tools is vital for avoiding breakage. Always pick tools that match your project needs. Keep them clean and sharp. Regular maintenance extends their life. Using coolant and lubrication reduces friction. This helps the tool work better and cooler. Proper flow of coolant protects against heat damage too. Together, these steps greatly lower the risk of tool breakage.
What are good practices for tool maintenance?
Best practices include regularly checking tools for wear, cleaning after use, and using the right lubricant.
Key Tips:
- Choose high-quality tools.
- Keep tools sharp.
- Use appropriate coolant and lubrication.
- Perform regular inspections.
Immediate Troubleshooting Steps
Initial checks to diagnose potential breakage. Quick adjustments to minimize damage during operations.
Check your machine right away if you suspect a milling tool is breaking. Look for loose parts or signs of wear. These small things can lead to big problems. Make quick adjustments to prevent further damage. Here are some steps:
- Stop the machine immediately.
- Inspect the tool and workpiece.
- Tighten any loose bolts or parts.
- Adjust speeds if needed.
Taking fast action will save time and materials.
What should I do first after noticing tool breakage?
First, stop the machine and look for any damage. Checking for loose pieces is very important too.
Advanced Troubleshooting Techniques
Monitoring vibrations and acoustics for early detection. Utilizing data analytics and machine learning for preventive measures.
Listening to how machines sound is important. They make different noises based on their condition. By checking vibrations, you can spot potential problems early. Using data analytics and machine learning helps predict when something might break. This can save time and money! Regular checks with these tools can prevent tool breakage during milling. Here are two key techniques:
- Monitor sound patterns for changes.
- Use data to identify risks before they happen.
How do vibrations and sounds help?
Vibrations and sounds can reveal issues before they become serious problems. They act like signals, alerting you to fix things sooner.
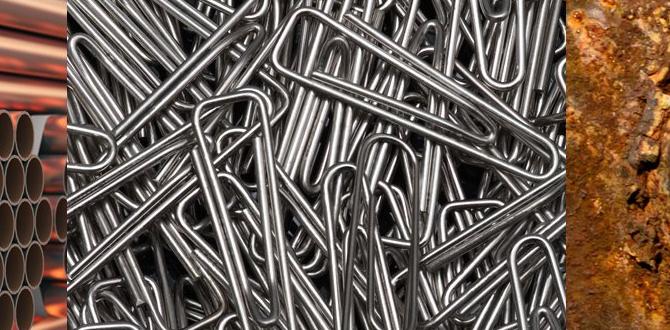
Choosing the Right Replacement Tools
Factors to consider when selecting replacement milling tools. Comparison of material types and coatings.
Finding the right replacement tools is like picking the perfect snack. You want something that fits! Always consider materials and coatings. For example, carbide tools are super tough, while HSS tools are easier to sharpen. Also, coatings can change everything! A good coating can make a tool last longer and work better. It’s like giving the tool a shiny new superhero suit!
| Material Type | Durability | Cost |
|---|---|---|
| Carbide | High | Higher |
| High-Speed Steel (HSS) | Medium | Lower |
Also, consider the tool’s job. Some are meant for heavy cutting, while others are for precision. It’s like choosing between a sledgehammer and a tiny chisel—each has its place!
Case Studies of Successful Breakage Management
Examples from industry leaders on effective troubleshooting strategies. Lessons learned from tool breakage incidents.
Many industry leaders faced tool breakage challenges and learned valuable lessons. One company reduced breakages by 30% through regular equipment checks and staff training. Another improved speed by using stronger materials for tools. These changes showed that careful planning helps avoid tool loss. Here are some key points:
- Regular inspection is vital.
- Training staff is essential.
- Use better tool materials.
- Plan ahead to reduce issues.
By learning from tool breakage incidents, companies can be more effective and save money.
What can we learn from tool breakage incidents?
We can learn to prevent future breakages by inspecting tools regularly. This helps catch problems early. Training workers also makes them aware of tool care.
Resources for Further Learning
Recommended books and publications on milling tool maintenance. Online courses and seminars focused on machining and tool management.
For those looking to deepen their understanding of milling tool maintenance, several books can provide valuable insights. Titles like “Machine Tool Maintenance” and “The Art of Machining” are great resources. Don’t worry; they don’t bite!
Online, you’ll find courses and seminars that are just a click away. Platforms like Coursera and Udemy offer workshops on machining and tool management. Join in and turn those ideas into action!
| Resource Type | Name | Link |
|---|---|---|
| Book | Machine Tool Maintenance | Buy Here |
| Course | Introduction to Machining | Enroll Now |
Conclusion
In summary, troubleshooting milling tool breakage means identifying causes and fixing problems. Check your tools regularly for wear. Adjust your speed and feed rates. Always use the right tool for the job. By following these steps, you can reduce breakage and improve your work. For more tips, we encourage you to read further on this topic!
FAQs
What Are The Common Signs Of Milling Tool Breakage During Operation, And How Can They Be Detected Early?
You can spot signs of milling tool breakage by watching for strange noises or changes in how the tool cuts. If the tool starts making loud sounds or if the material looks rough, it might be broken. You can check the tool regularly to catch these signs early. Keeping an eye on the tool helps us avoid more problems later.
What Factors Contribute To The Premature Wear And Breakage Of Milling Tools, And How Can They Be Mitigated?
Milling tools can wear out and break early for a few reasons. If you use the wrong speed or feed rate, they can get too hot and wear down quickly. Dirt or hard materials can also cause damage. To help, you can clean the tools and use the right settings when you work. Regularly checking and replacing tools helps keep everything running smoothly.
How Can The Choice Of Cutting Parameters (Speed, Feed Rate, Depth Of Cut) Influence The Likelihood Of Milling Tool Breakage?
The choice of cutting parameters really matters! If you set the speed too high, the tool might get too hot and break. A fast feed rate could push the tool too hard, also causing breakage. If the depth of cut is too deep, it can stress the tool too much. So, we need to pick these settings carefully to keep the tools safe.
What Types Of Materials And Coatings Are Best Suited For Milling Tools To Reduce The Risk Of Breakage In Different Machining Applications?
To keep milling tools from breaking, we can use strong materials like carbide or high-speed steel. These materials are tough and can handle a lot of pressure. We can also add special coatings, like titanium nitride, to make them even tougher. These coatings help the tools last longer and work better. Always choose the right materials for the job to prevent breakage!
What Troubleshooting Steps Should Be Taken If A Milling Tool Breaks During A Machining Operation, Both To Address The Immediate Issue And To Prevent Future Occurrences?
If a milling tool breaks, first, stop the machine right away to keep everyone safe. Check what caused the break. Look for signs of wear, like a dull edge. Replace the broken tool and make sure it’s the right type for the job. To prevent future breaks, always check your tools before starting and make sure you’re using the right speed and feed for the material.