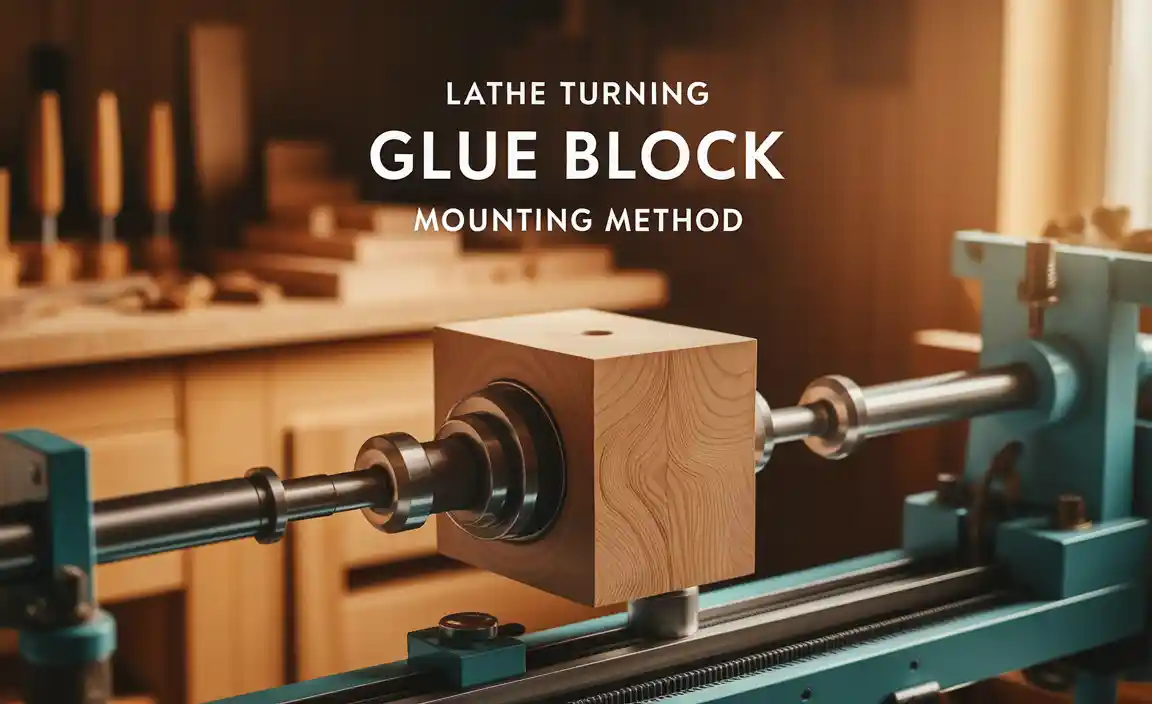
A mini wood lathe for kids projects is a fantastic way to introduce young minds to woodworking and the satisfaction of creating with their own hands. These projects are designed to be safe, fun, and educational, fostering creativity and building essential skills with simple, rewarding results.
Learning to work with wood can be incredibly rewarding, and the right tools make all the difference, especially for younger crafters. You might be wondering if a wood lathe is too advanced or even safe for kids. The good news is, with a mini wood lathe designed specifically for them and the right guidance, the answer is a resounding yes! These compact and user-friendly machines unlock a world of creative possibilities. We’ll explore some genius, essential projects that are perfect for beginners and will have your young woodworker turning and creating in no time. Get ready to spark some serious creativity!
Why a Mini Wood Lathe is Great for Kids
A mini wood lathe isn’t just a smaller version of an adult machine; it’s often designed with kids in mind. Safety features are paramount, and they usually come with lower speeds and smaller motor sizes, making them more manageable for younger users. This focus on safety, combined with smaller, more approachable project sizes, makes them ideal for introducing fundamental woodworking concepts. Kids can learn about wood grain, tool control, and the satisfaction of shaping material into something tangible. It’s a hands-on way to develop fine motor skills, patience, and problem-solving abilities—all while having a blast!
Key Benefits for Young Woodworkers:
Enhanced Fine Motor Skills: Handling tools and shaping wood requires precision, which helps develop dexterity.
Improved Focus and Patience: Lathe work encourages concentration and the understanding that projects take time and care.
Understanding of Materials: Kids learn about different types of wood, their properties, and how they react to tools.
Boosted Creativity and Problem-Solving: Designing and executing projects fosters imagination and the ability to overcome challenges.
Sense of Accomplishment: Completing a project, no matter how small, provides a significant confidence boost.
Introduction to Woodworking Safety: Learning proper tool handling from a young age instills good habits for a lifetime.
Choosing the Right Mini Wood Lathe for Kids
When selecting a mini wood lathe for a young aspiring woodworker, a few things are crucial. Safety should always be the top priority. Look for models with variable speed controls, as starting at a lower RPM is much safer for beginners. A sturdy, stable design is also important to prevent wobbling. Consider the size; a compact lathe is easier to manage and store. Many kid-focused lathes come with starter tool sets that are appropriately sized for smaller hands.
Essential Features to Look For:
Variable Speed Control: Allows starting slow and gradually increasing speed as skill and confidence grow.
Sturdy Base: Reduces vibration and ensures stability during operation.
Safety Guarding: Some models may include guards that offer an extra layer of protection.
Appropriate Size and Weight: Easy for younger users to handle and maneuver.
Included Tool Set: Starter chisels and gouges that are sized and shaped for beginners.
Power Input: Most mini lathes operate on standard household current, making them easy to use anywhere.
For a great starting point on safety and tool selection, resources from organizations like the Wood Magazine offer valuable insights into safe woodworking practices for all ages.
Safety First: Essential Precautions for Kids on the Lathe
Safety is non-negotiable when working with any power tool, and a mini wood lathe is no exception. Before any turning begins, a thorough safety briefing is essential. Always ensure the lathe is on a stable surface. Kids should wear safety glasses at all times—no exceptions. Long hair should be tied back, and loose clothing or jewelry should be avoided. Using the correct tools for the job and ensuring they are sharp makes them safer and easier to control. Always supervise children closely while they are using the lathe.
The Cardinal Rules of Lathe Safety for Kids:
- Always wear safety glasses: Protect those precious eyes from flying debris.
- Secure work area: Ensure the lathe is on a stable, non-slip surface.
- Tie back hair and avoid loose clothing: Remove anything that could get caught in the spinning mechanism.
- Use sharp tools: Dull tools require more force and can slip.
- Start slow: Begin with the lowest speed setting and gradually increase as confidence grows.
- Keep hands clear: Never touch the workpiece or tool while it’s spinning unless actively shaping.
- Adult supervision: Always have a responsible adult present and actively supervising.
- Workpiece security: Ensure the wood is firmly secured to the lathe between centers or in the chuck.
Understanding the mechanics of how the lathe works is also part of safety. Familiarize yourself with the on/off switch, speed controls, and how to stop the machine quickly if needed.
Genius Essential Projects for a Mini Wood Lathe
Now for the fun part! These projects are chosen because they are relatively simple, rewarding, and build foundational skills on the lathe. They use readily available materials and don’t require complex techniques, making them perfect for young beginners.
Project 1: The Classic Spin Top
A spin top is a fantastic first project. It’s small, requires minimal wood, and the result is instantly playable. It teaches basic spindle turning and shaping.
Materials:
A small block of softwood (e.g., pine, basswood), about 2-3 inches in diameter and 4-6 inches long.
Wood glue.
A small screw or nail for the pivot point.
Optional: Paint or wood stain for decoration.
Tools:
Mini wood lathe.
Spindle roughing gouge.
Spindle skew chisel.
Parting tool.
Sandpaper (various grits).
Drill (for the screw/nail hole).
Steps:
- Prepare the Wood: Cut a block of wood to size. If it’s not perfectly round, you can “round it over” on the lathe by holding a pencil against the spinning wood and marking an approximate circle.
- Mount the Wood: Secure the wood block between the lathe’s centers.
- Rough Turning: Using the spindle roughing gouge, carefully remove the corners to create a basic cylinder. Keep cuts light and controlled.
- Shape the Top: Using the skew chisel, begin to shape the top. Create a rounded or slightly conical top section and a tapered body. The trickiest part is creating the small point at the base.
- Create the Pivot Point: Use the parting tool to cut a small groove where the top will eventually spin freely.
- Sand Smooth: Once basic shaping is done, use sandpaper in progressively finer grits to smooth the entire surface. Hold the sandpaper against the spinning wood.
- Drill the Pivot Hole: Remove the top from the lathe. Drill a small pilot hole in the center of the wider end. Then, drill a slightly larger hole for the screw or nail to pass through, allowing it to spin.
- Attach the Pivot: Insert a screw or nail, ensuring it protrudes just enough to act as a pivot point. Test the spin.
- Finishing: Sand any rough edges. Add paint or stain if desired. Let it dry completely.
This project is excellent for learning how to handle different chisels and achieve smooth, flowing shapes.
Project 2: Simple Wooden Bowls or Cups
These are slightly more advanced but introduce faceplate turning and hollowing techniques. Start with shallow bowls or simple cups.
Materials:
A thicker block of wood (around 4-6 inches in diameter and 2-4 inches thick).
Wood glue (if laminating to make a thicker blank).
Optional: Food-safe finish (like mineral oil) if intended for use with food.
Tools:
Mini wood lathe.
Faceplate or spur drive center.
Bowl gouge.
Scraper (optional, for smoothing. Use with extreme caution).
Sandpaper (various grits).
Steps:
- Prepare the Blank: If your wood block isn’t thick enough, you can glue two pieces together and let them dry thoroughly. Shape it into a rough circle before mounting.
- Mount the Blank: Attach the wood to a faceplate or use a spur drive center. Ensure it’s securely fastened.
- Faceplate Turning: With the faceplate securely attached, turn the lathe on at a slow speed. Use the bowl gouge to flatten the face of the wood and begin to define the outer shape of your bowl or cup.
- Hollowing: Carefully introduce the bowl gouge into the center of the rotating wood. Work in controlled sweeps to begin hollowing out the inside. Take shallow passes. It’s easier to remove more wood than to add it back!
- Shape the Walls: Gradually deepen the hollow, constantly checking wall thickness with your fingers (gently!) or calipers. Aim for consistent thickness.
- Exterior Shaping: Once the interior is mostly done, you can refine the exterior shape, creating a base and transitions.
- Sanding: This is crucial for a good finish. Start with coarser grits (e.g., 120) and move to finer grits (e.g., 220, 400). Ensure the entire surface is smooth.
- Finishing: If making a cup or bowl for food, use a food-safe finish like mineral oil. For decorative items, you can use varnish or paint.
This project teaches the importance of workpiece security and controlled hollowing, a key skill in bowl turning. For more intricate bowl designs and advanced techniques, always refer to trusted woodworking resources. Popular Woodworking offers excellent safety tips for bowl turning.
Project 3: Wooden Beads or Drawer Knobs
These small, repetitive projects are perfect for practicing consistency and creating components for other crafts.
Materials:
Scrap wood pieces (hardwood or softwood).
Small dowel rods (if making bead sets).
Screws or threaded inserts (for drawer knobs).
Tools:
Mini wood lathe.
Spindle gouge or skew chisel.
Parting tool.
Drill.
Sandpaper.
Steps (for Beads):
- Prepare the Blank: Cut small sections of wood, about 1-inch cubes or short cylinders.
- Mount and Square: Mount the wood between centers. Use the roughing gouge to turn it into a cylinder.
- Shape the Bead: Use the skew chisel or spindle gouge to create the rounded or oval shape of the bead.
- Part Off: Use the parting tool to cut the bead off the main stock, leaving a small tenon for holding.
- Drill Hole: Once off the lathe, drill a hole through the center of the bead. A drill press ensures accuracy.
- Sand and Finish: Sand the beads smooth and apply a finish.
Steps (for Knobs):
- Prepare the Blank: Similar to beads, but you might want a larger diameter.
- Mount and Shape: Turn the wood to your desired knob shape. This could be a simple sphere, a mushroom shape, or something more decorative.
- Drill for Attachment: Before parting off, drill a hole through the center of the knob. This hole should be sized to accept a screw or a threaded insert.
- Part Off: Cut the knob from the lathe.
- Install Hardware: Insert a threaded insert or prepare for a screw to pass through.
- Sand and Finish: Sand and apply your chosen finish.
These projects are great for practicing precise cuts and consistent shapes. They can be used to embellish other DIY projects or as standalone decorative items.
Project 4: Simple Pens
A wooden pen is a classic lathe project that offers a great sense of accomplishment. It typically involves using a pen kit.
Materials:
A pen kit (available from most craft or woodworking suppliers).
A wood blank sized for your pen kit (often around 3/4 inch square and 5-6 inches long).
Drill bits of specific sizes for the pen kit.
Tools:
Mini wood lathe.
Spindle gouge.
Skew chisel.
Parting tool.
Drill press.
Sandpaper.
Bushings specific to your pen kit.
Steps:
- Prepare the Blank: Drill two holes through the length of your wood blank, following the specific instructions for your pen kit. These holes are where the pen tubes will be inserted.
- Insert Tubes: Apply wood glue into the drilled holes and insert the brass tubes from the pen kit. Clean off any excess glue immediately. Let it cure completely per the glue instructions.
- Mount the Blank: Once the glue is dry, mount the wood blank with the tubes onto the lathe. You’ll typically use bushings that fit onto the tubes, and then mount these between centers.
- Turn to Shape: Using the spindle gouge and skew chisel, carefully turn the wood down to the diameter of the bushings. This ensures you turn the wood perfectly cylindrical and flush with the tubes.
- Shape the Pen: Remove the bushings and start shaping the pen. You can create a classic tapered shape, a more modern straight barrel, or a decorative profile. Take light passes.
- Sand and Finish: Sand the wood smooth while it’s still on the lathe, starting with coarse grit and progressing to very fine. Apply your chosen finish—often a friction polish or a thin CA glue finish works well for pens.
- Assemble the Pen: Once both halves of the pen are shaped, sanded, and finished, follow the pen kit’s instructions to assemble the pen components.
This project introduces the concept of using kits and working with smaller, more precise components. You can find excellent pen kit suppliers and tutorials online, such as those found on Woodcraft.
Considerations for Wood Selection
The type of wood you choose can significantly impact the learning experience. For beginners, softwoods like pine, basswood, or poplar are excellent choices. They are relatively inexpensive, easy to cut, and forgiving for mistakes. As confidence grows, you can experiment with harder woods like maple, cherry, or walnut, which offer beautiful grain patterns and more durability but require sharper tools and a bit more control.
Wood Types for Beginners:
Pine: Very soft, easy to cut, affordable. Great for first attempts.
Basswood: Also soft, fine grain, holds detail well. A good all-around beginner choice.
Poplar: A bit harder than pine or basswood, but still manageable with sharp tools.
Ash: Moderate hardness, distinct grain pattern, good for spindle work.
Maple: Hardwood, fine grain, excellent for smooth finishes. Requires sharper tools.
Cherry: Medium-hardwood, beautiful color, takes a great finish.
Always ensure the wood is dry and free of knots or defects in critical areas to prevent breakage during turning.
Understanding Lathe Speeds
Lathe speed is a critical factor in both safety and the quality of your work. For mini wood lathes, especially with kids, starting slow is key. A general rule of thumb for beginners is to start at the lowest RPM setting and only increase it as comfort and skill allow. The ideal speed depends on the size and type of wood being turned, as well as the tool being used. Larger, unbalanced pieces should always be turned at lower speeds.
Here’s a general guideline; always consult your lathe’s manual for specific recommendations:
| Project Type | Wood Diameter | Suggested Speed (RPM) | Notes |
| :—————— | :———— | :——————– | :—————————————- |
| Roughing (Spindle) | 2-4 inches | 500 – 1000 | Start slow, increase gradually. |
| Spindle Turning | 1-3 inches | 800 – 1500 | Depends on shape and tool. |
| Preparing for Cuts | Any | 1000 – 1500 | Stable speed for tools. |
| Final Shaping | 1-3 inches | 1200 – 2000 | Can increase for smoother cuts. |
| Faceplate Turning | 4-6 inches | 400 – 800 | Generally slower due to larger diameter. |
| Small Items (Beads) | 1-3 inches | 1500 – 2500 | Smaller items can often spin faster. |
Always prioritize safety. If the wood vibrates excessively or makes unusual noises, REDUCE THE SPEED IMMEDIATELY.
Beyond the Basics: What’s Next?
Once a child has mastered these foundational projects, the world of woodturning opens up even further. They might want to try making:
* Furniture legs or spindles for small dollhouse furniture.