Quick Summary: A radius cutter for a lathe is a specialized tool designed to create smooth, curved edges (radii) on workpieces. It’s essential for achieving professional finishes, improving part strength, and adding aesthetic appeal to manufactured items, making it a genius addition to any machinist’s toolkit.
Ever tried to get a perfectly rounded edge on a metal or wood part with your lathe and found yourself fighting with files or sandpaper? It’s a common frustration for many DIYers and aspiring machinists. Getting precise, repeatable curves can be tricky, especially when you’re just starting out. But what if there was a tool that made creating these smooth, flowing edges not just possible, but easy? Enter the radius cutter for your lathe. This simple yet ingenious tool can transform your projects, giving them a professional look and feel. We’re going to break down exactly what a radius cutter is, why you absolutely need one, and how to start using it to create beautiful, functional parts. Get ready to elevate your workpiece finishing game!
What is a Radius Cutter for Lathe?
A radius cutter, often called a fillet cutter or corner rounding tool, is a specific type of cutting tool used on a lathe or milling machine. Instead of a sharp, straight edge like a typical turning tool, its cutting edge is shaped into a specific curve, or radius. When you feed this tool into your workpiece on the lathe, it carves out a smooth, concave or convex radius.
Think of it like this: a standard lathe tool cuts a straight line, creating sharp corners or chamfers. A radius cutter, on the other hand, cuts a gentle arc. This is incredibly useful for several reasons:
- Aesthetics: Rounded edges simply look more finished and pleasing to the eye.
- Functionality: Radiused corners can reduce stress concentration, making parts stronger and less prone to cracking, especially in metalworking.
- Safety: Sharp corners can be catching hazards. Rounded edges are safer to handle.
- Ease of Use: It’s much faster and more accurate to use a radius cutter than to try and shape a radius by hand.
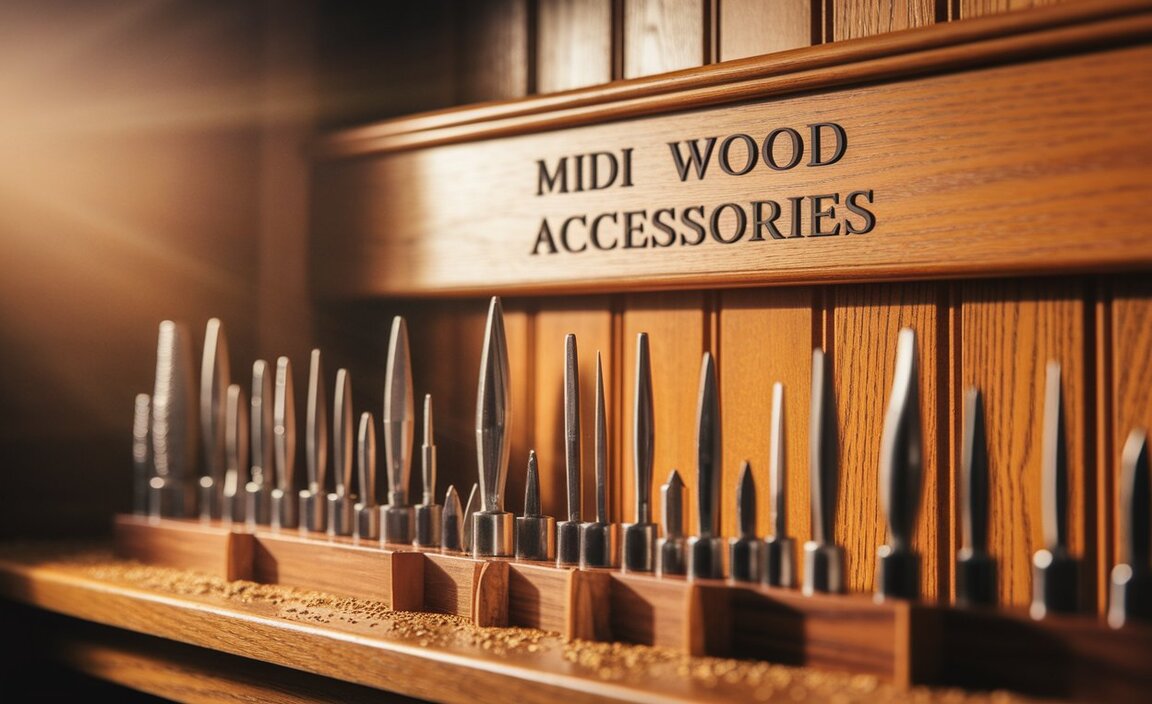
Radius cutters come in various sizes, each designed to create a specific radius, making them a versatile addition to your tool collection. They are particularly popular in both metalworking and woodworking for achieving those perfect, smooth transitions.
Why is a Radius Cutter a “Genius Essential”?
The term “genius essential” might sound like marketing hype, but for anyone who’s spent time on a lathe, it rings true. Here’s why:
- Problem Solved Immediately: The problem of achieving consistent, clean radii is directly addressed. No more guesswork or tedious hand-filing.
- Time Saver: What might take minutes of careful handwork can be done in seconds with a radius cutter. This is crucial for production runs or when you just want to move on to the next step.
- Precision and Repeatability: Once you set up and use a radius cutter, you can create the exact same radius, over and over. This is vital for projects requiring identical parts.
- Improved Part Quality: As mentioned, rounded corners improve strength and durability by distributing stress. This is a major benefit in engineering and functional parts.
- Versatility: With a set of radius cutters, you can tackle a wide range of projects, from small jewelry components to larger mechanical parts.
Essentially, a radius cutter takes a complex or tedious task and turns it into a straightforward, efficient operation. It empowers you to achieve professional-level results with less effort, which is the hallmark of a truly essential tool.
Types of Radius Cutters for Lathes
Radius cutters come in a few main forms, each suited to different tasks and machines. Understanding these will help you choose the right one for your needs.
1. Inserted Radius Cutters (Modern Machining)
These are very common in modern metalworking shops. They feature a tool holder that accepts interchangeable carbide inserts with a specific radius ground onto their cutting edges.
- Pros:
- Highly durable carbide inserts.
- Easy to replace inserts when they wear out or if you need a different radius.
- Can handle high speeds and difficult materials.
- Often used with CNC machinery for automated radius cutting.
- Cons:
- Can be more expensive upfront than brazed tools.
- Requires purchasing multiple inserts for different radii.
2. Solid Carbide Radius Cutters
These are single-piece tools made entirely of solid carbide. They are ground to a specific radius at the tip.
- Pros:
- Extremely hard and wear-resistant.
- Can be resharpened (though this requires specialized equipment).
- Good for producing very fine finishes.
- Cons:
- More prone to chipping than high-speed steel if mishandled.
- Sharpening can be difficult if done in-house.
- If the radius wears or you need a different size, you need a new tool.
3. Brazed-Tip Radius Cutters (Traditional Machining)
Similar to inserted cutters, but the carbide or other hard metal tip is brazed directly onto a steel shank. These are often found in older tool sets or are custom-made.
- Pros:
- Robust construction.
- Can be ground to custom radii.
- Generally more affordable than inserted systems initially.
- Cons:
- If the tip wears or breaks, the entire tool may need to be reground or replaced.
- Re-sharpening can be a significant task.
4. Ball End Mills (Milling, but adaptable)
While technically milling tools, ball end mills are essentially hemispherical cutters. In certain setups, especially with a milling attachment on a lathe or for CNC work, they can be used to create internal or external radii.
- Pros:
- Versatile for creating concave shapes and pockets.
- Available in a vast range of sizes and materials.
- Cons:
- Not their primary function on a standard lathe without specialized attachments.
- Feed rates and depth of cut need careful calculation.
5. Custom-Made or Grinding Fixture Tools (Hobbyist/Specific Needs)
Hobbyists might create their own radius tools by grinding a suitable blank, or they might use a grinding fixture to shape a radius onto a standard tool bit. This is often done with softer steels for woodworking lathes or for light-duty metal tasks.
Choosing the Right Radius for Your Project
The “right” radius depends entirely on your project’s goals. Here are some common considerations:
- Strength (Metalworking): Larger radii distribute stress better. For critical mechanical parts, a common recommendation from engineering standards bodies like ISO (International Organization for Standardization) suggests radii should be as large as practical to avoid stress concentrations at corners. Minimal visible burrs or sharp external corners can dramatically increase fatigue life of a component.
- Aesthetics: Small, subtle radii can look elegant and professional. Larger, more pronounced radii can add a deliberate design feature.
- Machining Limitations: The size of your lathe, the rigidity of your setup, and the material you’re working with will influence how large a radius you can comfortably cut.
- Functionality: Will the radius be a bearing surface? Does it need to accommodate another part? These factors will dictate the size.
A good starting point for general-purpose metal parts is often a 1/16 inch (1.5 mm) or 1/8 inch (3 mm) radius. For woodworking, decorative radii can range from 1/4 inch (6 mm) upwards.
How to Use a Radius Cutter on Your Lathe (Step-by-Step)
Using a radius cutter is straightforward once you understand the basics. We’ll cover turning an external radius on a workpiece. Internal radii are similar but require different tool geometries and setup.
Tools and Materials You’ll Need:
- Lathe (metal or wood)
- Your workpiece
- Radius cutter tool (appropriate size and material for your workpiece)
- Tool holder (if using inserted type)
- Safety glasses (non-negotiable!)
- Face shield (recommended, especially for metal)
- Hearing protection
- Calipers or radius gauge for measurement
- Cutting fluid or lubricant (for metalworking)
- Rags for cleanup
Step 1: Prepare Your Lathe and Workpiece
Ensure your lathe is clean and all guards are in place. Securely mount your workpiece in the chuck or between centers. If working with metal, ensure the workpiece is properly faced and has a square shoulder where you intend to cut the radius. For woodworking, ensure the surface is smooth and free of blemishes.
Step 2: Set Up the Radius Cutter
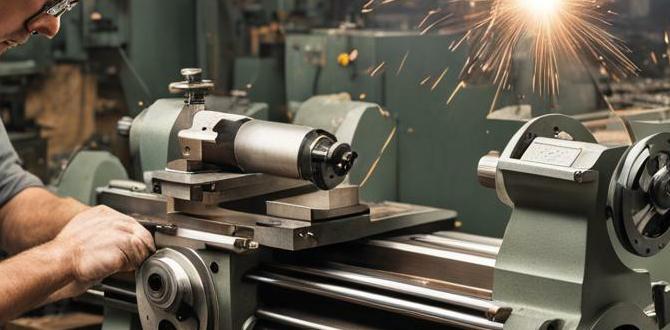
Mount the radius cutter tool in your tool post. For most external radius cuts, you’ll want the cutter to be at the same height as the center of your workpiece (dead center height). If you’re using an inserted cutter, ensure the insert is firmly seated in the tool holder and the holder is secured in the post. If it’s a brazed or solid tool, secure it tightly.
IMPORTANT SAFETY NOTE: Always turn off the lathe before making any adjustments to the tool post or cutter. Ensure all clamps are tight.
Step 3: Position the Cutter for the First Pass
With the lathe off, carefully bring the radius cutter up to the edge of the workpiece where you want to start the radius. You want the tip of the radius cutter to touch the corner of the shoulder you’re working on. This is your ‘zero’ or starting point.
If you’re making an external radius that blends into a cylindrical surface, position the cutter so its tip is just tangent to the surface of the cylinder. If you’re cutting a radius into a shoulder, position the cutter so its tip is at the intersection of the shoulder and the cylindrical OD.
Step 4: Set Your Cutting Depth (Metalworking)
For metal, take very light passes. A common mistake is trying to cut too much material at once, which can lead to chatter, tool breakage, or a poor finish.
Turn the compound rest or cross-slide feed wheel to advance the tool into the workpiece. For the first cut, aim to remove only a tiny amount of material. A depth of cut of 0.005 to 0.010 inches (0.1 to 0.25 mm) is often a good starting point for many metals. Engage the feed if you are using power feed, or turn the handwheel slowly for manual feed.
Step 5: Make the Cut
Turn the lathe on. If you are cutting metal, apply cutting fluid. Advance the radius cutter slowly into the workpiece. You will see the radius begin to form. For a full radius cut, you’ll typically feed the tool axially along the length of the part where the radius is needed, or incrementally across the shoulder.
Metalworking:
- Ensure a consistent feed rate.
- If using power feed, start with a slow setting.
- Watch for chip formation – good chips indicate a clean cut. Gummy or inconsistent chips might mean adjustments are needed.
- Listen for unusual sounds.
Woodworking:
- Wood is softer, so you can usually take slightly deeper cuts than with metal.
- Feed smoothly and steadily.
- Support the tool well.
Step 6: Complete and Refine
Continue feeding the tool until the desired radius is achieved. You might need multiple passes to reach the final dimension and achieve a smooth finish. For metal, after the main cutting passes, you may want to take a very light finishing pass with a slightly slower feed rate to get a mirror-like surface.
Step 7: Measure and Inspect
Turn off the lathe. Carefully remove the tool. Use calipers or a radius gauge to measure the radius you’ve created. Compare it to your desired size. If adjustments are needed, reposition the tool slightly and take another light pass.
Step 8: Finishing Touches
Once you have the correct radius, you might follow up with a light sanding (especially for wood) or a very fine finishing pass. Clean the workpiece and your tooling.
Tips for Success with Radius Cutters
Here are some pro tips to help you get the best results:
- Sharpness is Key: Always use a sharp cutter. A dull radius cutter will tear material, create poor finishes, and require more force, which can be dangerous.
- Lubrication (Metal): Never underestimate the power of cutting fluid or lubricant for metal. It cools the tool, flushes away chips, and improves surface finish. Consider learning more about the benefits of proper lubrication from resources like Machinery Lubricants, a trusted industry publication.
- Feed Rate Matters: Adjust your feed rate according to the material and the cutter. Too fast can cause chatter or a rough finish; too slow can cause rubbing and overheating.
- Tool Height: Ensure the cutter is at dead center height for most external cuts. Deviations can affect the shape and finish of the radius.
- Machine Rigidity: A rigid machine and setup are crucial. Any slop or vibration will translate into a poor-quality radius. Make sure your tool post and tool bits are securely tightened.
- Practice on Scraps: Before working on your main project, practice on scrap material of the same type. This helps you dial in your settings and get a feel for how the cutter behaves.
- Understand Relief Angles: For internal radii or more complex shapes, the geometry of the cutter and the workpiece clearance are critical. Professional radius cutters are designed with correct relief angles.
Radius Cutter Applications and Examples
Radius cutters are surprisingly versatile. Here are a few common applications:
- Shaft Fillets: In mechanical engineering, adding a radius where a shaft diameter changes or where a shaft meets a flange is critical to prevent stress fractures. This is often called a “fillet radius.”
- Tooling Design: Creating round corners on punches, dies, and molds to prevent stress risers and extend tool life.
- Decorative Work: In woodworking, creating classic rounded edges on furniture legs, bowls, or decorative spindles.
- Gearing and Sprockets: Ensuring smooth transitions at the root of gear teeth or sprocket grooves for better performance and wear.
- Mold Making: Creating consistent radii for plastic injection molds or casting molds.
- Custom Parts: For any project where a smooth, flowing edge is desired for looks or function.
Imagine creating a set of custom metal bushings. You’ll need to face the ends, turn the OD, and drill the ID. Adding a small chamfer or radius to the edges of the OD and ID makes them easier to insert into their mating parts and prevents sharp edges from snagging or deforming. A radius cutter makes this trivial.
Radius Cutters vs. Other Methods
Why choose a radius cutter over other methods?
| Method | Pros | Cons | Best For |
|---|---|---|---|
| Radius Cutter | Fast, precise, repeatable, excellent finish, distributes stress | Requires specific tool, initial cost for variety of sizes | Achieving consistent, professional radii on production or critical parts |
| Grinding by Hand/File | No special tool needed initially, very low cost | Time-consuming, difficult to get consistent results, requires skill, poor repeatability | One-off, non-critical parts where precision isn’t paramount |
| Form Tool (Self-Made) | Customizable, can be very cheap if made from scrap | Difficult to grind accurately, limited life depending on material, requires precision grinding skills | Hobbyists with specific, recurring radius needs who can grind tools accurately |
| Ball End Mill (on Milling Attachment) | Can create complex internal radii, good for CNC | Requires milling attachment or CNC, less direct for simple external turning on basic lathes | Complex shapes, internal cavities, automated machining |
For anyone serious about

