Want to use a wood lathe safely? Start by always wearing safety glasses, using sharp tools, securing your workpiece firmly, and understanding your machine’s controls. Keep your workspace clear and practice good posture. Follow these essential steps for a safe and enjoyable woodworking experience.
Welcome to the exciting world of woodturning! That spinning piece of wood on the lathe can look intimidating, but with the right knowledge and a focus on safety, you’ll be creating beautiful bowls, spindles, and more in no time. Many beginners feel a little nervous about power tools, and a wood lathe is no exception. It spins fast and uses sharp tools, so understanding how to use it safely is the most important first step you can take. Don’t worry, though! Lathe Hub is here to guide you with clear, simple steps. We’ll cover everything from getting set up to handling your tools with confidence. Ready to turn safely?
Understanding Your Wood Lathe
Before you even think about plugging in your lathe, it’s crucial to get acquainted with its different parts and functions. Each component plays a vital role in both the operation and the safety of the machine. Knowing what everything does will help you operate it smoothly and react correctly if something unexpected happens.
Key Lathe Components
Let’s break down the main parts of a typical wood lathe:
- Bed: The solid backbone of the lathe, providing stability and mounting points for other components.
- Headstock: Houses the motor, drive mechanism, and the drive center (which grips and spins the wood). It also typically contains the speed control.
- Tailstock: Slides along the bed and is used to support the free end of your workpiece with a live center or chuck. It can also hold drill bits.
- Tool Rest: An adjustable bar where you support your turning tools. Proper positioning is key for safe and effective turning.
- Carriage: Houses the tool rest and moves along the bed to position the tool rest closer to or further from the workpiece.
- Motor: Provides the power to spin the workpiece. Speeds can usually be adjusted.
- On/Off Switch: Your primary control for starting and stopping the lathe. Make sure you know exactly where it is before you begin.
Speed Control and RPMs
The speed at which your wood spins, measured in Revolutions Per Minute (RPM), is one of the most critical safety factors. Generally, you’ll want to:
- Use slower speeds for larger diameter pieces to reduce the forces acting on the wood and the risk of blowouts.
- Use faster speeds for smaller diameter pieces once they are balanced and roughed into shape.
- Always start at a slow speed when beginning to turn a new piece, especially if it’s irregularly shaped.
Check your lathe’s manual for recommended speed ranges based on workpiece size and type, or consult resources like Wood Magazine’s guide to lathe speeds. Getting the speed right reduces vibration and the chance of the wood breaking apart.
Essential Safety Gear and Practices
Safety gear isn’t optional; it’s your first line of defense against potential injuries. Think of it as your workshop armor. Along with gear, establishing a safe routine is vital.
Personal Protective Equipment (PPE)
Always wear these items when operating a wood lathe:
- Safety Glasses or Full Face Shield: This is non-negotiable. Wood chips, dust, and even small pieces of wood can fly off at high speeds. A full face shield offers superior protection for your entire face.
- Dust Mask or Respirator: Wood dust can be harmful to your lungs over time. For any turning that creates significant dust, wear an appropriate mask.
- Hearing Protection: Lathes can be noisy. Earplugs or earmuffs will protect your hearing from damage.
- Closed-Toe Shoes: Protect your feet from dropped tools or wood.
- No Loose Clothing, Jewelry, or Long Hair Up: Anything that can get caught in the spinning workpiece or lathe can cause serious injury. Tie back long hair, remove rings and bracelets, and avoid baggy sleeves.
Workspace Setup
A safe workspace is a clear workspace:
- Keep the Area Clean: Remove sawdust, wood scraps, tools, and any other clutter from around the lathe. A clean floor prevents slips.
- Good Lighting: Ensure your turning area is well-lit so you can see what you’re doing clearly.
- Stable Lathe: Make sure your lathe is on a stable, level surface. If it’s a benchtop model, ensure the bench is sturdy.
- Tool Organization: Keep your chisels and other tools organized and within easy reach, but not so close they can be accidentally knocked into the spinning workpiece.
Preparing Your Wood and Workholding
Getting the wood ready and securing it properly are critical steps before you even turn on the motor. This is where many beginner mistakes can lead to trouble.
Selecting and Preparing the Wood
- Inspect for Defects: Always check your wood for cracks, knots, or signs of rot. These can be weak points that might cause the wood to break apart on the lathe.
- Balancing: For irregularly shaped or large pieces, try to balance the wood as much as possible before mounting. You can do this by rough-shaping it somewhat round on a bandsaw or jigsaw. This reduces vibration.
- Drying: Ensure your wood is properly dried. Wet wood is much heavier and can be less stable, potentially leading to imbalances and tear-out.
Workholding Methods
How you attach the wood to the lathe is crucial. The most common methods for beginners are:
- Faceplate: Used for bowls or other large, flat-faced projects. The wood is screwed directly onto a threaded plate, which then screws onto the lathe’s headstock spindle.
- Drive Center and Live Center: For spindle turning (like table legs or baseball bats), a spur drive center in the headstock digs into the wood, and a live center in the tailstock supports the other end. The wood is then mounted between these two points.
- Faceplate Ring and Screw Chuck: Similar to a faceplate, but uses a ring with internal threads for mounting. A screw chuck is a threaded screw that you drive into the wood, which then threads into the faceplate or ring.
Important Note: Always ensure your workpiece is running true (spinning without wobbling excessively) before approaching it with a tool. For faceplate work, place your screws so they don’t interfere with your turning process. For center turning, ensure the centers are properly seated in the wood.
Setting Up the Lathe for Turning
With your safety gear on and your wood prepared and mounted, it’s time to get your lathe ready to spin.
Positioning the Tool Rest: This is paramount for safety. The tool rest should be:
- Close to the Workpiece: Aim for about 1/8 to 1/4 inch away. Too far away and a caught tool can dig in and cause kickback.
- Slightly Below the Centerline of the Work: For most turning operations, position the rest slightly below the workpiece’s center. This helps guide the tool correctly and prevents catching. Some specialized operations might vary this, but beginner rules always favour below center.
- Engaged: Ensure the tool rest is locked securely in place before turning on the lathe.
Setting the Speed
As mentioned earlier, speed is critical. A good rule of thumb to get you started:
- Rough turning between centers or on a faceplate with the wood’s natural shape: Start at the lowest speed setting.
- Turning a balanced spindle after initial shaping: You might increase speed, but never to a point where you feel excessive vibration or hear the lathe strain.
- Turning a balanced bowl after it’s rounded: You can typically use higher speeds, but again, listen to your machine and feel for vibrations.
Always approach your workpiece slowly and deliberately. Never start the lathe at a high speed. A good chart can be found on the Popular Mechanics guide to wood lathes.
Locking the Tailstock
If you are using a tailstock for support, ensure it is firmly locked in its position on the bed. It should not be able to slide. The pressure from the tailstock center is what keeps the wood from trying to pull away from the headstock drive center.
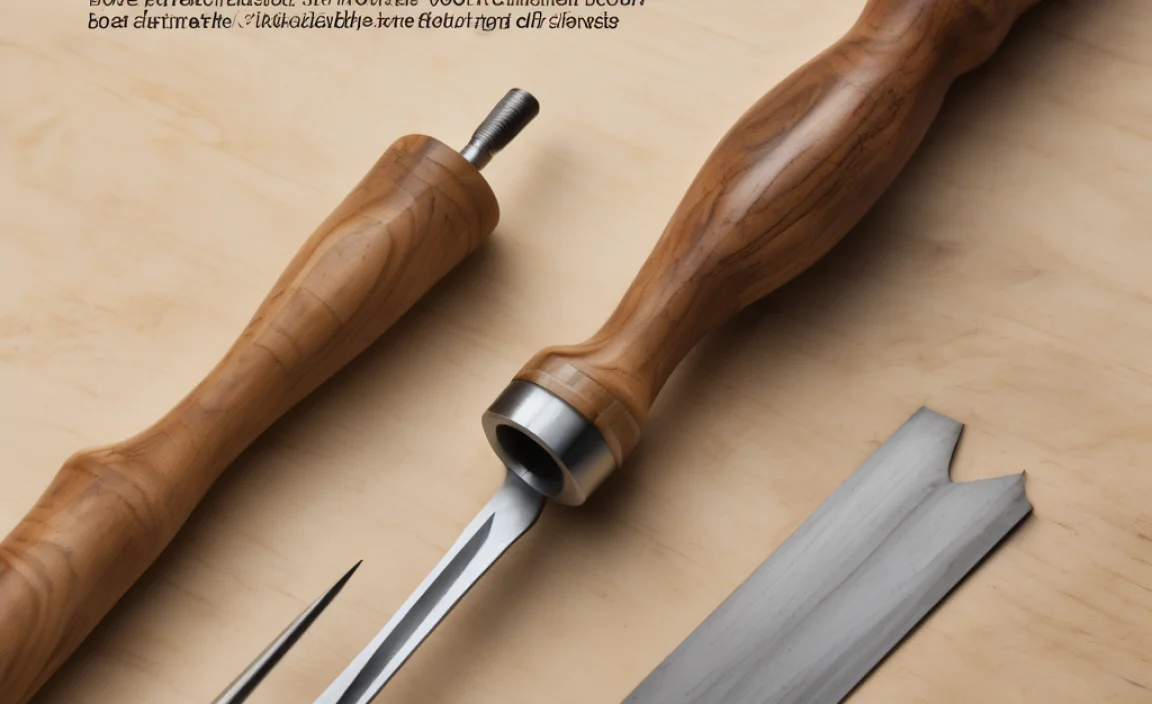
How to Use Wood Lathe Chisels Safely
Your chisels (or turning tools) are extensions of your hands, but they require respect and proper technique when spinning at high speeds.
Basic Tool Grip and Control
Hold your tools firmly but not rigidly. Your grip should allow for some subtle adjustments. The key is to use the tool rest as a pivot point and a support. Never let the tool itself be the only support; it must always rest against the tool rest.
Common Turning Tool Mistakes to Avoid
These are critical safety points:
- Never approach a spinning workpiece without the tool resting on the tool rest.
- Keep the tool rest close to the wood.
- Position the tool rest slightly below the center of the wood for most operations.
- Don’t stand directly in line with the spinning workpiece. Stand slightly to the side.
- Never use a tool with a damaged handle or bent blade.
- Don’t overreach. Keep your footing firm and your body balanced.
- Keep your dominant hand on the tool handle and your non-dominant hand on the tool shaft, guiding its movement and providing stability.
- Take light, controlled cuts. Don’t try to remove too much material at once.
Sharpening Your Tools
This cannot be stressed enough: Sharp tools are safer tools. Dull tools require more force, are more likely to catch and dig into the wood, leading to kickback. They also produce a rougher finish. Make sharpening a regular part of your routine, perhaps before every significant turning session. Learn to use sharpening stones, grinders, or sharpening systems specific to your tools. A common benchmark for beginners is to have a sharpening service or jig to ensure consistent results.
The Turning Process: Step-by-Step
Now, let’s put it all together. Here’s a general process, focusing on safety at each stage.
Step 1: Mount the Workpiece
Securely attach your prepared wood to the lathe using the appropriate workholding method (faceplate, between centers, etc.). Ensure it’s running true.
Step 2: Set Up Tool Rest and Speed
Position your tool rest correctly—close to the wood and slightly below center. Set the lathe speed to a low RPM, appropriate for the workpiece size and shape.
Step 3: Make the First Cut (Roughing)
Turn on the lathe. Once it’s at speed, approach the workpiece with your roughest shaping tool (often a gouge).
- Keep the tool firmly against the tool rest.
- Apply gentle, steady pressure.
- Let the tool do the work; don’t force it.
- Stand to the side of the spinning wood, not directly in front of it.
- Take light cuts, removing small amounts of material.
- Listen for any unusual sounds from the lathe.
Step 4: Shaping the Wood
As you remove the irregular shape, the wood will become more balanced, and you might be able to slightly increase your speed if desired and safe. Continue using your chisels to refine the shape, moving from roughing tools to finer shaping tools as needed. Always maintain proper tool rest positioning and tool control.
Step 5: Sanding and Finishing
Once the shape is achieved, you’ll typically sand the piece.
- Stop the lathe: Sanding is usually done with the lathe stopped or at a very slow speed.
- Use appropriate sandpaper grits: Start with a coarser grit and move to finer grits.
- Apply finishes: Many woodturners apply finishes while the piece is still on the lathe at a slow speed, allowing for an even coat.
Essential Safety for Sanding: Never hold sandpaper directly with your fingers when the lathe is running. Wrap it around a block of wood or use specialized sanding pads to keep your fingers away from the spinning work.
Step 6: Removing the Workpiece
Turn off the lathe and let it come to a complete stop. Only then should you safely remove the finished piece from the lathe.
Advanced Safety Considerations
As you gain experience, you’ll encounter different turning situations that require extra attention.
Dealing with Out-of-Balance Workpieces
If you start a piece and it vibrates excessively, don’t ignore it. This is a sign of an imbalance. Stop the lathe immediately. If possible, reposition the workpiece, reduce its size, or try to balance it better. Never try to “power through” heavy vibration, as it could lead to the workpiece breaking apart.
Using Different Lathe Attachments (Chuck, Faceplates, etc.)
Each attachment has its own setup and safety precautions:
Chuck Safety:
- Ensure the chuck jaws are firmly gripping the workpiece.
- Check that the chuck key is removed before starting the lathe.
- Don’t overtighten jaws unless necessary, as this can damage both the chuck and the workpiece.
Faceplate Safety:
- Use appropriate screws for the wood thickness and type.
- Make sure the workpiece is flush against the faceplate.
- Ensure the faceplate is securely threaded onto the lathe spindle.
Organizations like the American Association of Woodturners (AAW) offer extensive safety guidelines and resources for various tools and techniques.
Power Outages
If the power goes out while the lathe is running, do not touch the controls or try to stop the workpiece. Step away and let it stop on its own. When power is restored, ensure the lathe is off before plugging it back in or turning it on.
Troubleshooting Common Lathe Issues
Even with precautions, you might run into minor issues. Here’s how to handle them safely.
Issue: Excessive Vibration
Cause: Imbalanced workpiece, improperly mounted workpiece, out-of-true centers, or a loose lathe base.
Solution: Stop the lathe. Check workpiece balance and mounting. Ensure centers are properly seated and the tailstock is locked. Check lathe stability.
Issue: Tool Catching/Digging In
Cause: Dull tool, tool rest too far away, wrong tool angle, trying to take too deep a cut.
Solution: Stop the lathe. Sharpen your tool. Move the tool rest closer. Adjust your tool angle. Take lighter cuts.
Issue: Wood Breaking Apart (Blowout)
Cause: Weak spot in the wood (knot, crack), too fast a speed for the workpiece size/shape, excessive force.
Solution: Stop the lathe immediately. Remove the workpiece. Inspect for damage. If the wood is structural compromised, it may be unsuitable for turning. Consider slower speeds. Reinforce weak areas if possible and safe.
Lathe Safety Checklist for Beginners
Before you turn on your lathe for any project, run through this quick checklist:
| Item | Check | Notes |
|---|---|---|
| Safety Glasses/Face Shield | Yes | Worn at all times. |
| Dust Mask/Respirator | Yes | If dusty operation. |
| Hearing Protection | Yes | For noisy operations. |
| No Loose Clothing/Jewelry/Long Hair | Yes | Tied back/removed. |
| Workspace Clear | Yes | No tripping hazards. |