Mastering 3/16″ Carbide End Mill Delrin Feeds & Speeds for Crisp Cuts! Get it right the first time with our clear, step-by-step guide for smooth machining and perfect parts.
Hey there, fellow makers! Daniel Bates here from Lathe Hub. Working with Delrin, that slick machinable plastic, can be a dream, but getting your feeds and speeds just right with a 3/16″ carbide end mill can sometimes feel like a puzzle. Too fast, and you get melting. Too slow, and your finish suffers. It’s a common hiccup for beginners, but don’t worry! We’re going to break down exactly how to nail those perfect settings. By the end of this guide, you’ll have the confidence to tackle Delrin projects with precision and a beautiful finish, every single time. Let’s unmystify those numbers and get cutting!
What Are Feeds and Speeds, and Why Do They Matter?
Think of feeds and speeds as the perfect dance partners for your milling machine and cutting tool. If they’re out of sync, the whole performance falls apart. So, what exactly are they?
Speeds refer to how fast the cutting tool (your 3/16″ carbide end mill, in this case) spins. This is measured in Revolutions Per Minute (RPM). A faster spin generally means the tool cuts more material at once, but it also generates more heat.
Feeds describe how quickly the tool moves through the material. This is usually measured in Inches Per Minute (IPM) or millimeters per minute. A faster feed means you’re moving through the material more rapidly.
Why are they so critical, especially with Delrin? Delrin (acetal resin) is a fantastic material – it’s strong, slippery, and machines beautifully. However, it also has a low melting point. Get your feeds and speeds wrong, and you’ll quickly find yourself with a gummy, melted mess instead of a clean cut. The tool can clog, overheat, and even start to melt the Delrin, leading to poor surface finish, tool breakage, and frustration. Getting this balance right is key to achieving clean, accurate parts and extending the life of your valuable carbide end mill.
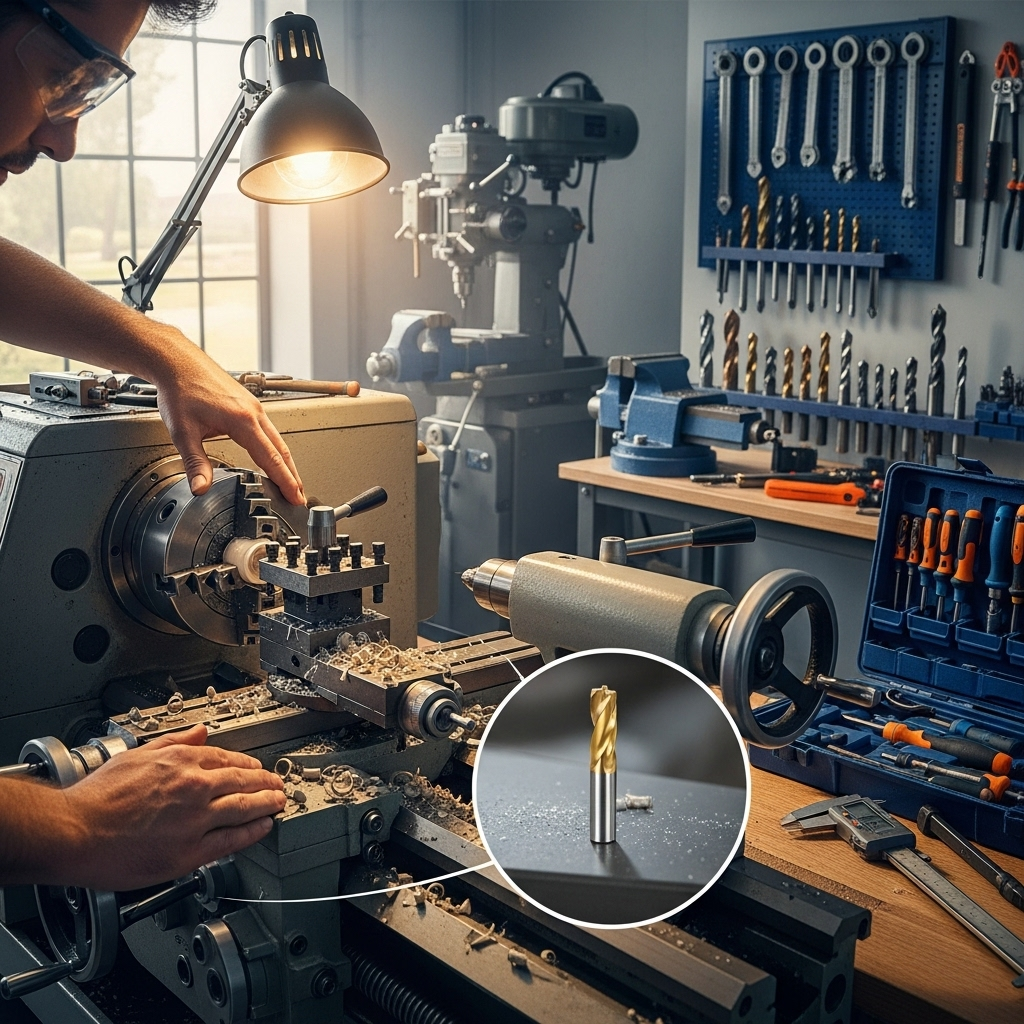
Understanding Your 3/16″ Carbide End Mill

Before we dive into the numbers, let’s quickly cover the star of our show: the 3/16″ carbide end mill. When we talk about end mills, a few things are important to know:
- Material: We’re focusing on carbide. This is crucial because carbide is much harder and more heat-resistant than high-speed steel (HSS). This makes it ideal for plastics like Delrin, allowing for faster cutting and better tool life, provided you set things up correctly.
- Diameter: We’re specifically looking at a 3/16 inch diameter end mill. This is a common size, great for detailed work without being too fragile.
- Flutes: The flutes are the spiral grooves on the cutting tool. For plastics like Delrin, we generally want fewer flutes. 2-flute end mills are often the best choice for Delrin because they provide better chip clearance, which is essential to prevent melting and clogging. 1-flute can also work well for very soft plastics, but 2 flutes offer a good balance for Delrin. Avoid 3 or 4-flute end mills for this material, as they can trap chips and increase heat.
- Coating: While not strictly necessary for Delrin, some coatings can offer additional benefits like reduced friction and increased wear resistance. For general Delrin machining, a plain uncoated carbide end mill will work perfectly fine.
Your choice of end mill is the first step. For Delrin, a 2-flute, 3/16″ carbide end mill is your go-to tool.
Delrin Material Characteristics for Machining
Knowing what makes Delrin unique helps explain why specific feeds and speeds are needed. Delrin, also known by its chemical name POM (Polyoxymethylene), is a thermoplastic known for:
- Low Melting Point: This is the big one. Delrin can melt or soften at relatively low temperatures compared to metals. This means heat generated by friction during cutting is your enemy.
- Slipperiness: Delrin is naturally “slippery.” This can be great for reducing friction, but it also means chips can be less rigid and more prone to recutting if not cleared properly.
- Machinability: Generally, Delrin machines very well, producing long, stringy chips if cut improperly.
- Brittleness (in some grades): Some types of Delrin can become brittle if overheated, leading to chipping or poor surface finish.
Understanding these traits highlights why efficient chip evacuation and minimizing heat buildup are paramount. This directly influences our approach to feeds and speeds.
Calculating Feeds and Speeds for Delrin with a 3/16″ Carbide End Mill

Let’s get to the numbers! While there are complex formulas, for beginner-friendly machining, we can use established guidelines and a bit of common sense.
Surface Speed & RPM
First, we need to know the recommended surface speed for carbide cutting Delrin. Surface speed is the speed of the cutting edge as it moves through the material. A good starting point for carbide cutting Delrin is generally between 300-500 surface feet per minute (SFM).
To calculate RPM, we use this formula:
RPM = (Surface Speed (SFM) × 3.82) / Tool Diameter (inches)
Let’s plug in our values for a 3/16″ end mill:
Using the lower end of our surface speed range (300 SFM):
RPM = (300 × 3.82) / 0.1875 (which is 3/16″)
RPM = 1146 / 0.1875
RPM ≈ 6112 RPM
Using the higher end of our surface speed range (500 SFM):
RPM = (500 × 3.82) / 0.1875
RPM = 1910 / 0.1875
RPM ≈ 10187 RPM
So, a good starting range for RPMs on your machine is between 6,000 and 10,000 RPM. The exact RPM your machine can achieve and that works best will depend on its rigidity, spindle quality, and whether you’re using a high-speed spindle or a standard mill motor. It’s often best to lean towards the lower end of this range to start and increase if you’re getting good chip formation and a clean cut.
Chip Load & IPM
Next, we need to determine the chip load. Chip load is the thickness of the chip the end mill is removing with each tooth as it rotates. For Delrin with a 2-flute end mill, a good starting chip load is typically between 0.001″ and 0.003″ per tooth.
The formula for Feed Rate (IPM) is:
Feed Rate (IPM) = Chip Load (in/tooth) × Number of Flutes × RPM
Let’s calculate some feed rates. We’ll use our RPM range and chip load range. Remember, we’re assuming a 2-flute end mill.
Scenario 1: Low RPM, Small Chip Load
RPM = 6,000
Chip Load = 0.001″ / tooth
Feed Rate = 0.001 × 2 × 6000 = 12 Inches Per Minute (IPM)
Scenario 2: Mid RPM, Mid Chip Load
RPM = 8,000
Chip Load = 0.002″ / tooth
Feed Rate = 0.002 × 2 × 8000 = 32 IPM
Scenario 3: High RPM, Larger Chip Load
RPM = 10,000
Chip Load = 0.003″ / tooth
Feed Rate = 0.003 × 2 × 10000 = 60 IPM
This gives us a wide range, from 12 IPM to 60 IPM. For beginners, starting on the conservative side is always wise. A good, safe starting point might be around 0.002″ chip load per tooth.
Let’s look at a table summarizing potential starting feeds and speeds. These are guidelines, and your actual settings might need fine-tuning.
| Material | End Mill Type | Diameter | Flutes | Surface Speed (SFM) | RPM Range | Chip Load (IPPT) | Feed Rate (IPM) |
|---|---|---|---|---|---|---|---|
| Delrin (Acetal) | Carbide, Uncoated | 3/16″ | 2 | 300-500 SFM | ~6,000 – 10,000 RPM | 0.001″ – 0.003″ | 12 – 60 IPM |
| Starting Point | ~8,000 RPM | 0.002″ | 32 IPM | ||||
| Conservative Start | ~6,000 RPM | 0.0015″ | 18 IPM |
Remember, the “Conservative Start” is a great way to begin. You can always speed up if cuts are too slow and your machine is handling it well. If you’re getting melting or rough finishes, try reducing the feed rate first, then consider lowering the RPM slightly.
Depth of Cut and Stepover Considerations
Feeds and speeds are only part of the equation. How deep you cut (Depth of Cut or DOC) and how much the tool is offset sideways on each pass (Stepover) also significantly impact chip load, heat, and surface finish.
Depth of Cut (DOC)
For Delrin, it’s generally best to use a shallow depth of cut, especially when roughing or if your machine isn’t super rigid. A common recommendation for a 3/16″ end mill in Delrin is:
- Roughing: 0.100″ to 0.250″ (about 1/2 to 3/4 of the tool diameter).
- Finishing: 0.010″ to 0.050″ (a light pass to achieve a smooth surface).
For most Delrin work, especially for beginners, staying within 0.100″ to 0.150″ for your depth of cut is very safe and effective. This helps keep forces manageable and reduces the chance of the tool engaging too much material at once, which can lead to overheating or tool breakage.
Stepover
Stepover is the distance the center of the cutting tool moves sideways between passes. This is critical for profiling (cutting out shapes) and pocketing.
- For roughing operations: A stepover of 40-60% of the tool diameter is common. For a 3/16″ mill, this is roughly 0.075″ to 0.1125″.
- For finishing operations: A smaller stepover, typically 10-20% of the tool diameter (0.01875″ to 0.0375″), will result in a much smoother surface finish.
Using optimized stepover settings will ensure that the chip loads we calculated earlier are maintained efficiently across the entire surface of your part.
Step-by-Step Guide to Machining Delrin

Let’s put it all together. Here’s how you should approach milling Delrin with your 3/16″ carbide end mill:
- Prepare Your Material: Ensure your block of Delrin is securely clamped in your milling machine vise or on the table. Use soft jaws if possible to avoid marring the plastic surface.
- Select the Right Tool: Use a sharp, 2-flute, 3/16″ carbide end mill. Clean off any dust or residue from previous jobs.
- Set Your RPM: Based on our calculations, start with an RPM around 6,000 to 8,000 RPM. If your machine operates at a higher RPM, you might need to adjust your feed rate to compensate.
- Calculate Your Feed Rate: Using your chosen RPM and aiming for a chip load of approximately 0.0015″ to 0.002″ per tooth, calculate your feed rate. For an 8,000 RPM spindle and 0.002″ chip load, this would be 0.002″ × 2 flutes × 8000 RPM = 32 IPM. Start here!
- Set Depth of Cut: For initial passes, aim for a depth of cut around 0.100″ to 0.150″. This is conservative and effective for most Delrin.
- Set Stepover (for pocketing/profiling): For roughing, use a stepover of about 50% of the tool diameter (approx. 0.094″). For finishing, aim for 10-20%.
- Perform a Test Cut: It’s ALWAYS a good idea to do a small test cut, perhaps on a scrap piece or an unused edge of your workpiece. This allows you to observe chip formation, listen to the tool, and check the surface finish without risking your main part.
- Start Machining: Engage the spindle and slowly move the tool into the material at your calculated feed rate. Make an audible and visual check. Listen for a clean “shaving” sound. Watch the chips – they should be relatively small, dry shavings, not stringy, melted plastic.
-
Observe and Adjust:
- Melting/Gooey Chips: Your feed rate is likely too slow, or your RPM is too high, causing excessive heat. Try increasing the feed rate or decreasing the RPM slightly. Ensure your chip evacuation is good.
- Chatter/Vibration: Your feed rate might be too high for the DOC, or your tool might be dull. Try reducing the feed rate, reducing the DOC, or ensuring your tool and setup are rigid.
- Rough Surface Finish: Combine with observations above. Ensure your finishing pass has a very light DOC (0.010″ – 0.020″) and a smaller stepover (10-20%).
- Finishing Pass: Once your roughing is complete, perform a final finishing pass. Use a very light depth of cut (0.010″ – 0.020″) and a slow feed rate or your calculated feed rate. A small stepover will also improve the finish.
Air Cutting and Chip Evacuation
Before the tool even touches the material, it’s good practice to let the spindle come up to speed and the tool reach its programmed position. This is sometimes called “air cutting” but also ensures the tool is spinning correctly before plunging or engaging. Good chip