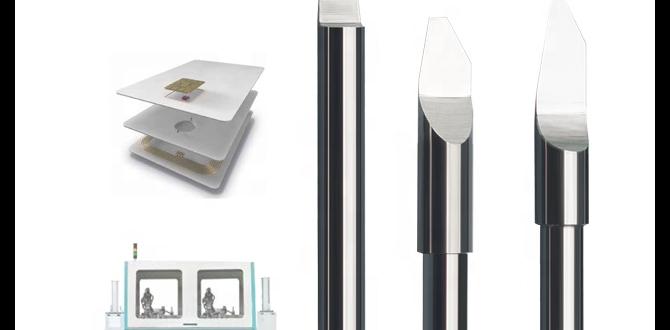
Have you ever wanted to create something amazing with a DIY project? Building your own metal lathe can be a fun way to explore your creativity. But what about that pesky little part called the chuck key? A DIY metal lathe chuck key helps you tighten and loosen your workpiece while you turn it. Without it, your project can quickly spin out of control!
Many people assume that a metal lathe is too complicated to make. But that’s not true! With a little effort, anyone can tackle this project.
Did you know that some skilled woodworkers use similar tools to shape wood? It’s true! The principles are quite similar.
So, why not take on the challenge? Let’s dive into how you can create your own DIY metal lathe chuck key and unleash your inner maker!
How To Create A Diy Metal Lathe Chuck Key Efficiently
Creating your own DIY metal lathe chuck key can be a fun project. A chuck key helps you tighten and loosen the chuck on the lathe, ensuring your workpieces stay secure. Did you know that having the right size can save you time and frustration? You can easily make one with basic tools and materials. Plus, customizing your key means it fits perfectly with your lathe, making your crafting experience smoother and more enjoyable!
Understanding the Importance of a Chuck Key
Explanation of how a chuck key functions in a lathe.. Benefits of using a chuck key for securing workpieces..
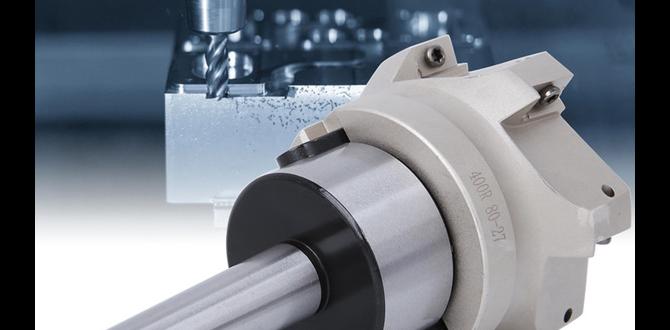
A chuck key is a small tool that fits into the lathe. It helps to tighten or loosen the chuck, the part that holds the workpiece in place. This is very important for safely and accurately machining materials. Using a chuck key has many benefits. It keeps workpieces secure and prevents them from slipping during work. This ensures a smooth and precise operation.
- Easy to use: It quickly locks and unlocks the chuck.
- Safety first: It reduces the risk of accidents.
- Better work quality: It helps in achieving accurate cuts.
Why is a chuck key necessary?
Using a chuck key ensures tight grip on materials. It aids in making accurate shapes and sizes. A secure workpiece helps you avoid mistakes, saves time, and improves safety. Remember, a small tool can make a big difference!
Materials Needed for DIY Chuck Key
List of essential materials for crafting a homemade chuck key.. Recommended tools for the construction process..
Creating a DIY chuck key is easier than it sounds! First, gather your essential materials: a piece of metal for the body, a stronger metal rod for the handle, and some screws. You’ll also need a drill and basic hand tools. Don’t forget safety gear—eyes are important! The last thing you want is to lose an eye and have to explain it to your grandma!
| Material | Purpose |
|---|---|
| Metal (body) | Forms the main part |
| Metal rod | Serves as the handle |
| Screws | Holds everything together |
| Drill | Create holes |
| Hand tools | Assist with cutting |
Once you have everything, building this gadget will be a piece of cake! Well, maybe not cake, but definitely fun!
Step-by-Step Guide to Making Your Own Chuck Key
Detailed instructions on creating a chuck key from scratch.. Tips for ensuring precision and functionality during the making process..
Crafting your own chuck key is a fun project! Here’s a simple guide to help you. First, gather materials like metal stock and a drill. Use these steps:
- Cut the metal to the desired length.
- Drill a hole for the handle and teeth.
- Shape the end for better grip.
- Test it in your lathe for a perfect fit.
To ensure success, measure carefully. Check each step to avoid mistakes. A good chuck key will work smoothly with your lathe.
How can I make sure my chuck key works well?
To ensure correct functionality, double-check your measurements and test the fit as you go. Make small adjustments to improve fit and grip.
Common Mistakes to Avoid When Making a Chuck Key
List of typical errors DIY enthusiasts make.. Suggestions on how to troubleshoot and correct these mistakes..
Making a chuck key can be fun, but many DIY fans stumble on common mistakes. Watch out for these errors:
- Using the wrong materials can lead to weak keys.
- Not measuring properly makes parts that don’t fit.
- Ignoring the safety gear can cause accidents.
- Forgetting to test before using can ruin the project.
To fix these errors:
- Choose strong materials like steel.
- Always double-check your measurements.
- Wear safety glasses and gloves.
- Test with a mock setup first.
Learning from these mistakes helps you create a better diy metal lathe chuck key.
What are some common errors in making a chuck key?
Common errors include poor material selection and incorrect measurements. These mistakes can lead to weak or unusable tools.
How can I troubleshoot mistakes with my chuck key?
To troubleshoot, measure twice, choose sturdy materials, and wear safety gear while working.
Maintenance Tips for Your DIY Chuck Key
Guidelines for keeping the chuck key in good working condition.. Signs that indicate it’s time for repairs or replacement..
Taking care of your chuck key is easier than gathering missing socks! First, keep it clean by wiping off dust and grime after use. A chuck key covered in dirt is like a chef with a dirty apron—not good! If the teeth start to look worn or if the key feels loose, it might be time for repairs. Listen for odd sounds or see if it gets stuck. Both can signal it’s time to act!
| Signs for Repairs | Actions |
|---|---|
| Worn teeth | Replace the key |
| Loose fit | Tighten or consider a new one |
| Strange noises | Check for damage |
| Sticking | Lubricate or replace |
Following these tips will help your DIY chuck key last longer, making sure it’s always ready to spin things right!
Comparing Store-Bought vs. DIY Chuck Keys
Analysis of costeffectiveness between buying and making a chuck key.. Discussion of equivalent performance and quality..
Buying a chuck key might seem easy, but is it the best choice? Let’s look at the numbers. Store-bought chuck keys can cost a pretty penny, even more than your favorite pizza! Making one at home can save you cash and is often just as good. Did you know DIYers report equal performance? With a pinch of creativity, you can whip up something that works like magic. Check this out:
| Type | Cost | Performance |
|---|---|---|
| Store-bought | $20-$50 | Good |
| DIY | Less than $20 | Excellent |
So, before you dig deep into your pockets, why not roll up your sleeves and make your own? You might just discover a hidden talent in chuck key crafting!
Enhancing Your Lathe Experience with Upgrades
Additional accessories for improving lathe functionality.. How a custom chuck key can integrate with other lathe enhancements..
Upgrading your lathe can be a game-changer. Many extra accessories can boost how well your lathe works. A diy metal lathe chuck key is one important upgrade. It fits perfectly with other tools and enhancements for your lathe. Here are some accessories to consider:
- Precision tool holders
- Easy-to-read dial gauges
- Tool rests for stability
- Coolant systems for improved performance
Each accessory helps you work faster and get better results. Together with a custom chuck key, they make your lathe experience smoother and more efficient.
Why should you upgrade your lathe?
Upgrading your lathe can help you work better and faster. Adding tools like a chuck key makes it easier to change projects. Your lathe becomes more versatile with every upgrade.
Conclusion
In conclusion, a DIY metal lathe chuck key can save you money and improve your projects. It’s simple to make with basic tools and materials. You’ll gain valuable skills while creating something useful. We encourage you to try making one yourself. For more tips and step-by-step guides, keep exploring resources online. Happy crafting!
FAQs
What Materials Are Best Suited For Making A Diy Metal Lathe Chuck Key?
To make a DIY metal lathe chuck key, you can use a few materials. Steel is strong and will last a long time. Aluminum is lighter and easier to work with. You could also use hard plastic if you’re looking for something simple. Remember to make sure whatever you choose fits your lathe well!
How Do You Accurately Measure The Dimensions Needed For A Custom Chuck Key?
To measure for a custom chuck key, you need a ruler or caliper. First, find the diameter of the hole in the chuck. Measure the length of the key slot inside the chuck. Also, check the width of the slot. Write down these numbers. This will help us make a key that fits perfectly!
What Are The Essential Tools Required For Fabricating A Metal Lathe Chuck Key At Home?
To make a metal lathe chuck key at home, you need a few simple tools. First, you will need a metal file to shape the key. Next, you need a hacksaw to cut the metal to size. A drill will help you make holes if needed, and a hammer can help with small adjustments. Lastly, a ruler or measuring tape will help you measure everything right.
What Are Some Design Considerations To Keep In Mind When Creating A Chuck Key For Different Lathe Models?
When making a chuck key for different lathe models, you should think about size first. It needs to fit the lathe’s chuck tightly. Next, consider the material. Strong materials like metal last longer. Also, think about the grip. You want it to be easy to hold. Lastly, make sure it is safe to use, so no one gets hurt.
How Can I Ensure That My Diy Chuck Key Fits Securely And Operates Safely With My Lathe?
To make sure your DIY chuck key fits well and works safely with your lathe, start by measuring the size of the chuck. You should use strong materials, like metal, to build your chuck key. Test it on the chuck to see if it fits tightly. Always check that it locks in place before turning on the lathe. Finally, wear safety gear like goggles when using the lathe.