Create a DIY wood lathe duplicator jig to perfectly replicate turned wood pieces with ease and precision. This essential shop-made tool is a game-changer for beginners and experienced woodturners alike, saving time and ensuring consistent results.
Turning identical shapes on a wood lathe can be really tricky, especially for those just starting out. You might get one spindle looking great, but making another exactly the same? That’s where frustration often sets in. It can feel like you’re battling your tools and tape measure instead of enjoying the creative process. But guess what? There’s a clever solution that’s surprisingly easy to build and incredibly effective: a DIY wood lathe duplicator jig. This guide will walk you through how to make this genius tool, step-by-step, so you can achieve perfect symmetry in your projects every time. Get ready to transform your turning!
The Magic of a Wood Lathe Duplicator Jig
Imagine this: you’ve meticulously turned a beautiful, intricate spindle. Now, you need to create another one that’s an exact match. Without a duplicator jig, this is a labor-intensive process involving constant measuring, marking, and careful freehand turning. It’s prone to error and can be incredibly time-consuming.
A wood lathe duplicator jig is essentially a guide that allows your cutting tool to follow the exact profile of a master piece. You simply trace the shape of your original turning with the jig, and your tool cuts a duplicate. It’s like having a skilled assistant who never gets tired and never makes a mistake!
This simple yet brilliant woodworking tool is a must-have for anyone who wants to create:
Matching sets of table legs
Identical balusters for staircases
Consistent decorative elements for furniture
Multiple copies of small turned parts
Why Build Your Own?
While commercial duplicator jigs exist, building your own offers several advantages, especially for the budget-conscious DIYer:
Cost-Effective: You can often build a highly functional duplicator jig using scrap materials or affordable lumber.
Customizable: You can design the jig to suit your specific lathe and the types of projects you typically make.
Skill-Building: The process of designing and building the jig itself is a rewarding woodworking project that teaches valuable shop skills.
Satisfaction: There’s a unique sense of accomplishment that comes from creating a tool that enhances your other projects.
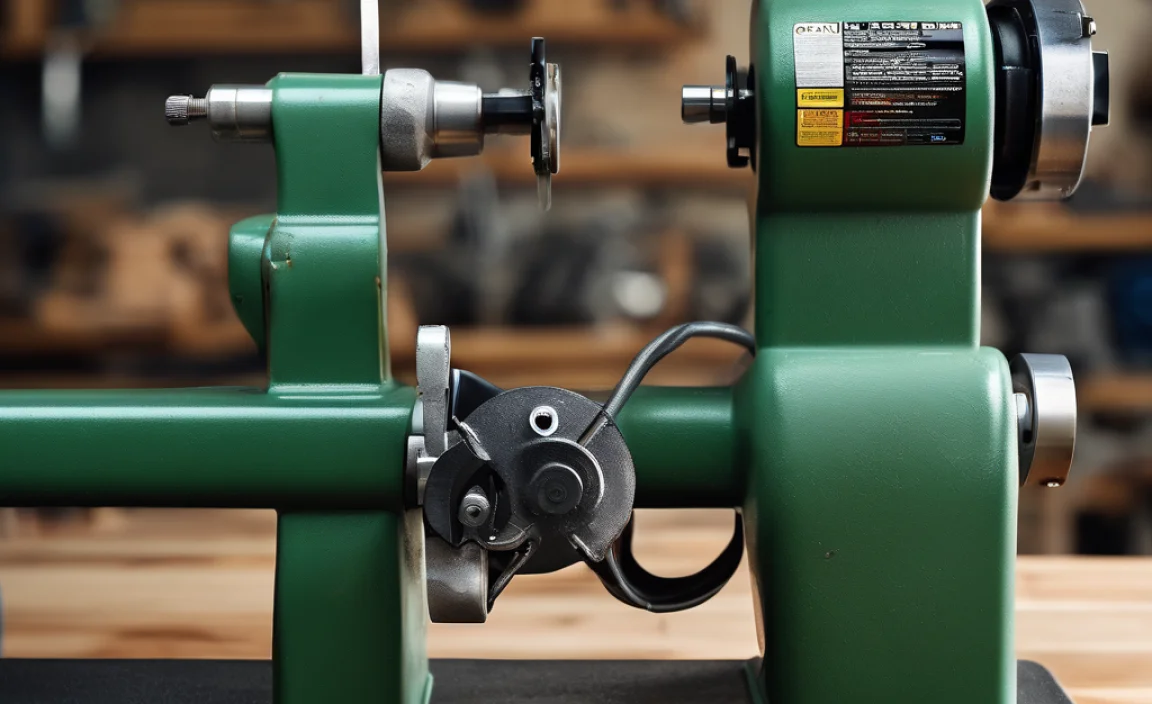
Essential Components of a Wood Lathe Duplicator Jig
A typical DIY wood lathe duplicator jig consists of a few key parts that work together to guide your cutting tool accurately. While designs can vary, most include:
1. Base or Carriage: This part slides or mounts onto your lathe’s bed, ensuring the jig moves with the headstock and tailstock.
2. Master Pattern Holder: A dedicated area where you securely attach your original turned piece (the “master”).
3. Tool Holder/Guide: This is where your cutting tool rests or rides. It’s designed to move along the master pattern.
4. Tractor/Follower: A pin, roller, or bearing that rides along the contour of the master pattern.
5. Tool Rest Mount: A stable point to hold your tool rigidly while it’s guided by the follower.
Understanding the Mechanism
The core principle is simple: the follower traces the shape of the master pattern. As the follower moves, it dictates the position of the cutting tool, which is held at a fixed distance from the follower. This fixed relationship ensures that whatever shape the follower traces on the master is replicated by the tool onto your workpiece.
Designing Your DIY Wood Lathe Duplicator Jig
Before you start cutting, a little planning goes a long way. Consider these design aspects:
Your Lathe: Measure your lathe’s bed length and determine how the jig will attach. Most jigs mount to the bedways.
Master Piece Size: Will you be duplicating small finials or larger table legs? This affects the size and stability requirements of your jig.
Tool Size: Ensure your jig can comfortably accommodate the various chisels and gouges you use.
Simplicity: For a first jig, aim for a straightforward design. You can always refine it later.
Here’s a common and effective design principle: a sled-like structure that rides on the lathe bed, with an arm that extends over the workpiece. A template (your master piece) is mounted on one side of this arm, and your tool is positioned on the other, with a follower bridging the gap.
Building Your Beginner-Friendly Duplicator Jig: Step-by-Step
Let’s build a robust and easy-to-use duplicator jig. This design uses a simple sled that slides on the lathe bed and a pivoting arm.
Materials You’ll Need:
Wood:
Plywood (3/4 inch or 18mm thick) for the base/sled and arm. Birch or Baltic birch plywood is excellent for stability.
Hardwood (like oak or maple) for wear surfaces or reinforcement, if desired.
Hardware:
Bolts, nuts, and washers (various sizes, e.g., 1/4″ or 6mm)
Wood screws (various lengths)
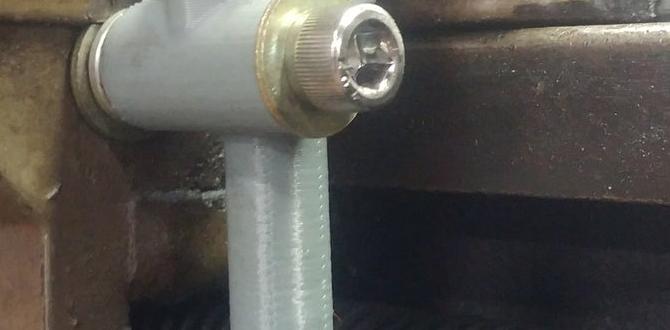
A smooth metal rod, a dowel, or a bearing for the follower. A knurled rod can provide extra grip.
Knobs or wingnuts for easy adjustments.
Tools:
Table saw or circular saw
Jigsaw or bandsaw
Drill and drill bits
Screwdriver
Measuring tape and ruler
Pencil
Sandpaper
Clamps
Optional: Router for dados, spindle sander for curves
Step 1: Constructing the Base/Sled
The base needs to fit snugly onto your lathe’s bedways so it slides smoothly and accurately.
1. Measure Your Lathe Bed: Carefully measure the width and height of your lathe bedways. You want the sled to slide without excessive play, but not be too tight. A common approach is to create a U-shaped channel that straddles the bed.
2. Cut Plywood Pieces:
Cut two long pieces of plywood for the sides of your sled (e.g., 2 inches wide by 20-30 inches long).
Cut a bottom piece to fit between these sides, forming a channel that matches your lathe bed’s dimensions.
3. Assemble the Sled:
Attach the bottom piece to the two side pieces using wood glue and screws. Ensure the interior channel is square and smooth.
Pro Tip: For a smoother slide, you can attach strips of UHMW tape or thin hardwood to the inside surfaces that contact the lathe bed. These materials offer low friction.
4. Test the Fit: Slide the assembled sled onto your lathe bed. It should move freely but without wobbling. Adjust the dimensions if necessary.
Step 2: Creating the Pivoting Arm
This arm will hold both the master pattern and your cutting tool. It needs to pivot smoothly on the sled.
1. Cut the Arm: From a piece of plywood (or hardwood for extra strength), cut a rectangular arm. A good starting size might be 4 inches wide by 18-24 inches long. One end will pivot on the sled, and the other will extend over your workpiece.
2. Drill the Pivot Hole: On the sled, drill a hole about 1-2 inches from the back end of the sled. This hole should align with where you’ll drill the pivot point on the arm. Use a bolt (e.g., 1/4″ or 6mm) with washers and a wingnut for smooth, adjustable pivoting.
3. Attach Arm to Sled: Position the arm onto the sled so it can swing horizontally. Drill a corresponding hole through the arm. Insert the bolt through the sled and the arm, securing it with washers and a wingnut. Don’t overtighten; it needs to pivot freely but not be loose.
Step 3: Building the Follower and Tool Holder Assembly
This is the heart of the jig. It needs to hold the follower pin and your tool in a consistent relationship.
1. Cut the Holder Block: Cut a smaller block of plywood or hardwood (e.g., 4×4 inches or 100x100mm). This block will be mounted to the pivoting arm.
2. Drill for the Follower: On one side of this block, drill a hole (e.g., 3/8 inch or 10mm) to accept your follower pin or rod. The follower should be able to slide up and down freely within this hole. You might use a metal rod, a hardwood dowel, or even a bolt. Ensure it’s smooth.
3. Drill for the Tool Rest: On the opposite side of the holder block, or slightly offset, drill another hole or create a slot that will securely hold your standard lathe tool rest. Many jigs incorporate a dedicated post or even a small adjustable clamp for the tool. For simplicity, a precisely sized hole that your tool rest fits into snugly works well.
4. Mount the Block to the Arm: Attach this holder block securely to the end of the pivoting arm that extends over the workpiece. Use glue and screws. Ensure the follower hole and tool rest hole are parallel to each other and perpendicular to the arm.
Step 4: Installing the Follower Device
The follower is what touches your master pattern.
1. Prepare the Follower: If using a rod or dowel, cut it to length. It needs to be long enough to extend past the holder block to contact the master, and long enough to engage the tool rest. A good length might be 3-4 inches (75-100mm).
2. Insert the Follower: Slide the follower rod into its hole in the holder block. It should move up and down with minimal friction. If it’s a bit loose, you can wrap the rod with a thin tape or add a small amount of lubricant. If it’s too tight, sand the hole or rod gently.
3. Consider a Bearing: For extremely smooth operation and reduced wear, you could embed a small ball bearing into the end of the follower rod or into the holder block itself. This acts as a low-friction point.
Step 5: Creating the Master Pattern Holder
You need a way to attach your original turning (the master) to the jig’s arm so the follower can trace it.
1. Simple Method: On the same arm the tool holder is mounted to, you can simply screw or clamp your master piece. This works well for longer pieces like spindles.
2. More Advanced: Many jigs incorporate a flat plate or a series of clamps onto the arm. You can then attach the master piece to this plate. A common setup involves mounting the master piece directly onto the jig’s arm, adjacent to where the follower will ride.
Step 6: Adding Locking Mechanisms and Adjustments
To use the jig effectively, you need to lock its position.
1. Sled Lock: Add a clamp or bolt at the back of the sled that can secure it to the lathe bed at the desired position. This prevents the entire jig from moving away from the headstock or tailstock during use.
2. Arm Lock: A second bolt with a wingnut on the pivot point of the arm can lock it in place once you have the tool and master aligned.
3. Follower Adjustment: Some designs include a way to adjust the tension of the follower against the master. This can be as simple as a spring or a screw pushing on the follower rod.
Step 7: Testing and Calibration
This is a critical step.
1. Test Movement: Ensure the sled slides smoothly and the arm pivots freely.
2. Mock Up: Place a scrap piece of wood on the lathe spindle. Mount a scrap piece as your master pattern on the jig. Place a cutting tool in the holder.
3. Align: Carefully align the follower pin with the master pattern and the cutting tool with the scrap workpiece.
4. Make a Test Cut: With the jig locked in position and the follower tracing the master, make a very light cut on your scrap.
5. Check for Consistency: Remove the scrap workpiece. Compare it to the master. Is it a close match? Adjust the jig’s tool holder position or follower engagement as needed. You’re aiming for the cutting edge of your tool to be at the same point relative to the follower as the follower is to the master.
How to Use Your DIY Wood Lathe Duplicator Jig
Once your jig is built and calibrated, using it is straightforward.
1. Prepare Your Lathe: Mount your workpiece securely on the lathe between centers.
2. Mount the Master: Securely attach your original, perfectly turned piece (the master) onto the jig’s master holder.
3. Position the Jig: Place the jig’s sled onto your
lathe bed. Align it so the master piece is positioned correctly relative to the workpiece. Lock the sled in place.
4. Align the Follower and Tool: Position the pivoting arm so that the follower pin is touching the widest or most prominent part of the master pattern. Then, set your cutting tool into the tool holder so that its cutting edge is directly opposite the follower. The distance between the follower and the cutting edge should be constant. Many jigs are designed so the follower and tool are directly across from each other.
5. Lock the Jig: Secure the pivot arm and ensure the sled is locked to the lathe bed.
6. Start Turning:
Turn on your lathe at a slow speed.
Gently engage the cutting tool to begin shaping the workpiece, allowing the follower to trace the master pattern.
Keep the follower firmly pressed against the master pattern as you move the tool along the length of the workpiece.
Make light, controlled passes, gradually removing material. It’s better to make multiple light passes than one heavy cut.
7. Check Progress: Periodically stop the lathe and check the workpiece against the master by eye.
8. Refine: Continue turning until the workpiece closely matches the master. You might need to make minor adjustments for detail work. Sand and finish as usual.
Table: Common Jig Components and Their Function
| Component | Material | Function | Notes |
| :——————– | :——————- | :————————————————————————————————— | :—————————————————– |
| Base/Sled | Plywood, Hardwood | Slides on lathe bed, positions the jig. | Needs a snug but smooth fit. |
| Pivoting Arm | Plywood, Hardwood | Holds tool holder and master pattern, allows movement across workpiece. | Must pivot freely but lock securely. |
| Tool Holder Block | Plywood, Hardwood | Mounts to arm, holds follower and tool rest. | Holes must be precisely aligned and smooth. |
| Follower Pin/Rod | Metal Rod, Hardwood | Rests against master pattern, guides the tool’s position. | Needs to slide smoothly. Bearing optional for precision. |
| Master Pattern Holder | Wood, Metal Clamp | Securely attaches original turned piece to the jig for tracing. | Must hold the master firmly without shifting. |
| Locking Mechanisms| Bolts, Wingnuts, Clamps | Secure the sled and arm to prevent unwanted movement during turning. | Essential for accuracy and safety. |
Advanced Tips and Variations
As you get more comfortable with your basic duplicator jig, you might want to explore some enhancements:
Ball Bearing Follower: Embedding a small ball bearing into the follower pin provides an ultra-smooth rolling contact with the master pattern, leading to more precise replication and less wear on your master. You can find small bearings at hardware stores or online.
Adjustable Tool Rest: Instead of a fixed hole, build a slide or clamp system to hold your tool rest. This allows for fine-tuning the tool’s cutting angle and depth.
Template Creation: For very intricate shapes, you can create a separate template from thin MDF or plastic. Mount this template on the jig and use a follower pin with a bearing or a guide bushing to accurately guide a router or a specialized cutting bit. This is more common for copy lathes, but the principle applies.
Quick-Change Master Mounts: Design a system with interchangeable mounting plates or clamps so you can quickly swap out different master patterns.
Safety First!
Always remember safety when working with any woodworking tool, especially those you build yourself.
Secure Mount: Ensure the jig is securely attached to your lathe bed and that all bolts and screws are tight.
Tool Stability: Make sure your cutting tool is held firmly in the jig’s tool holder.
Eye Protection: Always wear safety glasses when operating a lathe or working with tools.
Slow Speeds: Start with slow lathe speeds and gradually increase as you gain confidence.
Clean Workspace: Keep your area free of clutter to avoid tripping hazards or catching on moving parts.
Emergency Stop: Know where your lathe’s off switch is and be ready to use it.
You can find excellent resources on woodturning safety from organizations like the American Association of Woodturners (AAW), which advocate for safe practices in the workshop.
Conclusion
Building your own DIY wood lathe duplicator jig is a rewarding project that will dramatically improve your turning efficiency and accuracy. It transforms the challenge of creating identical pieces into a simple, repeatable process. From saving time and materials to ensuring beautiful symmetry in your projects, this genius tool is an absolute essential for any woodturner’s workshop. So gather your materials, follow these steps, and get ready to replicate your turned masterpieces with confidence and ease. Happy turning!