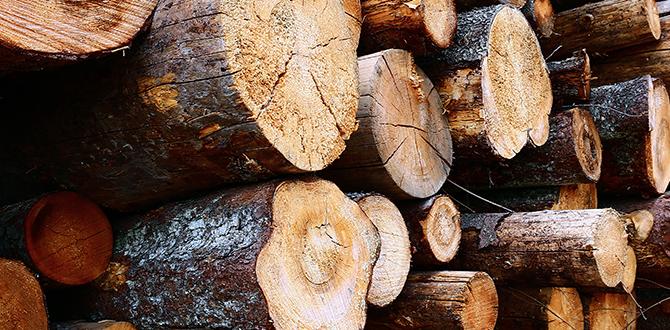
Have you ever wondered how to make a smooth edge on a metal piece? Creating a chamfer on a lathe is a great skill to have. It can help you make parts that fit perfectly. Imagine building something and having sharp edges that make it hard to handle. That’s where a chamfer comes in!
Many people think machining is all about complex techniques. But creating chamfers is quite simple and fun. Just a few steps can make your project look professional. You might be surprised to know that many tools can help you achieve this shape easily.
In this article, we will explore how to create chamfers on a lathe. We will share tips and tricks that will make the process smooth. You don’t have to be an expert to start. So, let’s dive in and discover how you can create chamfers like a pro!
How To Create Chamfer On Lathe: Step-By-Step Guide

How to Create Chamfer on Lathe
Creating a chamfer on a lathe is easier than you might think. First, set your lathe to the right speed. Next, use a proper cutting tool. Set the angle for the chamfer, usually at 45 degrees. Slowly move the tool to the edge of the workpiece. And voila! You have a polished chamfer. Did you know that chamfers help prevent tool damage? Mastering this skill will improve your woodworking and metalworking projects tremendously!Understanding Chamfers
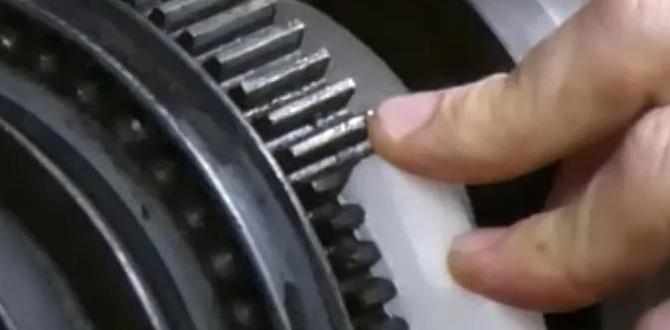
Definition of a chamfer. Purpose and benefits of using chamfers in machining.A chamfer is a flat edge added to the corner of a material. It helps to round sharp edges for safety and improves appearance. Chamfers have several benefits in machining. They make parts easier to assemble, help to reduce wear, and allow for better flow of fluids. This can lead to stronger and more reliable products.
Why Use a Chamfer?
- Safety: Smooths sharp edges.
- Assembly: Easier to fit parts together.
- Durability: Reduces wear on parts.
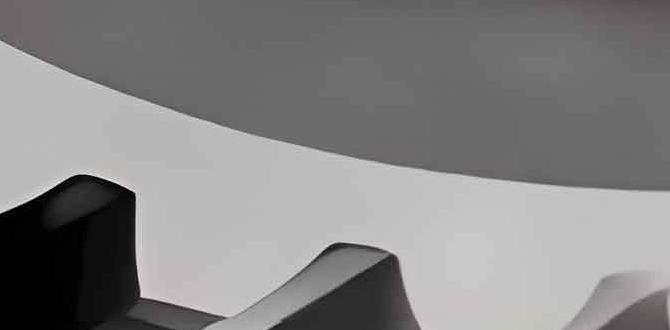
Types of Chamfers
Different types of chamfer designs. Applications of each type in various industries.Chamfers come in many designs, each useful for different jobs. Here are some types:
- Simple Chamfer: This is a straight cut at the edge. It’s used to make parts safer and easier to assemble.
- Beveled Chamfer: This type has a sloped edge. It helps parts fit together better in machines.
- Round Chamfer: Instead of a sharp edge, it has a curve. This design is great for reducing wear and tear.
These chamfers appear in many industries, like construction, automotive, and aerospace. They make products stronger and more efficient. So, choosing the right chamfer is important for good results!
What are the uses of chamfers?
Chamfers are used to enhance safety, improve assembly, and reduce stress on parts. They help in creating smooth edges and fitting components together properly.
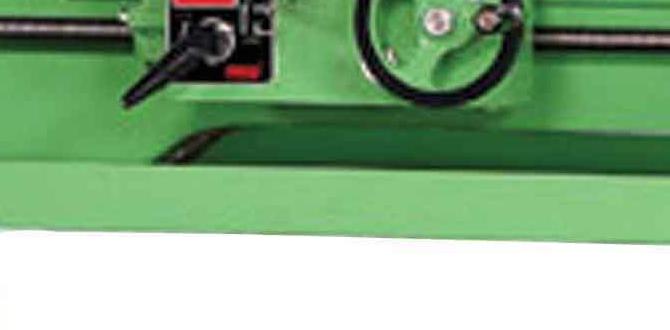
Preparing the Lathe for Chamfering
Essential tools and equipment needed. Adjusting lathe settings for optimal performance.Before starting, gather some tools and equipment. You’ll need a lathe, a cutting tool, and a measuring tool. It’s best to have safety gear, too. Ensuring everything is in place helps keep you safe.
Next, adjust the lathe settings. Set the speed based on the material. A slower speed is good for hard materials, while faster works for softer ones. Make sure to balance the tool position. This adjustment will help achieve a smooth chamfer.
What tools do I need for chamfering on a lathe?
You need a lathe, cutting tools, measuring tools, and safety gear.Essential Tools:
- Lathe
- Cutting Tool
- Measuring Tool
- Safety Gear
Step-by-Step Process for Creating a Chamfer
Setting up the workpiece in the lathe. Choosing the right cutting tool and angle. Detailed steps for executing the cut.First, secure your workpiece in the lathe firmly. Make sure it stays still during the cut. Next, select the cutting tool. A sharp tool with a 45-degree angle works best for a chamfer. Now, follow these steps:
- Adjust the lathe speed for your material.
- Engage the tool gently against the edge of the workpiece.
- Move the tool along the edge to create the chamfer. Be steady.
Watch your progress closely. Feel the smoothness as you work, ensuring a neat finish!
What tools do I need to create a chamfer on the lathe?
You will need a lathe, a cutting tool, and a measuring tool to ensure accuracy. Choose a tool with a sharp edge and suitable angle for the best results.
Common Mistakes to Avoid
Lack of proper measurements and calculations. Incorrect tool selection or setup. Neglecting to account for material properties.Many mistakes can happen while making a chamfer. Here are a few to watch out for:
- Skipping measurements: Not measuring properly can lead to wrong angles and sizes.
- Wrong tools: Using the wrong tool can ruin your work and waste time.
- Ignoring material: Different materials behave differently, so pay attention to them.
Avoid these common problems to create perfect chamfers!
What can cause a chamfer to go wrong?
Common issues include bad measurements, wrong tool selection, and not understanding material properties.
Finishing Touches and Quality Control
Techniques for achieving a smooth chamfer finish. Methods for measuring and verifying chamfer dimensions.To make a great chamfer, finishing touches matter. Start by using fine sandpaper or a polishing tool. These help to make your chamfer smooth. Consistency is key; check that the surface feels even. For measuring, use a caliper or a gauge. This ensures the chamfer’s angle and length are perfect. Regular checks help catch issues early. Remember to keep your workspace clean, as dust can affect your results.
How can I measure my chamfer accurately?
You can achieve accuracy by using a digital caliper. A digital caliper provides clear measurements for your chamfer’s size. It helps ensure precision in your project.
- Use a caliper for measuring the angle.
- Check dimensions often during the process.
- Keep tools clean for better readings.
Advanced Techniques and Tips
Using CNC lathes for chamfering. Tips for efficient and precise chamfering on complex shapes.CNC lathes make chamfering easier and faster. They allow for very precise cuts on different shapes. This helps create smooth edges on complex parts. Consider these tips for better results:
- Start with a clear design on the computer.
- Adjust the speed based on material type.
- Use the right tool for the job to avoid mistakes.
- Check the angles carefully before starting.
By following these tips, you can improve your chamfering skills and achieve great results.
What is the best way to use CNC for chamfering?
The best way is to plan your work in detail. Use a CNC machine that fits your needs and run tests to ensure accuracy. Each step builds your skills.
Applications of Chamfered Edges
Importance of chamfers in assembly and safety. Examples of chamfer use in various products.Chamfered edges play a vital role in many products. They help parts fit together smoothly during assembly. This reduces the risk of injury and makes products safer to use. For example, you find chamfers on tools, furniture edges, and car parts. They help prevent sharp corners that can cause cuts or accidents. Here are a few benefits:
- Easy assembly
- Increased safety
- Better appearance
Chamfers are not just practical; they also make items look nicer. They really improve both function and form!
What are the benefits of chamfered edges?
Chamfered edges are safer, easier to assemble, and improve the look of products.
Maintenance and Troubleshooting
Regular maintenance practices for lathe equipment. Troubleshooting common problems during chamfering operations.Keeping your lathe in tip-top shape is vital for smooth chamfering. Regular checks on oil levels and cleaning debris can prevent hiccups. A clean lathe is a happy lathe! Want to dodge snags while chamfering? Watch out for poor tool alignment or dull edges, they can lead to messy results. If the sound goes weird, it might be time to stop and have a look before you end up with a lopsided finish!
| Common Issues | Solutions |
|---|---|
| Poor tool alignment | Adjust the tool rest to the correct angle |
| Dull cutting tool | Sharpen or replace the tool |
| Overheating | Check lubrication, let it cool off |
| Vibration during operation | Check for loose parts |
Conclusion
In summary, creating a chamfer on a lathe is easy and rewarding. Start by setting the tool correctly and adjusting the speed. Focus on smooth, steady movements to achieve a neat edge. You can practice on scrap material first. Now that you know the basics, try making your own chamfers and explore more advanced techniques for added skills!FAQs
What Tools And Setup Are Required To Create A Chamfer On A Lathe Effectively?To create a chamfer on a lathe, you need a few simple tools. First, you need a lathe machine to hold the workpiece. You also need a cutting tool, which is a special metal piece that shapes the edge. Lastly, make sure your lathe is set up correctly and running smoothly. With these tools, you can make nice, angled edges on your projects!
How Do You Determine The Appropriate Angle And Depth For A Chamfer On A Lathe?To find the right angle and depth for a chamfer, you first decide how sharp you want the edge. A common angle is 45 degrees, which is easy to work with. Then, you measure how deep the chamfer should be. You can use a ruler to get the right depth, usually between 1/16 to 1/8 of an inch. After that, you can set your lathe to the angle and depth you picked.
What Are The Differences Between Creating A Chamfer Using A Cutting Tool Versus Using A Chamfering Tool On A Lathe?When you make a chamfer with a cutting tool, you cut the edge at an angle. This can take more time and be trickier. A chamfering tool is specially made for this task. It shapes the edge quickly and easily. Using a chamfering tool usually gives you a smoother finish.
How Can You Ensure A Smooth Finish And Accurate Dimensions When Chamfering On A Lathe?To get a smooth finish and accurate dimensions when chamfering on a lathe, you should follow these steps. First, make sure your tool is sharp. A sharp tool cuts better and makes a nice edge. Next, set the lathe’s speed carefully. A good speed helps you avoid rough spots. Finally, take small cuts instead of big ones. This allows you to control the shape better and get it just right.
What Safety Precautions Should You Take When Creating A Chamfer On A Lathe?When you create a chamfer on a lathe, you need to stay safe. Always wear safety goggles to protect your eyes. Keep your fingers away from moving parts. Make sure your hair and loose clothes are tied back. Finally, never rush; take your time to be careful.