Have you ever looked at a solid piece of wood and wondered what it could become? Imagine transforming it into a beautiful hollow form!
Learning how to hollow a form on a wood lathe is like unlocking a secret. It opens up new creative doors. You can make bowls, vases, or even unique sculptures.
Many people think this skill is complicated. But with the right tools and tips, anyone can master it. Picture yourself standing proudly beside your first finished piece. That’s a moment worth aspiring to!
Did you know that ancient artisans once used hollowed wood to make musical instruments? This technique has a rich history. Today, it remains a popular hobby and craft. If you’ve ever wanted to create something special, this article will guide you step by step.
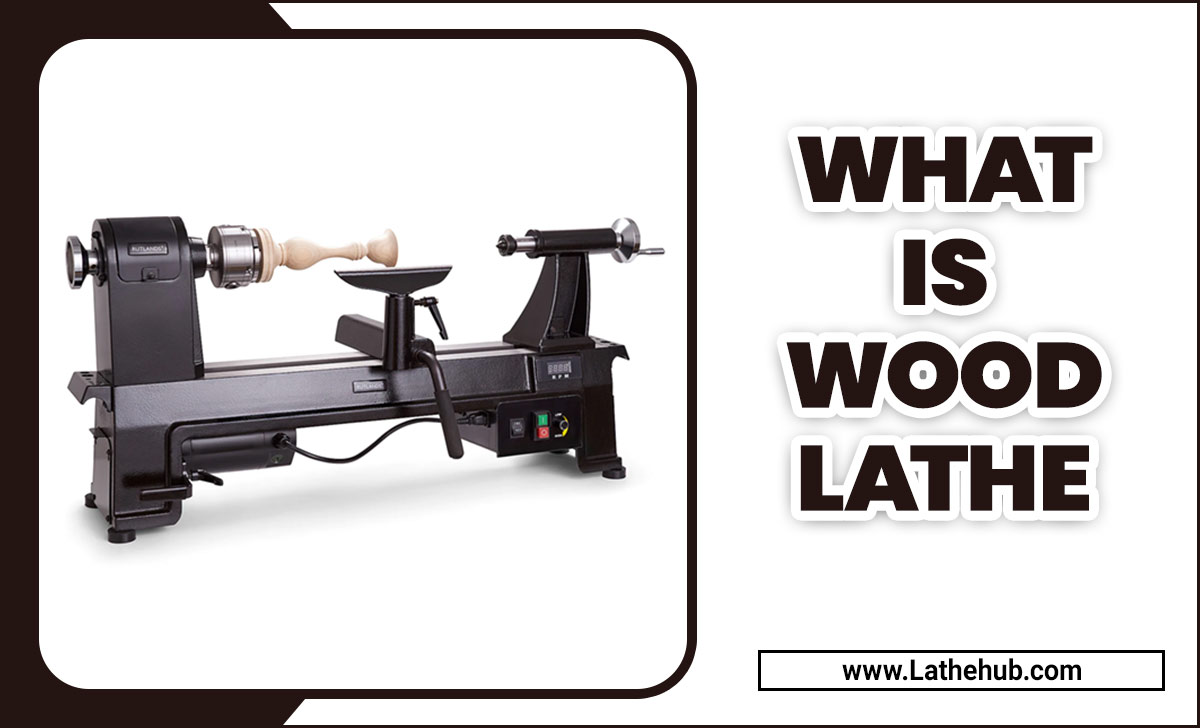
How To Hollow A Form On Wood Lathe: Techniques And Tips

How to Hollow a Form on Wood Lathe
Hollowing a form on a wood lathe can be an exciting way to create unique pieces. First, choose the right tools, like a hollowing chisel, to make the task easier. Start slowly to control the wood as you remove layers. Did you know that using proper techniques can prevent splintering? Practice is key! With patience, you can craft beautiful bowls or vases, impressing friends and family alike. So, why not give hollowing a try?Safety Precautions
Importance of personal protective equipment (PPE). Safe operating practices to prevent accidents.Before you turn on that wood lathe, think of it like a superhero suit! Wearing the right personal protective equipment, or PPE, keeps you safe from flying wood chips and surprise splinters. Safety glasses are a must, so you won’t end up with more than just a bit of sawdust in your eyes. Ear protection and dust masks also help, unless you want to look like a sneezy elephant!
| Protective Gear | Purpose |
|---|---|
| Safety Glasses | Protects eyes from debris |
| Hearing Protection | Preserves your lovely ears from noise |
| Dust Mask | Keeps sneezes under control |
Practicing safe operating methods is just as important. Always keep your hands clear while the lathe spins. Remember, fingers are not drumsticks! By following these rules, your woodturning adventure will be fun and accident-free.
Choosing the Right Wood Type
Characteristics of hardwood vs. softwood. Recommended wood types for hollowing.Not all woods are the same. Hardwoods come from trees like oak and maple. They feel strong and are dense. Softwoods, like pine or cedar, are lighter and easier to cut. For hollowing on a lathe, many choose hardwood for its durability. However, softwood can also work well for smaller projects. Here are some good choices:
- Maple
- Cherry
- Pine
- Cedar
Choosing the right wood helps make your hollow form strong and beautiful. So, think about what you need for your project!
What are the best woods for hollowing?
The best woods for hollowing include hardwoods like maple and cherry. These woods last long and look great. Softwoods like pine are easier to shape. Choose based on your skill level and project.
Tools Required for Hollowing Forms
Essential tools for hollowing, including chisels and drill bits. Optional tools that enhance the hollowing process.To hollow forms in wood, you need some key tools. First, solid chisels are essential. These help shape the wood and create the hollow. A set of sharp drill bits also tops the list. They make it easier to start your hollowing. Optional tools can make it even better. A hollowing tool speeds up the process. A gouge can help with details. Finally, a bowl scraper gives a smooth finish.
- Chisels
- Drill Bits
- Hollowing Tool
- Gouge
- Bowl Scraper
What tools do I need to hollow wood?
You’ll need chisels, drill bits, and possibly a hollowing tool to get started.
Using the right tools makes hollowing easier and more fun. Think of your tools as friends that help you create amazing things! Do you have your toolkit ready?
Preparing the Wood Blank
Steps to properly mount and secure the wood blank. Techniques for shaping the initial form.First, let’s talk about the party trick: securing your wood blank! Use a sturdy chuck to hold it in place. This way, it won’t go flying off like a surprised chicken when you start spinning! Make sure the blank is centered to avoid wobbling. Next, shape the initial form with a roughing gouge. It’s like giving your wood a haircut! Just keep your tool steady and don’t forget to wear safety goggles—wood shavings can be like tiny ninjas. Below is a quick guide to help you out:
| Step | Description |
|---|---|
| 1 | Secure the wood blank using a sturdy chuck. |
| 2 | Center the blank to avoid wobbling. |
| 3 | Use a roughing gouge to shape the initial form. |
| 4 | Keep tools steady and wear safety goggles. |
Basic Hollowing Techniques
Stepbystep guide to hollowing using a spindle gouge. Techniques for achieving uniform thickness.To hollow out wood using a spindle gouge, follow these simple steps. First, secure your wood piece tightly on the lathe. Next, turn it on and adjust the speed to a comfortable level. Hold the spindle gouge at a slight angle. Start making small cuts inward to create a hollow shape. To achieve uniform thickness, regularly check your work. Use calipers to measure thickness as you go. Remember, it’s all about patience and practice!
What is the best technique for hollowing with a spindle gouge?
Best technique includes taking small, controlled cuts while keeping the gouge at an angle.
Tips for Uniform Thickness:
- Use calipers frequently.
- Keep your cuts even.
- Check the wall thickness often.
Finishing the Hollowed Form
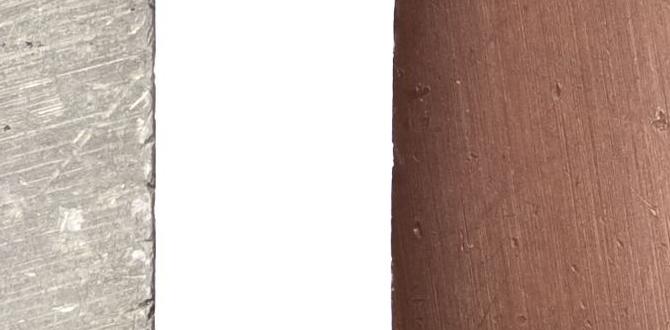
Methods to sand and finish the hollowed piece. Recommendations for sealants and oils.After hollowing a form on your wood lathe, it’s time to make it shine! Start by sanding the inside gently. Use different grits, like starting with 80 and moving up to 220, to get a smooth finish. Don’t rush—your piece deserves tender loving care! Next, let’s talk sealants. Oils and finishes protect your masterpiece. Popular choices include dane oil and polyurethane. They keep wood happy and shiny. Here’s a quick comparison:
| Sealant Type | Durability | Appearance |
|---|---|---|
| Danish Oil | Good | Natural, warm glow |
| Polyurethane | Excellent | Glossy or satin |
Remember, the right finish makes all the difference. So, give your creation the love it deserves. And who knows? Maybe it’ll impress your friends enough that they’ll offer to do your chores for a month!
Troubleshooting Common Issues
Identifying common problems during the hollowing process. Solutions and tips to overcome challenges.Problems can pop up while hollowing wood. Sometimes, the wood may crack or the tool might catch. But don’t worry! Here are some tips to solve these issues.
- Check for cracks. Use stable wood. If cracks happen, stop and inspect.
- Always keep tools sharp. Sharp tools cut better and reduce catching.
- Adjust speed settings. Too fast can cause catches. Slow down for better control.
With these simple tips, you can avoid common problems and enjoy your woodturning adventures!
What should I do if my tool gets stuck?
If your tool gets stuck, stop the lathe immediately. Check the wood and the tool. Often, a sharper tool or a slower speed can help.
How can I prevent wood from cracking?
To prevent cracking, choose high-quality wood that is dry and free of defects. Also, hollow slowly to reduce pressure.
Maintenance of Tools and Equipment
Importance of maintaining tools for longevity. Best practices for cleaning and storing lathe tools.Keeping tools in good shape is key for making them last long. Like a superhero, they need some care to keep saving the day! Clean those lathe tools after use to remove dust or sticky stuff. Dry them well to avoid rust. Store them in a dry place. A little oil can work wonders, too. After all, even tools want to feel pampered. Here’s a quick table for the best practices:
| Action | Description |
|---|---|
| Clean | Remove dust and debris. |
| Dry | Ensure no water is left to prevent rust. |
| Oil | Apply a thin coat to protect metal parts. |
| Store | Keep in a dry, safe area. |
Remember, a happy tool makes for happy projects!
Conclusion
In conclusion, hollowing a form on a wood lathe is an exciting skill to learn. Remember to choose the right tools, work slowly, and prioritize safety. Practice makes perfect, so don’t hesitate to try different techniques. You can create beautiful shapes with a little patience. For more tips, keep exploring books or videos on woodturning. Happy turning!FAQs
What Types Of Tools And Equipment Are Best Suited For Hollowing Forms On A Wood Lathe?To hollow forms on a wood lathe, you can use special tools called hollowing tools. These tools have sharp, curved edges that help carve inside shapes. You’ll also need a good lathe with a strong motor to spin the wood. A drill with a long bit can help start the hollowing process too. Always remember to wear safety gear, like goggles, when working!
What Are The Key Safety Precautions To Consider While Hollowing Wood On A Lathe?When you hollow wood on a lathe, wear safety goggles to protect your eyes. Always keep your hands away from the cutting tools. Make sure your hair and clothes are tucked in so they don’t get caught. Check that the wood is secure before you start. Lastly, don’t remove any pieces while the lathe is spinning.
How Do You Determine The Thickness Of The Walls When Hollowing A Form On A Lathe?To determine the thickness of the walls when hollowing a form on a lathe, you need to start with a plan. First, decide how thick you want the walls to be. Measure the thickness along the sides as you work. Use calipers or a ruler to check your measurements. This helps ensure your form is even and balanced.
What Techniques Can Be Used To Achieve A Smooth Finish On The Interior Of The Hollowed Form?To get a smooth finish inside your hollowed form, you can use sandpaper. Start with rough sandpaper to remove big bumps, then switch to fine sandpaper for a soft touch. You can also use a cloth with wood oil to make it shiny. If you have a small tool, like a sanding sponge, it can help you reach tight spots. Always be patient and take your time!
How Can You Troubleshoot Common Issues, Such As Tear-Out Or Tool Catch, When Hollowing On A Wood Lathe?When you hollow wood on a lathe, you might see tear-out or experience tool catches. To fix tear-out, try using a sharper tool and make shallow cuts. If the tool catches, check your grip. Make sure you hold the tool steady and not too tight. Finally, always start with a gentle touch and go slow.