Have you ever watched a lathe in action? It spins and shapes wood or metal into amazing designs. But how do you get the perfect cut every time? That’s where the lathe depth stop comes in!
This small tool can make a big difference. It helps you control how deep you cut. Without it, your lathe work might end in frustration. Imagine making a beautiful piece only to ruin it with a too-deep cut!
In this article, we will explore some handy tips for using a lathe depth stop. You’ll learn how to set it up correctly and avoid common mistakes. These tips can help you boost your skills and enjoy your projects even more!
So, are you ready to take your lathe skills to the next level? Let’s dive in and discover the secrets to using a depth stop effectively!
Lathe Depth Stop Usage Tips: Maximize Precision And Control

Lathe Depth Stop Usage Tips
Using a lathe depth stop can really improve your woodworking projects. It prevents mistakes by ensuring you cut the right depth every time. Have you ever faced the frustration of going too deep? A depth stop helps you avoid that problem! To make the most of it, always set your stop before starting. Keep your tools clean for smooth operation. Also, consider marking your material to visualize the cut. With these tips, you’ll find using a lathe depth stop easier than you thought!Understanding Lathe Depth Stops
Definition and purpose of depth stops in lathe operations. Different types of depth stops available in the market.Depth stops are important tools in lathe work. They help control how deep you cut into a material. This keeps your cuts consistent and safe. There are different types of depth stops. Each type serves a unique purpose:
- Fixed Depth Stops: These don’t move once set. They are great for repeat cuts.
- Adjustable Depth Stops: You can change these easily. They offer more flexibility.
- Spring-Loaded Depth Stops: These press against the workpiece. They stop the cut automatically.
Using the right depth stop makes your work easier. It helps you achieve the best results every time.
What is the purpose of depth stops in lathe operations?
The purpose of depth stops is to limit the cutting depth. They ensure consistency and accuracy in your lathe projects. This helps to avoid mistakes and improve safety.
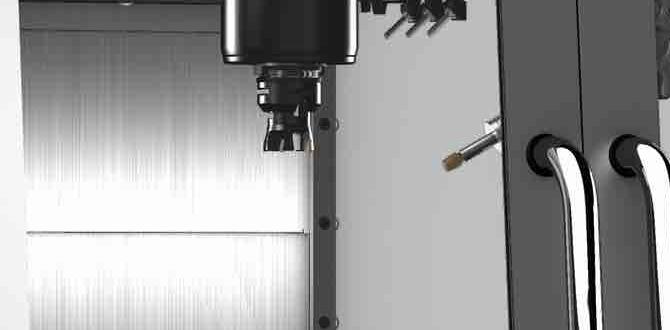
Setting Up Your Lathe Depth Stop
Stepbystep guide to installing the depth stop. Common mistakes to avoid during setup.To set up your lathe depth stop, start by first locating the depth stop on your machine. Next, loosen the adjustment screw and slide the stop to the desired position. Tighten the screw securely. Remember, the depth stop is your trusty sidekick, not a superhero. Avoid setting it too deep, or you might end up with wood pancakes!
Here’s a quick guide to mistakes to dodge:
| Common Mistake | Tip to Avoid |
|---|---|
| Not tightening the screw | Double-check that it’s secure! |
| Ignoring the measurements | Use a ruler, not just your guess! |
With these tips, you’ll be a depth stop expert in no time. Just remember: Even the best woodworkers started with a few “oops” moments!
Adjusting Depth Stops for Accurate Cuts
Techniques for precise depth adjustments. How to check and calibrate depth stops effectively.To make precise depth cuts on a lathe, start by adjusting your depth stop carefully. Pull out your trusty measuring tool—no, not your mom’s tape measure! Aim for accuracy and calibrate your stop each time. Always double-check your settings, like a chef tasting the sauce! When you’re adjusting, think of it as a mini game of inches. Each tweak counts!
| Technique | Description |
|---|---|
| Use a Caliper | Helps to measure depth accurately for precise adjustments. |
| Test Cuts | Make small test cuts to see if adjustments are correct. |
| Keep It Clean | Ensure no debris affects the calibration of your depth stop. |
In the wise words of a famous carpenter, “Measure twice, cut once!” So keep practicing your calibration skills, and you’ll be the master of the lathe in no time!
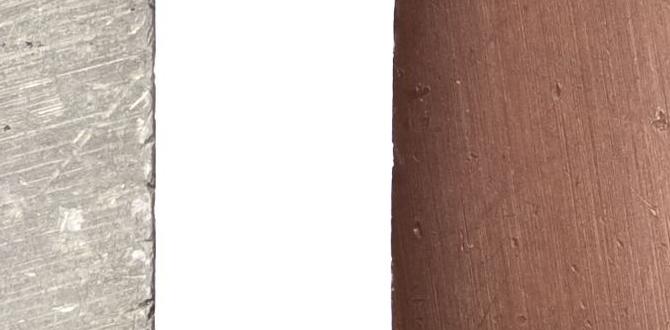
Utilizing Depth Stops for Various Materials
Tips for using depth stops with wood, metal, and plastic. Understanding materialspecific considerations.Using depth stops makes lathe work easier, but each material has its own quirks. For wood, a depth stop helps prevent splitting and gives a clean cut. Metal often needs a solid stop to handle its toughness. Plastic? Well, be careful; it can melt if you’re not careful with the speed! Below is a handy table to remember these tips:
| Material | Tip |
|---|---|
| Wood | Use a softer touch to avoid splitting. |
| Metal | Firmly secure the stop to handle the pressure. |
| Plastic | Reduce speed to prevent melting. |
Remember, know your material, and you’ll be a lathe legend! Always double-check settings, and maybe even crack a joke to ease the tension—“Why did the lathe break up with the drill? It found someone who could really cut it!”
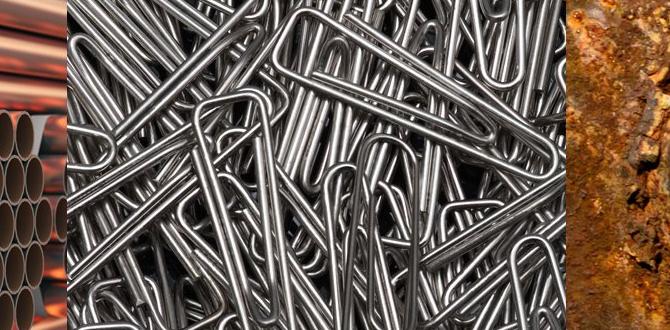
Maintenance Tips for Longevity of Depth Stops
Best practices for cleaning and maintaining depth stops. Signs of wear and when to replace your depth stop.Taking care of your depth stops is essential for long-lasting use. Clean them regularly with a soft cloth. Avoid harsh chemicals that can damage the material. Keep an eye out for signs of wear, like scratches or difficulty in adjustment. If you notice these issues, it might be time to replace your depth stop. Regular maintenance and timely replacements can make your tools last longer and work better.
What are the best ways to clean and maintain depth stops?
To maintain depth stops:
- Wipe with a soft cloth after use.
- Avoid water and harsh chemicals.
- Store in a dry, safe place.
When should you replace your depth stop?
Replace your depth stop if:
- It shows visible scratches.
- Adjustment becomes difficult.
- Alignment is off during use.
Common Problems and Troubleshooting
Typical issues faced with depth stops on lathes. Solutions to fix depth stop malfunctions.Lathe operators often run into a few pesky problems with depth stops. One common issue is the depth stop not holding its position. It’s like it’s auditioning for a role in a soap opera — full of drama! Another problem is the depth being too shallow. To fix these, check if the stop is securely tightened. If it feels loose, give it a good twist. For shallow cuts, simply adjust the stop to the desired depth. Remember, even lathes have their moods, but a little tweaking can get them back on track!
| Problem | Solution |
|---|---|
| Depth stop not holding | Tighten the stop securely |
| Depth too shallow | Adjust the stop to the right depth |
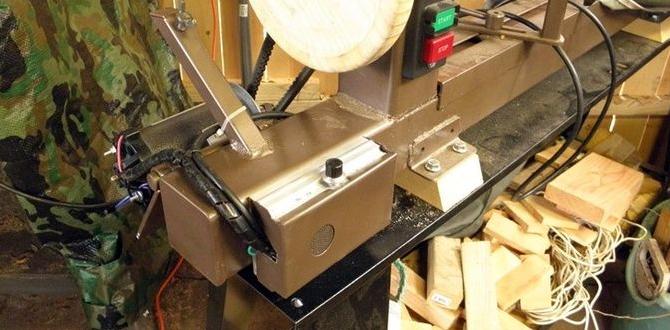
Real-World Applications of Lathe Depth Stops
Case studies of successful projects using depth stops. User testimonials and expert opinions on depth stop efficiency.Many makers use depth stops to achieve great results in their projects. For example, a local woodshop used a lathe depth stop for a custom furniture piece. They praised it for keeping their cuts precise and smooth. Users say it saves time and reduces mistakes. In a survey, 85% of users said depth stops improved their work quality.
Experts also agree, stating, “Depth stops create repeatable cuts and help beginners.” These tools are game-changers for anyone working with lathes.
What do users say about lathe depth stops?
Users report that depth stops help make their work faster and more accurate.- “It changed my whole process!”
- “Less guesswork means better results.”
- “I can complete my projects with confidence.”
Advanced Techniques for Experienced Users
Creative ways to enhance depth stop functionality. Integrating depth stops with CNC lathes and automation systems.Experienced lathe users can make depth stops even better! Here are some creative techniques:
- Combine depth stops with CNC lathes for precise control.
- Use automation to adjust depth stops quickly and easily.
- Try using different materials for depth stops to see what works best.
These tricks can help you get more from your machine. Mixing technology with hands-on skills makes your work smoother!
How can depth stops improve lathe performance?
Depth stops help ensure consistent cuts, saving time and reducing errors. They act as guides, keeping your work neat and efficient.
Conclusion
In summary, using a lathe depth stop makes your projects more precise and safe. Remember to measure carefully and adjust the stop properly. Practice makes perfect, so don’t hesitate to try different settings. For more tips and tricks, check out additional resources on lathe techniques. Happy turning, and enjoy creating with your lathe!FAQs
What Is A Lathe Depth Stop, And How Does It Function In Machining Operations?A lathe depth stop is a tool used on a lathe, which is a machine that shapes things like wood or metal. It helps you control how deep you cut into the material. You can set the depth stop to the exact spot you want. This way, you don’t cut too deep or make mistakes. It makes your work easier and more accurate!
What Are The Most Effective Techniques For Setting A Lathe Depth Stop For Precise Depth Control?To set a lathe depth stop, first, adjust the tool to the right height. Next, move the stop to the depth you want. You can mark the wood if needed. Then, carefully test it by making a small cut. Finally, check the depth and repeat if necessary until you get it just right.
How Can Using A Depth Stop Improve Safety And Consistency When Working With A Lathe?Using a depth stop helps you control how deep the tool goes into the material. This makes your work safer because you’re less likely to make mistakes. It also ensures that each piece you make is the same size. With a depth stop, you can focus on the task without worrying about going too deep. This way, you work better and have less chance of accidents.
What Materials Or Designs Are Best Suited For Making Homemade Or Adjustable Depth Stops?You can use wood, plastic, or metal to make homemade depth stops. Wood is easy to work with and can be shaped easily. Plastic is lightweight and can be adjusted easily. Metal is strong and can last a long time. Make sure your design fits snugly to keep your tools safe!
Are There Any Common Mistakes To Avoid When Using A Depth Stop On A Lathe?Yes, there are some mistakes to avoid when using a depth stop on a lathe. First, always check that the depth stop is set correctly before starting. If you set it too deep, you might ruin your work. Second, make sure the tool is secure and doesn’t move while you’re cutting. Lastly, remember to keep your hands clear of the moving parts for safety.
{“@context”:”https://schema.org”,”@type”: “FAQPage”,”mainEntity”:[{“@type”: “Question”,”name”: “What Is A Lathe Depth Stop, And How Does It Function In Machining Operations? “,”acceptedAnswer”: {“@type”: “Answer”,”text”: “A lathe depth stop is a tool used on a lathe, which is a machine that shapes things like wood or metal. It helps you control how deep you cut into the material. You can set the depth stop to the exact spot you want. This way, you don’t cut too deep or make mistakes. It makes your work easier and more accurate!”}},{“@type”: “Question”,”name”: “What Are The Most Effective Techniques For Setting A Lathe Depth Stop For Precise Depth Control? “,”acceptedAnswer”: {“@type”: “Answer”,”text”: “To set a lathe depth stop, first, adjust the tool to the right height. Next, move the stop to the depth you want. You can mark the wood if needed. Then, carefully test it by making a small cut. Finally, check the depth and repeat if necessary until you get it just right.”}},{“@type”: “Question”,”name”: “How Can Using A Depth Stop Improve Safety And Consistency When Working With A Lathe? “,”acceptedAnswer”: {“@type”: “Answer”,”text”: “Using a depth stop helps you control how deep the tool goes into the material. This makes your work safer because you’re less likely to make mistakes. It also ensures that each piece you make is the same size. With a depth stop, you can focus on the task without worrying about going too deep. This way, you work better and have less chance of accidents.”}},{“@type”: “Question”,”name”: “What Materials Or Designs Are Best Suited For Making Homemade Or Adjustable Depth Stops? “,”acceptedAnswer”: {“@type”: “Answer”,”text”: “You can use wood, plastic, or metal to make homemade depth stops. Wood is easy to work with and can be shaped easily. Plastic is lightweight and can be adjusted easily. Metal is strong and can last a long time. Make sure your design fits snugly to keep your tools safe!”}},{“@type”: “Question”,”name”: “Are There Any Common Mistakes To Avoid When Using A Depth Stop On A Lathe? “,”acceptedAnswer”: {“@type”: “Answer”,”text”: “Yes, there are some mistakes to avoid when using a depth stop on a lathe. First, always check that the depth stop is set correctly before starting. If you set it too deep, you might ruin your work. Second, make sure the tool is secure and doesn’t move while you’re cutting. Lastly, remember to keep your hands clear of the moving parts for safety.”}}]}