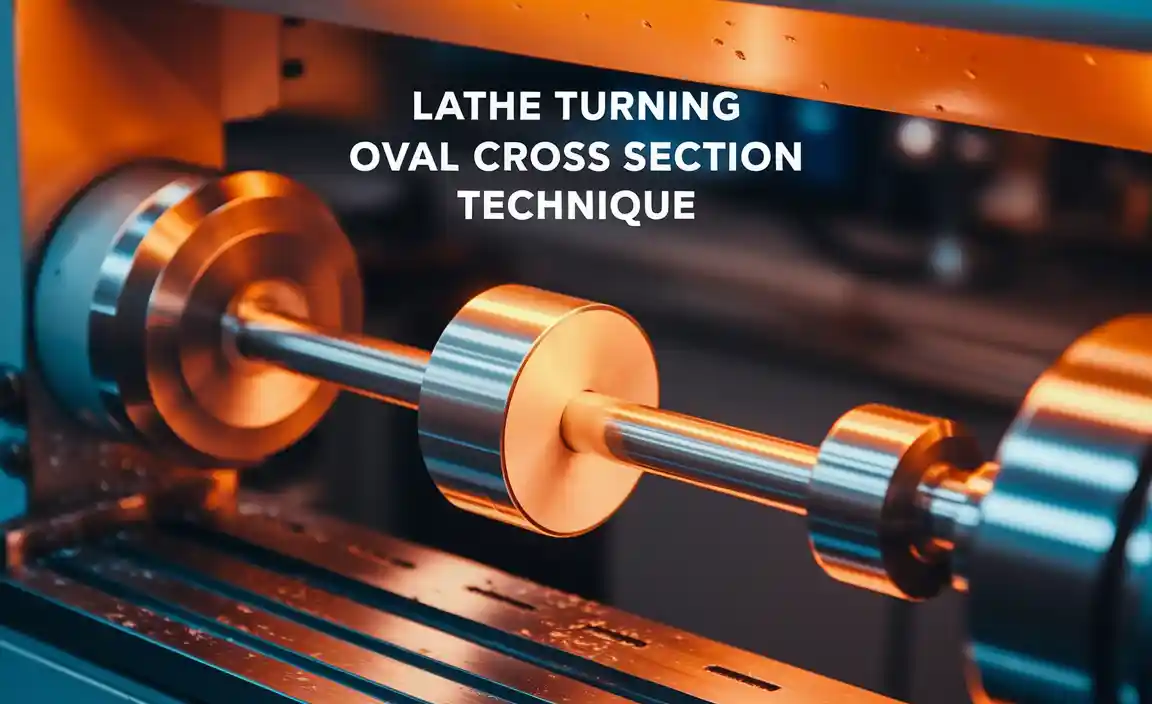
Have you ever wondered how craftsmen create beautiful shapes from wood or metal? The answer often lies in a clever technique called lathe turning. One fascinating approach within this technique is the oval cross section method. This method can transform simple materials into eye-catching forms.
Imagine a piece of wood spinning quickly. As it turns, a sharp tool slices away the material. This action shapes it into an oval form. Just like magic! With the lathe turning oval cross section technique, artisans can create items like bowls, vases, or even unique furniture pieces.
Did you know? This technique has existed for centuries! Ancient artisans used simple tools to shape wood. Today, we see it in modern workshops, blending old skills with new technology. This blend inspires many creators to explore their craft and make stunning designs.
So, are you ready to dive deeper into the world of lathe turning and discover how it can reshape your ideas? Let’s explore the oval cross section technique together!
Mastering Lathe Turning: Oval Cross Section Technique Guide

The Importance of Oval Cross Section in Woodworking
Advantages of using oval cross sections. Applications in custom furniture and artistic projects.
The oval cross section is special in woodworking. It provides unique advantages for many projects. Here are some benefits:
- Elegant Design: Oval shapes look sleek and modern.
- Better Balance: They offer stability to furniture.
- Creative Use: Oval sections help create custom pieces.
Many artists and furniture makers use oval shapes. They can add style and function to items. For example, an oval table can fit better in cozy spaces. Plus, it adds a touch of beauty to any room. It’s no wonder why this technique is popular!
What are the benefits of using oval cross sections?
Oval cross sections improve furniture stability and enhance aesthetics. They are great for custom designs and artistic furniture. By using this shape, you can create eye-catching pieces with better functionality.
Tools and Materials Required
Essential lathe tools for oval turning. Recommended materials for best results.
To tackle oval turning on a lathe, you need some essential tools and good materials. First off, grab a good quality insert tool. It shapes wood like a pro! Next, a steady rest is a must to keep everything wobble-free. You’ll also need a caliper to measure and ensure your ovals are no more egg-shaped than they need to be. Now, let’s talk materials. Softwoods, like pine, are great for beginners. They cut easily and won’t cause too many headaches!
| Tools | Materials |
|---|---|
| Insert Tool | Softwoods (like pine) |
| Steady Rest | Hardwoods (for more advanced work) |
| Caliper | Wood with a straight grain |
Remember, following these tips can help you dodge common mistakes and turn your oval dreams into reality. And don’t forget, practice makes perfect—unless you’re turning a giant egg, then it’s just messy!
Step-by-Step Guide to Turning an Oval Cross Section
Preparing the wood piece for turning. Setting up the lathe for oval turning.
Start by choosing the right piece of wood. Make sure it is dry, straight, and without cracks. This will help you get a smooth turn. Next, mark the center of the wood. This spot is important for perfect balance.
Now, set up the lathe for oval turning:
- Adjust the lathe speed. A slower speed is safer for shaping an oval.
- Secure the wood piece tightly in the lathe.
- Position the tool rest at the correct height for comfort.
Following these steps will help you create a great oval shape with ease!
How do I prepare my wood for using a lathe?
Ensure your wood is dry and straight. Mark the center for balance, and make sure it has no cracks. This will make your task easier and more fun!
How should I set up my lathe?
Adjust the speed lower and secure your wood piece. Make sure the tool rest is at a comfortable height, so you can work safely and easily.
Techniques for Achieving Precision in Oval Turning
Tips for maintaining balance and stability. Adjusting speed and feed rates for optimal results.
Creating ovals on a lathe can be tricky but fun! One key tip is to ensure balance and stability. If your piece wobbles, it’ll end up looking more like a potato than an oval. Keep your lathe secured and check the alignment. Next, adjust your speed and feed rates. Too fast? You might end up with a mess instead of an elegant shape. Too slow? You may just be bored out of your mind! Aim for a sweet spot—typically, a medium speed works best.
| Speed | Feed Rate | Outcome |
|---|---|---|
| Fast | High | Messy ovals! |
| Medium | Medium | Perfect ovals! |
| Slow | Low | Potential boredom! |
Remember, practice makes perfect! The more you do it, the more oval your ovals will be!
Common Challenges and How to Overcome Them
Identifying and solving common errors during the process. Maintenance tips for tools and equipment.
Errors can happen in lathe turning. They often lead to uneven shapes or bad finishes. If this happens, check the tools for wear. Make sure to calibrate the machine for accuracy. Regular maintenance keeps tools sharp and working well. Clean your lathe often. This enhances performance and prevents damage. Store tools safely to avoid rust. Here are some helpful tips:
- Check tool sharpness often.
- Lubricate moving parts regularly.
- Keep work area clean and organized.
Preventing errors helps create better projects. Remember, practice makes perfect!
What should I do if my lathe is not cutting correctly?
Inspect the tool for dullness and check alignment. Adjust settings if necessary.
Advanced Tips for Expert Woodturners
Experiments with different shapes and designs. Incorporating embellishments and finishes on oval pieces.
Trying out different shapes can be fun! Experimenting with designs helps expert woodturners create unique pieces. Ever thought of turning a potato into an art piece? Well, not really! But you can make your oval wood creations stand out. Adding embellishments, like beads or carvings, makes your work pop. Finishing techniques, like sanding and varnishing, can turn your piece into a shining masterpiece. It’s all about being creative and having fun while showing your skills!
| Technique | Description |
|---|---|
| Shape Experimentation | Try various shapes to enhance creativity. |
| Adding Embellishments | Incorporate decorative elements for flair. |
| Finishing Techniques | Use sanding and varnish for smooth surfaces. |
Resources for Continued Learning
Recommended books and online courses for lathe turning. Engaging with online communities and forums for advice.
There are many ways to keep learning about lathe turning. Check out these resources:
- Hands-on Books: Look for books that explain techniques clearly. Titles like “Lathe Work” can be very helpful.
- Online Courses: Websites like Udemy and Skillshare offer courses for beginners and advanced learners.
- Online Communities: Join forums like Reddit or woodworking groups. You can ask questions and share tips with others.
These resources will help you become better at lathe turning!
What are some recommended books and courses?
Books like “The Essential Woodworker” and online courses from platforms like Coursera provide great information for beginners.
Conclusion
In summary, the lathe turning oval cross-section technique helps you create smooth, shaped pieces. We learned it involves careful tool setup and steady hands. By practicing this method, you can make unique designs. Try it out on scrap wood before starting your project. For more tips, read further about lathe techniques and improve your skills!
FAQs
Sure! Here Are Five Related Questions On The Topic Of Lathe Turning Oval Cross Section Technique:
Lathe turning with an oval cross-section means shaping a piece of wood or metal into an egg or oval shape. You start by putting the material on a machine called a lathe. The lathe spins the material while you use special tools to carve it into an oval. This technique can make beautiful bowls or decorations. It’s important to be careful and always wear safety gear while working!
Sure! Please provide the question you’d like me to answer.
What Are The Key Differences Between Turning An Oval Cross Section And A Traditional Round Cross Section On A Lathe?
When you turn an oval shape on a lathe, you have to change how you move the tools. For a round shape, you can keep the tool at the same angle. But for an oval, you have to tilt it differently to make the sides. It takes more practice to get it right. The finished oval shape will look flat on two sides, while the round shape is smooth all around.
What Specific Tools And Setups Are Recommended For Achieving An Accurate Oval Cross Section On A Lathe?
To make an oval shape on a lathe, you need a few special tools. First, use a tool holder that can move side to side. Then, you should set up an oval template to guide your cuts. A measuring tool, like calipers, helps you check the shape. Always be careful and take your time for the best result!
How Can Adjustments In The Lathe’S Cutting Speed And Feed Rate Impact The Finish Of An Oval Profile?
When you change the cutting speed on a lathe, it can make the surface smoother or rougher. If you go too fast, the finish might not look nice. The feed rate, which is how fast the tool moves, also matters. A slower feed rate can give you a better finish, while a faster one might leave marks. So, if you want a nice oval shape, adjust these settings carefully!
What Measuring Techniques Can Be Employed To Ensure Precise Dimensions And Symmetry When Turning An Oval Cross Section?
To make sure our oval shape is just right, we can use a few handy tools. First, we can use calipers to measure the width and height of the oval. This helps us see if both ends are even. Next, a ruler can help us check if the sides are smooth and straight. Finally, we can turn the shape slowly and watch carefully as we measure to keep everything balanced.
What Common Challenges Do Machinists Face When Turning Oval Cross Sections, And How Can They Be Addressed?
When we turn oval shapes, we might face some problems. One big issue is keeping the shape even. If we go too fast or don’t hold the tool right, the oval can end up uneven. We can fix this by going slowly and checking our work often. Practicing a lot helps us get better at making smooth oval shapes!