Have you ever wondered how to add a special touch to your home? Think about the small details. The right drawer pull can make a big difference. One unique option is a lathe-turned drawer pull. They are not just functional; they can also be stunning works of art.
Installing a lathe-turned drawer pull is easier than it sounds. Many people worry about making such changes. But fear not! With a few simple steps, you can create a beautiful drawer pull that shines.
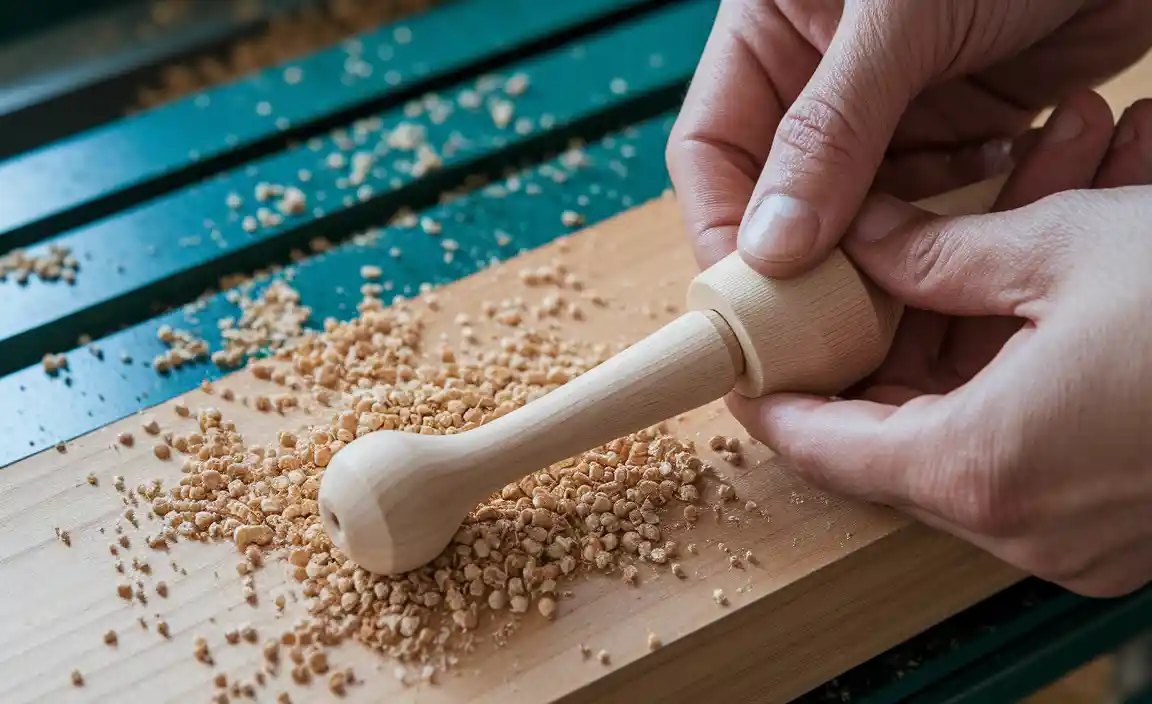
Did you know that skilled craftsmen have used lathes for centuries? This tool helps shape and smooth wood into amazing designs. Imagine having a piece in your home that someone skillfully created just for you.
Are you ready to transform your drawers? Let’s explore how to install a lathe-turned drawer pull and enjoy the beauty it brings.
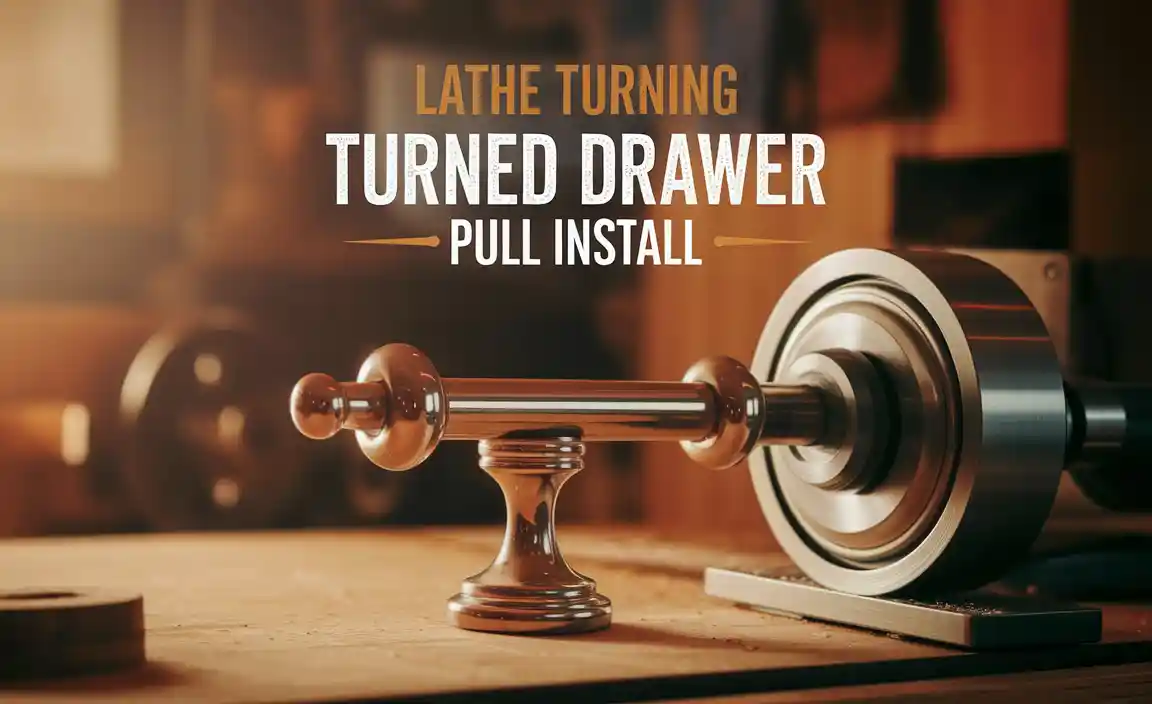
Lathe Turning: Turned Drawer Pull Install Guide
Designing Your Drawer Pull
Factors to consider when designing a drawer pull (size, style, material).. Examples of popular designs and their aesthetic appeal..
Creating the perfect drawer pull is as fun as picking ice cream flavors! First, think about size. You don’t want a tiny pull on a big drawer; it would be like a mouse trying to lift an elephant! Next, consider the style. Do you prefer modern or rustic? Lastly, choose your material. Metal, wood, or maybe ceramic? Each has its own charm. Popular designs include sleek metal bars and whimsical shapes. They can really jazz up a drawer!
| Design Type | Material | Aesthetic Appeal |
|---|---|---|
| Sleek Metal Bar | Stainless Steel | Modern and chic |
| Rustic Wooden Pull | Reclaimed Wood | Cozy and warm |
| Whimsical Shapes | Ceramic | Fun and quirky |
Selecting the Right Wood for Your Drawer Pull

Characteristics of different types of wood suitable for drawer pulls.. Tips on choosing wood that complements existing furniture..
Choosing the right wood for making drawer pulls can feel like picking a favorite ice cream flavor—so many delicious options! Some popular choices include oak, maple, and cherry. Oak is strong and has a beautiful grain, which makes it a great choice for many styles. Maple is light and smooth, perfect for a clean look. Cherry darkens over time, adding character to your furniture.
To match your drawer pulls with your existing furniture, start by looking at the colors and styles. If your furniture is dark, go for richer wood tones. If it’s light, try something that pops! Remember, the right wood can make your drawers look like they belong in a magazine. Happy crafting!
| Wood Type | Characteristics | Best Fit |
|---|---|---|
| Oak | Strong, beautiful grain | Classic styles |
| Maple | Light, smooth finish | Modern designs |
| Cherry | Rich color that deepens | Traditional furniture |
Step-by-Step Guide to Turning Drawer Pulls
Detailed instructions on setting up the lathe for turning drawer pulls.. Techniques for shaping and finishing the wood pulls effectively..
Setting up a lathe for turning drawer pulls can be fun! Here are some steps to help you:
- Check your lathe: Make sure it’s clean and oiled.
- Secure the wood: Use a chuck to hold your wood piece tightly.
- Adjust speed: Set the lathe to a slower speed to start.
- Shape the pull: Use chisels to carve it round and smooth.
- Finish it: Sand it down until it feels nice to touch.
These steps make your drawer pulls look great and feel good in your hand! Happy crafting!
How do I make my drawer pulls smooth?
Sanding your wood gradually, starting with coarse paper and moving to finer grits helps. Finish with a good quality clear coat for shine!
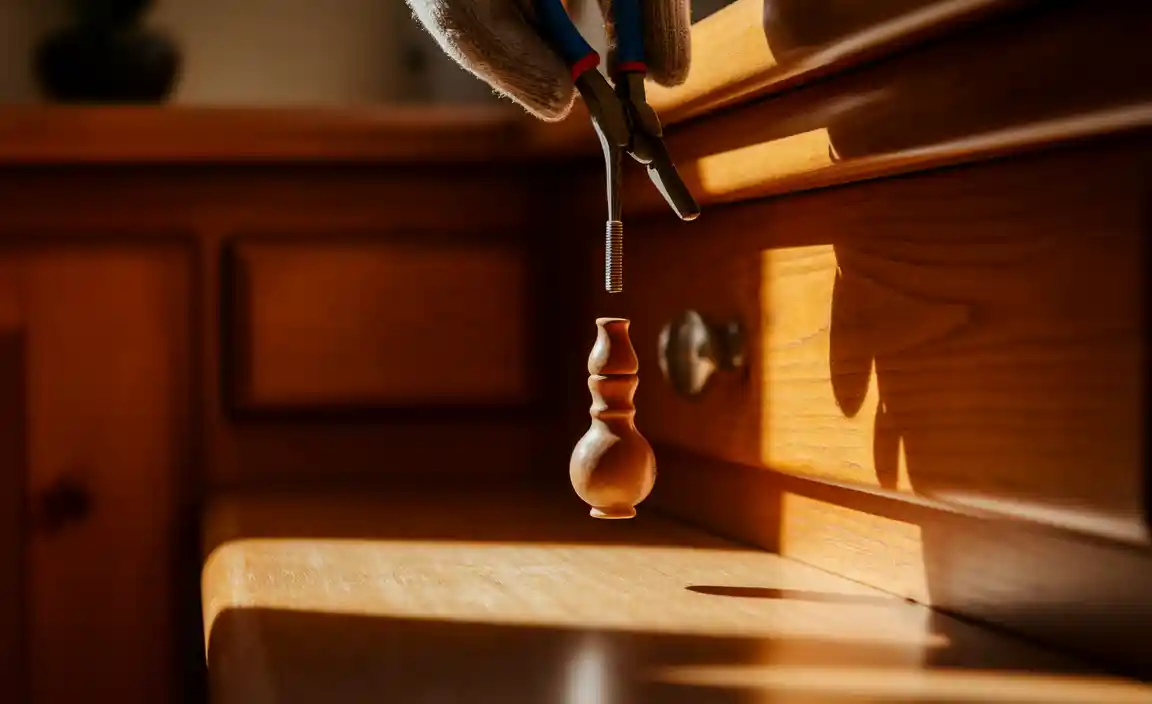
Preparing for Installation
Tools and materials needed for installing turned drawer pulls.. Importance of precise measurements and alignment for optimal placement..
Before you start, gather your tools and materials. You will need the following:
- Measuring tape
- Pencil
- Drill
- Wood screws
- Your turned drawer pulls
Getting precise measurements is important. It helps place the pulls perfectly. If the pulls aren’t aligned well, they can look crooked. This makes everything less attractive. Take your time measuring and double-check before drilling. Remember, careful planning makes for a successful project!
What is needed to install turned drawer pulls?
Needed tools include a measuring tape, pencil, drill, and wood screws.
Installation Process of Turned Drawer Pulls
Stepbystep instructions on how to install the drawer pulls securely.. Common mistakes to avoid during the installation process..
Installing turned drawer pulls can be a fun project, like playing detective! First, grab your tools: a drill, screws, and your new pulls. Measure and mark where each pull goes. Drill a hole at each mark. Now, here comes the fun part—attach the pulls! Make sure to tighten them, but don’t Hulk-smash them. Common mistakes? Don’t forget to double-check the measurements, or you may end up with a wonky drawer pull. Here’s a quick reference table:
| Step | Action | Common Mistake |
|---|---|---|
| 1 | Measure and mark | No measuring tape! Yikes! |
| 2 | Drill holes | Drilling too big of a hole |
| 3 | Attach pulls | Tightening too much |
Remember, take your time, and don’t rush. Enjoy matching those pulls to your drawer, like a fashion stylist for furniture!
Finishing Touches After Installation
Techniques for ensuring a polished look (sanding, staining, sealing).. Tips for maintaining the appearance of your turned drawer pulls over time..
After you install your fancy new drawer pulls, don’t forget the finishing touches. Start by giving them a good sanding. This smooths out any rough spots. Next, apply a stain for a pop of color, like a rainbow finding its pot of gold! Finally, seal the pulls to keep them shiny and safe. Want them to stay pretty? Wipe them with a soft cloth regularly. Also, keep them away from water. After all, who likes a soggy drawer pull?
| Technique | Purpose |
|---|---|
| Sanding | Creates a smooth finish. |
| Staining | Adds color and character. |
| Sealing | Protects from wear and tear. |
Remember, a little care goes a long way! Keep your pulls sparkling, and they’ll last longer than your grandma’s secret cookie recipe!
Benefits of Custom Turned Drawer Pulls
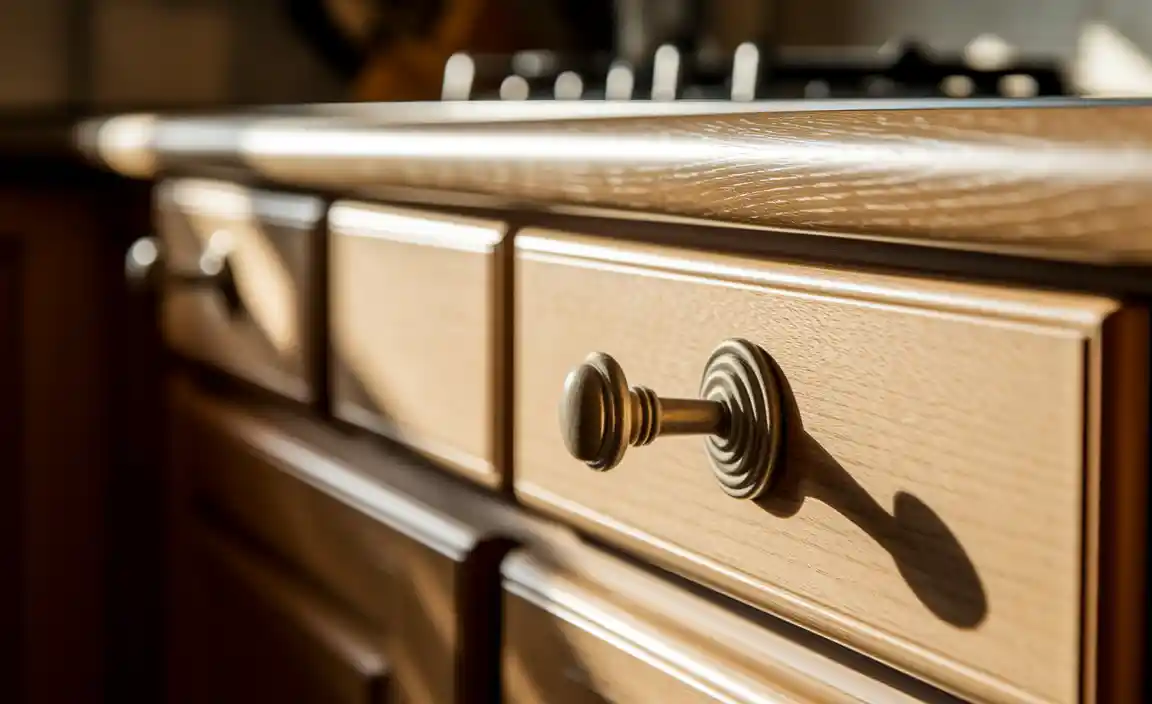
Advantages of using custommade drawer pulls over storebought options.. How custom pulls can enhance the overall aesthetics and value of furniture..
Custom drawer pulls are like dressing up your favorite furniture in a unique outfit. Unlike store-bought options, they reflect your style perfectly! With custom pulls, you get quality and creativity that can make your furniture pop and even boost its value. Who doesn’t want their drawers to shine like a superstar? Plus, they are made to fit your furniture, so no more wobbly knobs. Let’s look at some of their benefits:
| Advantage | Description |
|---|---|
| Unique Style | Show off your personal taste. |
| Better Quality | Lasts longer than store-bought ones. |
| Fit | Perfectly matched to your drawers. |
Conclusion
In conclusion, installing a turned drawer pull using a lathe is a fun project. You learn to create unique designs and improve your woodworking skills. Remember to measure carefully and secure everything tightly. If you’re excited, gather your materials and try it yourself! For more tips and ideas, check out our other woodworking guides. Enjoy making your projects!
FAQs
What Are The Best Materials To Use For Lathe Turning Drawer Pulls To Ensure Durability And Aesthetics?
For durable and nice-looking drawer pulls, we can use hardwoods like maple or oak. These woods are strong and look beautiful. We can also use metal, like brass or stainless steel, for extra durability and a shiny finish. Finally, acrylic is a great choice too; it’s colorful and can be shaped easily.
How Do You Properly Measure And Mark The Positioning For Installing Turned Drawer Pulls On A Cabinet Or Drawer?
To install turned drawer pulls, first measure the center of the drawer face. Use a pencil to mark this spot. Then, decide where you want the pull to go, usually about 2 or 3 inches from the top. Measure the distance from the top and mark it. Finally, drill holes where you marked to put the screws through.
What Tools Are Necessary For Both Lathe Turning A Drawer Pull And Installing It Securely?
To turn a drawer pull on a lathe, you need a lathe machine, a block of wood, and turning tools. For installing it, you’ll need a drill, screws, and a screwdriver. First, we shape the wooden pull on the lathe. Then, we drill a hole in the drawer and attach the pull with screws. Make sure everything is tight so it doesn’t move!
Can You Provide A Step-By-Step Guide On How To Turn A Wooden Drawer Pull Using A Lathe?
Sure! Here’s how to make a wooden drawer pull using a lathe: 1. Start with a piece of wood. Make sure it’s the right size for your pull. 2. Put the wood on the lathe. Make sure it’s secure. 3. Turn on the lathe. The wood will spin round and round. 4. Use a chisel to shape the wood. Be careful and wear safety goggles. 5. Once it looks good, turn off the lathe. Sand it down to make it smooth. 6. Finally, add a finish if you want it to shine. Now you have a nice drawer pull!
What Techniques Can Be Used To Finish And Polish Lathe-Turned Drawer Pulls For A Professional Appearance?
To finish and polish lathe-turned drawer pulls, you can use sandpaper to smooth the surface. Start with a rough paper and work to a finer one for a nice feel. Then, apply wood finish or oil for protection and shine. Finally, buff them gently with a soft cloth to make them really shiny. This will give your drawer pulls a great, professional look!
Resource:
-
Wood Finishing Techniques for Beginners: https://www.woodmagazine.com/materials-guide/finishing/finishing-basics
-
Basic Wood Types and Their Uses: https://www.thesprucecrafts.com/types-of-wood-for-woodworking-3536824
-
Lathe Safety Tips Every Beginner Should Know: https://www.rockler.com/learn/lathe-safety
-
Creative DIY Hardware Ideas for Cabinets: https://www.housebeautiful.com/home-remodeling/diy-projects/g31050218/diy-drawer-pulls/