Have you ever wondered how machines cut precisely? One secret lies in the milling cutter pull stud. The pull stud helps hold the milling cutter in place, so it works well. But did you know that the torque settings for these pull studs are really important?
Improper torque can cause big problems. If it’s too loose, the cutter might come loose during operation. If it’s too tight, it could break the stud or damage the cutter. This raises an interesting question: How do you know the right amount of torque?
Setting the correct torque is like tuning a musical instrument. Just the right pressure is needed for the best performance. With the right torque settings, you can keep your milling cutter safe and working smoothly.
In this article, we will explore proper milling cutter pull stud torque settings. We’ll share tips and tricks to keep your equipment running well. So, let’s dive in and discover the best practices for maintaining your milling machines!
Milling Cutter Pull Stud Torque Settings: Essential Guide
Milling Cutter Pull Stud Torque Settings
Milling cutter pull stud torque settings are crucial for machine safety and performance. Setting the right torque ensures that cutters stay securely in place during operation. Too loose, and they might come off; too tight can cause damage. Did you know that improper torque can lead to costly repairs and extended downtime? Checking these settings regularly can save time and keep your milling machine running smoothly. Proper maintenance leads to better results in your projects.
Understanding Pull Studs
Definition and purpose of pull studs in milling operations. Types of pull studs used in various milling machines.
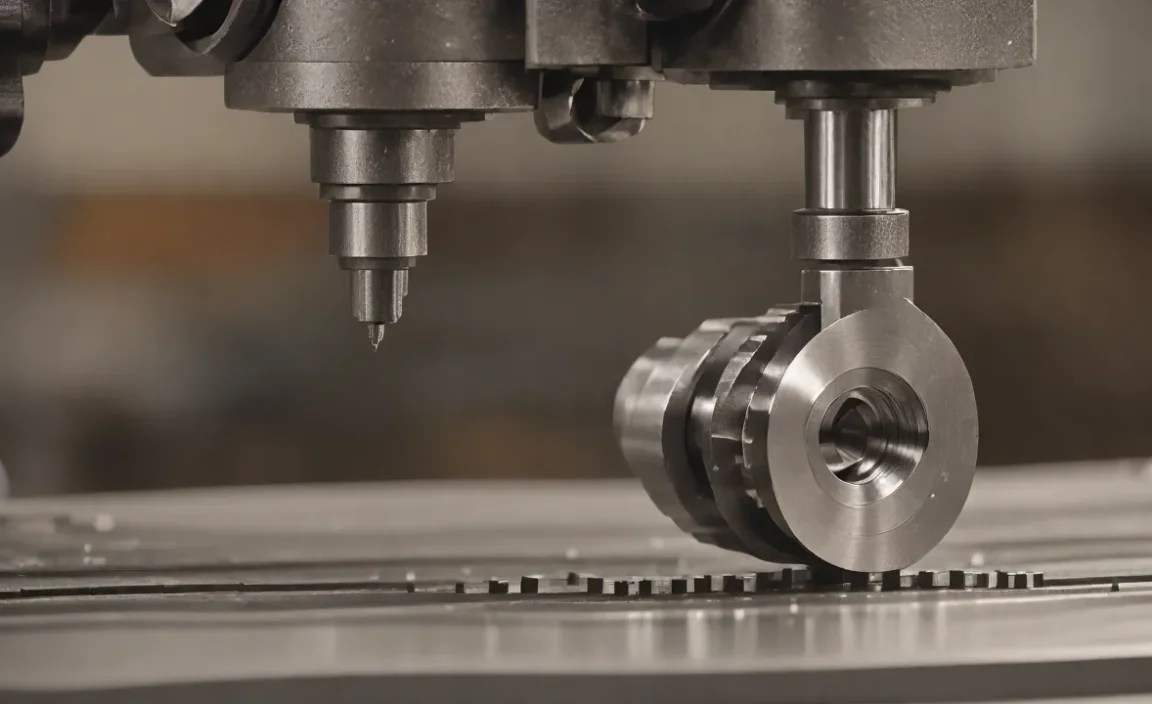
Pull studs are small but mighty components in milling operations. They help to hold and secure the cutting tool in place. Think of them as the glue that keeps everything together! There are a few types of pull studs for different milling machines. Each one has its unique way of locking in tools snugly, like how a cat clings to its favorite box.
| Type of Pull Stud | Features |
|---|---|
| Standard Pull Stud | Used in common milling machines for general tasks. |
| Heavy-Duty Pull Stud | Designed for tougher jobs and high-speed machining. |
| Short Pull Stud | Best for compact machines needing minimal space. |
In short, pull studs are the unsung heroes in milling, keeping tools secure and operations smooth. Selecting the right type is key to productivity. Who knew something so small could hold such power?
The Importance of Proper Torque Settings

Impact of torque settings on milling accuracy and performance. Consequences of incorrect torque applications.
Getting the torque settings right is like making a perfect sandwich. Too tight, and it’s a mess; too loose, and it falls apart! Proper torque affects milling accuracy and overall performance. If the settings are wrong, your tool could wobble, leading to poor cuts and even damage. Just imagine a tool dancing instead of working! The consequences of incorrect torque can include reduced lifespan of your cutting tools and even costly repairs.
| Torque Setting | Impact | Consequence of Incorrect Torque |
|---|---|---|
| Too Tight | Poor milling accuracy | Tool damage |
| Too Loose | Wobbly performance | Inaccurate cuts |
Factors Influencing Torque Settings

Material properties and their effect on torque requirements. Environmental conditions that may alter torque needs.
Several things can change how much torque is needed for milling cutter pull studs. First, the material properties matter a lot. Harder materials usually need more torque to hold everything tight, while softer materials can get away with less. Then, we have environmental conditions. If it’s really hot or cold, the settings might need adjustments to keep things in check. Imagine trying to tighten a jar lid in the Arctic—good luck with that!
| Material Type | Torque Requirement |
|---|---|
| Aluminum | Low |
| Steel | Medium |
| Titanium | High |
So, know what you’re working with to avoid any embarrassing moments, like stripping a bolt. Always pay attention to the guidelines!
Tools Required for Accurate Torque Measurement
List of essential torque wrenches and measuring instruments. Best practices for using torque tools effectively.
Measuring torque accurately is vital for safe tool operation. To do this, you need specific tools. Here are some must-have items:
- Click Torque Wrench: It makes a clicking sound when reaching the right torque.
- Beam Torque Wrench: This has a long arm and a pointer to show the torque.
- Torque Adapter: It can change a standard wrench into a torque wrench.
- Calibration Tools: Keep your wrenches precise by checking their accuracy.
Using these tools correctly is just as important. Here are some best practices:
- Always follow the manufacturer’s instructions for each tool.
- Use a steady motion and avoid sudden movements.
- Store tools in a safe place to prevent damage.
Step-by-Step Guide to Setting Torque on Pull Studs
Preparation and safety measures before torque application. Detailed instructions for achieving the correct torque.
Before you start tightening those pull studs, let’s ensure you’re ready! First, wear safety goggles. We don’t want any flying bits to ruin your day. Next, gather your tools and check your torque wrench is set correctly. A torque wrench can be your best friend, but only if you treat it right!
To apply the right torque:
| Step | Action |
|---|---|
| 1 | Center the pull stud on the cutter. |
| 2 | Set your torque wrench to the recommended setting. |
| 3 | Tighten gently until you feel the wrench click. |
| 4 | Check your work. If it’s snug, you’re golden! |
Remember, a relaxed hand means a happy machine. Torque it right, and you’ll avoid a surprise trip to the repair shop!
Common Mistakes to Avoid
Frequent pitfalls in torque application and how to prevent them. Importance of regular maintenance for pull studs and tooling.
Avoiding common blunders can save you time and money. One frequent mistake is misapplying torque. If you over-tighten, you might ruin your pull studs. Remember, it’s not a game of “who can push harder!” Proper torque settings are key. Don’t forget to keep your pull studs and tooling well-maintained. Think of it as giving your tools a spa day. Regular checks keep them happy and working well. Here’s a quick table to help:
| Mistake | Tip to Prevent |
|---|---|
| Over-tightening | Use a calibrated torque wrench. |
| Neglecting maintenance | Schedule regular cleaning and checks. |
| Ignoring wear | Replace worn pull studs promptly. |
Troubleshooting Torque-related Issues
Signs of improper torque settings and their implications. Possible solutions and adjustments for effective milling.
Have you ever noticed strange sounds coming from your milling machine? Or maybe the tools are coming loose when they shouldn’t? These are classic signs of improper torque settings. This can cause poor cuts and even damage the tools. Luckily, there are simple fixes. Regularly check your torque levels to ensure they are snug and proper. Remember, too tight is just as bad as too loose!
| Signs of Improper Torque | Possible Adjustments |
|---|---|
| Tools getting loose | Check and adjust torque settings |
| Strange noises while milling | Inspect and tighten connections |
| Poor cutting quality | Re-evaluate torque and tools |
Always keep a torque wrench handy. It’s like having a personal trainer for your tools—keeping them in shape!
Conclusion
In summary, understanding milling cutter pull stud torque settings is important for safe machine operation. Proper torque ensures tools stay secure during use. Always check your machine’s manual for specific settings. You can improve tool performance by following these guidelines. For more details, explore online resources or manuals to deepen your knowledge and enhance your skills.
FAQs
Sure! Here Are Five Questions Related To Milling Cutter Pull Stud Torque Settings:
Milling cutter pull studs help hold tools in machines tight. You have to make sure they are not too loose or too tight. If they are too tight, they can break. If they are too loose, the tool can fall out. Always follow the manufacturer’s instructions for the best settings!
Sure! Please provide the question you’d like me to answer.
What Is The Optimal Torque Setting For Tightening Pull Studs On Milling Cutters To Ensure Proper Tool Retention?
To tighten pull studs on milling cutters, you should use a torque setting between 30 to 50 foot-pounds. This helps hold the tool securely. If it’s too loose, the tool might fall out. If it’s too tight, it could break. Always follow the tool’s manual for the best advice.
How Can Incorrect Torque Settings On Pull Studs Affect The Performance Of A Milling Machine?
If you set the torque, which is how tightly you tighten the pull studs, wrong, it can cause problems. The pull studs hold tools in the milling machine. If they’re too loose, the tool can shake or fall out. This makes it harder to cut materials correctly. If they’re too tight, it can break the tool or the machine.
Are There Specific Torque Settings For Different Types Or Sizes Of Milling Cutters, And How Can These Be Determined?
Yes, different milling cutters need different amounts of tightness, called torque. This depends on the size and type of the cutter. You can find the right torque by checking the tool’s instructions or asking a tool expert. Always follow these guides so the cutter works well and safely.
What Tools Or Equipment Are Recommended For Accurately Measuring Torque When Securing Milling Cutter Pull Studs?
To measure torque when securing milling cutter pull studs, you should use a torque wrench. This tool helps you tighten things to the right strength. You can also use a digital torque gauge for even more accuracy. Always follow the instructions for how much torque to apply. This way, you make sure everything is safe and works well.
How Often Should The Torque Settings Of Pull Studs Be Checked Or Adjusted During Regular Maintenance Of Cnc Milling Machinery?
You should check the torque settings of pull studs every few months during regular maintenance. If you use the machine a lot, check them more often. It’s important to make sure they are tight and safe. This helps the machine work better and last longer. Always follow the machine’s guide for the best advice!
