A professional wood lathe chuck kit is an essential upgrade for any serious woodturner, offering greater precision, versatility, and holding power compared to basic faceplates. It allows for more complex projects, safer turning, and a significant boost in your creative capabilities.
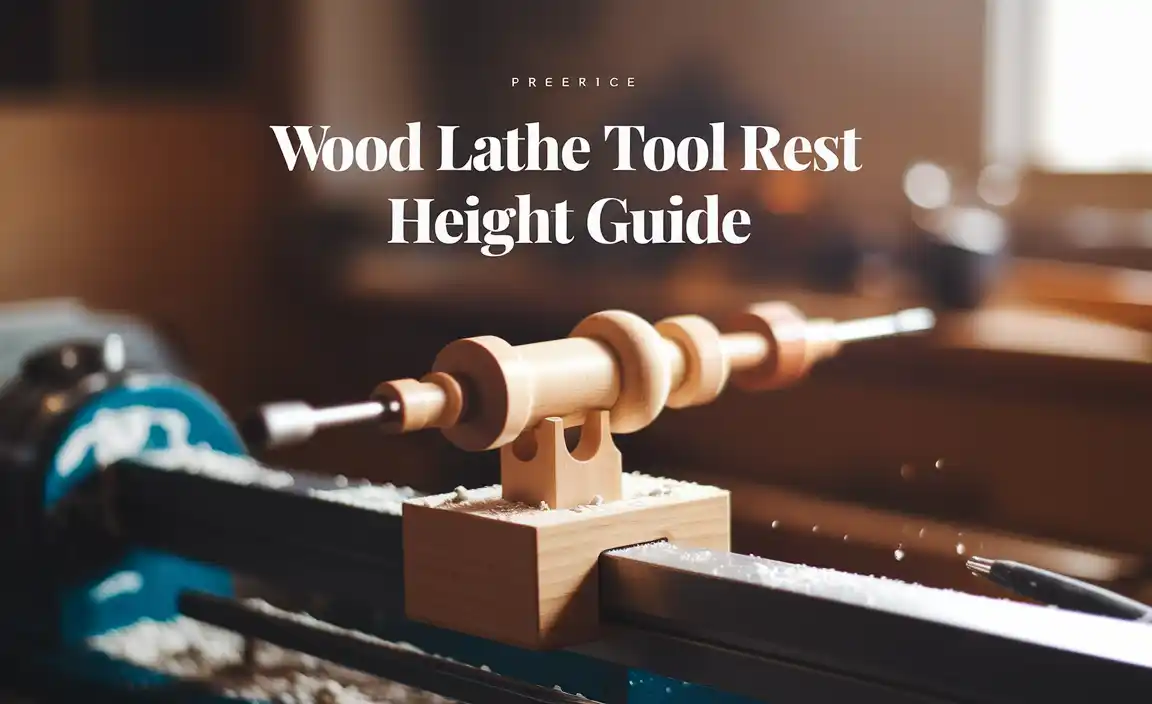
Welcome to Lathe Hub! If you’ve been turning wood for a while, you’ve probably found yourself wishing for a more secure and versatile way to hold your workpieces on the lathe. Maybe your current method feels a bit shaky, or you’re struggling to get consistently centered results. You’re not alone! Many woodturners hit this point. The good news is that a professional wood lathe chuck kit is often the perfect solution. We’re going to break down exactly what a chuck is, why it’s such a game-changer, and what to look for when you’re ready to make this smart investment. Get ready to unlock new possibilities for your turning projects!
Understanding Your Wood Lathe Chuck Kit: More Than Just a Gripper
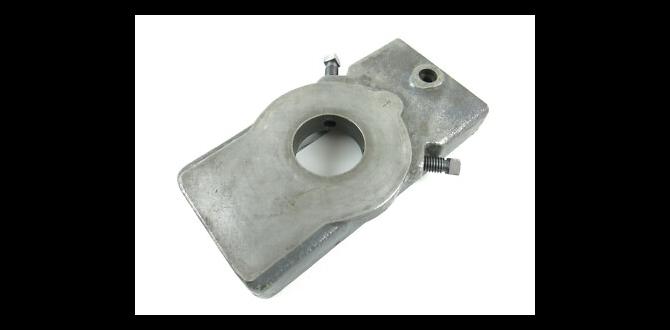
At its core, a wood lathe chuck is a device that attaches to your lathe’s headstock spindle and securely grips your workpiece. Think of it as a super-powered vise for your spinning wood. Unlike simple faceplates or screw chucks, a wood lathe chuck kit typically involves a more sophisticated mechanism designed for precision, strength, and adaptability. It’s the central point around which your creativity spins!
Why Upgrade From a Faceplate?
Many beginners start with a faceplate. It’s a simple, flat disc that screws onto the spindle, and you attach your wood to it using screws. It works for basic, symmetrical projects like platters or shallow bowls. However, faceplates have limitations:
- Limited Gripping Power: They rely on screws, which can only hold so much. As your workpiece gets larger or you introduce uneven forces, it can become less secure.
- Centering Challenges: Achieving perfect centering can be tricky, often requiring careful measurement and adjustment.
- Re-chucking Difficulties: If you need to turn a project around to work on the other side (like a bowl), aligning it precisely again can be a real headache.
- Project Limitations: They aren’t ideal for spindle turning (like table legs) or for holding irregularly shaped blanks.
A professional wood lathe chuck kit, on the other hand, offers a much more robust and flexible solution that opens up a world of new turning possibilities.
The Anatomy of a Wood Lathe Chuck
A typical wood lathe chuck kit contains several key components:
- The Chuck Body: This is the main housing that mounts to the lathe spindle. It contains the internal mechanism that operates the jaws.
- Jaws: These are the moving parts that grip your wood. Chucks come with different types of jaws for various tasks.
- Jaw Slides: These are the internal components that move in unison, driven by the chuck’s operating mechanism.
- Operating Mechanism: Most wood lathe chucks use a screw-based system (often a scroll or worm gear) that, when turned by a key or handle, simultaneously moves all the jaws inward or outward.
- Jaw Screws/Bolts: These attach the jaws to the jaw slides.
- Mounting Screw: This is the screw that attaches the chuck to the lathe’s headstock spindle.
- Chuck Key/Wrench: The tool used to operate the chuck’s jaw movement.
- Wood Insert (Optional): Sometimes included for specific mounting types.
Types of Wood Lathe Chucks
Wood lathe chucks are generally categorized by their jaw type and how they operate. The most common type for beginners and intermediates is the scroll chuck.
Scroll Chucks
These are the workhorses of woodturning. They use a threaded scroll plate that rotates when you turn the chuck key. This scroll plate has helical (spiral) grooves, and the jaw slides ride within these grooves. As the scroll rotates, all the jaws move in or out at the same rate, ensuring they stay perfectly in sync. This precise, synchronous movement is what makes scroll chucks so reliable for holding work securely and accurately centered.
Jaw Types for Scroll Chucks
Within the scroll chuck family, the versatility comes from swappable jaws. Here are some common types you’ll find in a professional wood lathe chuck kit and what they’re good for:
| Jaw Type | Description | Best For |
|---|---|---|
| Direct Screw Jaws | These are essentially a very robust form of a screw chuck, designed to mount directly into a chuck body. They have a threaded screw tip. | Holding small to medium blanks for roughing, turning small bowls or hollow forms where a screw mounting is preferred. |
| Grip Jaws (often called Dovetail or Jaw 1) | These are usually the standard jaws that come with a chuck. They have angled jaws perfect for gripping the outside of a tenon or the inside of a recess (dovetail). | Turning bowls, platters, and other hollow forms. Excellent for gripping tenons and recesses. |
| Jaws for Jars/Lids | Designed to grip the outside of lids for boxes or jars. | Making matched boxes with lids. |
| Pinch Jaws | These jaws can close down tightly on a dowel or spindle. | Spindle turning, making furniture legs, tool handles, and other long, turned items. They offer a secure grip on cylindrical stock. |
| Large Bowl Jaws | Similar to grip jaws but larger and often with special features (like rubber grips) for holding large diameter bowls or platters securely. | Turning large bowls and platters, especially for finishing, scraping, or sanding operations. |
| Faceplate Jaws | Allow you to mount a standard faceplate to your chuck for projects where faceplate mounting is still the best option. | Versatility – allows use of faceplate accessories with your chuck. |
A good starter kit will typically include the chuck body and a versatile set of grip jaws, often referred to as “Dovetail” or “Jaw 1” jaws. From there, you can purchase additional jaw sets as your needs grow.
The “Essential Buy” Case: Why a Professional Chuck Kit is Worth It
Investing in a professional wood lathe chuck kit isn’t just an expense; it’s an investment in your skills, safety, and the quality of your work. Here’s why it’s considered an essential buy for serious woodturners:
1. Unmatched Security and Safety
This is paramount. A well-fitted chuck with properly engaged jaws dramatically reduces the risk of your workpiece coming loose and becoming a dangerous projectile. The synchronous movement of the jaws ensures an even, powerful grip all around the workpiece, far superior to any screw-based method. For anyone turning larger pieces, or anything that isn’t perfectly balanced, this security is invaluable.
According to the Woodturners Guild of Ontario, workpiece ejection is one of the most common and serious lathe accidents. A good chuck system is a significant step towards preventing these incidents.
2. Precision and Centering
Chucks are designed for accuracy. When you mount your workpiece using the appropriate jaws (e.g., gripping a tenon or recess), the entire chuck assembly ensures your work runs true. This means less vibration, smoother cuts, and a much easier time achieving that perfectly centered foundation for bowls, spindles, and more.
3. Versatility and Project Expansion
This is where a chuck truly shines. With different jaw sets, you can:
- Turn Bowls and Hollow Forms with Ease: Grip a tenon on the base of your bowl, turn the outside, reverse it, grip the inside with a dovetail recess you’ve cut, and turn the inside. The process is repeatable and secure.
- Create Boxes with Lidded Tops: Jars jaws or specialized lid jaws make it simple to hold and turn box lids that fit perfectly.
- Turn Spindles and Table Legs: Pinch jaws or specialized spindle jaws allow you to grip round stock securely for turning long, precise pieces.
- Mount Irregularly Shaped Blanks: With the right jaws, you can grip challenging shapes that would be impossible with a faceplate.
- Work with Different Sized Blanks: A single chuck body can accommodate a wide range of workpiece sizes by simply changing the jaws.
The ability to easily and securely re-chuck projects is a massive time-saver and allows for much more complex designs. You can turn the outside of a bowl, then reverse it and turn the inside, all with confidence that it will be perfectly aligned.
4. Efficiency and Time Savings
While there’s a learning curve, once you’re comfortable with your chuck, you’ll find yourself working much faster. Setting up a workpiece is generally quicker and more secure. The ability to switch between different turning operations (gripping, reversing, using different jaws) without extensive re-fixturing saves significant time across multiple projects.
5. Durability and Longevity
Professional wood lathe chucks are built for the demands of lathe work. They are typically made from hardened steel and engineered for smooth, reliable operation. A good quality chuck can last a lifetime with proper care and maintenance, making it a wise long-term investment for your workshop.
Choosing Your Professional Wood Lathe Chuck Kit: What to Look For
Navigating the options can seem daunting at first. Here’s a breakdown of factors to consider when selecting your first professional wood lathe chuck kit:
1. Lathe Spindle Size and Threading
This is the most crucial first step. Your chuck must match your lathe’s headstock spindle. Lathes come with various spindle threads. Common sizes include:
- 1″ x 8 TPI UNC: Very common on American-made lathes.
- 2″ x 10 TPI UNC: Often found on larger, professional machines.
- Metric sizes: Such as M33 x 3.5, common on many European and newer lathes.
- Smaller sizes: Like 3/4″ x 10 or 1/2″ x 20 for very small hobby lathes.
How to find your spindle size:
- Check your lathe’s manual.
- Measure the diameter of the spindle thread at its largest point.
- Count the number of threads per inch (TPI) or the thread pitch (for metric). You can do this by measuring a section of the threaded spindle, or more easily by using a thread gauge if you have one.
Adapters: If a chuck you love doesn’t directly match your spindle, don’t despair! Thread adapters are readily available for most common spindle sizes. These screw onto your lathe spindle, and then the chuck screws onto the adapter. However, always start with the direct-fit option if possible for maximum rigidity.
2. Chuck Size and Jaw Capacity
Chucks come in different diameters, typically ranging from 3 to 6 inches. The size of the chuck should be proportional to the size of your lathe and the typical size of the projects you intend to turn. A larger lathe can handle larger chucks and bigger workpieces.
More importantly, consider the jaw capacity. How small can the jaws grip a tenon? How large can they grip a recess? This information is usually listed in the manufacturer’s specifications.
3. What’s Included in the Kit? (Standard Jaws)
As mentioned, most beginner-friendly kits will include the chuck body and a versatile set of grip/dovetail jaws. This is a great starting point. Make sure the kit states what jaws are included. If you want to turn spindles right away, you might look for a kit that includes pinch jaws or plan to purchase them separately later.
4. Build Quality and Material
Look for chucks made from hardened steel. This indicates durability and resistance to wear. Check for smooth operation of the jaws – they should move freely and lock securely. Read reviews to see what other users say about the build quality and longevity of a particular brand.
5. Ease of Operation
The chuck key should fit snugly and operate the jaw mechanism smoothly. Some higher-end chucks have features like a ball-ended hex key for easier entry into the drive hole, or fine knurling on the key for better grip.
6. Brand Reputation and Support
Stick with reputable brands known for quality woodworking tools. Companies like Nova (Teknatool), Oneway, Vicmarc, and Record Power generally offer excellent products with good customer support. While often more expensive, their chucks are known for reliability and performance.
7. Price and Budget
Professional wood lathe chucks are an investment. Basic kits can start around $200-$300, with higher-end models and additional jaw sets costing significantly more. Determine your budget, but remember that a good quality chuck is something you will use for years. It’s often better to buy a reputable, mid-range chuck than a cheap, no-name one that might compromise safety or performance.
Setting Up and Using Your New Chuck Kit: A Basic Guide
Once you’ve purchased your professional wood lathe chuck kit, it’s time to get it onto your lathe and ready for action. Safety first, always!
Step 1: Mount the Chuck to Your Lathe
- Ensure the Lathe is OFF and Unplugged: Never work on a powered machine.
- Clean the Spindle Threads: Wipe down your lathe’s headstock spindle threads with a clean rag to remove any dirt or old grease.
- Install the Chuck: Carefully thread the chuck onto the spindle. Turn it clockwise by hand until it is snug.
- Tighten (If Necessary): Some chucks have a mounting screw or require a specific tightening procedure. Consult your chuck’s manual. For screw-mount chucks, tighten them firmly. For keyed chucks, you may use the chuck key to give it a final firm turn, ensuring it’s seated properly. Another trick for some screw mounts is to place a piece of hardwood against the chuck body and tap it firmly with a rubber mallet while holding the headstock pulley to prevent the spindle from turning. Do NOT over-tighten to the point of damaging the threads.
Important: Always ensure your chuck is securely mounted. A loose chuck is extremely dangerous.
Step 2: Attach the Jaws
Most chucks come with the standard jaws already loosely attached. If not, or if you are changing over to different jaws:
- Consult the Manual: Each chuck can have slightly different assembly instructions.
- Identify Jaw Pairs: Jaws usually come in pairs that work together.
- Align Jaws and Slides: Ensure jaws are oriented correctly to fit the jaw slides. The jaw slides are numbered (usually 1, 2, 3, 4), and you must install the correct pair of jaws on the corresponding slides. Many chucks have guides or indicators to help with this.
- Attach with Screws: Secure each jaw to its slide using the provided jaw screws/bolts.
Step 3: Mount Your Wood Blank
This is where you’ll use the jaws to grip your wood. We’ll use turning a simple bowl as an example, gripping a tenon.
- Prepare Your Blank (if needed): If you’re turning a bowl, you might have already turned a tenon on the base of your blank. This is a cylindrical section designed to fit snugly into the chuck jaws.
- Mount Jaws (if needed): Ensure you have the correct jaws installed for your task (e.g., Dovetail Jaws for gripping a tenon).
- Insert the Blank: Mount the blank between centers on the lathe first to turn a clean tenon if you haven’t already.
- Operate the Chuck: Insert the chuck key into the drive hole for the jaws.
- Slowly Open the Jaws: Turning the key counter-clockwise will open the jaws. Open them wide enough to accommodate your tenon.
- Position the Blank: Carefully place the tenon of your wood blank between the open jaws of the chuck, ensuring it’s roughly centered.
- Close the Jaws: Turn the chuck key clockwise to close the jaws. Bring them in until they are snug against the tenon.
- Check Security: Gently try to wiggle the workpiece. It should feel solid.
- Tighten Firmly: Continue turning the key clockwise until the