Have you ever wondered how to install a wood lathe chuck? Maybe you’re curious about making your DIY projects easier. A wood lathe is a useful tool. This guide will walk you through the process. Follow along, and you’ll become a wood lathe expert in no time. Let’s dive into the exciting world of wood lathe chuck installation.
Key Takeaways
- Installing a wood lathe chuck is simpler than you think.
- Proper tools make DIY projects safer and more fun.
- Follow a guide to install a lathe chuck correctly.
- Read our wood lathe chuck installation guide DIY for success.
- Practice makes perfect in woodworking.
Getting Started with Wood Lathe Chuck Installation
Before starting, gather all necessary tools. You’ll need a lathe chuck, a wrench, and protective gear. Measuring tools are helpful too. Safety is important, so wear goggles and gloves. Working in a clean space also helps. Begin by reading the manual. It will guide you on the specific steps for your lathe model. Familiarize yourself with each part of the lathe. Knowing the parts will help you understand the process better.
- Gather all needed tools.
- Read the manual for your lathe model.
- Wear protective goggles and gloves.
- Work in a clean and safe space.
- Familiarize yourself with lathe parts.
- Use measuring tools for accuracy.
- Ensure proper lighting in the work area.
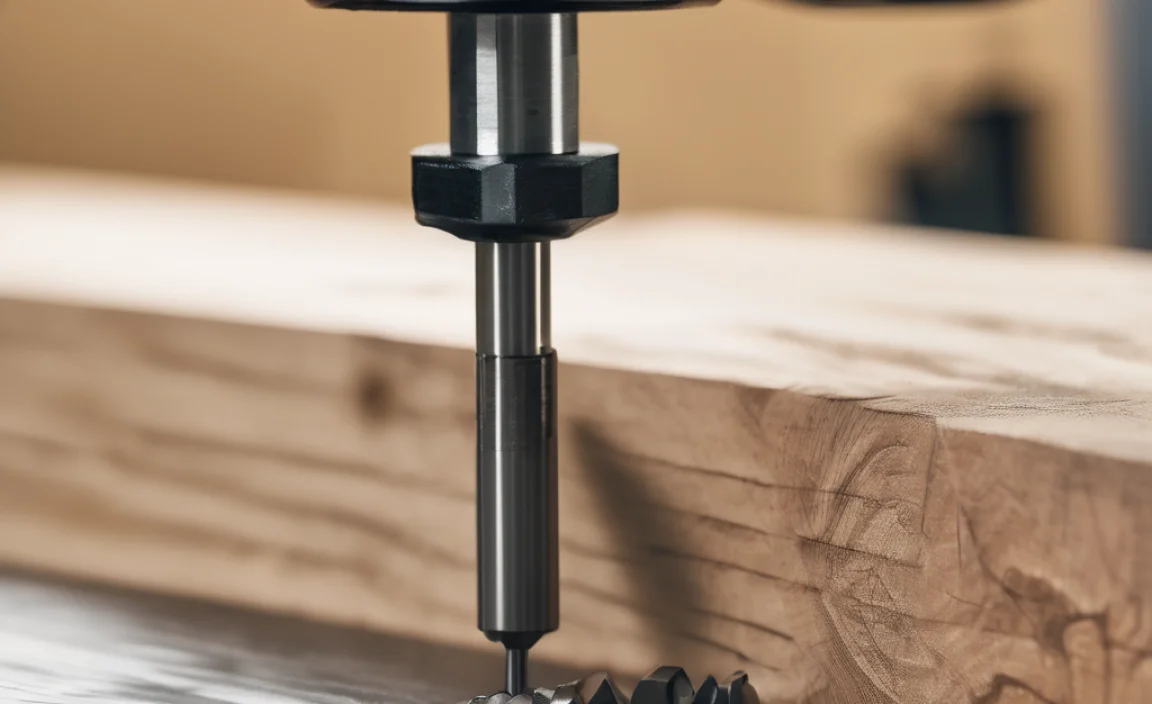
Once you have your tools ready, it’s time to connect the chuck to the spindle. Make sure the lathe is turned off before beginning. Align the chuck with the spindle and attach it securely. Use the wrench to tighten it, but be careful not to over-tighten. The chuck should be snug but not too tight. Check the alignment once more before turning on the lathe. This ensures everything is in place and safe to use.
Fun Fact or Stats : The oldest lathes date back to ancient Egypt!
Choosing the Right Tools
Using the right tools makes a big difference. Imagine trying to build a sandcastle using a spoon instead of a shovel. It’s much harder without the right tools. For installing a wood lathe chuck, you need a specific wrench and measuring devices. These tools ensure the chuck fits securely and works properly. Investing in good tools is wise. They last longer and make your work easier. Quality tools can even improve your project’s outcome.
Understanding Lathe Parts
Do you know the names of the parts on a wood lathe? There’s the spindle, chuck, and tailstock. Each part has a special job. The spindle holds the chuck, the chuck holds the wood, and the tailstock supports it. Knowing these parts helps you install the chuck correctly. It’s like knowing the characters in a play. If you understand who each one is, the story makes more sense. So learn about each part for a smoother installation.
Preparing Your Workspace
A clean workspace is vital for success. Imagine trying to find a toy in a messy room. It’s hard, right? The same applies to your workspace. Keep it organized and free of clutter. This helps you find tools quickly and reduces mistakes. Good lighting is also important. It allows you to see what you’re doing, reducing eye strain. A tidy workspace can lead to better results and more enjoyable DIY projects.
Aligning the Chuck with the Spindle
Now, let’s align the chuck with the spindle. This is a crucial step. If aligned incorrectly, it can cause problems. Start by ensuring the lathe is off and unplugged. Line up the chuck with the spindle. Take your time to ensure it’s straight. Use your measuring tools to double-check the alignment. Once everything looks good, you’re ready to attach the chuck. Make sure it’s snug but not too tight. A well-aligned chuck means smoother operation.
- Turn off and unplug the lathe.
- Line up the chuck with the spindle.
- Use measuring tools for alignment.
- Ensure the alignment is straight.
- Attach the chuck securely.
- Check snugness, not too tight.
- Recheck alignment before use.
Once aligned, attaching the chuck becomes easier. The alignment ensures the wood spins correctly. This step is important for both safety and precision. Taking time to align properly can save you from future headaches. It might seem like extra work, but it pays off in the long run. You’ll have a more efficient and safer tool.
Fun Fact or Stats : Most lathes in factories operate with precise computer controls!
Importance of Alignment
Why is alignment so important? Imagine riding a bike with wobbly wheels. It would be hard to ride straight. The same applies to your lathe chuck. If it’s not aligned, the wood can wobble. This makes cutting difficult and unsafe. Proper alignment ensures your project runs smoothly. It reduces wear on the machine and improves accuracy. So, always take the time to align your chuck correctly. It makes your work easier and safer.
Using Measuring Tools
Measuring tools are your best friends. They help ensure everything fits perfectly. Think of them as a magnifying glass. They let you see details you might miss. Use rulers or calipers to measure the chuck and spindle. This ensures a perfect fit. Proper fitting reduces errors. It also improves the quality of your work. So don’t skip this step. Use your measuring tools to achieve precision in your DIY projects.
Checking Snugness
After aligning, check the snugness of the chuck. It shouldn’t be loose or overly tight. Think of it like tying your shoes. If too loose, they fall off. Too tight, they hurt. The same goes for your chuck. It needs to be just right. Feel for a gentle resistance when turning the chuck. This indicates it’s secure. A snug fit ensures better performance and safety. So always check before starting your work.
Securing the Chuck to the Spindle
Next, secure the chuck to the spindle. This step ensures the chuck stays in place. Begin by double-checking the alignment. If everything is correct, use your wrench. Tighten the chuck onto the spindle. Remember, it should be snug but not too tight. Over-tightening can damage the threads. Check for any movement. The chuck should not wobble or move. Ensuring a firm attachment is key. It keeps your project safe and steady.
- Double-check alignment before securing.
- Use a wrench to tighten the chuck.
- Avoid over-tightening to prevent damage.
- Check for any movement in the chuck.
- Ensure the chuck is firm and secure.
- Prevent wobbling by checking attachment.
- Use gentle force when securing.
A well-secured chuck provides stability. It prevents mishaps during your project. This step might seem minor, but it’s crucial. It keeps your tool functioning correctly. By ensuring the chuck is properly attached, you increase safety. This lets you focus more on your creative ideas. Remember, a stable tool helps you achieve better results.
Fun Fact or Stats : A lathe can spin wood at speeds up to 3,000 RPM!
Using the Wrench Properly
How do you use a wrench properly? It might sound simple, but it’s important. Using a wrench requires the right technique. Grip the wrench firmly. Turn it clockwise to tighten. Apply steady force, not sudden jerks. This helps prevent damage to the chuck. A well-fitted wrench also helps. Make sure it’s the correct size. Practice makes perfect with tools. So keep trying until you get it just right. Your chuck will thank you.
Preventing Damage
Preventing damage during installation is key. Think of it like caring for a pet. You need to be gentle yet firm. Too much force can harm the chuck or spindle. Always apply appropriate pressure. Double-check each step. This prevents mistakes. Mistakes can cause costly repairs. By being careful, you avoid unnecessary damage. Your wood lathe will last longer, saving you time and money. Remember, care leads to longevity.
Checking for Movement
Movement in the chuck is something to watch for. It’s like a loose tooth. You don’t want it wiggling around. Check if the chuck moves when you touch it. A secure chuck shouldn’t budge. Wobbling can lead to uneven cuts. Uneven cuts ruin your project. If there’s movement, tighten the chuck more. But not too much! Finding the right balance is essential. Securely attached parts mean better performance and safety.
Testing the Installed Chuck
Testing is an important step in the wood lathe chuck installation guide DIY process. Once the chuck is secured, it’s time to test. Turn on the lathe at a low speed. Observe the chuck closely. It should spin smoothly without wobbling. Stop the lathe and check the tightness again. If everything looks good, you’re ready for a test run. Try a small piece of wood first. This ensures everything works correctly.
- Turn the lathe on at a low speed.
- Observe the chuck for smooth spinning.
- Check for any wobbling or noise.
- Recheck tightness if needed.
- Test with a small piece of wood first.
- Ensure everything functions smoothly.
- Adjust as needed for best performance.
Testing ensures all parts work well together. This step might seem like extra work, but it’s worth it. Testing helps catch any problems early. It gives you confidence in your setup. Once tested, you can start on your creative projects. The satisfaction of a job well done is unbeatable. So test thoroughly before diving into bigger projects.
Fun Fact or Stats : Testing helps catch 99% of potential installation errors!
Observing the Chuck
Why is observing the chuck so important? Think of it like reading the first chapter of a book. It sets the tone for the rest. Watch the chuck as it spins. Is it smooth? Any unusual movements or sounds? Observing helps you catch issues early. Solving them now prevents bigger problems later. Observation is a skill. Practice it with each project. Your attention to detail improves your results.
Testing with Wood
Testing with wood is the final step. Think of it like tasting a new recipe. You want to make sure it’s perfect. Use a small piece of wood first. Secure it in the chuck. Turn on the lathe and begin gently. Watch how the wood reacts. Is it cutting smoothly? If so, you’re ready for bigger projects. Testing with wood gives you confidence. Your setup is ready and safe. It’s like a pat on the back for your hard work.
Adjusting for Smooth Operation
Adjusting your setup ensures smooth operation. It’s like tuning a musical instrument. Small adjustments can make a big difference. Listen carefully as the lathe runs. Any odd sounds? Is the wood cutting evenly? If not, make tiny tweaks. These adjustments improve both performance and safety. They make your lathe a joy to use. Don’t skip this step. Fine-tuning leads to high-quality results in your projects.
Maintaining Your Lathe Chuck
Once installed, maintaining your lathe chuck is vital. Regular checks ensure longevity. Clean the chuck after each use. Remove debris and dust. This prevents buildup that can affect performance. Lubricate moving parts to reduce friction. Inspect for wear and tear. Address issues early to avoid bigger problems. Keep a maintenance schedule. Consistency means your tool stays in top shape.
- Clean the chuck after each use.
- Remove dust and debris for smooth operation.
- Lubricate moving parts to reduce friction.
- Inspect for wear and tear regularly.
- Address small issues early.
- Keep a maintenance schedule for consistency.
- Ensure all parts are in good condition.
Maintaining your lathe chuck ensures it works well for years. This not only saves money but also improves your projects. Regular care makes your tool reliable. It becomes your trusted companion in DIY ventures. Maintenance might seem time-consuming, but it’s worth it. A well-maintained tool is a joy to use and a source of pride.
Fun Fact or Stats : Regular maintenance can extend tool life by 50%!
Cleaning the Chuck
Cleaning the chuck keeps it in top condition. Imagine a car covered in dirt. It doesn’t run as well. The same goes for your lathe. After each use, wipe down the chuck. Remove wood shavings and dust. This prevents them from causing issues later. Cleaning takes just a few minutes. But it dramatically improves performance. Keep your chuck clean, and it will serve you well.
Inspecting for Wear
Regular inspection helps catch problems early. Think of it like a health check-up. You want to spot issues before they become serious. Check for signs of wear or damage. Look for cracks or worn-out parts. Address them immediately. Ignoring small problems can lead to bigger ones. Regular inspections keep your lathe in peak condition. It ensures your projects run smoothly and safely.
Scheduling Maintenance
Scheduling maintenance is key to tool longevity. It’s like getting regular exercise. Small, consistent efforts lead to great results. Set a schedule for cleaning and inspecting your lathe. Stick to it. This consistency keeps the tool in excellent shape. You’ll notice fewer problems and better performance. A little maintenance goes a long way. Your lathe will thank you by running smoothly.
| Maintenance Task | Frequency | Benefits |
|---|---|---|
| Cleaning | After each use | Prevents debris buildup |
| Lubrication | Monthly | Reduces friction |
| Inspection | Every 3 months | Identifies wear early |
| Alignment check | Biannually | Ensures accuracy |
Conclusion
Installing a wood lathe chuck is easier with the right guide. This wood lathe chuck installation guide DIY shows you every step. From alignment to maintenance, each part is important. Follow the steps carefully. Your DIY projects will become smoother and safer. Enjoy the satisfaction of creating with your lathe. Keep learning and practicing to improve your skills!
FAQs
Question: How often should I clean my lathe chuck?
Answer: Clean your lathe chuck after each use. This prevents debris buildup. It keeps the chuck working smoothly. Regular cleaning is essential. It ensures long-term performance and prevents issues. Even a quick wipe-down makes a difference. A clean chuck means better results for your projects.
Question: What if my chuck doesn’t align properly?
Answer: If the chuck doesn’t align, check your measurements. Use proper tools to ensure accurate alignment. Re-read the installation guide. Small adjustments can solve the issue. Alignment ensures safety and precision. Don’t rush this step. Proper alignment leads to smoother operation.
Question: Can I use any wrench for installation?
Answer: Use the specific wrench recommended for your lathe. The right tool ensures proper fit and safety. Using the wrong tool can cause damage. Always refer to the wood lathe chuck installation guide DIY. The correct wrench makes a significant difference.
Question: How do I test if the chuck is secure?
Answer: Test the chuck by turning on the lathe at low speed. Observe for smooth spinning. Check for any wobbling or noise. If secure, everything should be stable. This test ensures your safety and project success. It’s an important step in the wood lathe chuck installation guide DIY process.
Question: What is the best way to maintain the lathe chuck?
Answer: Regular maintenance is key. Clean after every use. Lubricate monthly to reduce friction. Inspect for wear and damage. Address issues immediately. These steps keep your lathe chuck in top shape. Consistency in maintenance ensures long-term performance and safety.
Question: Why is alignment important in lathe chuck installation?
Answer: Alignment is crucial for safety and precision. A misaligned chuck can cause wobbling. This affects the quality of your work. Proper alignment ensures smooth operation. It’s a vital step in the wood lathe chuck installation guide DIY. Taking time here saves trouble later.