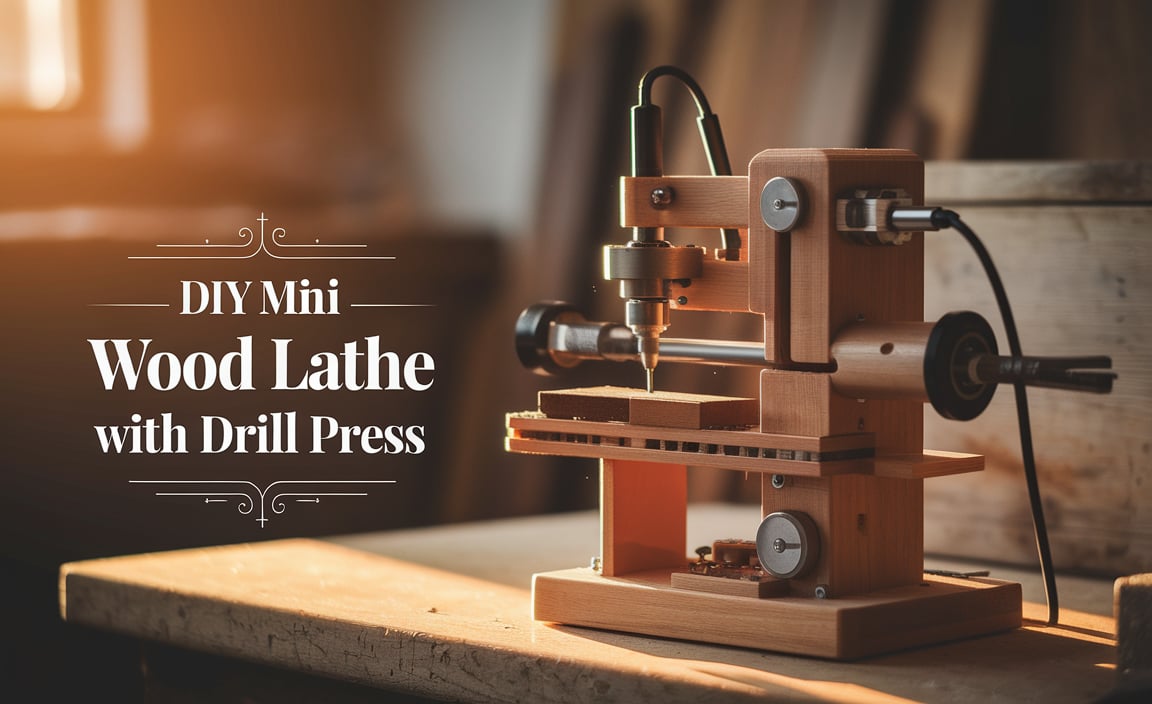
Wood Lathe Chuck Installation: Easy Steps to Secure Your Workpiece
Installing a wood lathe chuck is a fundamental skill for any woodturner. A properly installed chuck ensures your workpiece is held securely, allowing for precise and safe turning. This guide will walk you through the wood lathe chuck installation step by step, demystifying the process and empowering you to get started on your projects with confidence. Whether you’re a beginner or looking for a refresher, these straightforward instructions will make the process seamless.
The first and most crucial step in wood lathe chuck installation is identifying the correct type of chuck and its mounting system. Lathes come with different headstock spindle threads, and chucks are designed to match these. Common thread sizes include 1-inch x 8 TPI (Threads Per Inch) and 1.25-inch x 8 TPI, often found on larger lathes. However, smaller lathes might have metric threads or other specialized fittings. Always consult your lathe’s manual to confirm the spindle thread size. Chucks typically come either directly threaded for your lathe’s spindle or with an inserted adapter that can be swapped out for different lathe thread sizes. Ensuring compatibility now will save you significant frustration and potential damage down the line.
Preparing for Wood Lathe Chuck Installation
Before you begin the actual installation, it’s vital to prepare your workspace and tools.
Gathering Your Tools and Materials
You’ll need a few essential items:
Your Wood Lathe Chuck: Ensure it’s clean and free of debris.
Lathe Tool: Typically, this will be a lathe wrench or a chuck key that came with your chuck. Some chucks have specialized tools.
Rag or Shop Towel: For cleaning the spindle and chuck threads.
Thread Dope or Lubricant (Optional but Recommended): A small amount of PTFE-based lubricant or specialized thread dope can prevent seizing and make future removal easier. Avoid greases that can attract wood dust and debris.
Safety Glasses: Absolutely essential when working with machinery.
Wood Lathe Manual: For reference regarding your specific lathe and spindle.
Cleaning the Spindle and Chuck Threads
This is a critical, often overlooked step in any wood lathe chuck installation. Any dirt, dust, or old debris on the headstock spindle or the chuck’s internal threads can prevent the chuck from seating properly, leading to an insecure grip.
1. Turn off and unplug your lathe: Safety first! Ensure the lathe is completely powered down.
2. Inspect the spindle threads: Visually check for any damage or foreign particles. Use a clean rag or shop towel to wipe down the threads thoroughly. If there are stubborn bits of debris, you can very gently use a stiff brush (like a brass brush) but avoid damaging the threads.
3. Inspect the chuck threads: Similarly, clean the internal threads of the chuck. You can often see into the chuck and use the rag or brush to clear them.
The Wood Lathe Chuck Installation Step by Step
Now that you’re prepared, let’s get to the actual installation.
Step 1: Mounting the Chuck to the Lathe
This is the core of the wood lathe chuck installation step by step guide.
1. Orient the chuck: Hold the chuck with its threaded end facing the lathe’s headstock.
2. Engage the threads: Carefully align the chuck’s threads with the headstock spindle threads. You want to feel them engage smoothly.
3. Hand-tighten: Begin to thread the chuck onto the spindle by hand, turning it clockwise. It should thread on with relative ease. If you encounter significant resistance, stop immediately. Do not force it. This indicates a misalignment or cross-threading. Back it off and try again, ensuring you’re engaging the threads squarely.
4. Tighten securely: Once hand-tight, use your lathe tool (wrench or chuck key) to tighten the chuck. Turn it clockwise until it is snug and feels firmly seated. You don’t need to overtighten it to the point of straining yourself, but it should be very secure. The goal is to ensure the chuck’s face is flush against the headstock’s face, eliminating any gap.
Step 2: Engaging the Chuck Jaws (for safety)
Most modern chucks have internal mechanisms to ensure the jaws are in a safe, retracted position before installation. However, it’s always good practice to confirm.
1. Check your chuck’s manual: Different chucks operate differently. Some require the jaws to be fully retracted before mounting, while others are designed to be mounted with the jaws in a neutral position.
2. Use the correct key: Insert the appropriate chuck key into the drive hole for the jaws you intend to use (usually the smallest set). Turn the key to retract the jaws to their minimum opening or a designated neutral position if your manual specifies.
Step 3: Mounting with Jaw Safety in Mind
While we addressed jaw position earlier, it’s worth reiterating its importance in the context of installation. Always refer to your chuck’s specific manual for the recommended procedure. However, a common and safe practice is to ensure the jaws are mostly retracted before mounting. This minimizes the chance of the jaws inadvertently coming into contact with the lathe bed or other parts of the machine during the mounting process.
Final Checks and Considerations for Wood Lathe Chuck Installation
Once the chuck is installed, a few final checks will ensure everything is as it should be.
Step 4: Verifying the Installation
1. Check for play: Gently try to twist the chuck by hand. There should be no noticeable wobble or looseness.
2. Visual inspection: Look for a flush fit between the chuck and the headstock. There should be no gap.
3. Test the jaws: Slowly expand and retract your chuck jaws using the appropriate key. Ensure they move smoothly and evenly.
Step 5: Lubrication and Future Removal
As mentioned, applying a small amount of thread lubricant to the spindle threads before installing the chuck can prevent it from seizing onto the spindle over time. This is especially important if you live in a humid environment. When it comes time to remove the chuck, the lubricant will make the process much easier. Always store your chuck with the jaws retracted safely to prevent accidents.
Important Note on Removal: When removing a chuck, the process is essentially reversed. You’ll need to ensure the jaws are retracted as per your chuck’s manual, then carefully unscrew the chuck counter-clockwise. Turning the lathe spindle in reverse (if your lathe allows) while holding the chuck can sometimes help break it free, but extreme caution is advised. Again, consult your manual and prioritize safety.
Mastering wood lathe chuck installation step by step is a cornerstone of enjoyable and safe woodturning. By following these instructions, taking your time, and prioritizing safety, you’ll be able to confidently attach and detach your chuck, allowing you to focus on the creative aspects of bringing your woodturning projects to life.