“Wood lathe drilling techniques” are a fundamental skill for any woodturner looking to expand their repertoire beyond basic spindle and bowl work. Whether you’re hollowing out a vessel, creating a mortise, or simply drilling a decorative hole, understanding the mechanics and best practices for drilling on a lathe is crucial for safety, efficiency, and achieving beautiful results. This guide will delve into the essential techniques that will elevate your woodturning projects.
The Anatomy of Lathe Drilling
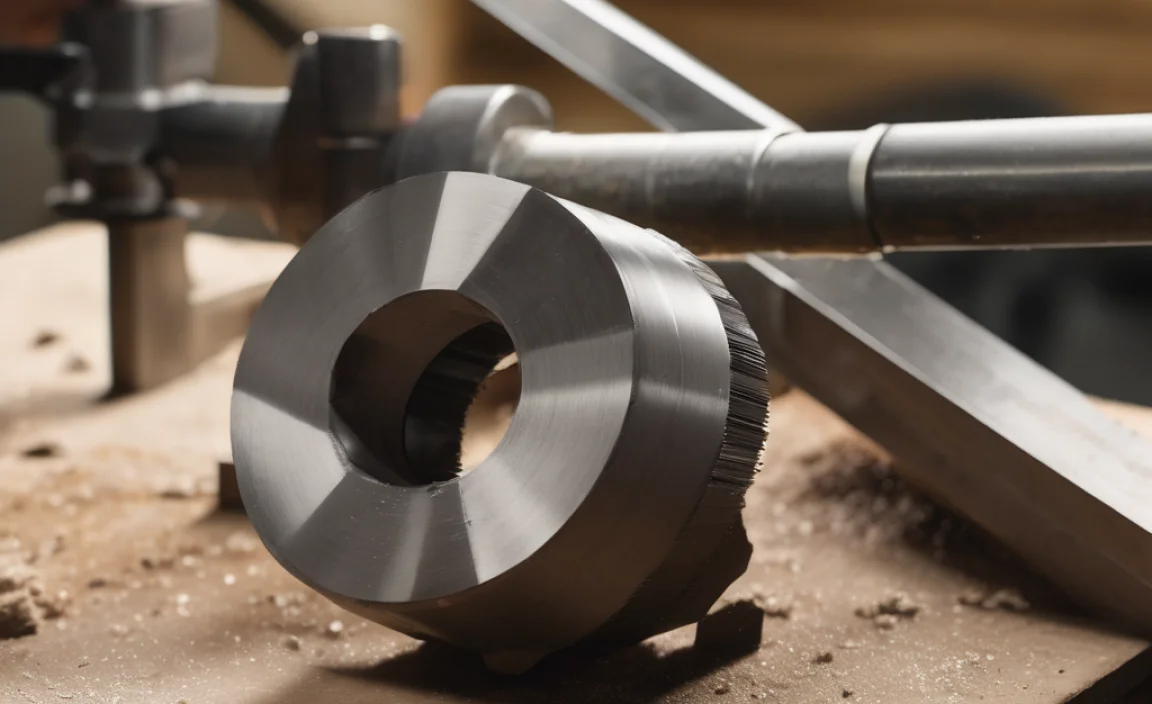
Before diving into the techniques, it’s important to understand the tools and setup involved. The primary tool for drilling on a lathe is, unsurprisingly, a drill bit. However, the type of drill bit is important. For most woodturning applications, a standard twist drill bit is sufficient. However, brad-point bits are often preferred as their pointed tip helps to center the drill accurately, preventing “wandering” which can lead to off-center holes. For deeper holes or larger diameters, specialized Forstner bits or spade bits might be employed, though care must be taken with these on a lathe due to their aggressive nature and potential for binding.
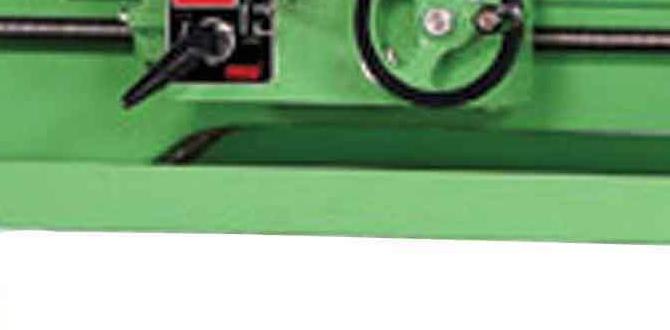
Beyond the drill bit, you’ll need a way to hold it securely. This is typically achieved using a drill chuck, which is mounted in the tailstock of your lathe. A live-center tailstock, which spins with the workpiece, is ideal for supporting longer pieces, but for drilling, a standard tailstock with a drill chuck is the norm. Ensuring the drill chuck is firmly tightened onto the drill bit is paramount for safety. A loose bit can be ejected with significant force.
Mastering Wood Lathe Drilling Techniques: Preparation is Key
The success of your drilling operation often hinges on how well you prepare. First, ensure your workpiece is securely mounted between centers or in a chuck. For operations where you’ll be drilling into the end grain, especially for hollow forms, it’s critical that the workpiece is perfectly balanced. Any imbalance will be amplified by the lathe’s speed, creating dangerous vibrations. It’s often wise to rough turn your piece to a more uniform shape before attempting to drill.
Next, accurately mark the center of where you intend to drill. A pencil mark is usually adequate, but for precise work, a center punch can be used to create a small divot, further guiding the drill bit’s tip. Always ensure the tailstock is advanced to meet the workpiece and locked in place. The drill bit should be installed in the tailstock chuck, and the tailstock handle will be used to advance the drill into the spinning workpiece.
The Drilling Process: Step-by-Step
Once prepared, the actual drilling process begins. Start by advancing the tailstock to bring the drill bit into contact with the spinning workpiece. Crucially, start at a slow lathe speed. High speeds combined with the friction of drilling can generate excessive heat, potentially burning your wood and the drill bit, and making the drilling process significantly harder. A good rule of thumb is to start with the lowest speed your lathe offers and increase it gradually as experience dictates.
As the drill bit begins to penetrate the wood, you’ll need to employ a technique known as “pecking.” This involves periodically retracting the drill bit from the hole, often before it’s fully cleared, to allow chips to escape and to clear dust and debris. This prevents the hole from becoming packed with material, which can cause binding and put excessive strain on both the drill bit and the lathe. Repeatedly advance the drill a short distance, then retract it partially or fully, and advance again.
The pressure applied through the tailstock handle should be steady and consistent. Avoid forcing the drill bit. If you encounter significant resistance, it’s a sign that you might be drilling too fast, applying too much pressure, or the hole is becoming clogged. Stop, retract the bit, clear any chips, and reassess your approach.
For drilling deeper holes, consider using a spur center. This is a sharp, pointed accessory that is mounted in the tailstock. You would drill a pilot hole into the workpiece first, then insert the spur center into that pilot hole. This allows you to drill a clear hole into the end grain of the workpiece without the drill bit itself having to support the piece. You can then use a drill chuck in the tailstock to drill through the entire length.
Safety First: Essential Precautions for Wood Lathe Drilling
Safety cannot be overstated when discussing “wood lathe drilling techniques.” This operation, while rewarding, carries inherent risks if not approached with diligence.
Secure Workpiece: Ensure your workpiece is firmly mounted and balanced. Any wobble or looseness is a recipe for disaster.
Secure Drill Bit: Double-check that the drill bit is tightly secured in the chuck.
Appropriate Speed: Always start at a slow lathe speed and only increase it cautiously.
Eye Protection: Always wear safety glasses or a face shield. Wood chips and debris can be ejected with considerable force.
Dust Collection: Wood dust can be a respiratory irritant. Utilize dust collection systems where possible.
Hand Placement: Keep your hands and fingers well away from the rotating workpiece and the drill bit.
No Loose Clothing or Jewelry: These can easily become entangled in the spinning machinery.
“Pecking” is Your Friend: Don’t neglect to clear the hole regularly.
* Know Your Limits: For very large diameter holes or deep penetration, consider alternative methods or specialized tools, always with extreme caution.
Advanced Techniques and Considerations
As you become more comfortable with basic wood lathe drilling, you might explore more advanced techniques. For instance, creating mortises for joinery can be achieved with careful application of drilling techniques, often in conjunction with chisels or specialized mortising attachments. For hollowing out bowls, after an initial opening, you might use specialized bowl gouges, but drilling can be a precursor to this process to establish the initial depth and hole for hollowing tools.
Another consideration is the type of wood you are drilling. Hardwoods will generally require slower speeds and more deliberate pressure than softwoods. Be aware of the grain direction as well; drilling against the grain can lead to tear-out and a less clean finish.
In conclusion, mastering wood lathe drilling techniques is a journey of practice, patience, and a steadfast commitment to safety. By understanding the tools, preparing diligently, and employing the correct methods, you can confidently add this valuable skill to your woodturning arsenal, opening up a world of new creative possibilities.