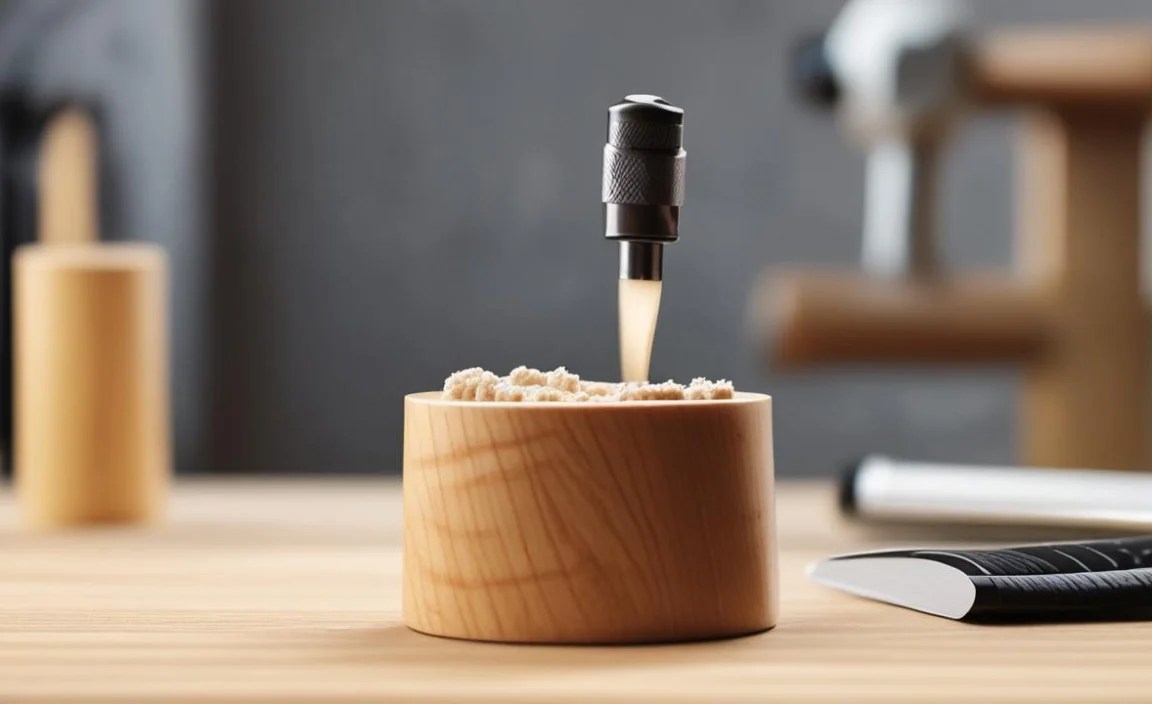
Master your wood lathe’s polishing game! This guide unlocks the secrets of choosing and using wood lathe polishing compounds for a professional, glass-smooth finish every time. Get ready to make your turned projects shine with simple, effective tips.
Getting that perfect, glossy finish on your wood lathe projects can sometimes feel like a puzzle. You’ve spent hours turning a beautiful piece, but that final polish just isn’t coming out the way you imagined. Don’t worry, you’re not alone! Many beginners struggle to achieve that deep, smooth shine. The good news is, with the right wood lathe polishing compound and a few key techniques, you can transform your projects from good to absolutely stunning. This guide is here to walk you through everything you need to know, making the polishing process clear and achievable.
Your Complete Wood Lathe Polishing Compound Guide: Essential Tips

Welcome to Lathe Hub! I’m Daniel Bates, and I love making complex tools and techniques easy to understand, especially for those just starting out. Today, we’re diving into the wonderful world of wood lathe polishing compounds. Think of this as your friendly workshop chat about how to make your turned wood pieces gleam. We’ll cover what compounds are, why they matter, how to choose the right one, and the best way to use them for that enviable professional finish.
What is Wood Lathe Polishing Compound?

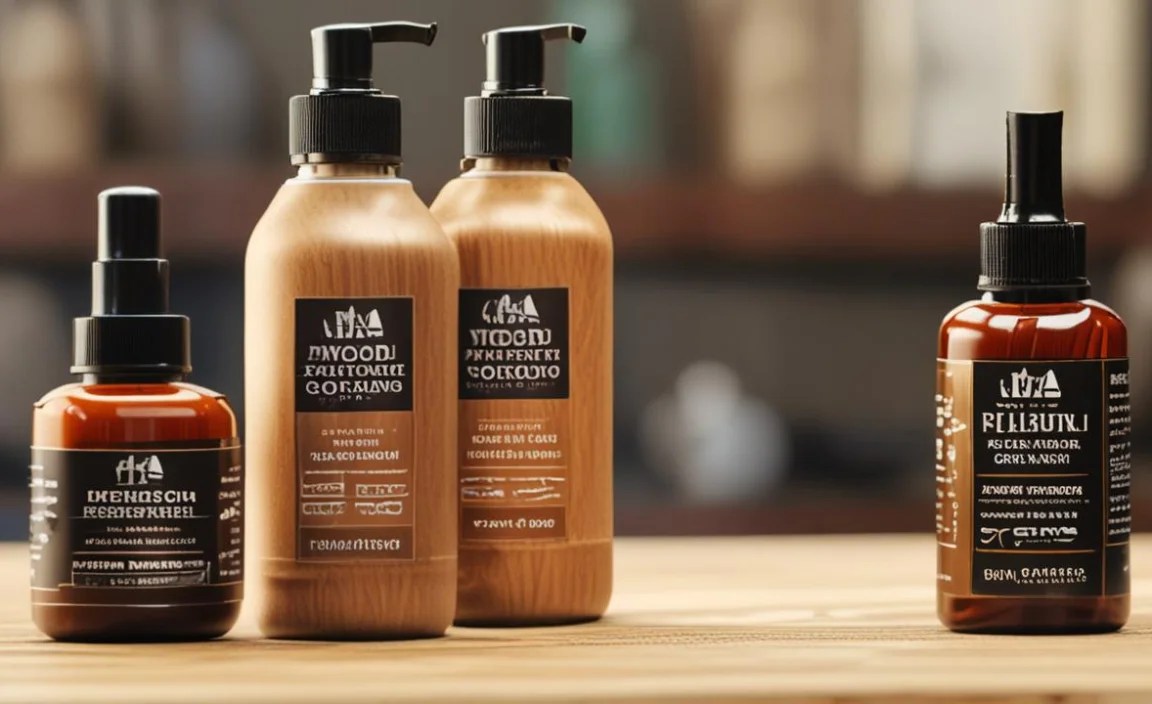
Simply put, wood lathe polishing compounds are special abrasive materials mixed with a binder. They come in various forms, like solids, liquids, or pastes. Their job is to work with your lathe and some gentle friction to smooth out the surface of your wood to an incredibly fine degree. They contain very fine abrasives that remove microscopic imperfections left by your turning tools, revealing a smooth, high-gloss surface. Unlike sandpaper, which removes material more aggressively, polishing compounds refine the surface to a much higher sheen, often without removing noticeable amounts of wood. They are formulated to work effectively at lathe speeds, providing consistent results.
Why Use Polishing Compounds?
You might be thinking, “Can’t I just sand it really, really fine?” While high grits of sandpaper get you close, polishing compounds take your finish to the next level. Here’s why they’re essential:
- Achieving a Deep Shine: Sandpaper stops at a certain point of smoothness. Compounds use ultra-fine abrasives to reach a level of polish that sandpaper alone can’t achieve, giving you that mirror-like finish.
- Surface Refinement: They actively enhance the wood’s natural beauty by removing the final microscopic scratches, making the grain pop.
- Efficiency for Gloss: For a true high-gloss finish, compounds are often faster and more effective than working through many high grits of sandpaper.
- Durability: A well-polished surface is often smoother and less prone to absorbing moisture or dirt, contributing to the longevity of your piece.
- Application Versatility: They can be used on a wide range of wood types and project sizes, from small bowls to larger turnings.
Think of it this way: sandpaper is like getting your car’s paint ready for primer, while polishing compound is like the final buffing stage that makes it shine. Both are important, but the compound gives you that show-stopping gloss.
Types of Wood Lathe Polishing Compounds

Polishing compounds come in a few main varieties, each suited for different stages of polishing and different desired results. Understanding these will help you pick the right one for your project.
1. Abrasive Compounds (Cutting/Polishing)
These are the workhorses. They contain fine abrasives (like aluminum oxide or diminishing abrasives) that actually do the smoothing. They are typically applied with a buffing wheel or cloth on your lathe.
- Function: These compounds are designed to remove the very finest scratches left by high-grit sandpaper (usually 400 grit and above).
- Types: You’ll often find them labeled as “cutting compounds” (for initial smoothing of minor imperfections) and “polishing compounds” (for achieving the final high gloss). Some are a combination.
- Application: Applied to a buffing wheel (often cotton or felt), which is then brought into contact with the spinning wood.
- Benefits: Effective at quickly refining surfaces that are already smooth from sanding.
2. Waxes and Finishes with Polishing Agents

These are often applied by hand or with a soft cloth after the abrasive compounds. They contain very fine fillers or micro-abrasives that further enhance shine and can also add a layer of protection.
- Function: To add depth, clarity, and a final slickness to the polished surface. They often contain carnauba wax or other protective elements.
- Types: Can range from simple paste waxes to specialized friction polishes and liquid shines.
- Application: Rubbed onto the wood by hand with a soft cloth, or sometimes applied with a very soft buffing pad at low speeds.
- Benefits: Impart a deep luster, provide a smooth feel, and add a protective layer.
3. Friction Polishes
These are a popular choice for beginners. They are typically a liquid or paste that contains a blend of shellac, fine abrasives, and lubricants. When applied to a spinning piece and buffed, the friction and shellac create a fast, glossy finish.
- Function: To achieve a quick, high-gloss finish with minimal effort. The heat generated by friction helps the shellac set quickly.
- Application: Applied to a paper towel or cloth and applied to the spinning wood. Buffed vigorously until a high sheen develops.
- Benefits: Extremely fast and easy to use, excellent for beginners, offers a good level of gloss for many projects.
Choosing the Right Polishing Compound

The best compound for you depends on your project, the wood you’re working with, and the finish you desire. Here’s a breakdown to help you decide:
Consider Your Wood Type and Project
- Hardwoods (Oak, Maple, Walnut): These generally take a high polish well and are forgiving with most compounds.
- Softwoods (Pine, Poplar): Can be more challenging. They might indent or tear more easily, so use gentler pressure and lower speeds. Friction polishes or soft waxes work well.
- Exotic Woods: Some exotic woods have unique properties. Always test compounds on a scrap piece first.
- Small Items (Pens, Spindles): Friction polishes are excellent for these small, detailed items.
- Large Bowls: You might start with an abrasive compound to level the surface and then move to a wax-based finish for depth and protection.
Consider Your Desired Finish
- High Gloss: Look for specific “high-gloss” polishing compounds or multi-stage buffing systems. Friction polishes are good for a quick shine.
- Satin or Natural Sheen: A buffing wax or a final coat of paste wax applied by hand might be more suitable than aggressive buffing compounds.
- Durability/Protection: Consider compounds that also offer a protective layer, like carnauba-based polishes, especially for pieces that will see a lot of handling.
Consider Your Experience Level
- Beginner: Start with a good quality friction polish. They are forgiving and provide excellent results quickly. A simple paste wax is also a great starting point.
- Intermediate/Advanced: You might explore multi-stage abrasive compound systems and learn to tailor different compounds and buffing wheels for specific results.
Key Ingredients to Look For:

- Diminishing Abrasives: These break down into finer particles as you work, providing a consistent polish.
- Microcrystalline Waxes: Offer a smooth, protective finish.
- Friction Polish Base (Shellac, Alcohols): Essential for the quick-drying, high-gloss effect of friction polishes.
- Natural Waxes (Carnauba): Provide depth and a durable sheen.
Essential Tools for Wood Lathe Polishing

While the compound is key, you’ll need a few tools to apply it effectively. Most of these are basic workshop items.
- Buffer/Polishing Wheels: These attach to your lathe. Common materials include cotton, wool, felt, and muslin. Different types offer different levels of abrasion and smoothness. A typical setup might involve a “cutting” wheel and a “buffing” wheel.
- Application Materials: Paper towels, clean cotton cloths, or specialized buffing pads are used to apply compounds, especially waxes and friction polishes.
- Disposable Gloves: Some compounds can be messy and stain your hands.
- Dust Mask/Eye Protection: Essential safety gear whenever you’re working with abrasives and creating dust.
- Scrap Wood: Always have some on hand for testing new compounds or techniques.
Buffing Wheel Types:
A common setup involves two buffing wheels:
1. Cutting Wheel: Often made of firmer cotton or stitched muslin. It’s used with abrasive compounds to remove the finest scratches and level the surface.
2. Buffing Wheel: Typically made of softer, looser cotton or wool. It’s used with finer polishing compounds or waxes to bring out the final high shine.
Always ensure your buffing wheels are clean and free of debris before use. A ‘spindle adapter’ or ‘lathe mandrels’ are used to securely mount these wheels onto your lathe.
How to Use Wood Lathe Polishing Compounds: Step-by-Step

Polishing your wood lathe project is the exciting final step. Follow these steps for a fantastic finish!
Preparation is Key
Before you even think about compounds, your piece needs to be properly sanded. This is the most critical step for achieving an excellent polish. If you skip this, no compound will save you!
- Sand Thoroughly: Start with a medium grit sandpaper (e.g., 120 or 150 grit) and progressively work your way up through the grits. For a good polish, you’ll want to go at least to 400 grit, and ideally 600 grit or even higher, depending on the wood and your desired finish.
- Smooth Between Grits: After each grit, remove any dust thoroughly. For very fine grits, you can lightly ‘sand’ with the grain using a clean paper towel or cloth to remove any potential cross-grain scratches.
- Remove All Dust: Ensure the piece is completely free of dust before moving on to the polishing stage. A tack cloth or a clean, dry cloth works well.
Safety Note: Always wear appropriate safety gear, including eye protection and a dust mask, when sanding and polishing.
Applying Abrasive Compounds (with Buffing Wheels)

This method is for achieving a professional, deep polish using actual buffing wheels and abrasive compounds.
- Mount Wheels: Securely mount your cutting and buffing wheels on your lathe using a mandrel.
- Safety Check: Ensure the lathe is stable, wheels are secure, and you have clear space around the machine. Wear your safety glasses and dust mask.
- Apply Compound to Wheel: Turn the lathe OFF.** Hold the abrasive compound stick against the buffing wheel where it will make contact. Then, briefly turn the lathe ON at a low to medium speed. Apply the compound to a small section of the wheel. The friction will transfer the compound. Repeat around the wheel, creating a consistent layer. Do NOT get the wheel too saturated.
- Polish the Workpiece: Turn the lathe ON to a medium to high speed, depending on your wood and comfort level. Gently bring the spinning workpiece into contact with the compound-laden wheel. Move the workpiece back and forth across the wheel, covering the entire surface. The wheel will do the work.
- Check Progress: Periodically stop the lathe and the wheel to check your progress. You should see the surface becoming smoother and shinier.
- Move to the Buffing Wheel: Once you’ve refined the surface with the cutting wheel and compound, switch to your softer buffing wheel. Load it with a finer polishing compound (or a dedicated buffing compound, which is less abrasive). Repeat the process of applying compound to the wheel (lathe OFF, then ON briefly) and then polishing the workpiece.
- Final Buffing: Your final buffing wheel can often be used with just a bit of wax or even without compound for a final cleanup buff.
- Clean Up: After polishing, clean any compound residue from your piece with a soft, clean cloth.
Applying Friction Polishes
This is a faster, often easier method, great for beginners and smaller items.
- Ensure Smooth Surface: Make sure your piece is sanded to at least 400 grit.
- Apply to Cloth: Shake your friction polish well. Dampen a small section of a clean paper towel or soft cotton cloth with the polish.
- Lathe Speed: Turn your lathe ON to a medium to high speed.
- First Application: Gently hold the dampened cloth against the spinning wood. Move it steadily back and forth across the entire surface of the workpiece. You’ll see the wood start to dull slightly as the alcohol evaporates and the polish begins to set.
- Buffing: Immediately after the first application, use a clean, dry section of the paper towel or cloth to buff the surface vigorously. The friction from rubbing will generate heat, activating the polish and bringing up a brilliant shine.
- Repeat if Necessary: For a deeper shine, you can repeat the application and buffing process several times.
- Final Polish: A final buff with a clean, soft cloth can enhance the luster.
Applying Waxes and Finishes

These are often applied after abrasive compounds or friction polishes for added depth, protection, and a tactile feel.
- Ensure Smooth Surface: The smoother the surface underneath, the better the wax will look.
- Apply by Hand: Apply a small amount of paste wax or liquid finish to a clean, soft doth.
- Lathe Speed: Turn the lathe ON to a very low to medium speed.
- Rub onto Wood: Gently rub the cloth with the wax onto the spinning workpiece. The friction will help melt and spread the wax evenly.
- Buff: Once the wax is applied, increase the lathe speed slightly (if comfortable) and use a clean section of the cloth to buff the surface until it shines.
- Hand Buffing: For extra shine or to avoid wheel marks, you can finish by buffing the piece by hand once it’s off the lathe.
Tips for Amazing Results and Avoiding Pitfalls

Even with the right compound and tools, a few common mistakes can lead to frustration. Here’s how to avoid them and achieve that professional finish:
- Don’t Rush the Sanding: This is the #1 rule. If your sanding isn’t perfect, your polish won’t be either. Take your time and work through all the grits.
- Cleanliness is Crucial: Ensure your buffing wheels and application cloths are clean. Contamination can lead to scratches or a dull finish.
- Buffing Wheel Speed: Start at medium speeds and adjust as needed. Too fast can burn the wood or the compound. Too slow won’t generate enough friction. Listen to your lathe and feel the surface.
- Pressure Control: Let the compound and wheel do the work. Excessive pressure can create heat, burn marks, or flatten details.
- Compound Application: Avoid overloading the buffing wheel. A light, even application on the wheel is best.
- Transitions: When switching between grits of sandpaper or between different compounds/wheels, make sure to remove dust thoroughly.
- Testing: Always test new compounds or techniques on scrap wood first to get a feel for them.
- Safety First: Woodworking and machining can be unforgiving. Always wear your safety glasses, use a dust mask, and keep your work area clean and free of obstructions when the lathe is running. This is especially important with high-speed buffing. For more on safe lathe operation, consult resources from organizations like the Wood Turners Guild which often publish safety guidelines for woodturning.
