For woodturning beginners, understanding the difference between a spur drive and a screw chuck is crucial for secure workpiece mounting and successful projects. A spur drive uses a point to dig into the wood, while a screw chuck threads directly into it, offering distinct advantages for different tasks.
Hey there, fellow woodworkers and future woodturners! Daniel Bates here from Lathe Hub. Ever find yourself staring at a beautiful piece of wood, ready to turn it into something amazing, only to get a little nervous about how to actually hold it on your wood lathe? It’s a common feeling, and it usually comes down to one of the first big decisions you’ll make: how to mount your workpiece. Two of the most common and essential ways to do this are with a spur drive and a screw chuck. Knowing which one to use, and when, can make all the difference in achieving smooth, safe, and successful turns. Don’t worry, we’re going to break it all down, step-by-step. Let’s get your lathe turning!
Wood Lathe Spur Drive Vs Screw Chuck: Your Essential Guide

Choosing the right way to mount your wood on the lathe is fundamental to a successful turning session. It’s not just about holding the wood; it’s about holding it securely, centered, and in a way that allows you to achieve your artistic vision without worry. For beginners, the terms “spur drive” and “screw chuck” might sound a bit intimidating, but they’re actually quite straightforward and incredibly useful tools. Think of them as two different hands you can use to hold your work, each with its own strengths.
Whether you’re turning a small, delicate bowl or a larger, irregular shape, understanding the nuances between these two mounting methods will boost your confidence and expand your turning possibilities. We’ll dive deep into what they are, how they work, their pros and cons, and crucially, when to choose one over the other. By the end of this guide, you’ll be confidently selecting the right tool for the job and ready to tackle your next project.
What is a Wood Lathe Spur Drive?

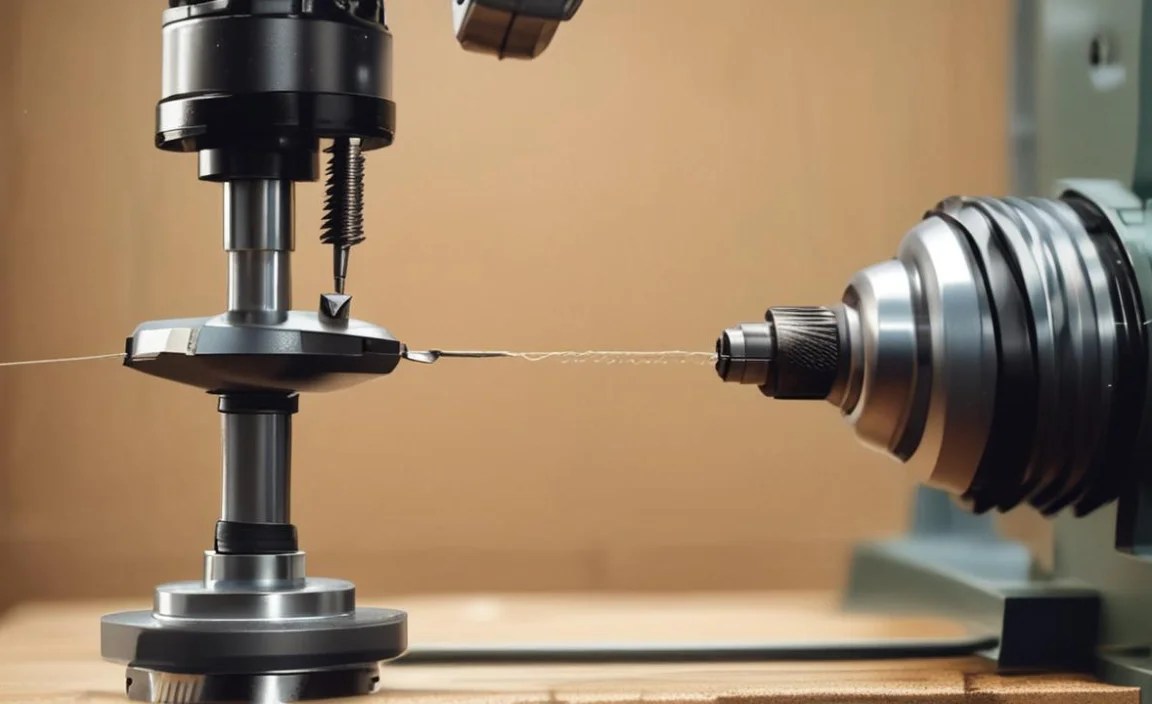
A spur drive, often simply called a spur, is a metal component that attaches to your lathe’s headstock (the part that spins). It has one or more sharp points, or “spurs,” that are designed to dig into the end grain of your wood. As the lathe spins, the spur drive’s points bite into the wood, creating a solid connection that transfers the rotational force from the lathe spindle to your workpiece.
Typically, a spur drive is mounted onto a drive center, which is itself threaded into the headstock spindle. A live center is often used on the tailstock end to support the other side of the workpiece. When you tighten the wood against the spur drive, the points embed themselves, providing a strong grip for turning. For an all-around overview of lathe accessories, a great resource is the Woodworkers Guild of America’s guide to lathe accessories, which touches on various ways to hold work.
How a Spur Drive Works
1. Attachment to Lathe: The spur drive itself screws onto a drive center, or sometimes has its own integrated mounting system that fits directly into the headstock spindle.
2. Wood Location: The wood workpiece is positioned so that one end is against the spur drive.
3. Engagement: With the lathe OFF, you bring the tailstock center (usually a live center, which spins with the wood) to engage the other end of the workpiece.
4. Tightening: You then advance the tailstock ram to firmly press the wood between the spur drive and the tailstock center. This action drives the spur’s points into the end grain of the wood.
5. Turning: Once securely clamped, you can turn the lathe on and begin shaping your workpiece. The friction and the bite of the spurs keep the wood rotating with the headstock.
Types of Spur Drives

Pronged Spur Drive: This is the most common type, featuring two or more sharp metal points. The number of prongs varies, with two often being standard, and more capable of holding larger or more difficult woods securely.
Screw-in Spur Drive (less common): Some spurs might have a threaded shank that allows them to be screwed directly into a pre-drilled hole, but this is less typical for general spur drive use.
The Importance of Grain Direction

Spur drives are most effective when the spurs can dig into the end grain of the wood. This is because end grain is more porous and softer than side grain, allowing the spurs to penetrate and grip securely. Trying to mount a piece on its side grain with a spur drive is generally unsafe and will not provide a reliable hold.
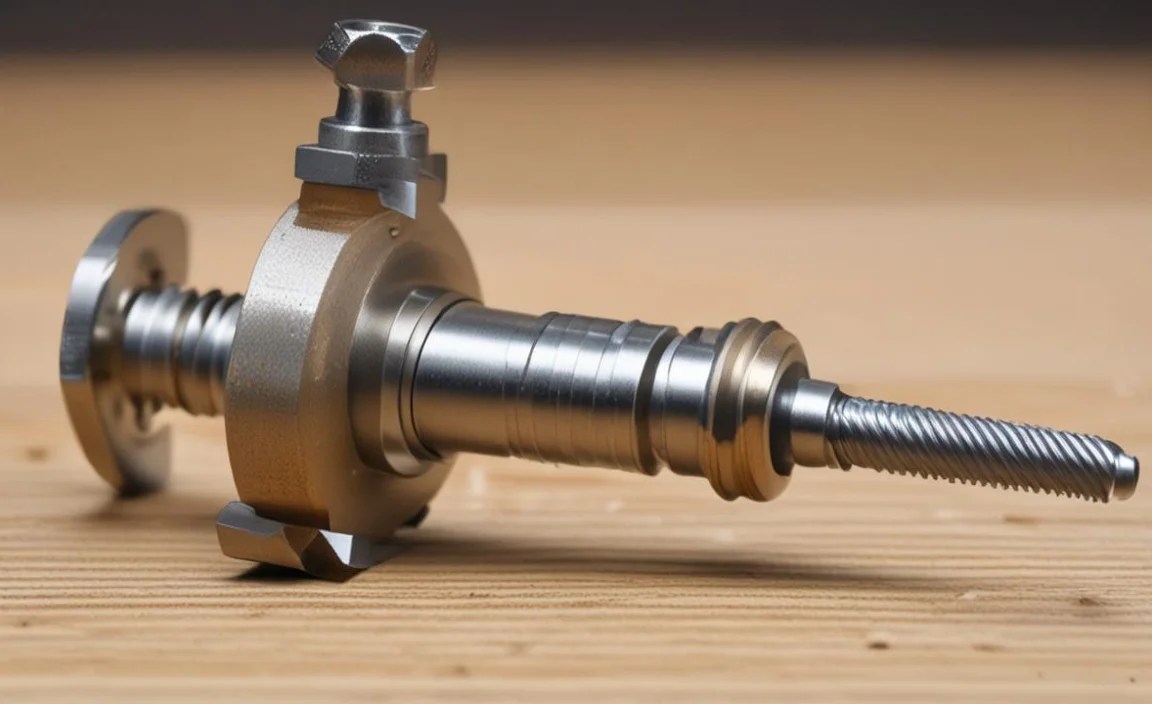
What is a Wood Lathe Screw Chuck?

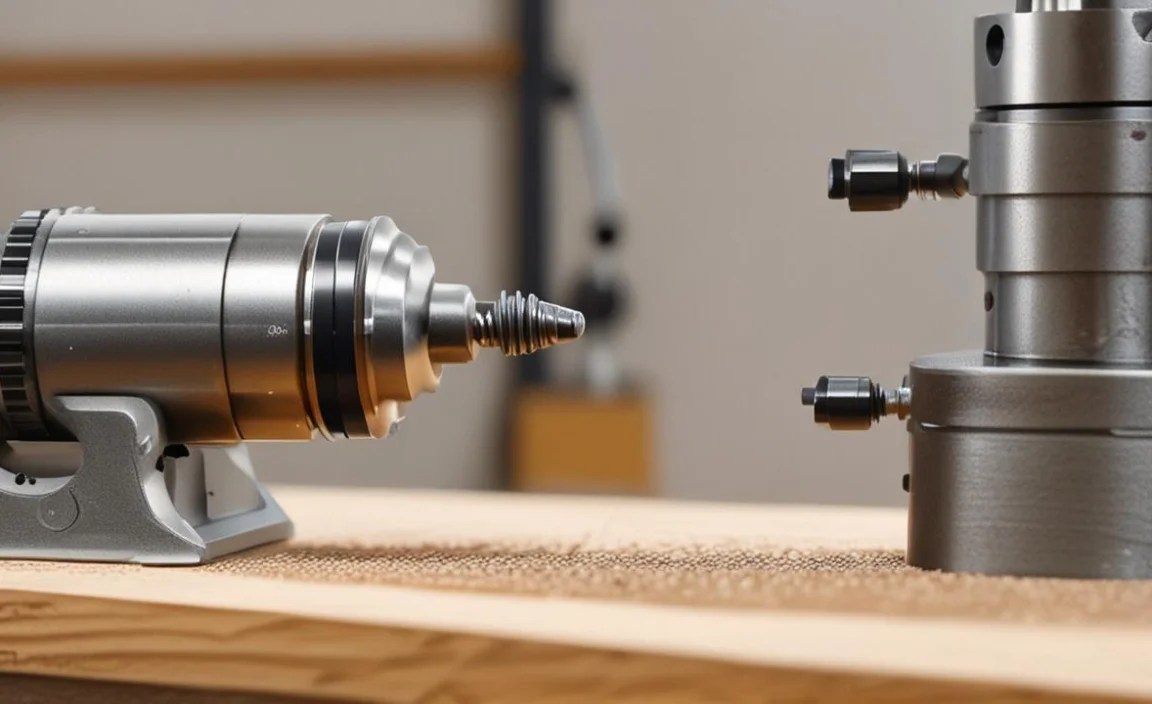
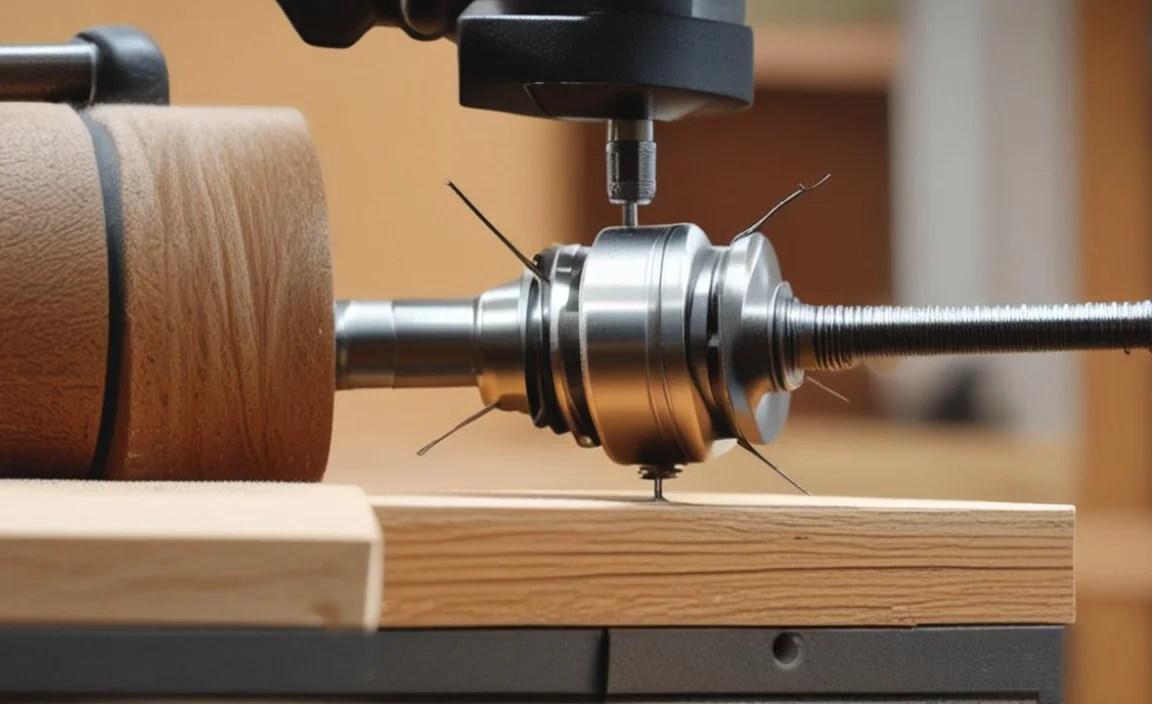
A screw chuck is a specialized accessory that features a threaded metal shank. You screw this shank directly into a pre-drilled hole in the end of your wood workpiece. The chuck then mounts onto the lathe’s headstock spindle, and as the spindle rotates, so does the chuck and the attached wood.
Screw chucks are excellent for turning items that are difficult to mount with a spur drive or faceplate, especially when you want to turn the other end of the piece after it’s been initially shaped. They provide a very secure, concentric hold if drilled and installed correctly. For more advanced mounting techniques, looking into resources from reputable woodworking organizations can be helpful. For instance, the American Association of Woodturners offers a wealth of information on various turning topics.
How a Screw Chuck Works
1. Drilling the Hole: You typically drill a pilot hole into the end of your wood workpiece. The size of the pilot hole is crucial and depends on the specific screw chuck you’re using and the type of wood. Check the manufacturer’s recommendations.
2. Attaching the Chuck: The screw chuck’s threaded shank is screwed into this pilot hole. You’ll usually use a wrench or an Allen key to ensure it’s seated firmly and square.
3. Mounting to Lathe: The screw chuck itself then mounts onto the headstock spindle, usually by screwing it on directly if it has a matching thread, or it might fit into a specific chuck jaw system.
4. Turning: With the screw chuck securely in the wood and mounted to the lathe, you can turn the lathe on. The screw chuck’s threads hold the wood firmly as it spins.
Types of Screw Chucks

Standard Screw Chucks: These are the most common, featuring a metal body with a threaded shank. They come in various thread sizes.
Duplicating Screw Chucks: Some variations might be designed for specific purposes, but the core function remains the same: screwing into the wood.
Key Considerations for Screw Chucks
Pilot Hole Size: This is paramount. Too small, and you risk splitting the wood or making it very difficult to screw in. Too large, and the threads won’t grip effectively.
Wood Type: Screw chucks work best in woods with sufficient density to hold the threads. Very soft woods might not provide enough grip.
Depth of Threading: Ensure the threaded shank is long enough to get a good purchase but not so long that it interferes with the desired shape of your finished piece.
Spur Drive vs. Screw Chuck: Key Differences and When to Use Each

The choice between a spur drive and a screw chuck boils down to the nature of your project, the type of wood you’re using, and what part of the workpiece you need to access. They are fundamentally different in how they engage the wood, offering distinct advantages.
Here’s a breakdown to help you decide:
| Feature | Spur Drive | Screw Chuck |
|---|---|---|
| Mounting Method | Spurs dig into end grain; typically used with a tailstock center for support. | Threads screw directly into a pre-drilled pilot hole in the workpiece. |
| Primary Use Case | Spindle turning (e.g., table legs, balusters), initial shaping of blanks for faceplate or chuck mounting. | Turning the “foot” or base of bowls after the exterior is shaped, working with irregular blanks, turning without a tailstock (sometimes). |
| Wood Engagement | Mechanical grip via penetration of spurs. Requires end grain. | Mechanical grip via threads. Works best in dense wood with a pre-drilled hole. |
| Tailstock Requirement | Almost always requires a tailstock for initial tightening and support. | Can sometimes be used without a tailstock, especially for bowl turning where the chuck is the primary mounting point. |
| Workpiece Damage | Leaves four small holes where spurs engaged the end grain. | Leaves a threaded hole where the chuck was inserted. |
| Setup Time | Relatively quick for initial mounting with a live center. | Requires accurate pilot hole drilling and careful screwing in. |
| Security | Very secure for spindle work when properly engaged on end grain. | Very secure if pilot hole is correct and wood is suitable. |
| Cost (typical) | Moderate. | Moderate. |
When to Choose a Spur Drive:

Spindle Turning: This is the spur drive’s bread and butter. If you’re turning long, relatively thin pieces like table legs, chair spindles, or any project that involves turning between centers, a spur drive is your go-to.
Initial Blanks for Faceplate/Chuck: When you have a rough log or a large blank that you want to turn the exterior of first, a spur drive on the headstock and a live center on the tailstock provides a quick and secure way to get it spinning.
When You Don’t Need to Preserve the End Grain: A spur drive will always leave an impression on the end grain. If this is a concern for your final product, you’ll need to account for it or use another method.
For Maximum Grip on Parallel Stock: For long, straight stock, the spur drive’s bite, combined with the tailstock support, offers a very stable setup.
When to Choose a Screw Chuck:
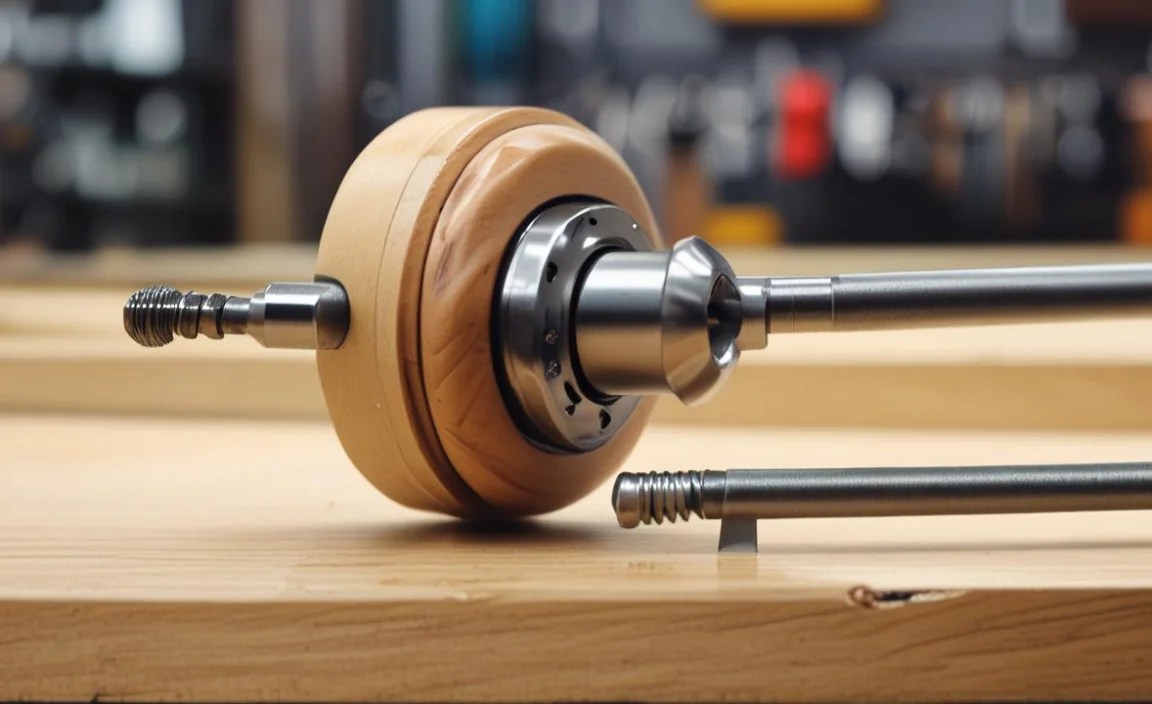
Bowl Turning (Bottom): This is where screw chucks truly shine. After you’ve shaped the outside of a bowl and are ready to turn the bottom flat or create a tenon/recess for mounting in a chuck, a screw chuck is ideal. You screw it into the (now accessible) end grain of the bowl.
Working with Irregularly Shaped Blanks: If you have a burl or an odd-shaped piece where a standard spur drive and live center might not align well, a screw chuck can provide a more adaptable mounting solution.
Turning Without a Tailstock: For some projects, particularly bowls, you might want to remove the tailstock entirely to get better clearance for your tools. A screw chuck can allow you to do this safely.
When You Need to Preserve the Face: If the face of your workpiece where you would normally use a spur doesn’t need to be pristine, a screw chuck offers a neat way to hold it by threading into a less visible area.
Pros and Cons of Each Method

Let’s get practical. Every tool has its strengths, and it’s important to know them so you can use them to their full potential.
Spur Drive: Pros and Cons
Pros:
Excellent for Spindle Turning: Provides a very secure grip for long pieces.
Quick Setup: Generally faster to mount a blank than drilling for a screw chuck.
Durable: Built to withstand significant forces.
Versatile for Initial Shaping: Great for getting large or awkward blanks spinning.
Cons:
Damages Wood: Leaves marks (usually 4 small holes) on the end grain.
Requires End Grain: Cannot be used on side grain.
Tailstock Support Usually Necessary: For safe and stable turning.
Can Slip if Not Properly Engaged: Especially in softer woods or with insufficient tailstock pressure.
Screw Chuck: Pros and Cons
Pros:
Ideal for Bowl Bases: Perfect for turning the bottom of bowls.
Versatile Mounting: Can be used for various shapes and for faceplate work.
Leaves a Threaded Hole: Often on the “bottom” of a piece, which can be tidied up or even incorporated.
Can Allow Tailstock Removal: Beneficial for bowl turning clearance.
Secure Grip: When installed correctly, it’s very robust.
Cons:
Requires Pilot Hole Drilling: Precision is key, and it takes extra time.
Wood Integrity Crucial: Not ideal for very soft or brittle woods that won’t hold threads well.
Potential Loosening: If the pilot hole is too large or the wood degrades, it can loosen.
Can Be Difficult to Remove: Sometimes the threads can seize, requiring significant effort.
Step-by-Step: Mounting Wood with a Spur Drive

Let’s walk through how to safely mount a piece of wood using a spur drive. Always remember to have your safety glasses on and your lathe turned OFF for this process.
Tools You’ll Need:
Wood lathe
Spur drive
Drive center (if spur drive isn’t integrated)
Live center (for tailstock)
Wood workpiece
Hammer (optional, for seating spurs)
Safety glasses
Steps:
1. Prepare the Wood: Ensure your wood blank is roughly cut to size and that the end grain where you’ll mount it is relatively flat.
2. Mount the Spur Drive: Screw your spur drive onto the drive center, and then screw the drive center into your lathe’s headstock spindle. Make sure it’s snug.
3. Position the Live Center: Adjust your tailstock and insert the live center. Bring it up to where the other end of your workpiece will be supported.
4. Place the Workpiece: Position your wood blank between the spur drive and the live center. The spur drive should be touching the end grain of the wood.
5. Engage the Tailstock: Move the tailstock ram forward to bring the live center into gentle contact with the wood.
6. Apply Pressure: Lock the tailstock and then advance the tailstock ram firmly. This action drives the spurs into the end grain. You should feel resistance as the spurs bite in. For tougher woods or deeper engagement, you might need to apply significant pressure.
7. Check Security: Once the tailstock ram is advanced, gently try to twist the wood by hand. It should feel firmly held and not slip. The spurs should be embedded a good amount. If it feels loose, advance the tailstock ram a bit more. You can also give the spurs a gentle tap with a hammer if the wood is against the tailstock center for support, to ensure they are fully seated.
8. Turn on the Lathe: With the workpiece securely mounted and the tailstock locked, you can now turn on your lathe. Start at a slow speed to check for any wobble or looseness. Increase speed gradually as you feel confident.
Step-by-Step: Mounting Wood with a Screw Chuck

Using a screw chuck is a bit more precise, requiring a pilot hole. Always ensure your lathe is OFF when mounting or dismounting work.
Tools You’ll Need:
Wood lathe
Screw chuck
Drill bit (sized for the screw chuck’s pilot hole recommendation)
Drill (handheld or drill press)
Wrench or Allen key for the screw chuck
Wood workpiece
Safety glasses
Steps:
1. Determine Pilot Hole Size: Consult the manufacturer’s instructions for your specific screw chuck. They will recommend a drill bit size for creating the pilot hole. Using the correct size is crucial for a strong hold.
2. Drill the Pilot Hole: Choose the end of your workpiece where you want to mount the screw chuck. Carefully drill a pilot hole to the recommended depth. Ensure the drill is perpendicular to the wood surface. A drill press is ideal for accuracy here.
3. Insert the Screw Chuck: Place the threaded shank of the screw chuck into the pilot hole.
4. Tighten the Screw Chuck: Use a wrench or Allen key to screw the chuck into the wood. Turn it until the shoulder of the chuck is firmly seated against the wood surface. The threads should be biting well, and the chuck should feel very solid. If you’re turning a bowl, this is often done on the end grain that will eventually be the “bottom” of the bowl.
5. Mount the Screw Chuck to the Lathe:
Direct Threading: If your screw chuck has a thread that matches your spindle (e.g., 1″ x 8 TPI), you will screw the chuck directly onto the headstock spindle. Ensure it’s tightened firmly.
Chuck Jaws: Some systems allow you to mount a screw chuck into a specialized jaw set on a larger chuck. Follow your chuck manufacturer’s instructions.
6. Verify Security: Once mounted, give the wood a gentle twist by hand to ensure it’s not going to slip.
7. Turn on the Lathe: With the screw chuck securely installed and mounted, turn on your lathe. Start at a low speed.
