Replace your wood lathe tailstock bearing with this easy guide. Learn how to diagnose a worn bearing and get your lathe running smoothly again in under an hour. This fix ensures accuracy and prevents further damage.
Is your wood lathe tailstock feeling a bit rough? Maybe it’s not as smooth as it used to be when you extend or retract it. This is a common issue, especially on lathes that get a lot of use. A worn or damaged tailstock bearing can make your work harder, affect the precision of your turning, and even lead to more significant problems down the line. Don’t worry, though! Replacing this bearing is a straightforward repair that most woodworkers can tackle with basic tools. This guide will walk you through exactly what you need to know, from identifying the problem to getting a new bearing installed and spinning true. Let’s get your tailstock back in top shape so you can get back to creating!
Why Your Wood Lathe Tailstock Bearing Needs Attention

The tailstock is a crucial part of your wood lathe, providing support for longer workpieces and holding tools like drill bits for hollowing out bowls. Inside the tailstock body, a bearing (often a needle bearing or sometimes a simple bushing) allows the quill – the part that moves in and out – to slide smoothly. Over time, dust, debris, and general wear and tear can take their toll on this component. When the bearing starts to go bad, you’ll typically notice:
- A gritty or rough feeling when moving the tailstock quill in or out.
- Increased play or wobble in the quill.
- Difficulty in locking the tailstock in place.
- Unusual noises coming from the tailstock.
Ignoring these signs can lead to premature wear on the quill itself and the tailstock body, making a simple bearing replacement much more complicated – and expensive. Taking proactive steps to maintain and replace this bearing is a smart move for any woodturner. It’s a relatively inexpensive part that can save you a lot of headaches and ensure the accuracy of your projects.
Understanding the Tailstock Bearing

Most modern wood lathes use a needle bearing for their tailstock quill. A needle bearing is a type of roller bearing that uses long, thin cylindrical needles instead of balls. These needles distribute the load over a larger surface area, which is ideal for the sliding motion of a tailstock quill. Some older or very basic lathes might use a simple bronze or oil-impregnated bushing.
Regardless of the type, its job is to provide a low-friction surface for the quill to move within the tailstock body. When this surface is compromised, friction increases, leading to the issues we discussed. Think of it like the bearings in your car’s wheels; if they go bad, the wheel won’t turn smoothly, and it can cause damage. The same principle applies here.
Common Causes of Bearing Failure
- Dust and Debris: Woodworking is inherently dusty. Fine wood dust can work its way into the bearing, acting like sandpaper and grinding away the bearing surfaces.
- Lack of Lubrication: While some bearings are sealed, others may require occasional lubrication. If this is neglected, friction increases, leading to heat and rapid wear.
- Over-tightening: If the tailstock lock is habitually over-tightened, it can put undue stress on the quill and bearing.
- Impact/Damage: Dropping tools or other impacts can damage the delicate bearing needles or the surfaces they run on.
- Age and Use: Simply put, all parts wear out eventually. With enough cycles of moving the quill in and out, a bearing will reach the end of its service life.
For a deeper understanding of bearing types and their functions in machinery, resources like the Machinery Lubrication website offer excellent, in-depth explanations, though we’ll keep our discussion focused on wood lathes.
Gathering Your Tools and Parts
Before you start, it’s essential to have everything you need ready. This will make the process much smoother and safer.
Essential Tools
- Safety Glasses (Always wear these!)
- Gloves (Optional, but good for grip and keeping hands clean)
- Wrenches or Socket Set (To remove any retaining bolts or caps)
- Screwdriver Set (Flathead and Phillips, depending on your lathe model)
- Pry Bar or Flathead Screwdriver (For gentle persuasion)
- Hammer (Light tapping may be needed)
- Wooden Mallet or Brass Hammer (To avoid damaging parts)
- Penetrating Oil (Like WD-40 or PB Blaster, to help loosen stubborn parts)
- Clean Rags
- Measuring Tool (Caliper or ruler, if you need to measure for a new bearing)
- Bearing Puller (Sometimes helpful, depending on how tight the bearing is)
- Vice or Clamp (To hold parts securely if needed)
- Grease (For lubricating the new bearing and quill)
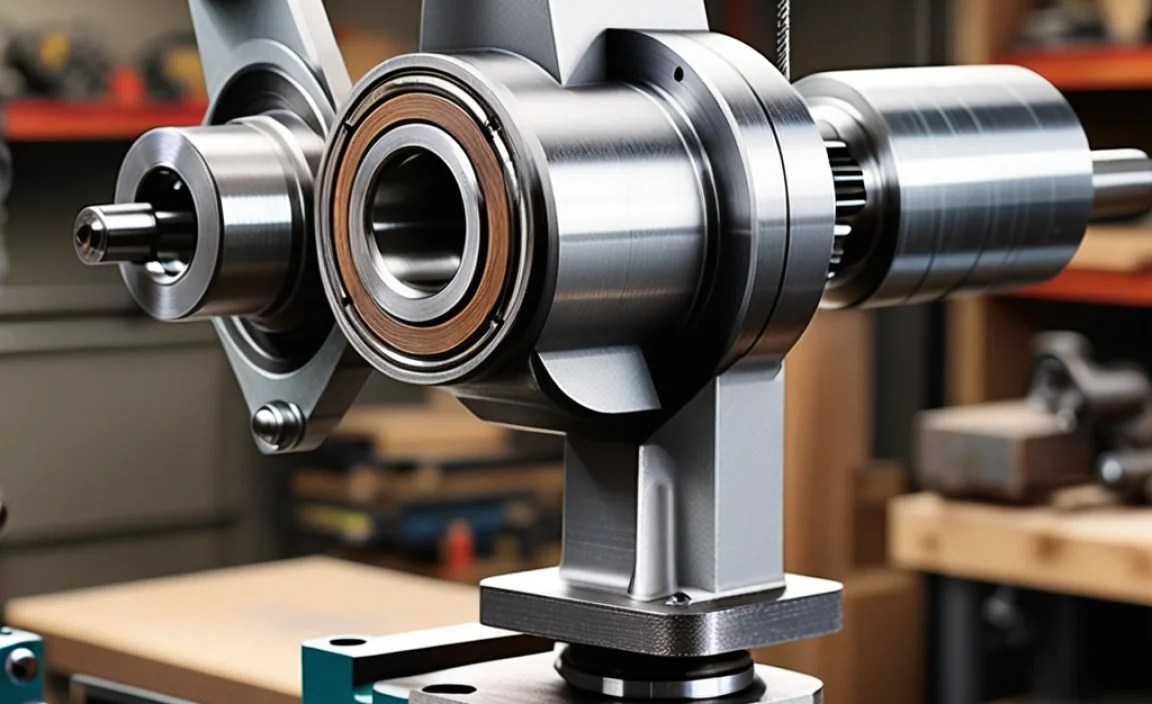
The Replacement Part: That Crucial Tailstock Bearing
The most important part is, of course, the replacement bearing. You’ll need to identify the correct part number or dimensions for your specific wood lathe model. Here’s how:
- Consult Your Lathe Manual: This is the best place to start. Most manufacturers list the part numbers for common replacement parts.
- Identify the Bearing Type: If you don’t have the manual, you might need to remove the old bearing first to measure it or note its markings. For needle bearings, look for numbers stamped on the end cap or on the needles themselves.
- Measure the Old Bearing: If you can’t find a part number, measure the inner diameter (ID), outer diameter (OD), and width of the old bearing.
- Common Bearing Sizes: While sizes vary greatly, some common needle roller bearing dimensions for tailstocks can be found from suppliers. For example, a common size might be a bearing rated for a specific shaft diameter and bore size. However, don’t guess – always verify for your machine.
- Source from Manufacturer or Reputable Supplier: Once you have the part number or dimensions, contact your lathe’s manufacturer or a reputable bearing supplier (like SKF, Timken, or even specialized industrial suppliers). You can also often find generic industrial bearings that match the specs.
Tip: Always order a spare bearing if they are inexpensive. It’s better to have it on hand than to be stopped mid-project needing to order a new one.
Step-by-Step Guide: Replacing the Tailstock Bearing
Let’s get down to business. This process should be manageable for most beginners. Remember to work patiently and methodically.
Step 1: Prepare Your Workspace and Lathe
- Safety First: Unplug your wood lathe from the power source. This is non-negotiable.
- Clean the Area: Wipe down the tailstock and surrounding areas to remove as much dust and debris as possible. This prevents more grit from entering the mechanism.
- Position the Lathe: Ensure you have comfortable access to the tailstock. You might want to rotate the headstock out of the way if necessary.
Step 2: Disassemble the Tailstock
The exact disassembly process will vary depending on your lathe model, but the general principles are similar. You’ll usually need to remove the tailstock from the lathe bed first.
- Loosen Tailstock Lock: Ensure the tailstock is locked securely to the lathe bed.
- Remove from Bed: Unlock the tailstock using its lever or handwheel. Slide the entire tailstock assembly off the lathe bed.
- Access the Quill Mechanism: You typically need to remove the handwheel assembly and the locking mechanism on the tailstock body to get to the quill and its bearing.
- Remove Handwheel: Unscrew the set screw(s) holding the handwheel onto the quill shaft. The handwheel should then slide off. You might need to gently tap it with a mallet.
- Remove Locking Lever/Nut: There’s usually a mechanism that locks the quill in place. This might be a simple nut that tightens around the quill, or a lever with a cam. Unscrew or remove this component.
- Expose the Quill: Once these parts are removed, you should be able to see the end of the quill shaft where it enters the tailstock body. There might be a retaining collar or cap holding the bearing in place.
Important Note: Take pictures as you go! This is incredibly helpful for reassembly. Pay close attention to the order of washers, nuts, and any other small parts.
Step 3: Remove the Old Bearing
This is often the trickiest part.
- Attempt to Slide Quill Out: With the handwheel and locking mechanism removed, try to slide the quill completely out of the tailstock body. If it slides out easily, the bearing is likely on the quill itself, or you may have a different type of assembly.
- If No Bearing on Quill: If the quill slides out freely without any bearing attached to it, the bearing is pressed into the tailstock body. In this case, you’ll need to push the quill fully into the tailstock.
- Pressing the Bearing:
- From the Quill End: If the bearing is pressed into the tailstock body and you’ve removed the quill, you’ll need to access it from where the quill entered. Place the tailstock body on blocks or in a vice so you can push the bearing out. Use a punch or socket that is slightly smaller than the OD of the bearing but larger than the inner hole. Tap it out gently and squarely.
- From the Internal Bore: Sometimes, the bearing is pressed onto the quill itself. If this is the case, you’ll need to remove the quill fully. Then, using a bearing/gear puller is the safest and most effective method. Place the jaws of the puller behind the bearing and slowly tighten the center screw, drawing the bearing off the quill.
- Stubborn Bearings: If the bearing is stuck, apply penetrating oil and let it sit. Gentle heat from a heat gun (never an open flame on a wood lathe!) can sometimes help. If using a punch, ensure you are hitting it squarely to avoid damaging the quill or tailstock bore.
Safety Check: If you are having significant trouble removing the bearing, and you’re not comfortable with the force required, consider taking it to a local machine shop. They have specialized tools and expertise for bearing removal. For instance, places like Machinist’s Handbook provide excellent reference for these kinds of mechanical challenges.
Step 4: Clean and Inspect
Once the old bearing is out:
- Clean the Bore/Quill: Thoroughly clean the bore in the tailstock body (or the quill shaft if the bearing was on it) where the bearing was seated. Remove any old grease, dirt, or burrs.
- Inspect for Damage: Carefully inspect the bore or quill for any scoring, gouging, or wear. If the damage is severe, a simple bearing replacement might not be enough, and you might need to consider more extensive repairs or even a new tailstock. Minor imperfections can sometimes be addressed with a very fine abrasive pad.
Step 5: Install the New Bearing
Installing the new bearing requires precision to avoid damaging it.
- Prepare the New Bearing: If it’s a needle bearing, most do not require pre-greasing unless specified by the manufacturer. If it’s a bushing, apply a thin layer of bearing grease.
- Align the Bearing: Carefully align the new bearing with the bore or the quill. Ensure it’s perfectly square.
- Pressing the New Bearing:
- Using a Press: The ideal method is using a hydraulic press. Slowly and evenly press the bearing into place.
- Using Mallet/Hammer: If you don’t have a press, you can use a wooden mallet or a brass hammer. Place the bearing squarely and tap gently. You can also use a socket, a block of wood, or a specialized bearing installation tool that fits the OD of the bearing and allows you to press it in evenly. Work from one side, tapping gently, then move to the other, then back again, ensuring it goes in straight.
- On the Quill: If pressing onto a quill, use a socket that fits the OD of the bearing. Place the quill flat on a stable surface and use the socket to tap the bearing on.
- Press Until Seated: Continue pressing until the bearing is fully seated. For needle bearings, ensure the outer race is flush with the surface it should be. For bushings, ensure they are seated to the manufacturer’s specified depth.
Crucial Point: Never hit a bearing directly with a steel hammer. Always use a buffer like wood or a softer metal, or use a press. Forcing a bearing in crooked will damage it and potentially the mating surface.
Step 6: Reassemble the Tailstock
This is where your photos come in handy!
- Re-insert Quill: If you removed the quill, carefully slide it back into the tailstock body, ensuring it glides smoothly over the new bearing.
- Lubricate the Quill: Apply a thin, even coat of bearing grease to the quill shaft before reinserting it. This helps it slide smoothly and protects against future dust ingress.
- Reinstall Locking Mechanism: Put the locking lever, nut, or collar back in place. Ensure it operates correctly, tightening firmly to hold the quill.
- Reinstall Handwheel: Slide the handwheel back onto the quill shaft and tighten its set screw(s).
- Test Quill Movement: Operate the handwheel and ensure the quill extends and retracts smoothly without any grittiness. Test the locking mechanism.
- Mount Back on Lathe Bed: Slide the reassembled tailstock back onto the lathe bed and lock it securely.
Step 7: Final Check
After reassembly, it’s time for a thorough check.
- Power Up (Briefly!): Plug the lathe back in.
- Test Operation: Extend and retract the quill several times. Listen for any strange noises and feel for smooth operation. Lock the quill and check that it holds firmly.
- Visual Inspection: Ensure all components look correctly installed and secure.
If everything feels smooth and secure, congratulations! You’ve successfully replaced your wood lathe tailstock bearing.
Troubleshooting Common Issues
Even with a step-by-step guide, things can sometimes go wrong. Here are a few common issues and how to address them.
Issue: New bearing feels rough or gritty.
Possible Causes:
- Dirt or debris got into the bearing during installation.
- The bearing itself is faulty (rare but possible).
- The bore or quill it’s pressed into is damaged.
Solution: Remove the bearing, thoroughly clean the bore and the bearing (if possible, or use a new one), then re-install carefully. Inspect the bore/quill for damage.
Issue: Quill still wobbles after replacement.
Possible Causes:
- The new bearing wasn’t pressed in squarely or fully seated.
- The quill itself is worn or bent.
- The hole in the tailstock body where the bearing sits is worn oversized.
Solution: Re-check bearing installation. If the quill or body is worn, this is a more involved repair. It might require sourcing new parts or professional machining services.
Issue: Can’t get the old bearing out.
Possible Causes:
- Corrosion or rust has seized it.
- It’s pressed in exceptionally tightly.
Solution: Use more penetrating oil, gentle heat, or consider a bearing puller. If still stuck, professional help from a machine shop is advisable to avoid damaging the tailstock body.
Issue: Reassembly won’t fit back together.
Possible Causes:
- Parts are in the wrong order (refer to your photos!).
- A component (quill, bearing) is installed at an angle.
- A burr or obstruction is preventing reassembly.
Solution: Disassemble again, carefully inspect each part, and reassemble one piece at a time, ensuring all previous steps were correct and components are aligned.
Maintenance Tips for a Long-Lasting Tailstock
Once your tailstock bearing is replaced, a little preventative maintenance can go a long way in extending its life and ensuring smooth operation.
