Have you ever wanted to create your own pen? Imagine taking a simple piece of wood and shaping it into a tool you can use every day. Wood lathe turning can make it happen. What if you could produce something beautiful with your own hands?
Many kids may not know this, but making pens on a wood lathe is fun! Did you know some of the smoothest pens come from wood? It’s as if you’re whittling magic from a branch. Even little mistakes can end up as unique pen designs.
Why use a store-bought pen when you can craft your own? A wood lathe helps you do just that. It spins the wood fast so you can carve fine shapes. Pen turning isn’t just for adults. It’s like a hidden superpower waiting to be discovered.
Feeling excited to learn pen turning on a lathe? With a bit of practice, you’ll make pens in no time! Let’s see how you can start your own pen-making adventure!
Wood Lathe Turning Pens: A Complete Tutorial Guide

Wood Lathe Turning Pens Tutorial
Ever wondered how a simple block of wood turns into a sleek pen? Using a wood lathe creates magic. First, pick the right wood; it’s like choosing the best crayons for the brightest picture. Safety gear is essential because even skilled carvers respect their tools. As the wood spins, hands and imagination shape each pen uniquely. Did you know a single pen can tell a thousand stories? Dive into this craft and create your own tales.Essential Tools and Materials for Pen Turning
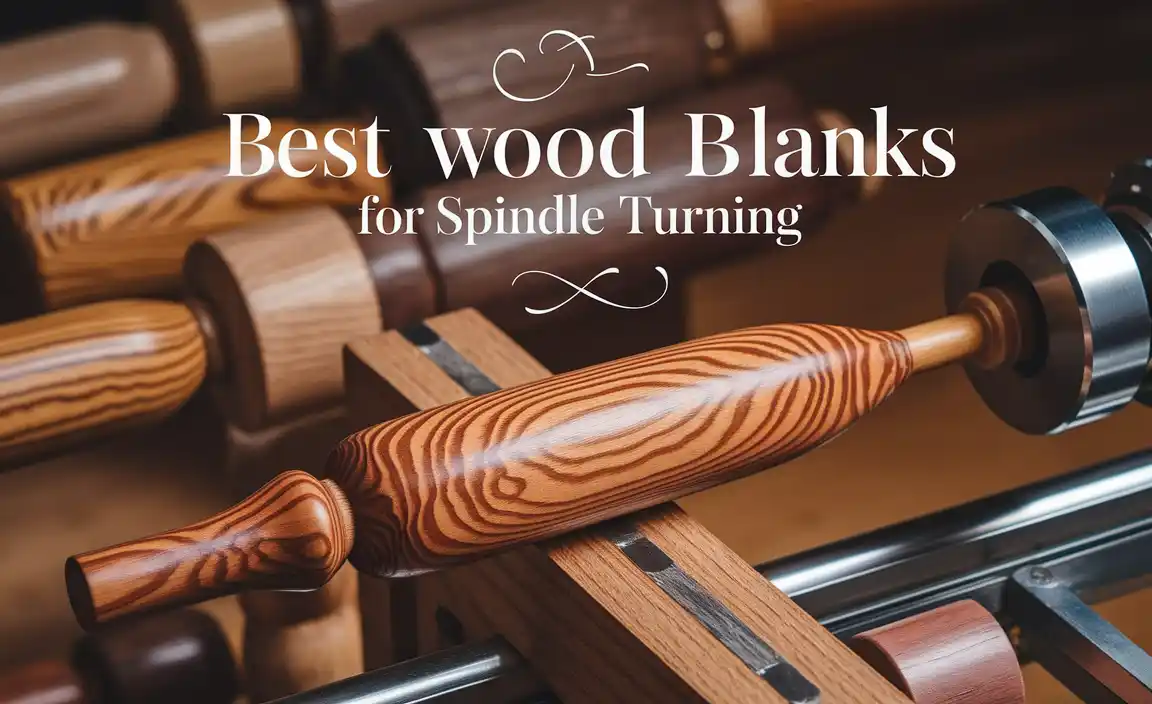
List of necessary tools including lathe and chisels. Types of pen blanks and materials used. Safety equipment required.Turning pens on a wood lathe is like making tiny tree sculptures that fit in your pocket. To start this fun hobby, you need some important tools. First, you need a trusty lathe to spin the wood. It’s like having a spinning top on steroids! You’ll also need chisels, which are sharp tools that carve the wood. Imagine carving a turkey, but it’s a wooden pen instead! Pen blanks, the pieces of wood you shape, come in various styles and materials like wood, acrylic, and even corncob. Yes, you can write with corncob! But please, no chewing! Safety is super important too. Wear goggles that make you look like you’re going skiing, even if it’s just in your garage. A dust mask keeps pesky wood particles out of your nose, saving you from a sneeze attack.
| Tool | Description |
|---|---|
| Lathe | The spinning machine that shapes the pen. A mini amusement park ride! |
| Chisels | The carving tools to shape and design your pen masterpieces. |
| Pen Blanks | The starting blocks for your pen, in wood or exciting materials. |
| Goggles | Protective eyewear, doubling as fashion statements for workshops. |
| Dust Mask | Keeps dust away, so you can breathe easy and not sound like a sneeze factory. |
What is the ideal type of lathe for beginners? A mini lathe is perfect for starters. It is compact and less scary than the big ones. Like a friendly hamster instead of a roaring lion!
Setting Up Your Wood Lathe for Pen Turning
Proper installation of the lathe. Adjusting the tool rest for optimal use. Securing the pen blank onto the lathe.Before starting, ensure your lathe is on a stable table. This prevents it from wobbling. Adjusting the tool rest is important. Keep it close but not touching the pen blank.
- The tool rest should be at or slightly above the center of the blank.
How do you adjust the speed of the lathe for pen turning?
Set the lathe to medium speed for a good start. For beginners, a speed between 1,000 to 2,000 RPM is ideal. Adjust based on the material being used. Softer woods need slower speeds, while harder woods can handle faster rotations. Always check how the wood behaves. Listen to the sound changes during turning.
Preparing Pen Blanks for Turning
Cutting and drilling the pen blanks. Inserting and gluing the brass tube. Methods for squaring the blank ends.To carve out a masterpiece pen, start by slicing the pen blanks into sections with care. Once shaped, it’s time for a bit of drilling magic to make room for the brass tube. Glide that tube into place with some glue magic—no spells needed! To ensure the ends are even and symmetrical, you’ll need to square them off, bringing balance to your creation. Remember, like a good sandwich, layers matter!
| Step | Description |
|---|---|
| 1. Cutting | Trim the pen blanks to desired size. |
| 2. Drilling | Create holes for brass tubes to fit. |
| 3. Gluing | Secure brass tubes inside with adhesive. |
| 4. Squaring Ends | Ensure each end is flat and even. |
If you’re wondering why precision matters, think about how weird a wobbly pen would feel. A wise craftsperson once said, “A pen without a plan is like a toast without a topping.” So grab your tools, and let’s create magic!
Techniques for Turning Pen Blanks on a Lathe
Basic spindle turning techniques for beginners. Achieving smooth surfaces with gouges and scrapers. Techniques for creating custom pen shapes.Turning pen blanks on a lathe is like sculpting magic wands! Beginners can start with spindle turning basics: keep your tools sharp and your patience sharper. For glass-like surfaces, use gouges and scrapers. They work wonders in smoothing out any woody bumps. Want to add some flair? Explore techniques to make custom pen shapes. Remember, each cut is a step towards a masterpiece.
Here’s a quick cheat sheet:
| Tool | Techniques |
|---|---|
| Gouge | Smooth surfaces |
| Scraper | Refine shape |
Did you know? A beautifully turned pen can become a writer’s best friend. So, grab your lathe and let your creativity ride the wood grain wave!
Sanding and Finishing Your Turned Pen
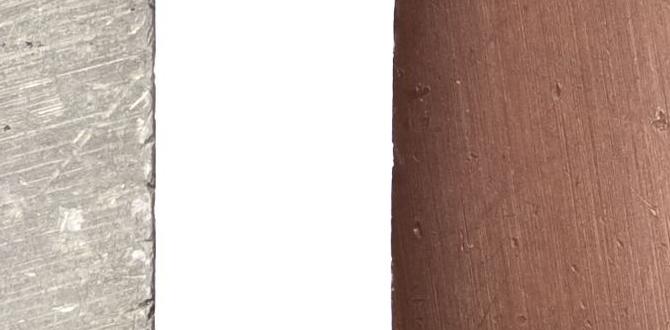
Series of sanding grits to use for a smooth finish. Applying finishes like friction polish or CA glue. Polishing the pen to a high sheen.Sanding your turned pen is like giving it a spa day! Start by using coarser grits like 150, then move to finer grits, ending at 600 or even 800 for a super-smooth surface. Think of it like going from a gravel road to a polished highway. Finish up with a polish, such as friction polish or CA glue. These help the pen shine bright like a diamond. Finally, don’t forget to buff it to a mirror-like sheen; your pen deserves its moment to sparkle!
| Sanding Grit | Purpose |
|---|---|
| 150 | Remove rough spots |
| 320 | Smooth surfaces |
| 600-800 | Fine details |
Should I use friction polish or CA glue? Both finishes are popular. Friction polish gives a quick glow, while CA glue is a bit tougher. According to experts, “CA glue is the secret to a long-lasting shine.”
Assembling Your Custom Pen
Stepbystep guide to pen component assembly. Troubleshooting common assembly issues. Tips for ensuring a durable and functional pen.Building a custom pen can be as fun as riding a roller coaster! Start by arranging the pen parts on a table. Think of it like a puzzle, but easier. The main trick is to insert the ink tubes first. Make sure they fit snugly. If the parts don’t fit, don’t panic; check for any debris in the tubes. Use a gentle tap to secure parts together without force. A well-assembled pen can last longer than a rich uncle’s grudge!
| Step | Description |
|---|---|
| 1 | Lay out all components. |
| 2 | Insert ink tubes. |
| 3 | Check for snug fit. |
| 4 | Gently tap parts together. |
If your pen doesn’t work, take it apart and try again. Always ensure no pieces are missing. Also, avoid rushing; haste makes waste, especially with pens!
Caring for Your Handmade Wooden Pens
Best practices for maintaining pens. Recommended cleaning products and techniques. Storing pens to preserve their quality.To keep your handmade wooden pens looking great, follow these simple steps. Regularly clean them with a soft, dry cloth. For tough spots, use a mix of mild soap and water. Avoid harsh chemicals. Store your pens in a cool, dry place, especially in a pen case or desk holder. This keeps them safe from scratches and sunlight.
What are the best cleaning products for wooden pens?
Use a soft cloth and mild soap. This helps protect the wood and finish.
How to store wooden pens effectively?
- Keep them in a pen case.
- Avoid direct sunlight.
- Place them vertically to prevent damage.
By following these tips, your pens will stay beautiful and last a long time!
Conclusion
Turning pens on a wood lathe is a fun craft. It improves your skills and creativity. Follow tutorials to learn step-by-step. Use safety gear and explore different designs. Practicing regularly makes you better. Dive into more resources to discover advanced techniques. Grab your tools and start creating unique, handmade pens today.FAQs
Sure! Here Are Five Related Questions On The Topic Of Wood Lathe Turning Pens:Sure! Here are five questions about turning pens with a wood lathe: 1. What is wood lathe turning? Wood lathe turning is when you shape wood using a tool that spins it around. 2. How do you start making a pen? First, choose a piece of wood and put it on the lathe. 3. What tools do you need? You need a lathe, a sharp tool to carve, and safety glasses to protect your eyes. 4. How long does it take to make a pen? It might take an hour or more, depending on how detailed you want it to be. 5. Can you decorate your pen? Yes! You can paint, stain, or add designs to make it special.
Sure! I can help with that. Just tell me the question you want me to answer.
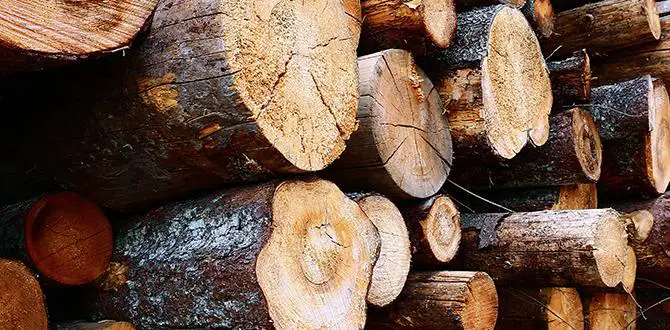
What Types Of Wood Are Best Suited For Turning Pens On A Lathe?For turning pens, you can use woods like maple, cherry, and walnut. These woods are strong and easy to shape. You might also enjoy using exotic woods like mahogany or rosewood for their beautiful colors. Remember to choose wood that feels nice to touch and looks good when finished!
What Tools And Materials Do I Need To Successfully Turn A Pen On A Wood Lathe?To turn a pen on a wood lathe, you need a few tools and materials. First, you’ll need a wood lathe to spin the wood. Then, get a pen kit, which has all the parts for the pen. You will also need some wood blanks, which are pieces of wood to shape into the pen. Finally, have sharp tools to carve the wood smoothly and sandpaper to make it nice and shiny.
How Do I Properly Set Up And Secure The Blank Wood Piece On The Lathe For Pen Turning?To set up your wood piece on the lathe, first, choose a sturdy blank. Use a tailstock and a faceplate to attach it tightly. Make sure the wood is balanced and not wobbly. Then, lock it in place so it doesn’t move when you start turning. Always wear safety goggles to protect your eyes!
What Techniques Can Be Used To Achieve A Smooth Finish On A Turned Pen?To get a smooth finish on a turned pen, you can start by sanding it gently. Use fine sandpaper, like 400 grit. After sanding, clean the pen to remove dust. Then, apply a finish like wax or varnish. Finally, buff the pen with a soft cloth for shine.
How Can I Personalize Or Decorate The Pen After Turning It On The Lathe?You can personalize your pen in many fun ways! First, you can paint it in your favorite color. Next, try adding stickers or decals to make it unique. You could also use markers to draw designs or write your name. Finally, adding a shiny finish can make it look really special!
{“@context”:”https://schema.org”,”@type”: “FAQPage”,”mainEntity”:[{“@type”: “Question”,”name”: “Sure! Here Are Five Related Questions On The Topic Of Wood Lathe Turning Pens:”,”acceptedAnswer”: {“@type”: “Answer”,”text”: “Sure! Here are five questions about turning pens with a wood lathe: 1. What is wood lathe turning? Wood lathe turning is when you shape wood using a tool that spins it around. 2. How do you start making a pen? First, choose a piece of wood and put it on the lathe. 3. What tools do you need? You need a lathe, a sharp tool to carve, and safety glasses to protect your eyes. 4. How long does it take to make a pen? It might take an hour or more, depending on how detailed you want it to be. 5. Can you decorate your pen? Yes! You can paint, stain, or add designs to make it special.”}},{“@type”: “Question”,”name”: “”,”acceptedAnswer”: {“@type”: “Answer”,”text”: “Sure! I can help with that. Just tell me the question you want me to answer.”}},{“@type”: “Question”,”name”: “What Types Of Wood Are Best Suited For Turning Pens On A Lathe?”,”acceptedAnswer”: {“@type”: “Answer”,”text”: “For turning pens, you can use woods like maple, cherry, and walnut. These woods are strong and easy to shape. You might also enjoy using exotic woods like mahogany or rosewood for their beautiful colors. Remember to choose wood that feels nice to touch and looks good when finished!”}},{“@type”: “Question”,”name”: “What Tools And Materials Do I Need To Successfully Turn A Pen On A Wood Lathe?”,”acceptedAnswer”: {“@type”: “Answer”,”text”: “To turn a pen on a wood lathe, you need a few tools and materials. First, you’ll need a wood lathe to spin the wood. Then, get a pen kit, which has all the parts for the pen. You will also need some wood blanks, which are pieces of wood to shape into the pen. Finally, have sharp tools to carve the wood smoothly and sandpaper to make it nice and shiny.”}},{“@type”: “Question”,”name”: “How Do I Properly Set Up And Secure The Blank Wood Piece On The Lathe For Pen Turning?”,”acceptedAnswer”: {“@type”: “Answer”,”text”: “To set up your wood piece on the lathe, first, choose a sturdy blank. Use a tailstock and a faceplate to attach it tightly. Make sure the wood is balanced and not wobbly. Then, lock it in place so it doesn’t move when you start turning. Always wear safety goggles to protect your eyes!”}},{“@type”: “Question”,”name”: “What Techniques Can Be Used To Achieve A Smooth Finish On A Turned Pen?”,”acceptedAnswer”: {“@type”: “Answer”,”text”: “To get a smooth finish on a turned pen, you can start by sanding it gently. Use fine sandpaper, like 400 grit. After sanding, clean the pen to remove dust. Then, apply a finish like wax or varnish. Finally, buff the pen with a soft cloth for shine.”}},{“@type”: “Question”,”name”: “How Can I Personalize Or Decorate The Pen After Turning It On The Lathe?”,”acceptedAnswer”: {“@type”: “Answer”,”text”: “You can personalize your pen in many fun ways! First, you can paint it in your favorite color. Next, try adding stickers or decals to make it unique. You could also use markers to draw designs or write your name. Finally, adding a shiny finish can make it look really special!”}}]}