Wood lathe vibration noise is a common headache for woodturners, but by systematically checking a few key areas, you can significantly reduce or eliminate it. This guide offers simple, step-by-step solutions for a smoother, quieter turning experience.
There’s nothing quite like the hum of a woodworking lathe as it spins a piece of wood, ready for shaping. But sometimes, that pleasant sound turns into an annoying rattle or a persistent rumble. Wood lathe vibration noise can be incredibly frustrating, not to mention it can affect the quality of your work. It’s a problem many woodturners face, from absolute beginners to those with years of experience. Don’t worry, though! Most vibration issues are fixable with a little detective work. We’ll walk through the common causes and provide simple, practical solutions so you can get back to enjoying the creative process. Let’s dive in and quiet down that lathe!
Why Does My Wood Lathe Vibrate and Make Noise?
Vibration on a wood lathe is usually a sign that something isn’t quite balanced or secured properly. Think of it like trying to spin a wobbly tire on a car; it’s going to shake and make noise, and it’s not good for anything. On a lathe, these vibrations can translate into rough cuts, tool chatter, and even cause components to loosen over time. Pinpointing the source is the first step to a smoother operation.
Common Culprits Behind Lathe Vibration
Several factors can contribute to a noisy and vibratory lathe. We’ll explore these step-by-step:
1. The Workpiece Itself: Balance is Key
This is almost always the number one suspect for new woodturners. If the wood you’re turning isn’t round to start with, or if it’s severely unbalanced, the lathe will fight to keep it spinning smoothly.
Identifying an Unbalanced Workpiece
- Off-Center Mounting: When you first mount a block of wood that isn’t already round, it’s inherently unbalanced. The rougher the shape, the more it will wobble, especially at lower speeds. This is normal when starting out.
- Uneven Density/Grain: Knots, voids, or significant changes in wood density can cause an otherwise round piece to become unbalanced as you turn it.
- Cracked or Damaged Wood: If a piece of wood develops cracks or is already damaged, it can easily lead to imbalance and dangerous vibrations.
Solutions for Workpiece Imbalance
- Start Slow: Always begin with a slow spindle speed when you first mount an irregularly shaped piece. Gradually increase the speed as the wood becomes more round and balanced.
- Rough Out First: Use gouges and roughing gouges to get the blank as round as possible before moving to finer shaping tools. This process removes the high spots that cause the most vibration.
- Check for Cracks: Before mounting, inspect your wood for any signs of cracking. If you find any, it might be best to discard the piece or cut it down to a smaller size to avoid dangerous kickback.
- Secure Mounting: Ensure your workpiece is securely mounted to the spur drive and the live center, or properly between centers. A loose fit will amplify any imbalance.
2. The Wood Lathe Itself: Mechanical Checks
Even with a perfectly balanced workpiece, the lathe itself can be the source of vibration. This often comes down to wear, looseness, or improper setup.
Headstock and Tailstock Alignment
Proper alignment between the headstock and tailstock is crucial. If they aren’t precisely in line, the tools will encounter uneven forces, leading to chatter and vibration, especially when turning between centers.
- Check Alignment: Most lathes have a way to adjust the tailstock position. Refer to your lathe’s manual for instructions. A quick test is to place a piece of paper between the centers and rotate the spindle by hand; you shouldn’t feel any friction or see the paper bind.
- Tailstock Lock: Ensure the tailstock is firmly locked in place and not sliding during operation, which can cause significant vibration.
Tailstock and Headstock Bearings
The bearings inside your headstock and tailstock allow the spindles to rotate smoothly. Worn or unlubricated bearings are a major source of noise and vibration.
- Listen for Grinding: With the lathe off, try rotating the spindle by hand. Do you hear any grinding, roughness, or excessive play? This indicates worn bearings.
- Headstock Bearing Inspection: For some lathes, headstock bearings are accessible for cleaning and lubrication. For others, it might mean a more involved service. Check your manual.
- Tailstock Bearing Check: The tailstock spindle also has bearings. While less prone to wear than headstock bearings, they can still cause issues if neglected.
- Lubrication: Ensure any grease points or oil ports recommended by the manufacturer are kept clean and lubricated. Refer to your lathe’s manual for specific lubrication points and recommended lubricants.
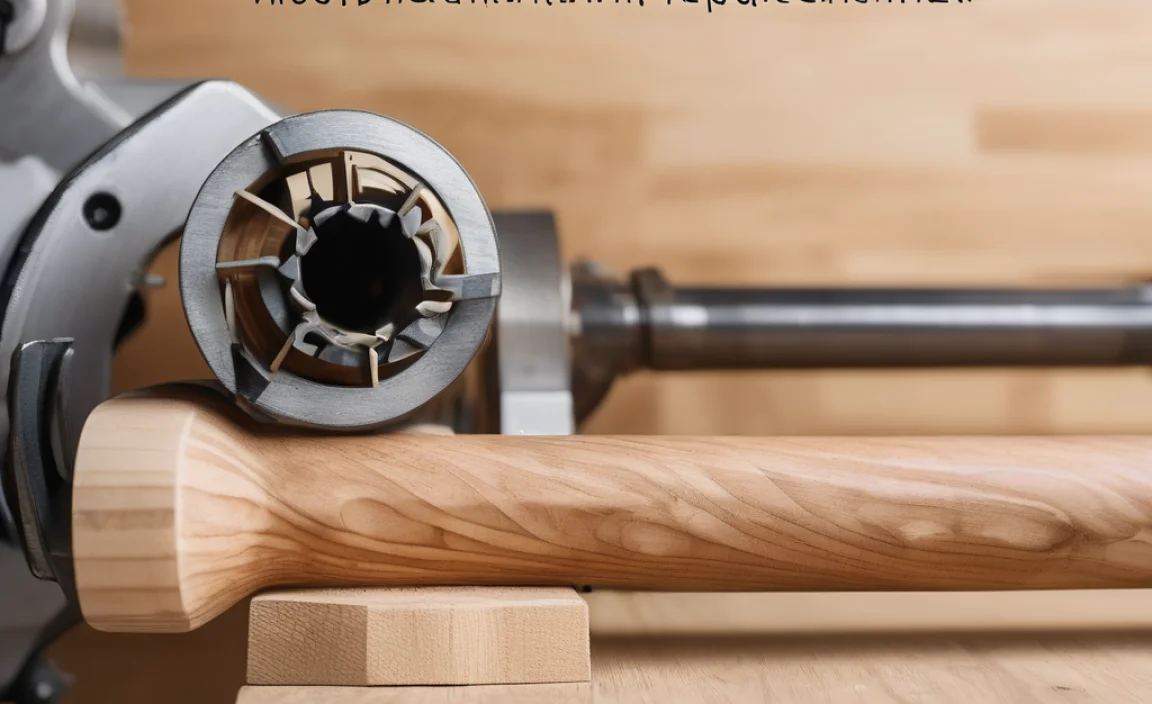
Spur Drive and Live Center
These are the components that hold your workpiece. If they are damaged, dirty, or spinning poorly, they will transmit vibration.
- Spur Drive Trueness: Ensure the spur drive (the one on the headstock) is securely fitted and not bent. If it’s damaged, it might need replacement.
- Live Center Smoothness: The live center on the tailstock should spin freely. If it’s stiff, gritty, or wobbles, its bearings are likely worn. Clean and relubricate it, or replace it if necessary. You can often unscrew the center point for better access to the bearing beneath.
- Mounting Surfaces: Ensure the mounting surfaces on both the spur drive and the live center are clean and free of debris before mounting your workpiece.
3. The Lathe Bed and Stand: Stability Matters
A solid foundation is critical for any machine. If your lathe isn’t stable, it will vibrate much more easily.
Lathe Stand Stability
This is especially common with lighter or DIY-built stands. A vibrating motor and spindle will shake the entire structure.
- Check for Wobble: Try to rock the lathe. Does it move? If so, the stand isn’t stable enough.
- Tighten Fasteners: Ensure all bolts and screws holding the lathe to its stand, and the stand itself together, are tight.
- Leveling: Make sure the lathe is perfectly level. Use shims under the stand if necessary. An uneven stand can cause stress and vibration.
Wood Lathe Itself Bolted to Stand
The lathe bed needs to be securely fastened to its support structure.
- Mounting Bolts: Check the bolts that secure the lathe bed to the stand and ensure they are tight. Vibrations can loosen these over time.
Adding Mass or Dampening
For lighter lathes or those on less robust stands, adding mass can significantly reduce vibration.
- Benchtop Lathes: If you have a benchtop lathe, consider mounting it to a solid, heavy workbench. You can even add vibration-dampening mats between the lathe and the bench.
- Larger Lathes: For floor-standing lathes, ensure the stand is solid. If it’s a lighter metal stand, you might consider bolting it to the floor or filling hollow legs with sand for added stability.
4. The Motor and Drive System: Power Transmission
The motor is the heart of the lathe, and any issues here will be felt throughout the machine.
Motor Mount and Balance
The motor itself needs to be securely mounted, and its rotating parts balanced.
- Motor Mount Bolts: Ensure the bolts holding the motor to its bracket are tight. A loose motor will vibrate and can lead to belt tension issues.
- Motor Bearings: Listen to the motor itself when disengaged from the spindle (if possible, or by listening with a stethoscope when it’s running). Grinding or rattling noises might indicate worn motor bearings.
Drive Pulleys and Belts
The system that transfers power from the motor to the spindle is another common spot for vibration.
- Pulley Balance: Check if the pulleys on the motor shaft and the headstock spindle are securely mounted and free of damage. A bent or unbalanced pulley will cause vibration.
- Belt Condition: A worn, cracked, or frayed belt can cause irregular speed changes and vibration. Ensure the belt is in good condition.
- Belt Tension: Too loose a belt can slip and cause erratic operation. Too tight a belt can put excessive strain on motor and spindle bearings, leading to premature wear and vibration. Adjust belt tension according to your manual’s recommendations. Typically, you want about 1/2 inch of deflection on the longest unsupported span.
- Pulley Alignment (for belt-driven lathes): Ensure the motor pulley and headstock pulley are perfectly aligned. Misalignment causes the belt to run at an angle, creating stress and vibration. You can check this by holding a straight edge against the pulleys.
For direct-drive lathes, the issues are usually confined to the motor or spindle bearings and any direct coupling between them.
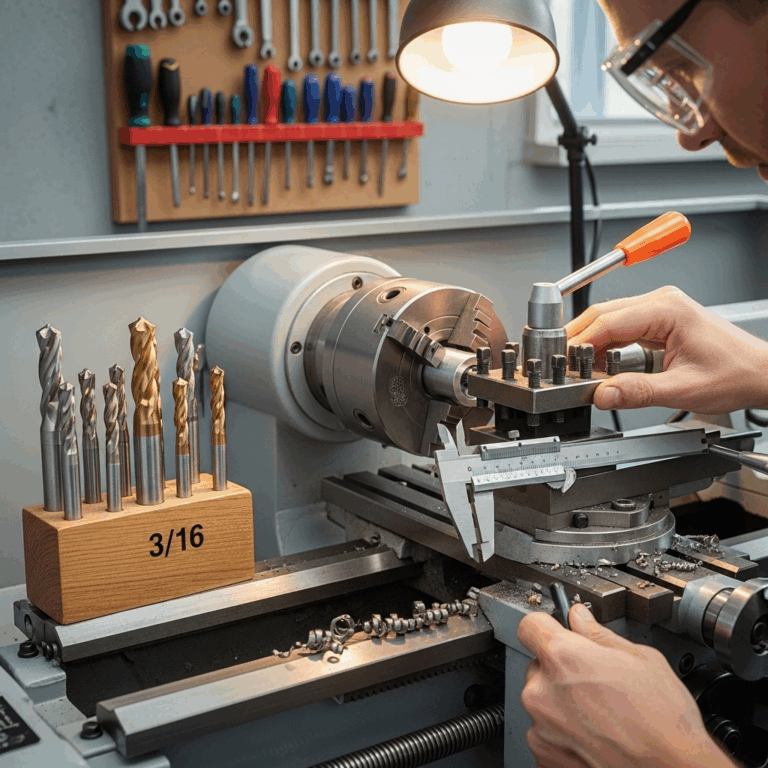
5. Tooling and Techniques: Your Interaction with the Lathe
How you use your tools and techniques can also introduce or exacerbate vibration.
Tool Sharpness and Type
Dull tools are a primary cause of chatter and vibration. They require more force to cut, leading to uneven material removal.
- Sharp Tools: Always use razor-sharp tools. A common piece of advice is that if your tool is tearing rather than cutting, it needs sharpening.
- Appropriate Tools: Use the right tool for the job. A roughing gouge is designed for heavy material removal, while a skew or parting tool has specific applications. Using a tool incorrectly can cause chatter.
Tool Rest Setup
The tool rest provides support for your cutting tools. An improperly positioned or loose tool rest is a vibration generator.
- Positioning: The tool rest should be positioned as close as possible to the workpiece without interfering with rotation. For most cuts, the top of the rest should be slightly below the cutting edge of the tool.
- Clamping: Ensure the tool rest locking lever is tight. A loose tool rest will vibrate independently and transmit that vibration into your cut.
Cutting Technique
Your approach to cutting can significantly impact vibration.
- Depth of Cut: Taking overly deep cuts, especially with rough or irregular blanks, can overload the lathe and cause significant vibration. Gradually increase your cut depth as the workpiece becomes more balanced and smooth.
- Tool Presentation: The angle at which you present your tool to the wood matters. Experimenting with slight adjustments can sometimes smooth out a rough cut and reduce chatter. For instance, a bevel-rubbing technique with a skew chisel can produce a very smooth surface with less stress.
6. External Factors: The Workshop Environment
Sometimes, the vibration isn’t entirely the lathe’s fault.
Flooring
If your lathe is sitting on a springy or uneven floor, it can amplify any existing vibrations.
- Solid Ground: Ideally, a lathe should be on a solid concrete floor. If this isn’t possible, use a