Have you ever wondered how that wooden bowl shines so bright? Woodturning makes magic, but the best finish for turned wood is the secret. Imagine spinning a block of wood and crafting it into a beautiful piece. It’s like watching a superhero change in seconds!
Did you know some people use honey-like oils to make wood gleam? Others try clear coats that protect from spills. What if you could make your own wooden treasure sparkle forever? Our story begins in a cozy workshop where the air smells like fresh wood and creativity. Kids and adults alike will find this world full of surprises. Are you ready to discover more?
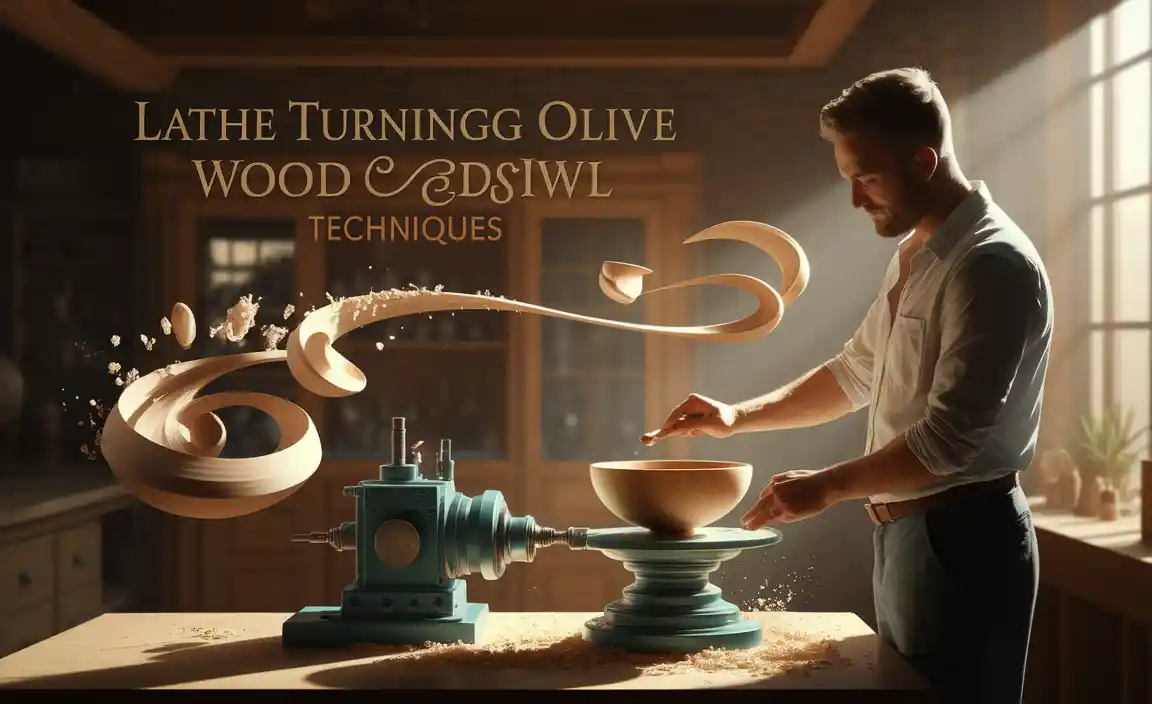
Discovering The Best Finish For Turned Wood Projects
What’s the secret to making wood glow? It’s a beautiful finish that transforms plain pieces into stunning works of art. The best finish for turned wood emphasizes the natural beauty of the grain. Imagine wood that shines with a soft luster—almost like silk! Did you know some finishes even protect the wood from wear and tear? But which finish to choose? From oils to lacquers, each one tells its unique story in the wood.
Understanding the Importance of Wood Finishing
Explanation of wood finishing and its purposes. Benefits of using proper finish on turned wood projects.
Wood finishing is like giving a special coat to a wooden toy. It helps protect the wood and makes it look pretty. When you finish turned wood projects, it seals the surface. This means dust and dirt can’t get in. It also makes the wood shine brightly, showing its natural beauty. A proper finish stops the wood from cracking or breaking over time. It can even make the wood last longer! Imagine your wooden toys staying nice for years. That’s the magic of wood finishing.
Why is wood finishing crucial for a turned wood?
Wood finishing keeps the wood safe. It stops water from soaking in. This prevents ugly stains or damage. Plus, it makes the wood smoother to touch. So, when you run your fingers over it, it’s soft, not rough. Finishing also highlights the wood’s patterns, revealing a stunning design hidden inside. Without a finish, wood can get old fast or even rot.
- Protection: Blocks moisture and dirt.
- Beauty: Enhances natural patterns.
- Durability: Keeps the wood strong.
- Feel: Makes the wood smooth.
Factors to Consider When Choosing a Wood Finish
Type of wood and its natural characteristics. Intended use and exposure to elements.
Choosing the right finish for turned wood means thinking about many things. First, different woods have their own special look and feel. Some woods might shine better with a glossy finish, while others might look best with a matte finish. Next, ask yourself: How will I use this item? If it gets a lot of sun or water, pick a finish that offers good protection. Is this piece for a cozy indoor spot or outdoor fun? Your choice should fit its environment and use.
What is the best finish for wood that gets wet?
Polyurethane is often the best choice. It creates a strong coat that keeps water out. This finish works well for outdoor furniture or any wood that might get wet. It’s tough and protects the wood from damage. Applying multiple layers makes it last even longer.
Tips for Applying Polyurethane
- Use a brush for even coverage.
- Let each layer dry before adding another.
- Sand lightly between coats for a smooth finish.
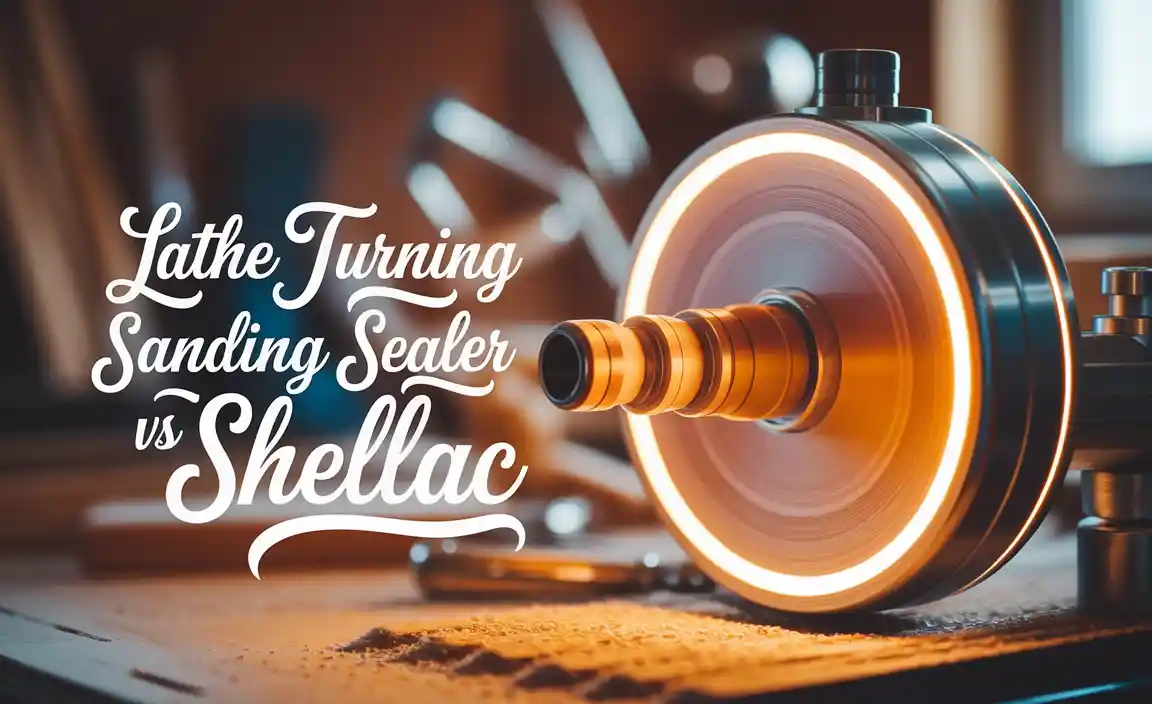
Types of Finishes for Turned Wood
Oil finishes: tung oil, linseed oil, and their application. Lacquers and their glossy appeal. Shellac: traditional choice and its benefits. Wax finishes for a natural sheen.
When it comes to making wood shine, there are several options. Oil finishes like tung oil and linseed oil are popular. They soak into the wood and highlight the grain. People often say tung oil is the butter to the bread of wood finishes. Lacquers add a glossy touch, giving a shiny result. Shellac is a traditional favorite. It’s like giving wood a party hat! It dries quickly and adds a protective layer. For a natural sheen, wax finishes are perfect. They leave the wood with a soft, smooth feel.
| Type | Characteristics |
|---|---|
| Oil Finishes | Enhances grain, absorbs into wood |
| Lacquers | Glossy, protective layer |
| Shellac | Traditional, quick-dry, protective |
| Wax | Natural sheen, soft finish |
Comparing Natural vs. Synthetic Finishes
Advantages and disadvantages of natural finishes. Synthetic finishes: durability and application tips.
When deciding on the perfect shine for your wooden masterpiece, understanding natural and synthetic finishes helps. Natural finishes, like beeswax or linseed oil, offer a beautiful, eco-friendly sheen. They are easy on the nose and can heal small scratches. However, they demand frequent touch-ups because they wear off. On the other hand, synthetic finishes bring long-lasting protection. These tough shields can handle scratches and spills better. Still, be careful during application. It’s like spreading frosting—uniform is key!
| Finish Type | Pros | Cons |
|---|---|---|
| Natural | Eco-friendly, enhances grain | Less durable, needs reapplication |
| Synthetic | Durable, resistant to damage | Requires careful application |
Creating the best finish might feel like choosing between cake flavors. Both have sweetness, but know your wood’s needs. If asked, “Is there a finish that doesn’t need constant care?”—synthetic is your buddy. As a wise woodworker once said, “A smooth finish is like a smooth dance; it’s all about the right moves.”
Application Techniques for Different Finishes
Tools and materials needed. Stepbystep guide for applying each type of finish.
Understanding how to apply finishes on wood can be as easy as eating pie, but without the sticky fingers. To get started, gather a brush, sandpaper, lint-free cloths, and the finish of your choice. Let’s walk through applying finishes: first, sand the wood, making it as smooth as a penguin sliding on ice. Next, apply the finish evenly. It’s like spreading jam on toast—don’t miss any spots! Let it dry, sand lightly, and repeat until it’s just right.
Here’s a quick guide:
| Type of Finish | Materials Needed | Application Steps |
|---|---|---|
| Oil Finish | Brush, cloth, oil | Apply with brush, wipe excess, let dry |
| Lacquer | Sprayer, mask, lacquer | Spray thin coat, wait, sand lightly, repeat |
What makes a finish “the best”? Well, it’s like picking toppings for your ice cream—some like sprinkles, others prefer chocolate syrup. The best finish depends on the wood and the desired look. Did you know that 80% of wood finishers prefer oil for a natural appearance? It’s all about matching the finish to the wood’s character.
Maintenance and Longevity of Wood Finishes
Tips for maintaining finished wood projects. How to recondition wood finishes over time.
Keeping wooden items looking great takes care and a bit of work. Here’s how you can help them last longer. Start by dusting regularly to avoid scratches. Use a soft cloth. To recondition wood finishes when they start to look dull, apply a mix of vinegar and olive oil. Buff it gently. For deep scratches, use a special wax or polish. Avoid direct sunlight and extreme heat to prevent damage.
How often should you dust finished wood?
Dust finished wood weekly. This prevents dust buildup, which can lead to scratches and damage over time.
Can you use water to clean finished wood?
Use water sparingly. If needed, use a damp cloth slightly moistened with warm water. Avoid soaking wood surfaces.
What is a simple remedy for dull wood?
Mix a small amount of vinegar and olive oil. Apply this to the wood to restore shine. Buff softly with a soft cloth.
- Dust regularly with a soft cloth.
- Use a vinegar and oil mix for reconditioning.
- Avoid direct sunlight to prevent fading.
Remember, taking small steps now keeps your wood pieces beautiful for years to come. Like an expert would say, “An ounce of prevention is worth a pound of cure.”
Common Mistakes to Avoid When Finishing Turned Wood
Identification of typical errors. Solutions and preventive measures for flawless finishes.
When finishing turned wood, errors happen. Many use too much sandpaper. This can spoil the wood’s shape and surface. How can you do it right?
- Use smooth, gentle strokes with sandpaper.
- Choose the correct grit level.
Another problem is not cleaning dust. Dust makes the finish rough. Always clean the wood before you start finishing. Now, let’s ask: What can make your finish shine? Using the right oil or lacquer and applying it evenly can help. Follow these steps. You’ll get a perfect finish every time!
What is the most common finishing error for turned wood?
The common mistake is not using the right amount of sandpaper. Too much can damage the wood. Always start with the right grit size for fine results.
How do you avoid dust during wood finishing?
Dust can ruin your finish. Clean the wood and your workspace well before starting. A clean area leads to a smooth finish.
Expert Recommendations for Optimal Results
Insights from professional woodturners. Suggested products and brands for best outcomes.
Woodturning experts have some great tips and product recommendations. They suggest using products that ensure smooth, shiny finishes. Popular brands include:
- General Finishes for easy application and durability.
- Minwax Wipe-On Poly for a satin sheen.
Using these will make your wood turnings look amazing!
What makes wood turned projects shine?
Using quality finishes makes them shine. Applying them evenly also helps.
Pro woodturners emphasize selecting the right finish for your project. Always test on a scrap piece first. This checks how your wood reacts. Lastly, patience is key. Waiting between coats gives better results. Follow these tips and you’ll get successful outcomes.
Conclusion
To get the best finish for turned wood, you should choose between oil, wax, or polyurethane. Each gives a unique look and protection. Oils nourish and deepen color, while wax adds shine. Polyurethane is durable and water-resistant. Try different finishes to see which one you like best. Read more about techniques to perfect your woodworking skills.
FAQs
What Are The Most Popular Finishes For Enhancing The Natural Beauty Of Turned Wood Pieces?
When you finish a turned wood piece, you can make it look even better! Some popular finishes include wax, oil, and varnish. Wax gives a nice shine and feels smooth. Oil makes the wood look rich and protects it. Varnish adds a glossy finish that keeps the wood safe for a long time. These finishes make the beautiful patterns in the wood stand out.
How Do You Choose Between Oil-Based And Water-Based Finishes For Turned Wood Projects?
When choosing between oil-based and water-based finishes for turned wood projects, think about the look you want. Oil-based finishes make the wood look shiny and deep. Water-based finishes dry fast and keep the wood’s natural color. Consider if you want the wood to dry fast or look shinier.
What Finishing Techniques Are Recommended To Achieve A High-Gloss Look On Turned Wood?
To make turned wood shiny like glass, we can use special shiny paints called gloss varnish or polyurethane, which is like a shiny coat that goes on top of the wood. First, we can sand the wood smoothly, getting rid of any bumps. Then, apply the gloss varnish or polyurethane with a brush or a cloth. After it dries, we can polish it with a soft cloth to make it super shiny.
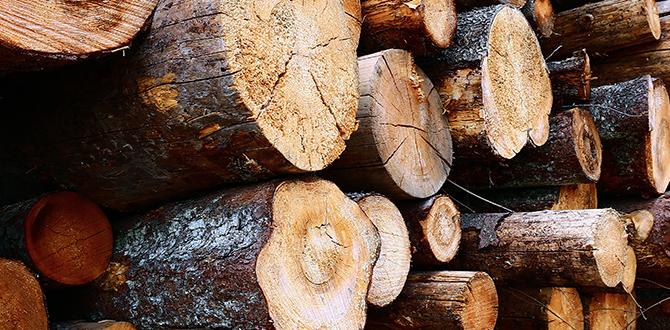
How Does The Type Of Wood Affect The Choice Of Finish For A Turned Wood Object?
Different wood types need different finishes. Softwoods, like pine, soak up lots of oil. So, we use a finish that dries quickly. Hardwoods, like oak, need a finish that shows off their beautiful grain. Some woods are oily, so they need a finish that sticks well.
Can You Recommend Any Finishing Products That Provide Long-Lasting Protection For Outdoor Turned Wood Items?
Yes, I can recommend some products! You can use spar varnish to protect your wooden items. It keeps the wood safe from rain and sun. Another option is teak oil, which makes the wood shiny and strong. Finally, there’s exterior polyurethane, which acts like a strong shield. Always ask an adult for help!