Quick Summary: A carbide end mill is absolutely essential for effectively machining hardened Tool Steel D2, especially a 1/4 inch stub length with a 1/4 inch shank. Its extreme hardness allows it to cut through D2’s toughness, enabling higher Material Removal Rates (MRR) and achieving precise results where standard end mills would fail. Choose a quality carbide end mill specifically designed for hardened steels.
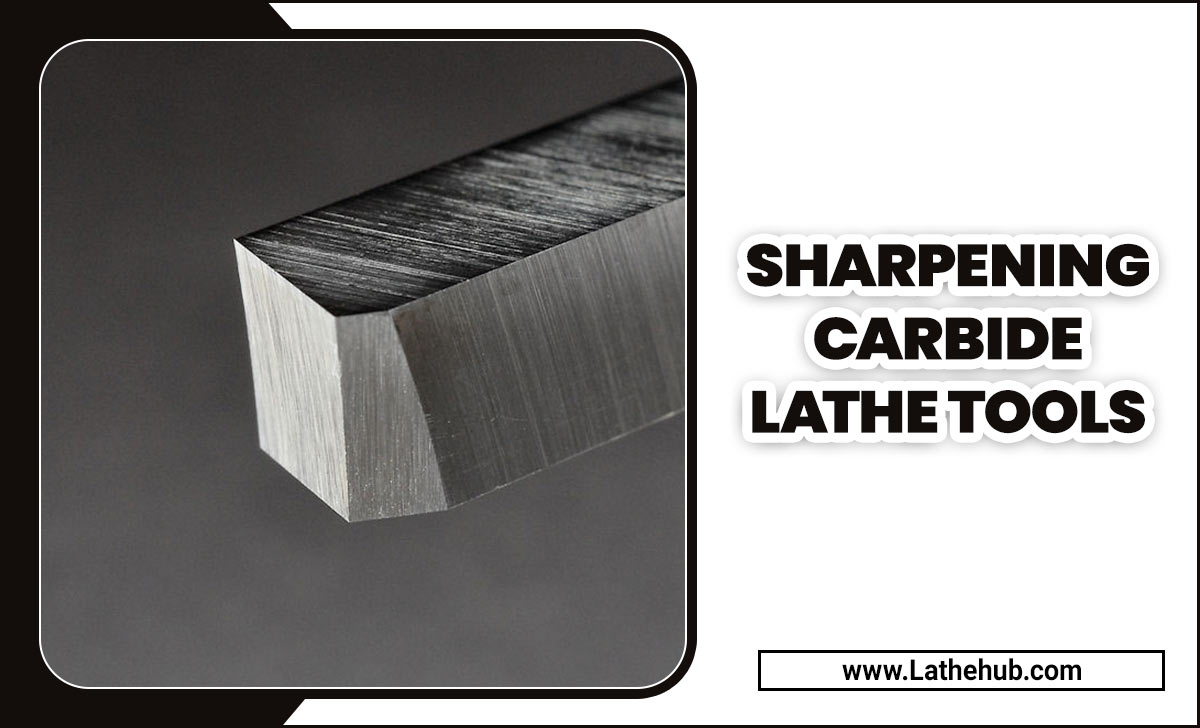
Carbide End Mill: Your Secret Weapon for Machining Tool Steel D2
Hey there, fellow makers and machinists! Daniel Bates here from Lathe Hub. Ever found yourself staring at a piece of Tool Steel D2, wondering how on earth you’re going to machine it without dulling your tools in minutes? You’re not alone. D2 is notoriously tough, a fantastic material for making durable parts, but a real challenge to work with. The good news? There’s a hero for this job: the carbide end mill. Specifically, a 1/4 inch carbide end mill with a 1/4 inch shank and a stub length is your go-to for tackling D2. Let’s break down why this humble tool is so crucial and how to use it to get amazing results without the frustration.
What is Tool Steel D2 and Why is it So Tricky?
Tool Steel D2 is a high-carbon, high-chromium tool steel. Think of it as the tough guy in the steel family. Its high hardness and excellent wear resistance make it perfect for applications like knives, punch and die components, and cutting tools. These same properties, however, are exactly what make it frustrating to machine. When D2 is hardened and tempered (which is how it’s typically used), its hardness skyrocket, often reaching 58-62 HRC (Rockwell hardness). Conventional high-speed steel (HSS) end mills will simply struggle, dulling rapidly, overheating, and leaving a poor finish. This is where the game changes entirely with the right tooling.
Enter the Carbide End Mill: The D2 Slayer
Carbide, or more precisely, tungsten carbide, is a composite material that is incredibly hard and rigid – significantly harder than HSS. This superior hardness is exactly what’s needed to cut through the hardened structure of D2. When we talk about a “carbide end mill,” we’re referring to a cutting tool made from this material, designed with cutting edges and flutes to remove material from a workpiece.
Why a 1/4 Inch Carbide End Mill for D2?
For D2, especially when dealing with medium-sized projects or detailed work, a 1/4 inch carbide end mill is often the sweet spot. Here’s why:
- Precision: A 1/4 inch diameter allows for smaller cuts, tighter tolerances, and finer details required in many D2 applications, like blade shaping or intricate die work.
- Reach and Rigidity: A “stub length” end mill is shorter than a standard or extra-long one. This reduced length means less flex and vibration, leading to a more rigid setup. For hard-to-machine materials like D2, rigidity is king! Less chatter means a better finish and longer tool life.
- Shank Size: A 1/4 inch shank is common and fits most standard collets and tool holders for smaller milling machines.
- Material Removal Rate (MRR): While smaller in diameter, the right carbide end mill, when used with appropriate parameters (more on that later!), can achieve a surprisingly high Material Removal Rate. This means you can cut faster and more efficiently than with HSS.
When you combine these features – carbide hardness, 1/4 inch size, stub length for rigidity, and a 1/4 inch shank – you get a tool perfectly poised to conquer Tool Steel D2.
The Anatomy of an Effective Carbide End Mill for Hardened Steel
Not all carbide end mills are created equal, especially when you’re aiming for tough stuff like D2. Here’s what to look for:
- Carbide Grade: Look for end mills made from a micrograin carbide. This offers a good balance of hardness and toughness, preventing the cutting edge from chipping too easily.
- Number of Flutes: For hardened steels like D2, 2-flute or 3-flute end mills are generally preferred. More flutes (like 4 or 6) can lead to chip packing issues in hard materials and can generate more heat and friction. Fewer flutes allow for better chip evacuation, which is critical for preventing tool breakage and overheating. A 2-flute end mill is often the best choice for reaching into pockets and slots.
- Coating: While plain uncoated carbide works, coatings can significantly enhance performance. Look for:
- TiCN (Titanium Carbon Nitride): Offers excellent hardness and lubricity, good for abrasive materials and high temperatures.
- AlTiN (Aluminum Titanium Nitride): Excellent for high-temperature applications and high-performance machining of steels. It forms a protective aluminum oxide layer at high temperatures, providing heat resistance.
- End Geometry:
- Square End: The most common type, good for general milling, slotting, and profiling.
- Ball End: Creates rounded profiles and is useful for 3D contouring.
- Corner Radius: A square end with a small radius on the corners. This strengthens the cutting edge and helps prevent chipping, making it ideal for harder materials.
- Helix Angle: A higher helix angle (often 30-45 degrees) generally provides a cleaner shearing action and better chip evacuation.
Choosing the Right Parameters: The Key to Success
Having the right tool is only half the battle. Using it with the correct cutting parameters is just as crucial when machining Tool Steel D2. This is where many beginners run into trouble.
“The speed and feed rate can seem daunting, but think of it like finding the sweet spot for your car on the highway. Too fast, and you risk trouble; too slow, and you’ll never get anywhere.”
Here are some general guidelines. Remember, these are starting points, and you may need to adjust based on your specific machine, setup rigidity, and the exact hardness of your D2.
Speeds and Feeds for Carbide End Mills in D2
When machining hardened Tool Steel D2 with a carbide end mill, you’ll typically operate at lower surface speeds (SFM or SMM) compared to softer materials, but you can often use higher feed rates per tooth (IPT or IPM). Chip load is critical. The goal is to create small, manageable chips that evacuate easily and don’t recut.
| End Mill Diameter | Flutes | Surface Speed (SFM) | Feed Per Tooth (IPT) | Depth of Cut (DOC) | Width of Cut (WOC) |
|---|---|---|---|---|---|
| 1/4 inch | 2 or 3 | 150 – 250 SFM (approx. 45 – 75 SMM) | 0.001 – 0.002 inches (approx. 0.025 – 0.05 mm) | 0.020 – 0.050 inches (approx. 0.5 – 1.25 mm) | 0.050 – 0.100 inches (approx. 1.25 – 2.5 mm) (for slotting, use 50% of diameter) |
Explanation of Terms:
- Surface Speed (SFM/SMM): The speed at which the cutting edge is moving across the workpiece surface.
- Feed Per Tooth (IPT/IPM): How much the cutter advances with each cutting edge. Expressed as a tiny amount of material removed per tooth.
- Depth of Cut (DOC): How deep the end mill cuts into the material vertically.
- Width of Cut (WOC): How wide the milling path is, usually expressed as a percentage or fraction of the end mill’s diameter. For slotting (cutting a full-width channel), use about 50% of the end mill diameter for optimal results and less tool stress.
Important Considerations for Speeds & Feeds:
- Chip Load is King: Always aim for the specified chip load. If your spindle speed is too high or too low for the desired chip load, adjust the feed rate accordingly. Many CAM software packages will calculate this for you.
- Ramping/Plunging: If plunging (drilling straight down), use a much slower feed rate and a specialized plunging process or a dedicated drill. Standard end mills aren’t designed for aggressive plunging.
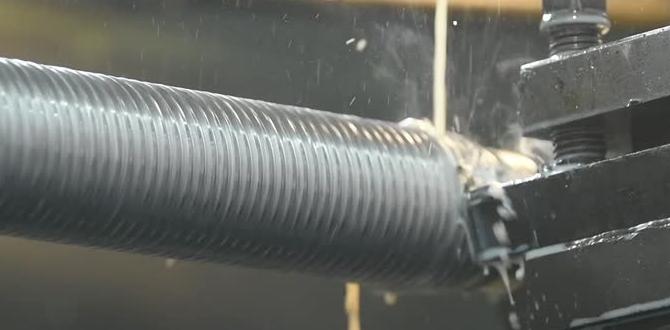
- Coolant/Lubrication: Absolutely essential! Use a good quality cutting fluid or coolant. For D2, a flood coolant system is ideal to manage heat. If you don’t have flood coolant, use a mist coolant system or a high-performance cutting fluid applied directly to the cutting zone. This prevents the carbide from overheating and failing prematurely, and it also helps with chip evacuation. Check out resources from companies like Garant for detailed machining data for various materials.
- Rigidity is Paramount: Ensure your workpiece is securely clamped with minimal overhang. Your tool holder should be clean and provide a rigid grip. Any flex in the system will lead to chatter and tool breakage.
- Listen to Your Machine: Pay attention to the sound. A smooth, consistent sound usually means you’re in the sweet spot. A chattering or grinding noise is a warning sign that parameters need adjustment or your setup isn’t rigid enough.
Step-by-Step: Milling Tool Steel D2 with a Carbide End Mill
Let’s walk through a typical milling operation. We’ll assume you’re doing some profile milling or pocketing.
Tools and Materials You’ll Need:
- Tool Steel D2 workpiece (hardened and tempered)
- 1/4 inch 2-flute or 3-flute carbide end mill (coated, with corner radius if possible)
- Milling machine (CNC or manual)
- Appropriate collet and tool holder
- Workholding: Vise, clamps, or fixture that can securely hold D2
- Coolant or cutting fluid
- Safety glasses and hearing protection!
- Measuring tools (calipers, sight gauge, etc.)
The Process:
- Setup the Workpiece: Securely clamp your D2 workpiece. Make sure it’s flat and won’t move during the cut. For D2, strong workholding is critical to prevent any shifting that could lead to tool breakage or inaccurate cuts.
- Install the End Mill: Insert your 1/4 inch carbide end mill into a clean collet and tighten it firmly in your milling machine’s spindle. Ensure the end mill is seated correctly and doesn’t run out.
- Set Z-Zero: Carefully touch off on the top surface of your D2 workpiece to set your Z-axis zero. For hard materials, a digital touch probe or a reliable edge finder is recommended for accuracy. Using a simple paper method can be unreliable for hardened steels.
- Set X/Y Zero: Locate the desired starting point for your milling operation and set your X and Y zero points.
- Prepare Coolant: Ensure your coolant system is on and the nozzle is directed at the cutting zone. For manual machines, apply cutting fluid liberally with a pump sprayer or brush as you begin milling.
- Program or Set Your Tool Path:
- For CNC: Input your speeds, feeds, depth of cut, and tool path into your CAM software or machine controller. Remember to use conservative DOC and WOC values initially.
- For Manual: Start with a shallow depth of cut and a slow feed. You’ll be hand-feeding the machine.
- Initiate the Cut:
- Plunge/Engage: If plunging, do so slowly. If approaching from the side (preferred), use a ramp move if your machine supports it, or carefully engage from the edge of the material.
- Begin Milling: Start your spindle and begin the milling process. Maintain a steady feed rate.
- Monitor and Adjust:
- Listen: Pay close attention to the sound. If it starts to chatter or get rough, ease up on the feed rate or retract the tool.
- Watch for Chips: Ensure chips are clearing properly. If they look powdery or are not being lifted out of the flutes, your feed rate might be too low, or your DOC/WOC needs adjustment.
- Check Tool and Workpiece: Periodically stop the machine to check the tool for wear or damage and the workpiece for any signs of overheating or burning. Overheating is the enemy of carbide.
- Ramping/Step Cuts: For pockets, take multiple shallow passes rather than one deep pass. A common strategy is to use about 50% of the end mill diameter for WOC and a shallow DOC (e.g., 0.050″ for a 1/4″ end mill). This reduces the load on the tool.
Example Path (Pocketing):
- Use a climb milling strategy where possible (this generally provides a better finish and less tool load).
- Start by profiling around the perimeter of the pocket, taking shallow passes.
- Then, use a pattern like a spiral or back-and-forth to clear the bulk of the material in the pocket bottom, maintaining your DOC and WOC.
- Finishing Passes: For critical dimensions or surfaces, always plan for a final finishing pass. Use a lighter feed rate and a very shallow depth of cut (e.g., 0.005″ to 0.010″) on this pass to achieve a superior surface finish.
- Tool Replacement: Even with careful use, carbide does wear. Be prepared to replace your end mill well before it fails completely. You’ll notice a degradation in surface finish, increased cutting forces, or odd sounds. A dull tool failing catastrophically is much more expensive than a proactive replacement. A ISCAR or Sandvik Coromant catalog is a great resource for understanding tool life expectations and specific applications for hardened steels.
Common Pitfalls and How to Avoid Them
Even with the right tool, mistakes happen. Here are some common issues when working with D2 and how to sidestep them:
- Overtemperature: This is the number one killer of carbide tooling. Always ensure adequate cooling and lubrication. If you see smoke or hear squealing, stop immediately – you’re likely overheating.
- Chip Packing: Too low a feed rate or inadequate chip evacuation can cause chips to build up in the flutes, leading to tool breakage. Ensure you’re using appropriate chip load and coolant flow.
- Rigidity Issues: A loose workpiece, worn spindle bearings, or a flexible tool holder will translate into chatter. This ruins your finish, damages the tool, and can lead to catastrophic failure. Double-check your setup for any wobble or play.
- Feeds and Speeds Too Aggressive: Trying to take too big a bite or spin the tool too fast is a recipe for disaster. Start conservatively and gradually increase parameters if the cut feels smooth.
- Using the Wrong Tool: Trying to mill D2 with an HSS end mill or a plain, uncoated carbide end mill not designed for hardened steel will lead to quick tool failure.
Benefits of Using the Right Carbide End Mill
When you get it right, the rewards are significant:
- Machinability: You can actually cut D2 efficiently and accurately.
- Tool Life: The correct tool and parameters will give you predictable tool life, allowing you to complete your project without constant tool changes.
- Surface Finish: A good carbide end mill, combined with proper technique, will leave a smooth, precise surface finish.
- Accuracy: Reduced tool deflection means you can hold tighter tolerances.
- Efficiency: Less time spent struggling with dull tools or re-machining flawed parts.
FAQ: Your Carbide End Mill Questions Answered
Q1: Can I use a standard HSS end mill on Tool Steel D2?
A: For hardened D2 (typically above 55 HRC), a standard HSS end mill will likely dull very quickly, leading to poor performance, a bad finish, and potential tool breakage. It’s not recommended. You might