Milling machines have been a staple in the machining industry for decades, providing precision and efficiency in shaping and cutting various softer materials. While traditional milling machines utilize the rotating motion of a cutting tool to remove material, a lesser-known but equally effective method is using a fly cutter.
This versatile cutting tool has gained popularity recently for its ability to produce smooth and accurate finishes, making it a valuable addition to any milling project machine. Here, we will explore the world of fly Larger fly cutters, exploring their history, simple design, and various applications. Whether you are a seasoned machinist or a beginner looking to expand your knowledge, it will provide a comprehensive understanding of the fly cutter and its uses in milling.
Materials And Tools Needed
This specialized cutting tool is handy for facing or surfacing flat surfaces on a workpiece. It typically consists of a single-point cutting tool mounted on a rotating spindle. A milling machine is a machine tool that uses rotary cutters to remove material from a workpiece. It is essential for operating a fly cutter effectively.
The material that you want to machine using the fly cutter. It can come with various metals, such as steel, aluminium, or cast iron. These are handy to firmly secure the workpiece to the milling machine’s table, ensuring stability during machining. Materials and tools needed for using a fly normal fly cutter on a milling machine:
- Fly cutter
- Milling machine
- Workpiece
- Clamps
- Cutting oil or coolant
- Safety equipment
- Measuring tools
5 Steps On How To Set Up A Fly Cutter On A Milling Machine

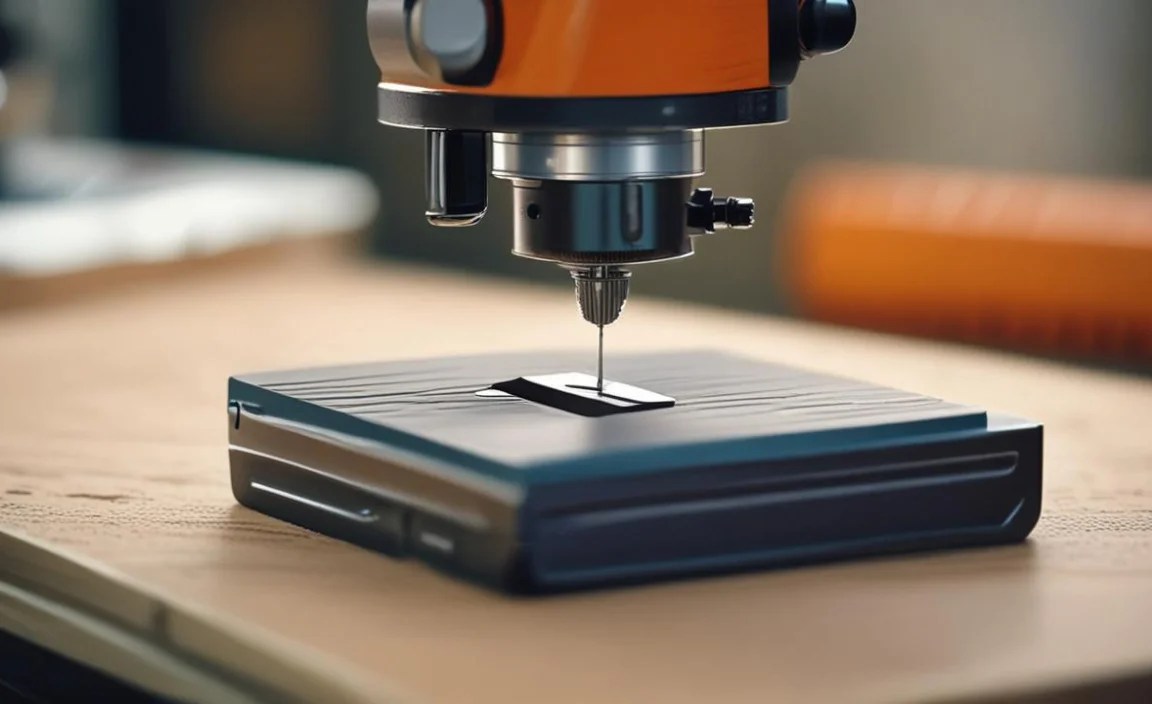
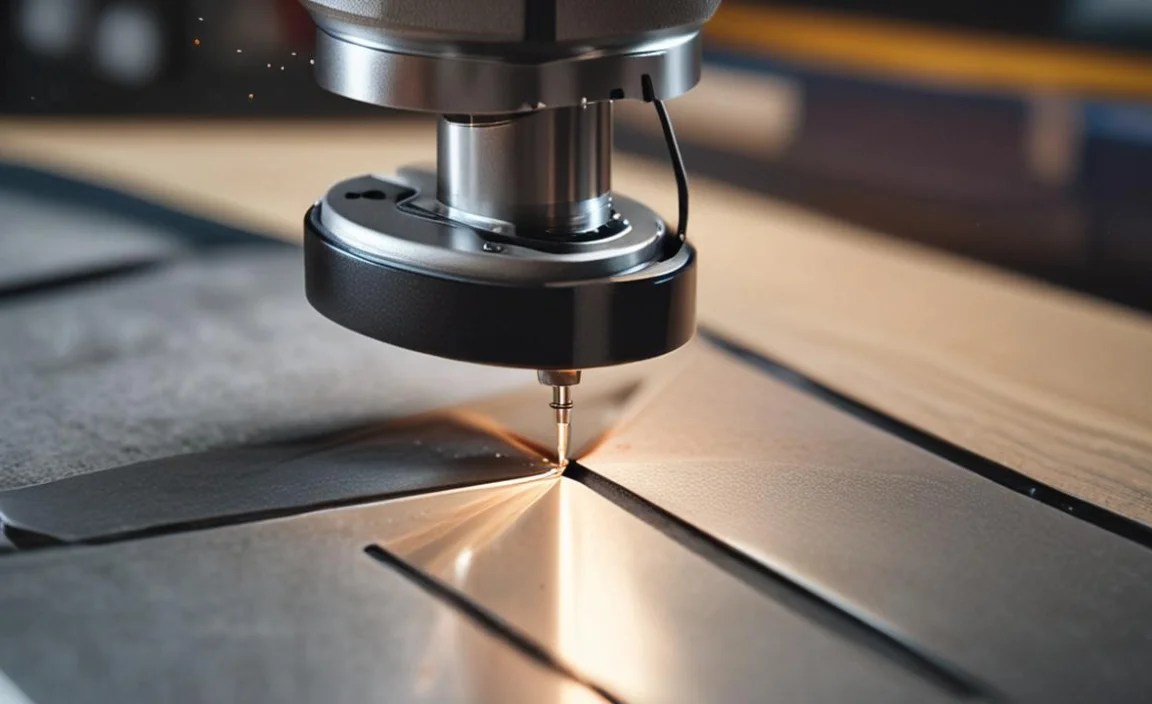
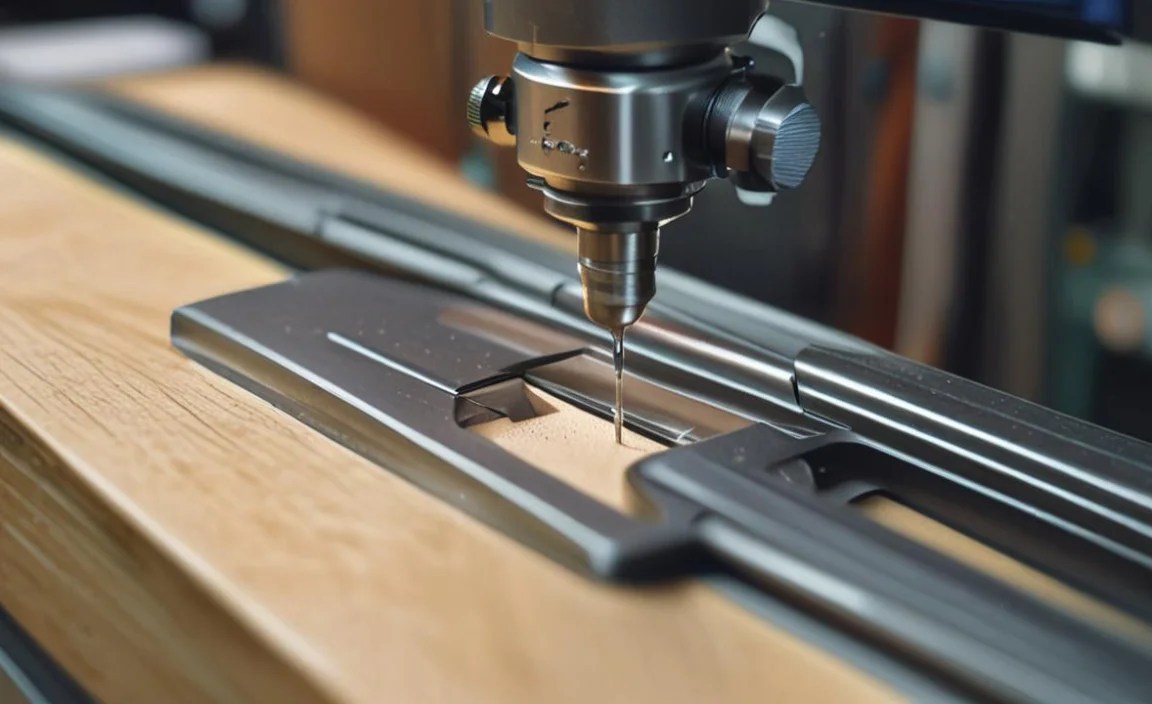
A fly cutter is an essential tool in milling machines to achieve precision and efficiency in metalworking processes. This versatile cutting tool consists of a single-point cutting tool mounted on a rotating disc or flywheel.
The fly cutter passes over the workpiece, removing a thin material layer with each rotation. Now that we have covered the basics let’s explore the step-by-step process of setting up a fly cutter on a milling machine. Following these steps, you can ensure a successful fly-cutting operation and achieve your workpiece’s desired surface decent finish.
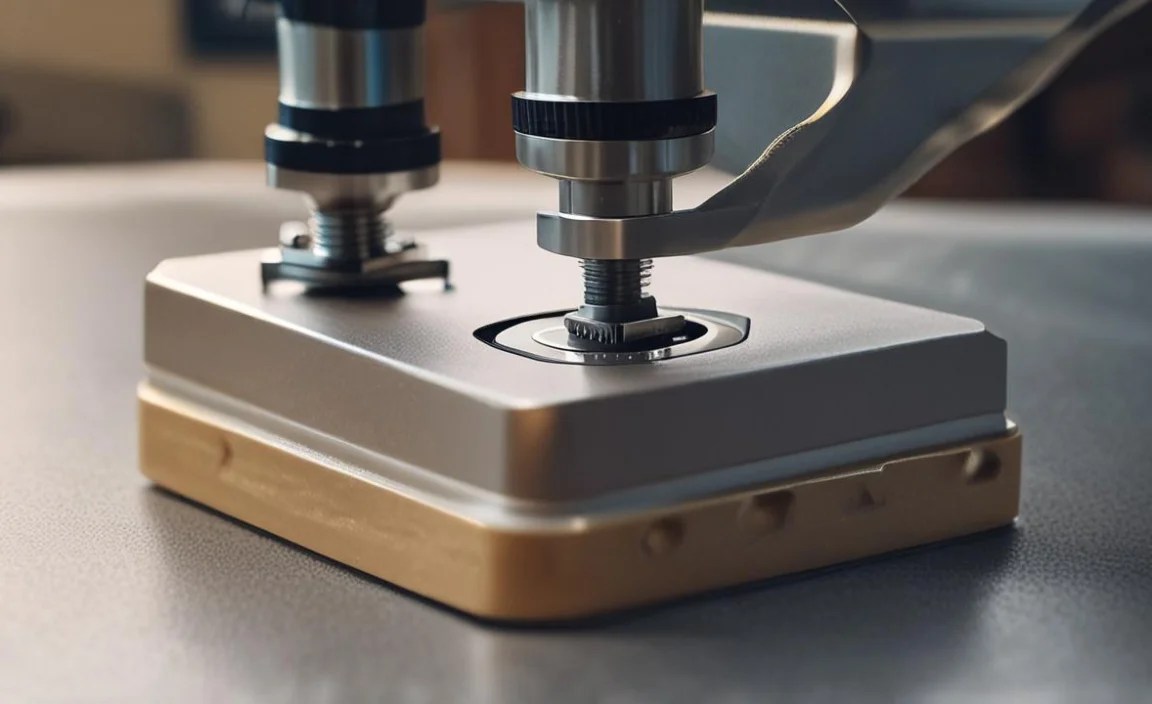
Step 1: Secure The Workpiece
Before advancing to the next step, ensure the workpiece is firmly secured using clamps or vice on the milling machine table. It’s crucial to check for the workpiece’s horizontal and vertical levelness. Verify that there’s enough clearance for the fly cutter’s unrestricted movement. Always double-check the workpiece’s security to prevent machine damage or operator injury.
Step 2: Determine The Cutting Diameter
Determining the ideal cutting diameter for the fly cutter is crucial in achieving the desired precision and depth of the cut. Measuring or referring to specifications is essential to selecting the appropriate cutting diameter tools for your project.
Consider the size of the workpiece and the desired fine finish when making this determination. Additionally, adjusting the tool bit’s position and height to match the chosen cutting diameter is pivotal. Before commencing the project, testing the fly cutter on a scrap material is a good idea to ensure a precise setup.
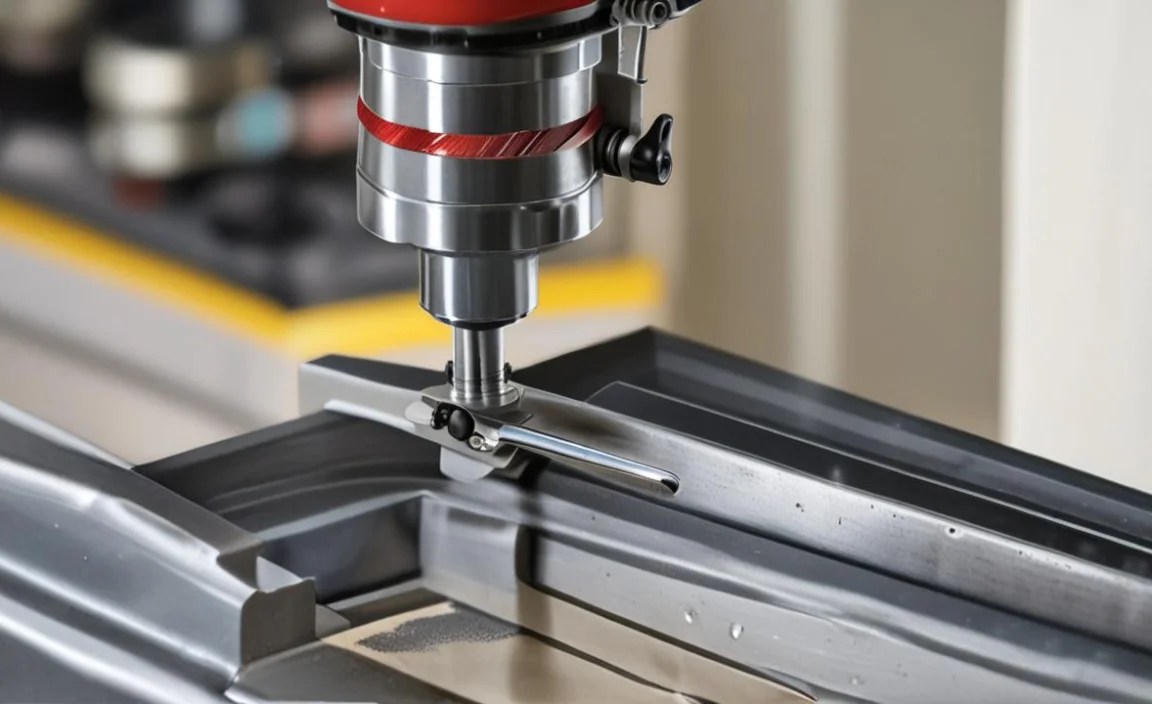
Step 3: Install The Fly Cutter Tool

Once the cutting diameter has been determined, installing the fly cutter tool onto the milling machine is time. Start by removing any existing tooling from the milling machine’s spindle, making sure that the spindle is clean and free from any debris or obstructions.
Next, insert the fly cutter bit into the spindle, ensuring it is securely placed. Tighten the set screw to lock the fly cutter bit onto the spindle, ensuring that it is properly aligned and centred. This will prevent any inaccuracies or vibrations during the cutting process.
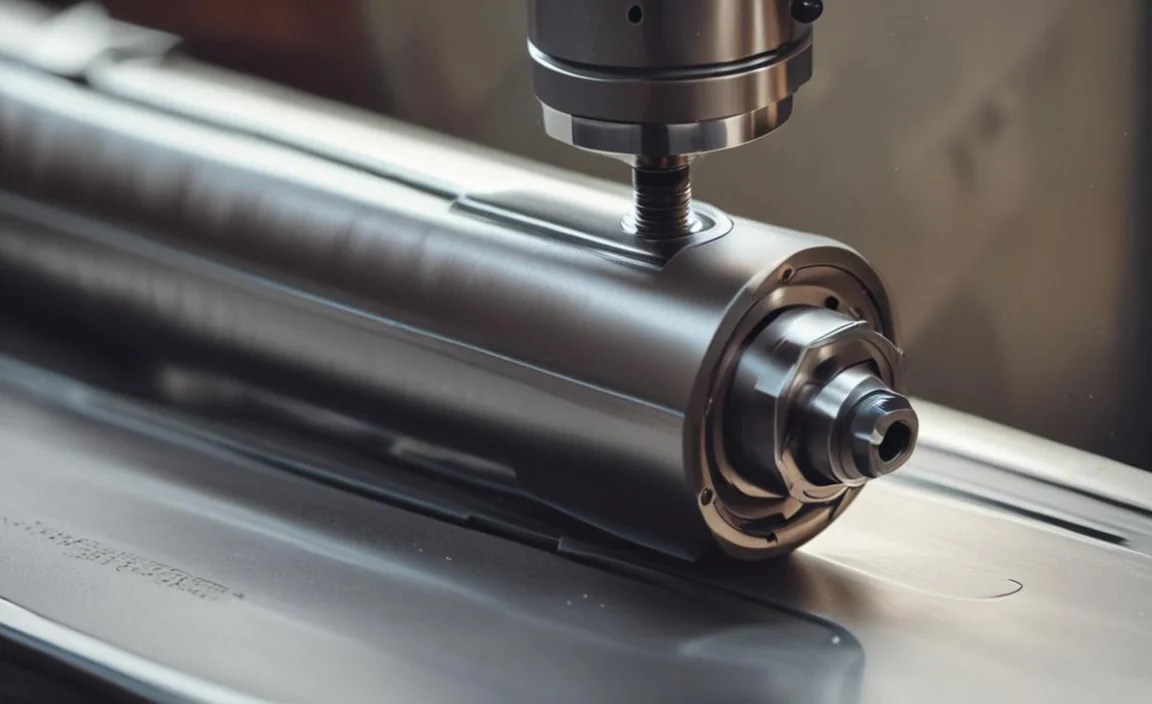
Step 4: Adjust The Cutter Height
With the fly cutter tool installed, the next step is to adjust the cutter height. The cutter height refers to the distance between the fly cutter bit’s cutting edge and the workpiece’s surface. To adjust the cutter height, lower the milling machine’s spindle until the fly cutter bit is just above the surface of the workpiece. Use the machine’s feed mechanism or manual mill controls to make fine adjustments to the cutter height, ensuring that it is set to the desired depth of cut.
It is important to note that the cutter height can vary depending on the specific milling operations and the requirements of your project. Adjust the cutter height to achieve the desired surface finish and cutting results.
Step 5: Test And Fine-Tune The Setup
After adjusting the cutter height, it’s time to test and fine-tune the setup before starting your fly-cutting operation. This step is crucial to ensure that the fly cutter is properly aligned, the cutting edge is sharp, and the machine runs smoothly.
To test the setup, perform a trial run on a scrap piece of material similar to your workpiece. Observe the surface finish, cutting performance, and any signs of chatter or vibration. Make any necessary adjustments to the setup, such as cutter height, spindle speed, or feed rate, to achieve the desired fine finish.
Once satisfied with the setup, you can proceed with your fly-cutting operation on the actual workpiece. Monitor the cutting process closely, making necessary adjustments to ensure a smooth and successful fly-cutting operation.
Insight Into Different Types Of Fly Cutters

Fly cutters come in various types, each offering unique benefits for specific machining needs. These include different chip loads, cutter-type options, and spindle taper variations. Additionally, fly cutters with adjustable insert heights are well-suited for flat surfaces.
At the same time, the inclusion of special angled holders, spindle locks, and lead angle features significantly contribute to their performance. Whether for manual machinists or those using CNC milling machines, fly cutters are pivotal in achieving precise and fine finishes, making them a good idea for many milling operations. Choosing the best fly cutter type depends on the work material and the desired finish requirements. Here are Insight into Different Types of Fly Cutters:
- Fly cutters are cutting tools used in machining processes.
- They are typically handy for creating flat surfaces or removing material from a workpiece.
- There are different types of fly cutters, including single-point fly cutters and multiple-point fly cutters.
- Single-point fly cutters have a single cutting edge and are commonly handy for light to medium-duty cuts.
- Multiple-point fly cutters have multiple cutting edges and are handy for heavy-duty cuts and rapid material removal.
- Fly cutters can be handy on both manual and CNC machines.
- They are versatile tools that can be handy for facing, milling, and contouring operations.
Factors Impacting The Performance Of A Fly Cutter

Factors influencing fly cutter performance include the critical role of spindle speed, material removal rate, and surface finish. Cutting hard materials demands higher, slower speeds and smaller machines, while fly cutting is essential for achieving a fine surface finish on large, flat surfaces. The large radius significantly impacts the surface finish quality, fly cutter diameter, and the type of cutter used. The choice of fly cutter geometry, cutter diameter, and power feed all contribute to the overall surface finish.
Troubleshooting Common Fly Cutting Issues
One of the key advantages of using a fly cutter is its ability to produce a smooth and even finish on the workpiece. Unlike other milling tools that create multiple passes and leave marks, the fly cutter delivers a clean and consistent surface, reducing the need for additional finishing processes. This makes it a preferred choice for applications requiring high surface quality, such as aerospace and automotive industries. Here are Troubleshooting Common Fly Cutting Issues:
- Uneven Surface Finish: Check for a dull or worn tool or improper feed rate.
- Chattering Or Vibration: Ensure proper cutting parameters and check for tool runout or inadequate rigidity.
- Poor Chip Control: Adjust cutting speed, feed rate, or tool geometry to optimize chip formation.
- Excessive Tool Wear: Verify tool material and coatings and adjust cutting parameters accordingly.
- Inaccurate Dimensions: Verify tool alignment, machine setup, and workpiece fixturing.
- Surface Burning Or Heat Discolouration: Adjust cutting parameters to manage heat generation.
- Tool Breakage: Check for excessive tool deflection, improper setup, or inappropriate cutting conditions.
Tips And Tricks For Successful Fly Cutting

the fly cutter offers versatility in terms of material compatibility. It can effectively work on various materials, including aluminium, steel, and even harder materials like titanium. This flexibility allows manufacturers to use a single tool for multiple applications, saving time and reducing tooling costs. Here are Tips and Tricks for Successful Fly Cutting:
- Ensure the workpiece is securely clamped to prevent movement during the cutting process.
- Use a sharp and well-maintained fly cutter for clean and precise cuts.
- Set the correct speed and feed rate according to the material being cut.
- Maintain a steady and consistent feed rate to avoid chatter and uneven cutting.
- Regularly inspect the fly cutter for wear or damage and replace it if necessary.
- Keep the work area clean and debris-free to prevent interference with the cutting process.
- Use proper safety gear, such as safety glasses and gloves, to protect yourself during the cutting operation.
- Take regular breaks to prevent fatigue and maintain focus on the cutting task.
Conclusion
Fly cutting is a versatile and effective milling technique that can help you achieve precise and smooth finishes on your workpieces. By following the step-by-step guide on How to Use a Fly Cutter on a Milling Machine, you can easily set up and use a fly cutter on your milling machine. Remember to choose the right materials and tools, secure the workpiece properly,
determine the cutting diameter, install and adjust the fly cutter tool, and test and fine-tune the setup for optimal results. Additionally, consider the different types of fly indexable fly cutters available and the factors that can impact their performance. With practice and attention to detail, you can master the art of fly cutting and produce high-quality workpieces.
Frequently Asked Questions
1.What Is A Fly Cutter?
A fly cutter is a versatile cutting tool used in milling machines. It utilizes a rotating cutter head to remove material and create flat surfaces on the workpiece. This single-point tool is commonly used for facing, surfacing, and achieving precision finishes.
2.What Is The Use Of A Fly Cutter On The Milling Machine?
A fly cutter is used to achieve a smooth surface finish on a milling machine. It is ideal for facing large surfaces or creating shallow cuts at higher speeds. Different inserts like carbide and HSS can be used with fly cutters.
3.Is Using A Fly Cutter Or Face Mill Better When Milling Steel?
When milling steel, choosing between a fly cutter and a face mill depends on the job requirements and personal preference. Fly cutters are great for lighter cuts and finer finishes, while face mills excel in heavier cuts.
4.How Do You Set Up A Fly Cutter?
To set up a fly cutter, start by securely mounting it on the milling machine. Adjust the cutter height to achieve the desired depth of cut. Set the machine’s speed according to the material being cut.
5.How Do You Get A Good Finish With A Fly Cutter?
To achieve a smooth, beautiful finish with a fly cutter, select the appropriate size and shape. Ensure that the cutting edge is sharp and properly adjusted.
