Have you ever watched a metal lathe at work? It’s amazing how it shapes metal into precise forms. But did you know that the secret to a perfect cut lies in lathe adjustments? These adjustments are super important for getting the right finish on your projects.
One key part of the lathe is the quick change tool post. This tool makes swapping tools easy and fast. Imagine needing to change bits during a project without wasting time. Sounds great, right? With a quick change tool post, that is exactly what you get!
Many people don’t realize how much these adjustments can affect their work. A small tweak can lead to big changes in the final product. It’s like tuning a musical instrument. Just a little adjustment can help everything sound perfect.
So, are you ready to learn how to make these adjustments? Let’s dive into the fascinating world of metal lathe adjustments and discover the magic of the quick change tool post!
Lathe Adjustments: Metal Lathe Quick Change Tool Post Guide

Lathe Adjustments and Quick Change Tool Posts
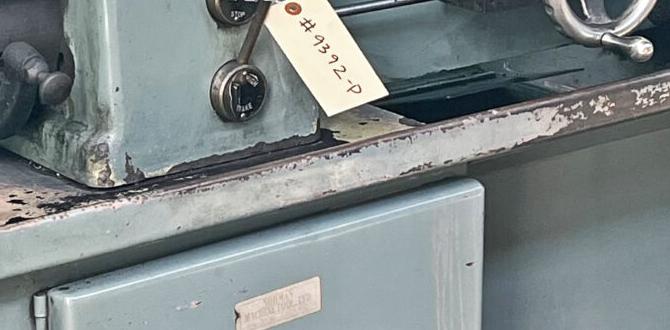
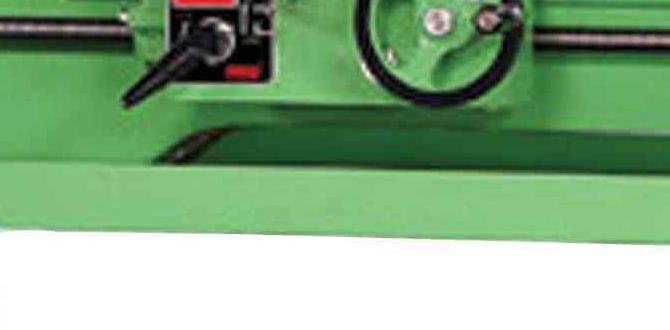
Making lathe adjustments is essential for smooth metalworking. Have you ever felt frustrated when changing tools? A quick change tool post solves that problem. It allows easy tool swaps, saving valuable time. You can set the height and alignment with simple adjustments. This helps improve accuracy in your projects. Did you know that proper adjustments can enhance your lathe’s performance significantly? Learning these techniques can make you a more efficient machinist and boost your skills.Understanding Lathe Adjustments
Importance of precise adjustments in machining. Common types of adjustments found in metal lathes.Making precise lathe adjustments is key to great machining. Even a tiny mistake can lead to big problems, and not the fun kind. Common tweaks include adjusting the tool post, tailstock, and carriage. Each part must work perfectly for smooth cuts. Believe it or not, one misaligned part can turn your masterpiece into a lump of metal. Remember, a happy lathe makes happy projects!
| Adjustment Type | Purpose |
|---|---|
| Tool Post | Secures the cutting tool in place |
| Tailstock | Holds the workpiece steady |
| Carriage | Controls the movement of the tool |
Proper adjustments can increase the quality of your work and save you time. So don’t wing it; your lathe deserves better!
Step-by-Step Guide to Adjusting Your Quick Change Tool Post
Tools required for making adjustments. Detailed procedures for height, angle, and operation adjustments.To adjust your quick change tool post, you will need a few tools. Gather a wrench, screwdriver, and a caliper. First, measure the height of the tool. Make sure it matches the center height of your lathe. Next, check the angle. Adjust it to ensure the tool cuts correctly. Finally, operate the lathe to test your adjustments. Remember, small changes can make a big difference!
What tools do I need to adjust my quick change tool post?
You will need several important tools:
- Wrench
- Screwdriver
- Caliper
Steps for Adjustments:
- Check the height: Align with the lathe’s center.
- Adjust the angle: Ensure the tool cuts well.
- Test the operation: Make sure everything works smoothly.
Troubleshooting Common Issues with Quick Change Tool Posts
Identifying and fixing common alignment problems. How to adjust for tool wear and inaccuracies.Many users face alignment problems with quick change tool posts. These issues can lead to inaccurate cuts. First, check if the tool post is level. Use a dial indicator to find any gaps. If it is not aligned, loosen the screws and adjust the post until it sits correctly.
Tool wear may also cause inaccuracies. Always inspect your tools for signs of damage. If they are worn, replace or sharpen them. Regular maintenance ensures better performance.
What are common signs of tool wear?
Common signs include dull edges, unusual vibrations, and poor surface finishes.Quick Tips for Fixing Issues:
- Check alignment often.
- Replace worn tools quickly.
- Lubricate moving parts regularly.
Maintenance Tips for Longevity of Tool Posts
Best practices for regular maintenance and care. How proper adjustments save time and increase efficiency.Keeping your tool posts happy ensures they last longer. First, clean them regularly to avoid gunk buildup. Use a soft cloth and a bit of oil. A squeaky clean tool post is a happy tool post! Adjusting them properly saves you time. No one enjoys wrestling with stubborn tools. Proper adjustments mean smoother operations, allowing you to finish projects quicker. Here’s a fun tip: think of it as giving your tools a spa day!
| Maintenance Tip | Benefit |
|---|---|
| Regular Cleaning | Prevents buildup |
| Proper Adjustments | Saves time |
| Lubrication | Ensures smooth operation |
Comparative Analysis: Quick Change Tool Posts vs. Traditional Tool Holders
Pros and cons of quick change systems. Situational preferences for different machining tasks.Quick change tool posts offer convenience in machining. They let you switch tools quickly, saving time. However, they can be more expensive than traditional tool holders. Traditional tool holders are simple and reliable but take longer to change. Here’s a quick comparison:
- Pros of Quick Change: Time-saving, easy to use, improves efficiency.
- Cons of Quick Change: Higher cost, may need adjustments.
- Situational Preferences: Use quick change for high-volume jobs. Choose traditional for small or one-off tasks.
What is the advantage of quick change tool posts?
Quick change tool posts save time and boost productivity. They are perfect for jobs needing frequent tool changes.
Case Studies: Successful Applications of Lathe Adjustments
Realworld examples of lathe adjustments improving output. User testimonials on efficiency gains with tool post adjustments.Many businesses have seen amazing results from adjusting their metal lathes. For instance, a local machine shop improved its production speed by 30% after using a quick change tool post. Operators reported spending less time switching tools and more on actual cutting. Another workshop shared a testimonial: “Our output increased significantly. Adjustments made all the difference!”
- Faster tool changes
- Better accuracy
- Less waste of materials
FAQs on Lathe Adjustments and Quick Change Tool Posts
Common questions and expert answers regarding adjustments. Clarifications on misconceptions and best practices.Many people have questions about lathe adjustments and quick change tool posts. Here are some common ones along with expert answers:
What are the best practices for lathe adjustments?
It’s important to keep your machine level and clean. Regularly check the tool post for tightness, and use the right cutting tools for your material. This helps improve accuracy and finish.
Do I need to replace the tool post often?
No, a good tool post lasts a long time. Only replace it if you notice damage or wear. Regular maintenance is key!
Can I adjust the tool post myself?
Yes! Most adjustments are easy to do with basic tools. Follow your machine manual for steps.
Understanding these basics will help make your lathe work better. Don’t hesitate to ask experts or refer to guides if you’re unsure!
Conclusion
In conclusion, adjusting your metal lathe with a quick change tool post makes your work easier. It saves time and improves accuracy. Remember to check your settings regularly for the best results. You can enhance your skills by practicing these adjustments. For more tips, consider reading guides or watching how-to videos. Happy machining!FAQs
Sure! Here Are Five Related Questions On The Topic Of Lathe Adjustments, Specifically Focusing On Quick Change Tool Posts For Metal Lathes:Sure! When you’re using a quick change tool post on a metal lathe, you can easily swap tools. This makes it faster to work on different projects. To adjust it, you should make sure it’s tight and aligned. Always check your tools before starting to make good cuts. If something feels off, adjust it right away!
Sure! Please provide the question you want me to answer.
What Are The Common Adjustments Needed For A Quick Change Tool Post On A Metal Lathe To Ensure Precise Machining?To use a quick change tool post on a metal lathe correctly, you need to check a few things. First, make sure the tool is level and tight. Adjust the height so the tool cuts at the right angle. Also, check the alignment with the lathe to make sure it’s straight. Lastly, tighten all screws to keep everything steady while you work.
How Do You Align The Quick Change Tool Post To Achieve Optimal Cutting Performance During Metalworking Operations?To align the quick change tool post, first, make sure it is clean and free of dirt. Then, place it on the machine carefully. You can use a dial gauge to check if it is straight. Adjust the tool post until it lines up correctly. Finally, tighten everything so it stays in place while you work. This helps the tools cut better and makes your work easier.
What Are The Potential Consequences Of Improperly Adjusting The Tool Height On A Quick Change Tool Post?If you don’t set the tool height right on a quick change tool post, bad things can happen. The tool might hit the workpiece too hard or not touch it at all. This can cause rough cuts or make the machine break. It can also waste time and materials, making your project take longer. Always check the height to keep everything safe and working well.
Can You Explain The Procedure For Changing Tools With A Quick Change Tool Post And How To Adjust For Different Tool Types?To change tools with a quick change tool post, first, make sure your machine is off. Next, loosen the lever on the tool post to release the old tool. Then, slide in the new tool and tighten the lever to secure it. If you have different types of tools, check their size and shape. Adjust the tool holder if needed, so each tool fits snugly and safely. Always double-check before starting your work!
What Maintenance Practices Should Be Followed To Keep A Quick Change Tool Post Functioning Effectively Over Time?To keep a quick change tool post working well, we should clean it often. Use a cloth to wipe off dirt and chips. We also need to check the tools for any damage. If something is loose or broken, fix it right away. Finally, we can add a little oil to keep it moving smoothly.