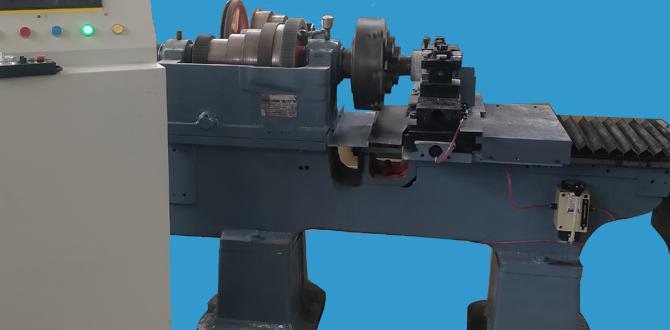
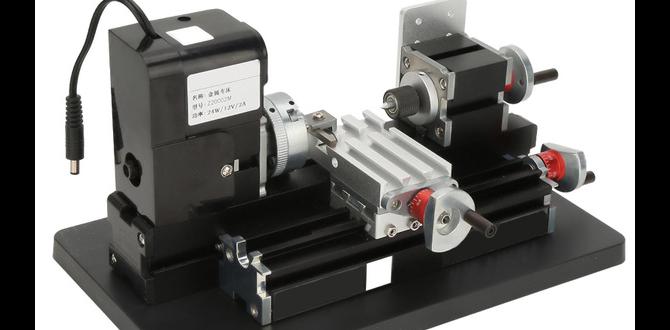
Have you ever wondered how intricate machines like metal lathes work? Setting up a metal lathe can seem tricky, especially when it comes to wiring. Many people feel lost as they look at a pile of wires. That’s where a setup guide and wiring diagram come in handy.
Imagine standing in front of your new metal lathe, excited to create! But without the right wiring, it can turn into a daunting task. Did you know that getting the wiring right can make all the difference in how your machine runs? A clear wiring diagram shows you how to connect everything step by step.
In this article, we aim to simplify that process for you. Whether you’re a beginner or have some experience, understanding the setup guide will help you feel more confident. Let’s dive in and turn those wires into useful connections!
Setup Guide: Metal Lathe Wiring Diagram Explained Clearly

Understanding Metal Lathe Wiring Diagrams
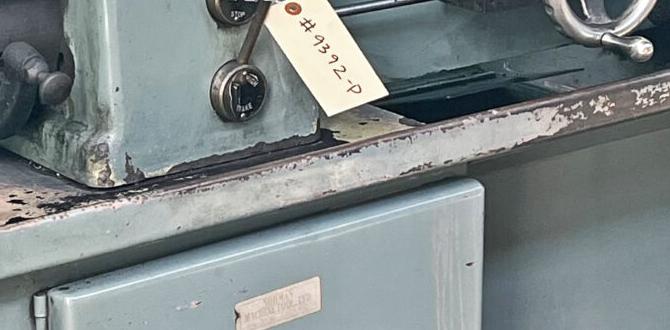
Are you unsure how to wire your metal lathe? A setup guide can make this task straightforward. You’ll learn about different components like motors, switches, and power sources. Understanding these parts will help you create a safe and efficient setup. Did you know that incorrect wiring can damage your lathe? Following a proper wiring diagram keeps your project on track. Mastering this skill boosts your confidence and improves your machining projects!Essential Tools and Materials
List of tools needed for wiring a metal lathe. Recommended materials for effective wiring solutions.Gathering the right tools is key for wiring a metal lathe. You will need:
- Wire strippers
- Screwdriver set
- Wire nuts
- Electrical tape
- Voltage tester
Recommended materials include quality wiring and connectors. Choose copper wires for better conductivity. Make sure to use appropriate insulation for safety. With these tools and materials, you’ll ensure effective wiring solutions.
What tools do I need for wiring?
You need wire strippers, screwdrivers, wire nuts, electrical tape, and a voltage tester.Safety Precautions
Key safety measures to take before starting the wiring process. Common electrical hazards associated with metal lathes.Before diving into the exciting world of wiring your metal lathe, let’s pause for a moment. Safety first! Always wear protective gear like gloves and goggles. This helps guard against sparks and sharp bits. Remember, electricity can be sneaky! Common hazards include shocked fingers and unexpected machine starts. Yikes! To keep things safe, here’s a quick table of key safety measures:
| Safety Measure | Description |
|---|---|
| Check Tools | Make sure they are in good shape. |
| Power Off | Always unplug the machine while wiring. |
| Use Proper Gear | Wear gloves and goggles at all times. |
Be safe, and your lathe will love you back (and not zap you!).
Step-by-Step Wiring Process
Detailed instructions for wiring the motor to the power supply. Connecting switch controls and emergency stop features.Wiring your metal lathe can seem tricky, but it’s easy! Start by connecting the motor to the power supply. Use the right wires to match the colors. Next, connect switch controls. These help you turn the lathe on and off. Don’t forget to add the emergency stop feature. This button is very important for safety!
- Connect the motor wires to the power supply.
- Attach the on/off switch to the motor.
- Install the emergency stop button.
How do I wire the motor to the power supply?
To wire the motor to the power supply, match the wires by color and securely attach them together.
How do I connect the emergency stop feature?
Connect the emergency stop to the main power line, ensuring it interrupts power when pressed.
Wiring Diagram Interpretation
Breakdown of common symbols and notations in wiring diagrams. How to read and understand a metal lathe wiring diagram.Wiring diagrams use special symbols to help us understand how everything connects. Think of it as a treasure map, but instead of “X” marks the spot, you have squiggles and lines. Common symbols include circles for connections and zigzags for wires. To read a metal lathe wiring diagram, start at one point and follow the lines. It’s like following breadcrumbs, except it leads to a super cool machine, not a snack!
| Symbol | Meaning |
|---|---|
| ○ | Connection |
| ~ | Power Source |
| | | Wire |
Common Wiring Issues and Troubleshooting
Identifying frequent wiring problems during setup. Solutions for troubleshooting common electrical issues.Wiring problems can happen during setup. Common issues include faulty connections, damaged wires, or wrong voltage. These problems can stop your metal lathe from working. To fix them, check all connections carefully. Make sure they fit snugly. Look for any visible damage on wires. Use a multimeter to check voltage levels.
- Check if all wires are connected correctly.
- Look for breaks in the wires.
- Test voltage with a multimeter.
Fixing these simple issues will help your machine run smoothly.
What are common wiring issues for metal lathes?
Common wiring issues for metal lathes include loose connections, short circuits, and incorrect voltage setups.
Testing and Finalizing the Setup
Steps to take before powering on the metal lathe for the first time. Final checks to ensure a safe and effective operation.Before firing up your metal lathe, it’s time to double-check your handiwork. Let’s ensure everything is ready! First, inspect all wiring connections. Make sure they’re snug, just like your favorite pair of socks after laundry! Next, confirm that the lathe is level. If it wobbles, it might just dance off into the sunset!
| Check Point | What to Do |
|---|---|
| Wiring | Ensure all connections are secure. |
| Leveling | Make sure the lathe is stable and even. |
| Emergency Stop | Test the stop button to ensure it works. |
Lastly, give everything a good look. Are there any loose bolts? Any scary noises? If so, it’s time to fix those before you start making your masterpiece! Remember, safety first. Happy lathe-ing!
Conclusion
In conclusion, a metal lathe wiring diagram is essential for setup. It shows you how to connect wires safely. Always follow the diagram closely to avoid mistakes. If you’re unsure, check online tutorials for extra help. Now that you know the basics, gather your tools, and get started on your metal lathe project! Happy machining!FAQs
What Are The Essential Components Required For Wiring A Metal Lathe Setup?To set up a metal lathe, you need a few important parts. First, you need a power supply to give energy to the lathe. Next, you need wires to connect everything together. Don’t forget switches to turn the lathe on and off safely. Finally, you may need fuses to protect the tools from electrical problems.
How Do You Interpret A Wiring Diagram For A Metal Lathe, And What Symbols Should I Look For?To read a wiring diagram for a metal lathe, start by looking for the power source symbol. This is usually a circle with two lines. Next, find the motor symbol, which often looks like a rectangle with lines. You will also see connection lines, which are straight lines connecting different parts. Each symbol helps you understand how to connect everything correctly.
What Safety Precautions Should Be Taken When Wiring A Metal Lathe?When wiring a metal lathe, always turn off the power first. Make sure the area is dry to avoid shocks. Use insulated tools to protect yourself. Check for loose wires and fix them. Wear safety gear, like gloves and goggles, to stay safe.
Can I Use A Standard Electrical Outlet For My Metal Lathe, Or Do I Need A Specialized Power Supply?You should check your metal lathe’s power needs first. Many metal lathes need strong power that a regular outlet can’t provide. Some lathes require a 220-volt outlet, which is different from the regular 120-volt outlets in homes. If your lathe needs more power, you might need to set up a special outlet for it. Always be safe and ask an adult for help!
What Troubleshooting Steps Should I Follow If My Metal Lathe Does Not Power On After Wiring?First, check if the lathe is plugged in properly. Make sure the outlet works by testing it with another tool. Look for any loose wires or connections in the wiring. Check the power switch to see if it’s on. If it still doesn’t work, ask an adult for help.
{“@context”:”https://schema.org”,”@type”: “FAQPage”,”mainEntity”:[{“@type”: “Question”,”name”: “What Are The Essential Components Required For Wiring A Metal Lathe Setup? “,”acceptedAnswer”: {“@type”: “Answer”,”text”: “To set up a metal lathe, you need a few important parts. First, you need a power supply to give energy to the lathe. Next, you need wires to connect everything together. Don’t forget switches to turn the lathe on and off safely. Finally, you may need fuses to protect the tools from electrical problems.”}},{“@type”: “Question”,”name”: “How Do You Interpret A Wiring Diagram For A Metal Lathe, And What Symbols Should I Look For? “,”acceptedAnswer”: {“@type”: “Answer”,”text”: “To read a wiring diagram for a metal lathe, start by looking for the power source symbol. This is usually a circle with two lines. Next, find the motor symbol, which often looks like a rectangle with lines. You will also see connection lines, which are straight lines connecting different parts. Each symbol helps you understand how to connect everything correctly.”}},{“@type”: “Question”,”name”: “What Safety Precautions Should Be Taken When Wiring A Metal Lathe? “,”acceptedAnswer”: {“@type”: “Answer”,”text”: “When wiring a metal lathe, always turn off the power first. Make sure the area is dry to avoid shocks. Use insulated tools to protect yourself. Check for loose wires and fix them. Wear safety gear, like gloves and goggles, to stay safe.”}},{“@type”: “Question”,”name”: “Can I Use A Standard Electrical Outlet For My Metal Lathe, Or Do I Need A Specialized Power Supply? “,”acceptedAnswer”: {“@type”: “Answer”,”text”: “You should check your metal lathe’s power needs first. Many metal lathes need strong power that a regular outlet can’t provide. Some lathes require a 220-volt outlet, which is different from the regular 120-volt outlets in homes. If your lathe needs more power, you might need to set up a special outlet for it. Always be safe and ask an adult for help!”}},{“@type”: “Question”,”name”: “What Troubleshooting Steps Should I Follow If My Metal Lathe Does Not Power On After Wiring? “,”acceptedAnswer”: {“@type”: “Answer”,”text”: “First, check if the lathe is plugged in properly. Make sure the outlet works by testing it with another tool. Look for any loose wires or connections in the wiring. Check the power switch to see if it’s on. If it still doesn’t work, ask an adult for help.”}}]}