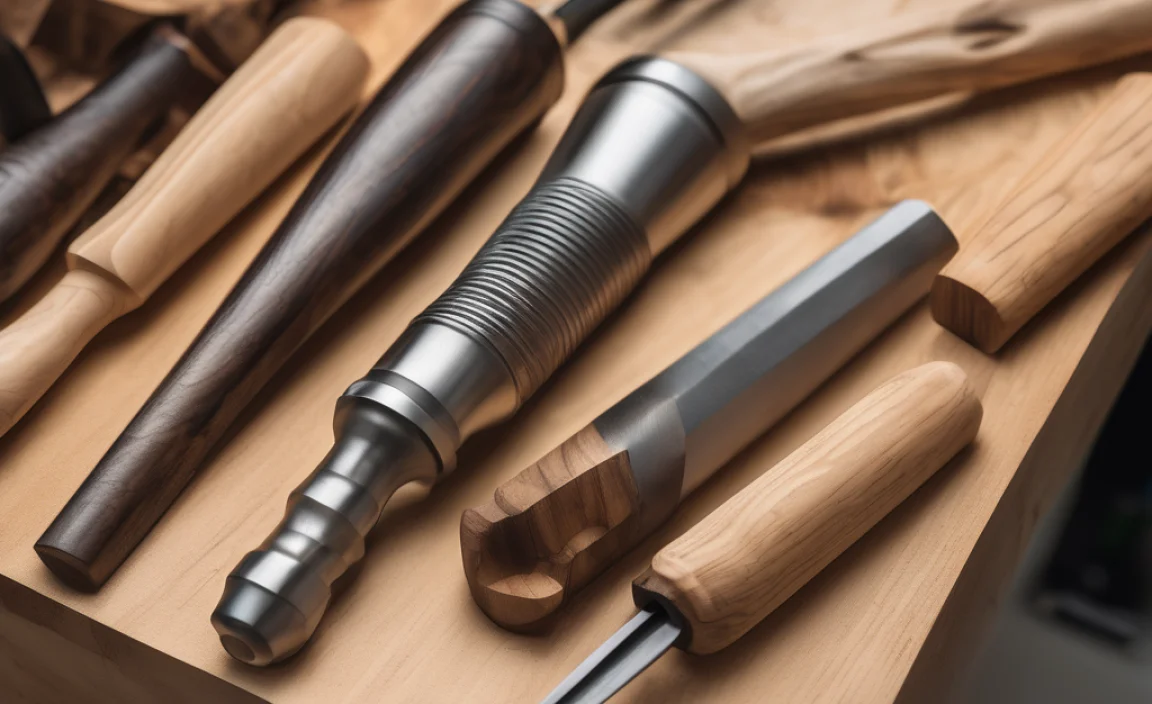
Have you ever wondered how woodworkers make such beautiful tools? It might surprise you, but many create their own tools! One essential tool for woodworkers is the wood lathe chisel. You can even craft your own wood lathe chisel handle designs DIY. Imagine holding a chisel with a handle you made yourself. Let’s explore the exciting world of creating these handles!
Key Takeaways
- Creating DIY chisel handles is fun and rewarding.
- Choose the right wood for strong, durable handles.
- Designs affect both the look and comfort of use.
- Wood lathe chisel handle designs DIY save money.
- Personalized handles enhance woodworking experience.
Choosing the Right Wood for Handles
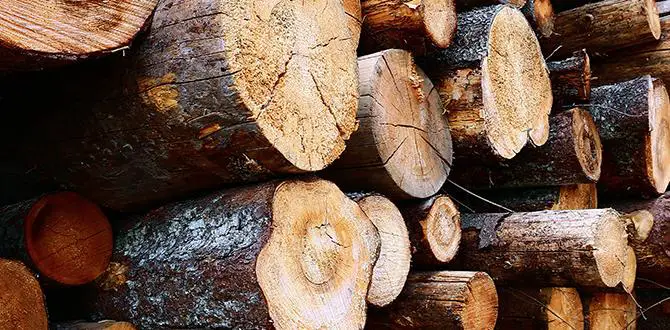
Picking the right wood for your chisel handle is crucial. Some woods are stronger and more durable. For example, hardwoods like oak or walnut are great choices. These woods make handles that last longer. They also feel comfortable in your hand. Imagine a handle that fits just right, making it easier to work with your chisel. Before you begin, consider what type of wood best fits your project needs.
- Oak is strong and durable.
- Walnut offers a comfortable feel.
- Maple is smooth and easy to carve.
- Cherry adds a nice color finish.
- Beech is reliable for heavy use.
- Hickory withstands shock well.
- Avoid softwoods like pine.
After picking your wood, think about the size and shape of your handle. A handle should be comfortable and fit your hand. This helps you work for longer without discomfort. You can also add patterns or grooves to improve grip. This makes your chisels not only functional but also beautiful.
Fun Fact or Stats : Did you know hickory wood is often used in making baseball bats due to its strength?
Why Wood Choice Matters
Have you ever held a tool that felt perfect in your hand? That’s what choosing the right wood can do for your chisel handle. The right wood not only lasts longer but feels better. Hardwoods are usually the best choice. They provide strength and comfort. Imagine carving a detail with ease, thanks to your well-made handle. Isn’t it amazing how the right wood can make such a difference?
Comparing Wood Types
Let’s look at a simple comparison. Different woods have unique traits. Oak is very strong. Walnut offers a lovely look. Maple is easy to carve. Cherry is known for its color. Beech is tough. Hickory can handle shocks well. Making a table to compare these can be helpful. It shows each wood’s best qualities. So, what wood will you pick for your project?
| Wood Type | Strength | Carving Ease | Color |
|---|---|---|---|
| Oak | High | Moderate | Light Brown |
| Walnut | Medium | Moderate | Dark Brown |
| Maple | Medium | High | Pale Cream |
| Cherry | Medium | Moderate | Reddish Brown |
What Makes a Good Handle?
A good handle does more than function well. It feels great in your hand. Imagine carving all day without getting tired. This is possible with a well-designed handle. Comfort, strength, and beauty all play a part. Consider balance, too. A well-balanced chisel handle makes work easier. Do you have a favorite handle design that you love to use?
Designing Your Chisel Handle
Creating your chisel handle design is exciting. Start by thinking about the shape. Some people like round handles. Others prefer oval ones. What feels best in your hand? Experiment with different shapes. Use a pencil to sketch your ideas first. This helps you visualize what you want. Remember, your design can be simple or complex, depending on your skills.
- Sketch your design on paper.
- Consider your hand size and shape.
- Think about adding grooves for grip.
- Try different design styles.
- Keep functionality in mind.
- Add decorative elements if desired.
- Test prototypes before finalizing.
Once you have a design, it’s time to start crafting. Cut your chosen wood to the right size. Use tools to carve your design. Sand the handle until it’s smooth. This is important for comfort. You can also apply a finish to protect the wood. A nice finish adds a beautiful shine.
Fun Fact or Stats : Leonardo da Vinci designed his own tools for many inventions!
How to Sketch Your Design
Why bother sketching a design before starting? Sketching helps you plan. It lets you see your ideas on paper. This can prevent mistakes later. Grab a pencil and draw different shapes and sizes. Think about how the handle will feel in your hand. Do you like it thick or thin? Don’t be afraid to try something new. What would your ideal handle look like?
Importance of Grip and Shape
Why is grip important? A good grip prevents slipping. It helps you control the chisel. The shape of the handle affects grip. Try adding grooves or bumps for better hold. Do you like a smaller or larger handle? Both size and shape can make work easier. Can you think of a tool with a perfect handle?
Adding Personal Touches
Your chisel handle is a chance to express yourself. Add personal touches like initials or a small design. Use a wood burner to etch patterns. Paint or stain the wood for color. These touches make your tool unique. What kind of design represents you? Your imagination is the limit!
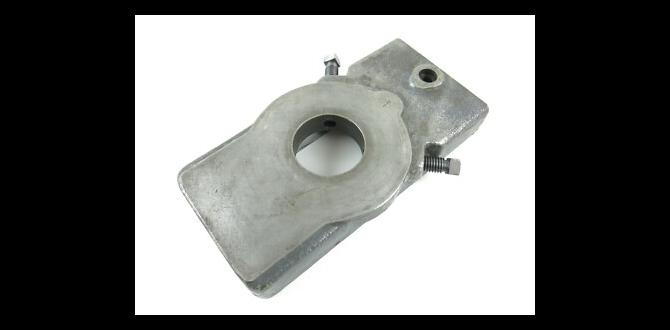
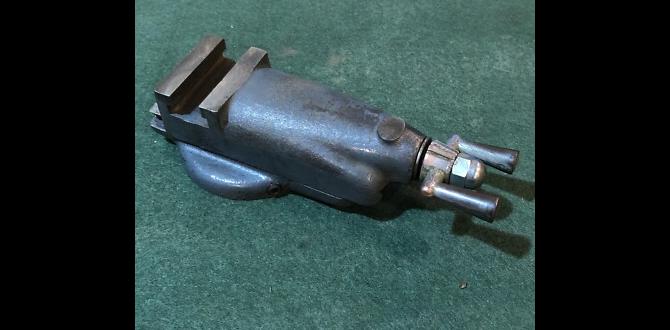
Tools Needed for DIY Handle Crafting
Before you begin making your chisel handle, gather the right tools. A saw is essential for cutting wood. Use chisels for detailed carving. Sandpaper smooths out rough edges. Finish your handle with varnish or oil. Having the right tools makes the job easier. Let’s look at what tools you’ll need to start crafting your unique handle today!
- Saw for cutting wood pieces.
- Chisels for carving details.
- Sandpaper for smoothing surfaces.
- Varnish adds protective finish.
- Workbench provides a stable surface.
- Clamps hold wood securely while working.
- Safety glasses to protect eyes.
Once you have your tools, set up a safe workspace. Make sure it’s well-lit and free of clutter. Use clamps to hold your wood piece steady. This prevents accidents. Always wear safety glasses while working. Safety is important when using sharp tools.
Fun Fact or Stats : Did you know the earliest hand tools date back over 2 million years?
Essential Tools for Beginners
What tools are must-haves for beginners? A basic set includes a saw, chisels, and sandpaper. These tools help shape and smooth the wood. Varnish gives a nice finish. Don’t forget a workbench and clamps. These keep your wood steady while you work. Safety glasses protect your eyes. Have you ever tried using these tools?
Why Safety Gear Matters
Why is safety gear important in woodworking? It keeps you safe from harm. For example, safety glasses protect your eyes from wood chips. What if a tool slips? Gloves can protect your hands. Always wear the right gear. Can you think of other safety tips for DIY projects?
Setting Up Your Workspace
Have you ever worked in a messy space? It can be challenging. A clean workspace helps you focus. Make sure your area is well-lit. Keep your tools within reach. Use a workbench for stability. What does your dream workspace look like?
Different DIY Handle Designs
When making your chisel handle, think about the design. You can choose from many styles. Some like traditional straight designs. Others prefer curved or ergonomic shapes. Consider what feels best in your hand. Try different styles to see what you like. Making your own design is part of the fun!
- Straight designs are classic and simple.
- Curved handles fit the hand naturally.
- Ergonomic designs reduce hand fatigue.
- Textured grips prevent slipping.
- Custom shapes show personal style.
- Decorative carvings add beauty.
- Colorful finishes make handles stand out.
Experiment with different handle designs. Each has its own benefits. Ergonomic designs are great for long projects. Textures and carvings add personality. Remember, there are no rules. Let your creativity guide you. What kind of design will you try first?
Fun Fact or Stats : The world’s largest wooden spoon measures over 16 feet long!
Exploring Traditional Handle Styles
What makes traditional handles special? Their simplicity and timeless design. They are easy to make and use. Many woodworkers start with traditional shapes. These handles are straight and balanced. Do you have a favorite traditional design?
Trying Ergonomic Designs
Why choose ergonomic designs? They fit your hand’s natural shape. This reduces strain and fatigue. Imagine working for hours without getting tired. Ergonomic handles make this possible. Would you try making one?
Adding Decorative Elements
How can you make your handle stand out? Add decorative elements! Carvings and textures add beauty. Use colorful finishes for a unique look. What elements would you add to your handle?
Finishing Touches and Care
After crafting your handle, it’s time for finishing touches. Sand the handle until it’s smooth. Apply varnish or oil to protect the wood. This adds shine and durability. Regular care keeps your handle in top shape. Wipe it clean after use. Apply oil occasionally to maintain it. Taking care of your handle ensures it lasts a long time.
- Sand for a smooth finish.
- Apply varnish for protection.
- Use oil to enhance wood grain.
- Wipe clean after each use.
- Store in a dry place.
- Avoid extreme temperatures.
- Regularly inspect for wear.
Proper care keeps your handle looking beautiful. Inspect it regularly for any damage. Fix small issues before they become big problems. Enjoy the satisfaction of using a tool you made and cared for. How often do you give your tools a little TLC?
Fun Fact or Stats : The oldest wooden tools date back to the Stone Age!
Why Finishing Matters
Why is finishing important? It protects your handle from damage. Finishing enhances the wood’s natural beauty. Imagine a handle with a smooth, shiny surface. Look professional, feel great. What finish would you choose?
Maintaining Your Handle
How do you care for your handle? Keep it clean and dry. Wipe it after each use. Apply oil to maintain its shine. Regular care extends its life. What’s your maintenance routine?
Repairing Minor Damages
What if your handle gets damaged? Minor repairs are easy. Sand out small scratches. Reapply varnish or oil. Regular checks prevent big issues. Have you ever repaired a tool before?
Conclusion
Crafting wood lathe chisel handle designs DIY is fun and rewarding. You get to create something uniquely yours. Choose the right wood and design. Use the proper tools and techniques. Finish and care for your handle. Enjoy using a tool that you made yourself. Ready to start your DIY project?
FAQs
Question: What wood is best for chisel handles?
Answer: Hardwoods like oak, walnut, and maple are best. They provide strength and durability. These woods make comfortable and long-lasting handles. Avoid softwoods like pine, which can damage easily.
Question: How do I design a chisel handle?
Answer: Start by sketching your ideas on paper. Consider the shape and size that feels best in your hand. Experiment with different designs. Try adding grooves for better grip. Personalize with carvings or patterns.
Question: What tools do I need for making chisel handles?
Answer: You will need a saw, chisels, sandpaper, and varnish. A workbench and clamps are helpful. Safety glasses protect your eyes. These tools make the crafting process easier and safer.
Question: How do I care for my chisel handle?
Answer: Keep your handle clean and dry. Wipe it after each use and apply oil regularly. Store it in a dry place away from extreme temperatures. Regular care ensures it lasts longer.
Question: Can I make a chisel handle with DIY designs?
Answer: Yes, you can make a chisel handle with DIY designs. Choose a design that suits your style. Use the right tools and techniques. Finish with varnish or oil for protection.
Question: Why should I make my own chisel handle?
Answer: Making your own handle saves money and allows personalization. You can choose the perfect shape and size. It’s a rewarding experience to use a tool you crafted yourself.