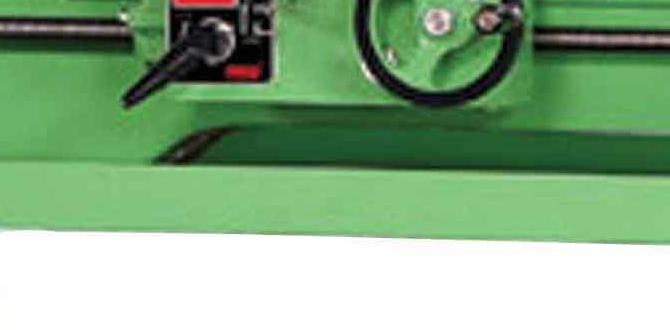
Wood Lathe Faceplate Bowl Blank Mounting: Easy is a fundamental skill for any woodturner looking to create hollow forms. While the concept of attaching a bulky piece of wood to a spinning machine might initially seem intimidating, mastering the faceplate mounting technique unlocks a world of possibilities for crafting beautiful bowls, platters, and more. This article will demystify the process, breaking it down into straightforward steps that even beginner woodturners can confidently follow, transforming “difficult” into “easy” when it comes to preparing your bowl blanks.
At its core, the faceplate serves as a crucial intermediary between your wood lathe’s headstock and your irregularly shaped wood blank. It’s a sturdy metal disc with pre-drilled holes, designed to be securely attached to the wood, which then threads onto the lathe’s spindle. This secure connection allows for safe and stable turning, enabling you to remove material and shape your project as it spins at high speeds. Understanding the mechanics of this attachment is the first step in achieving effortless bowl creation.
Preparing Your Wood Blank for Faceplate Mounting
Before you even think about attaching the faceplate, careful preparation of your wood blank is essential. Start by selecting wood that is appropriately sized for your desired bowl dimensions and that is free from large cracks or defects that could compromise the structural integrity of your project. For bowl turning, it’s often beneficial to “rough cut” your blank to a more manageable, roughly round shape. This can be done with a bandsaw or even a jigsaw. While not strictly necessary for a faceplate mount, it reduces the initial imbalance and makes the subsequent mounting process smoother.
The key to a successful faceplate mounting is ensuring a flat, stable surface on your wood blank where the faceplate will make contact. If your blank is already somewhat irregular, you might need to turn one face down on the lathe initially, just enough to create a perfectly flat surface. This preliminary turning step is vital – a wobbly or uneven surface will lead to an unstable mount, vibration, and potentially a dangerous situation. Aim to create a surface that is at least as large as the diameter of your faceplate.
Securing the Faceplate: The Right Way
Now comes the critical step of permanently attaching the faceplate to your wood blank. The most common and secure method involves using screws. You’ll need appropriately sized wood screws that are long enough to penetrate significantly into the wood, providing a strong hold, but not so long that they will exit the opposite side of your blank (unless you are intentionally turning a very thin piece).
Position the faceplate centrally on the flattened surface of your wood blank. You can mark the center of the blank beforehand using a pencil and a compass, or by using the center hole of the faceplate itself as a guide. Once positioned, mark the screw locations through the pre-drilled holes of the faceplate onto the wood. It’s good practice to pre-drill pilot holes for your screws. The diameter of the pilot hole should be slightly smaller than the shank of the screw to ensure the threads have plenty of wood to bite into.
When driving in the screws, do so with a power driver or a sturdy screwdriver. Drive them in flush with the surface of the faceplate, ensuring they are snug and secure. Avoid overtightening, as this can strip the wood fibers and compromise the screw’s grip. A good rule of thumb is to tighten until you feel firm resistance, then give it a slight extra turn. Remember that this faceplate will be on your blank for the entire turning process, so a strong, secure attachment is paramount for safety and a successful outcome.
The Wood Lathe Faceplate Bowl Blank Mounting Process Simplified
Let’s reiterate the ideal wood lathe faceplate bowl blank mounting sequence for clarity and ease:
1. Select and Rough Cut Your Blank: Choose suitable wood and trim it to a manageable size and basic shape.
2. Create a Flat Mounting Surface: Turn one face of the blank to be perfectly flat and at least the diameter of your faceplate.
3. Center and Mark: Accurately center the faceplate on the flat surface and mark the screw locations.
4. Pre-drill Pilot Holes: Drill pilot holes slightly smaller than your screw diameter.
5. Attach the Faceplate: Securely screw the faceplate to the wood blank with appropriate wood screws, ensuring they are flush and tight but not overtightened.
6. Mount to the Lathe: Thread the faceplate with the attached blank onto the spindle of your wood lathe. Make sure it is fully seated and tightened correctly.
Safety First When Turning
It bears repeating that safety is non-negotiable when working with a wood lathe, especially when turning large, unbalanced blanks mounted via a faceplate. Always wear safety glasses or a full face shield. Keep your lathe tools sharp and use them correctly. Never leave the lathe running unattended. Before commencing any turning, give the blank a gentle nudge to ensure it’s securely attached and runs true. Listen for any unusual vibrations or sounds – these are indicators that something is amiss and you should stop the lathe immediately to inspect your setup.
Mastering wood lathe faceplate bowl blank mounting is more about meticulous preparation and secure attachment than inherent difficulty. By following these steps with care and attention to detail, you can confidently mount your bowl blanks and embark on the rewarding journey of turning beautiful wooden creations. The initial investment in time for proper mounting will pay dividends in smoother turning, increased safety, and ultimately, more successful and satisfying projects.