Upgrading your wood lathe’s indexing system is essential for precise, repeatable cuts, especially for fluting, reeding, or decorative patterns. A reliable indexing system makes complex woodworking projects achievable and ensures professional results, saving you time and frustration.
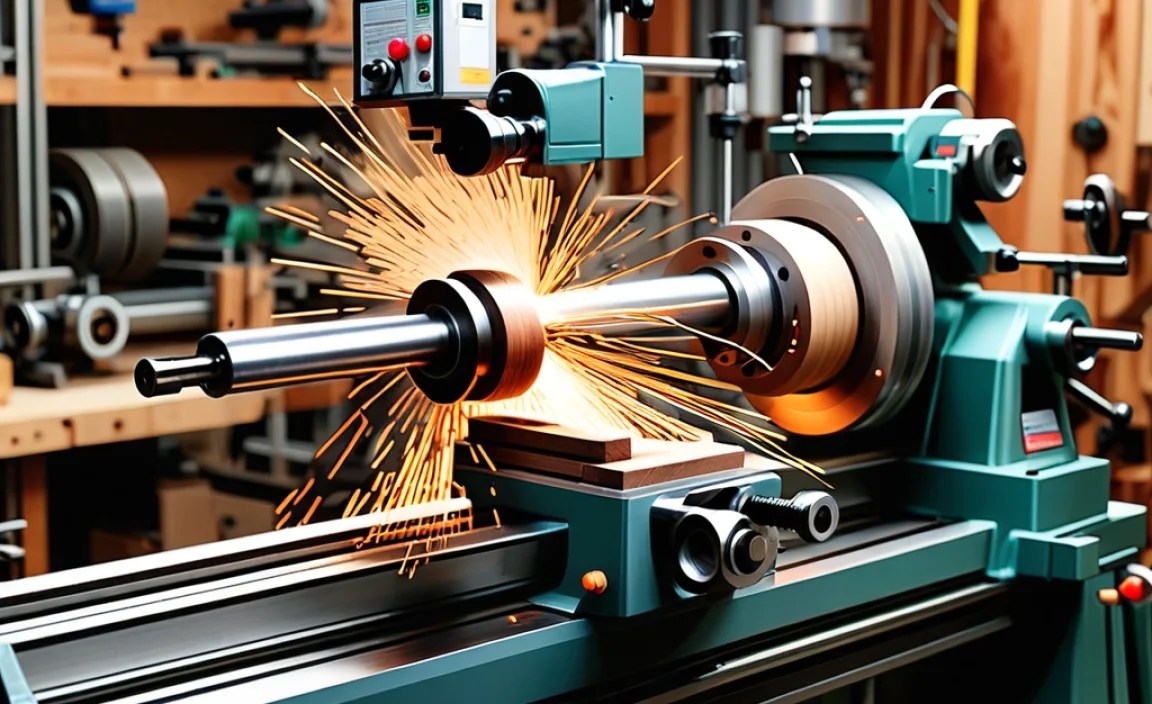
Hey everyone, Daniel Bates here from Lathe Hub. Ever wanted to add those perfectly spaced grooves or decorative patterns to your turned wood projects? You know, the kind that make a simple bowl look like a professional masterpiece? It can be tough when your lathe’s indexing system isn’t quite up to the task. Maybe the divisions aren’t perfectly spaced, or it’s just plain fiddly to use.
That’s a common frustration for many woodturners, especially when you’re starting out. But don’t worry! With a few smart upgrades, you can transform your wood lathe into a precision instrument for decorative work. We’ll walk through why an upgrade is often “proven essential” and how you can achieve those intricate designs with confidence. Let’s dive in and unlock your lathe’s full decorative potential!
Why Your Wood Lathe Needs an Indexing System Upgrade

As a woodturner, you probably love the feeling of shaping wood with your lathe. But when you want to move beyond basic turning and explore decorative techniques like fluting, beveling, or creating consistent patterns, the limitations of a basic or worn-out indexing system quickly become apparent. An indexing system, also known as a dividing head or rotary table, allows you to lock the lathe’s headstock spindle at precise intervals. This is crucial for achieving symmetrical and repeatable designs around the workpiece.
Without a reliable indexing system, trying to create these patterns often results in frustration. You might end up with uneven spacing, inaccurate divisions, or simply an inability to achieve the desired look. This can demotivate even the most enthusiastic beginner. Fortunately, upgrading your wood lathe’s indexing capabilities is a surprisingly accessible and highly rewarding process. It’s not just about making things look prettier; it’s about expanding your creative possibilities and improving the overall quality and professionalism of your work.
Think of it this way: many basic wood lathes come with a very rudimentary locking pin that engages with a few notches, or perhaps just relies on friction. While this might be okay for occasional, rough divisions, it’s far from ideal for precision work. An upgraded system provides much finer control and far greater accuracy. This allows you to confidently tackle projects that demand exact repetition, turning your creative visions into tangible, beautiful pieces.
The Role of an Indexing System in Decorative Turning
Decorative turning involves features that are repeated at specific intervals around the circumference of a piece. Common examples include:
- Fluting: Creating evenly spaced concave grooves.
- Reeding: Creating a series of convex beads or rods.
- Beading: Similar to reeding, often smaller and more delicate.
- Geometric Patterns: Such as diamond patterns or repeating shapes along the length of a spindle.
- Engraving or Carving Layout: Marking out precise reference points for subsequent decorative work.
Imagine trying to carve a series of perfectly spaced flutes around a table leg using only guesswork or a poorly marked system. The result would likely be uneven, with some spaces too wide and others too narrow. An indexing system ensures that each pass of your tool is made at precisely the same angle relative to the previous one. This consistency is the hallmark of professional woodworking and the key to achieving impressive results in decorative turning.
Beyond aesthetics, a good indexing system contributes to the overall structural integrity and balance of a turned piece. For example, with intricately carved bowls or platters, consistent decoration helps maintain visual and physical balance. It’s this attention to detail that elevates a handmade item from a simple object to a work of art.
Common Issues with Basic Lathe Indexing Systems

Most entry-level wood lathes are equipped with a very basic method for locking the headstock. These often include:
- Knock-out Bar/Pin: A simple pin that drops into a hole in the pulley or faceplate.
- Friction Lock: Relying on tightening a bolt or lever to hold the spindle stationary.
- Limited Divisions: A fixed number of holes (e.g., 4, 6, 8) on a plate, offering very few indexing options.
These systems, while functional for basic turning, can present several challenges when you want to perform more precise work:
- Inaccuracy: The holes might not be perfectly spaced, leading to slight variations. Wear can also exacerbate this.
- Limited Options: You’re restricted to the number of divisions provided, making it impossible to achieve many common decorative patterns that require 10, 18, 24, 36, or more divisions.
- Fiddly Operation: Constantly inserting and removing pins or loosening and tightening bolts can be time-consuming and disruptive to the creative flow.
- Lack of Repeatability: It can be difficult to return to a specific division accurately after performing a task.
- Wear and Tear: Over time, the pin and holes can wear, further reducing accuracy.
These issues can lead to wasted time, frustration, and subpar results. It feels like your lathe is holding you back from achieving your creative vision, which is why an upgrade often becomes not just desirable, but genuinely essential for serious woodturners.
Understanding Wood Lathe Indexing System Upgrades


So, what exactly constitutes an “upgrade”? It typically means moving from a basic pinning system to a more sophisticated mechanism that offers greater precision, more division options, and easier operation. The goal is to provide a reliable way to lock the spindle at very precise angles.
Types of Indexing Systems
There are several types of indexing systems, ranging from simple additions to your existing lathe to more integrated solutions. For most beginner to intermediate woodturners, the most practical upgrades involve adding an external indexing attachment.
1. Indexing Plates and Dividers:
This is a common and effective upgrade. It usually involves attaching a plate with a large number of accurately drilled holes to the back of your lathe’s headstock pulley or the spindle itself. A pin or bolt with a handle is then used to drop into these holes, locking the spindle. Systems vary in complexity:
- Simple Hole Plates: A single plate with many holes. You might have to manually count divisions, which can be slow.
- Disc Dividers: These often feature a rotating disc with multiple sets of holes, allowing for a wider range of divisions. Examples include plates with holes for 2, 3, 4, 5, 6, 8, 10, 12, 16, 20, 24, 30, 32, 36, 40, 48, 60, 72, 80, 96, 120 divisions.
- Indexing Attachments with Gears (Less Common for Beginners): More advanced systems might use gear trains to achieve very fine divisions, similar to a milling machine dividing head. These are generally more complex and expensive.
A good quality indexing plate can provide hundreds of division possibilities, allowing you to achieve almost any pattern you can imagine. Look for systems that are easy to mount and dismount, as you’ll need to remove it for standard turning.
2. Offset Indexing Pin/Bolt:
Some upgrades involve a special bolt or pin that mounts to your tailstock or a separate bracket. This offset pin engages with a notched ring or a specially designed plate on the headstock. The offset allows the pin to engage with a different set of teeth or notches as you move the tailstock, providing many divisions without the need to constantly reposition a pin into a different hole on a plate.
3. Indexing Headstock Collars/Rings:
These are rings that attach directly to your headstock spindle. They often feature a set of teeth or notches that a locking pin engages with. They are generally very robust and accurate, but might be less common as aftermarket upgrades for all lathe models.
Key Features to Look For in an Upgrade
When choosing an indexing system upgrade, consider these essential features:
- Accuracy of Divisions: This is paramount. Look for systems that specify the precision of their hole drilling or tooth engagement.
- Number of Divisions Available: The more options, the more decorative possibilities you unlock. Aim for at least 24-36 divisions, with more being better.
- Ease of Use: How quickly can you engage and disengage the indexing pin? A lever-action handle is often much faster than a screw-in pin.
- Robustness and Durability: The system should be made from quality materials that can withstand repeated use.
- Compatibility with Your Lathe: Ensure the system is designed for your lathe’s headstock or spindle size.
- Ease of Installation and Removal: You’ll want to be able to attach and detach it quickly.
A well-designed indexing system should integrate seamlessly with your lathe, making the process of locking and unlocking the headstock quick and intuitive. Many modern upgrade kits are designed for quick-release, meaning you can engage or disengage them in seconds. Furthermore, checking compatibility is crucial. Manufacturers often provide detailed specifications about which lathe models their indexing systems fit. For instance, Popular Woodworking has a great guide on selecting and using these attachments, highlighting the importance of a secure fit.
Installing Your Wood Lathe Indexing System Upgrade: A Step-by-Step Guide
While specific installation methods vary depending on the type of upgrade you purchase, the general process is quite straightforward. Always consult the manufacturer’s instructions for your specific indexing system, but here’s a common approach.
Tools and Materials You Might Need:
- Your new indexing system kit
- Your specific wood lathe
- Wrenches or Allen keys (usually included with the kit or lathe)
- Screwdriver (if applicable)
- Safety glasses
- Gloves (optional)
- Shop rags or paper towels
Installation Steps:
- Safety First: Ensure your lathe is turned off and unplugged. Wear safety glasses. Clear the area around your lathe.
- Access the Headstock Pulley/Spindle: You’ll typically need to remove the headstock belt cover. Some lathes have a removable pulley or faceplate that the indexing system attaches to. Consult your lathe’s manual if unsure.
- Prepare the Mounting Surface: Clean the back of the headstock pulley or the spindle end if your system requires it. Remove any dust or old lubricant.
- Mount the Indexing Plate/Disc:
- If your system uses a plate that bolts onto the pulley, align the plate’s mounting holes with the existing holes on the pulley.
- If it attaches to the spindle, you might need to remove the faceplate or drive center first.
- Use the provided hardware (screws, bolts) to loosely attach the plate at first.
- Attach the Indexing Pin Assembly:
- This assembly usually mounts to the lathe bed, a banjo, or a dedicated bracket.
- Position it so that the pin can smoothly engage with the holes or notches on your indexing plate when the spindle is rotated.
- Secure the pin assembly firmly.
- Align and Tighten:
- With the indexing plate loosely attached, rotate the spindle and ensure the indexing pin engages cleanly in a few different hole positions.
- Once you’re satisfied with the alignment, tighten the bolts securing the indexing plate firmly.
- Ensure the indexing pin assembly is also very secure and doesn’t wobble.
- Test the System:
- With the lathe still unplugged, manually rotate the spindle and test the indexing pin in several positions around the plate. It should engage smoothly and lock the spindle positively.
- Ensure there is no excessive play or slop when locked.
- Reassemble and Connect: Replace any covers you removed. Reconnect the power to your lathe.
- Final Test (with power off): Spin the spindle and ensure the indexing pin system operates freely and securely.
For systems that utilize a geared mechanism or a rotating disc with multiple sets of holes, the mounting process might involve attaching a specific bracket or aligning the disc with a keyed spindle. Always follow the manufacturer’s instructions precisely. For example, some systems might require you to align keyways or use specific torque settings for bolts. It’s also worth noting that some lathes have a fixed pulley system, while others have pulleys that can be removed. The installation will differ accordingly.
Tips for Successful Installation:
- Read the Manual: I can’t stress this enough! Every system is slightly different.
- Pre-Assembly Check: Lay out all the parts and ensure you have everything before you start.
- Don’t Overtighten: Tighten bolts securely, but avoid excessive force that could strip threads or damage components.
- Lubrication: Some systems might benefit from a light application of grease on the pin and holes/teeth, but again, check the manual.
A properly installed indexing system should feel solid and precise. If anything feels loose, wobbly, or difficult to engage, re-check your installation steps.
Using Your Enhanced Indexing System for Precision Work
Now that your indexing system is installed, it’s time to put it to work. The process is about planning your divisions and then reliably locking your workpiece at each desired point.
Planning Your Divisions
Before you start turning, decide how many divisions (or equally spaced points) you need around your project. This depends entirely on the decorative pattern you want to create. Here are a few examples:
- 8 Flutes on a Bowl Rim: You’ll need 8 divisions.
- 12 Beaded Rings on a Spindle: You’ll need 12 divisions.
- 36 Divisions for Fine Detail: This allows for very intricate work.
Your indexing system’s plate or disc will have specific configurations of holes or slots that correspond to these divisions. You’ll need to identify which set of holes or which position on your disc allows for the number of divisions you require.
The Indexing Process: Step-by-Step
- Prepare Your Workpiece: Mount and turn your wood to the desired basic shape.
- Engage the Indexing System:
- Locate the correct set of holes or slots on your indexing plate that corresponds to your desired number of divisions. For example, if you need 24 divisions, find the group of 24 holes.
- Rotate the headstock spindle until the indexing pin can fully engage with one of the holes.
- Ensure the pin is seated properly and locks the spindle firmly.
- Perform Your Operation: With the spindle locked, use your lathe tools to make your cut, groove, or mark. This could be with a parting tool for a groove, a gouge for a flute, or a marking knife.
- Disengage and Rotate:
- Carefully withdraw the indexing pin.
- Manually rotate the headstock spindle to the next division.
- Re-engage the indexing pin into the next hole or slot.
- Repeat: Continue performing the operation at each index point around the workpiece.
- Complete the Pattern: Work around the entire project until you have completed the desired pattern on all divisions.
- Disengage and Remove (for standard turning): Once your decorative work is complete, remember to disengage the indexing pin and it’s often good practice to remove the indexing attachment altogether if you intend to do any standard turning, to avoid potential damage or interference.
Advanced Techniques and Tips:
- Accurate Tooling: Ensure your lathe tools are sharp and held consistently. A tool rest positioned correctly can make a big difference.
- Spindle Lock Sensitivity: Sometimes, a very light tap with a rubber mallet on the index plate can help seat the pin perfectly if it feels a bit tight.
- Multiple Passes: For deeper cuts, it’s often better to make several light passes at each index point rather than one deep cut. This is safer and yields a cleaner finish.
- Using a Depth Stop: For consistent depth, consider using a digital caliper or a tailor’s tape measure as a makeshift depth stop.
- Marking the Start: Before you begin, it’s helpful to mark your starting point on the workpiece and the lathe bed with a piece of tape or chalk. This helps you confirm when you’ve completed a full revolution.
margin-top: 40px;
margin-bottom: 30px;
}
}
}
max-width: 150px;
}
}@media screen and (max-width: 480px) {
}
}
}
max-width: initial;
}
};
}
