Don’t let a faulty wood lathe motor capacitor stop your projects! This essential DIY fix guide shows you how to diagnose and replace a bad capacitor quickly and safely, getting your lathe running smoothly again. Learn the simple steps to identify common capacitor issues and get back to turning wood with confidence.
Is your wood lathe struggling to start, or does it run with less power than it used to? That frustrating hum without much movement often points to a common culprit: the motor capacitor. This small but mighty component is crucial for giving your lathe motor the initial “kick” it needs to spin up. When it begins to fail, your lathe can feel sluggish or completely unresponsive, putting a damper on your creative flow. But don’t worry, fixing it yourself is often a straightforward DIY project for any home workshop enthusiast. This guide will walk you through a proven and essential fix for your wood lathe motor capacitor, making it simple to diagnose and repair.
Throughout this article, we’ll break down exactly what a motor capacitor does, how to identify the signs of a failing one, and the step-by-step process for safely replacing it. We’ll cover the tools you’ll need, the crucial safety precautions, and what to do if you’re unsure. By the end, you’ll have the knowledge and confidence to tackle this repair yourself and get your treasured wood lathe back to its powerful best. Let’s get your lathe humming again!
What is a Wood Lathe Motor Capacitor?

Think of the capacitor as the starter for your wood lathe’s motor. Most wood lathes use single-phase induction motors. These motors need a little extra help to get started because the magnetic field inside them doesn’t inherently create a consistent rotating force on its own. That’s where the capacitor comes in. It’s wired into the motor’s circuit to create a phase shift, essentially giving the motor an initial push to get it spinning in the right direction. Without a working capacitor, the motor can hum but won’t have enough torque to turn the spindle, or it might struggle and overheat.
There are typically two main types of capacitors found in wood lathes:
- Start Capacitor: This type of capacitor is only active during the motor’s startup sequence. Once the motor reaches a certain speed, a centrifugal switch or relay disengages the start capacitor. They are designed for short bursts of power and are usually smaller in physical size.
- Run Capacitor: A run capacitor, as the name suggests, stays in the circuit continuously while the motor is running. It helps to improve the motor’s efficiency and running torque. Some wood lathes use a combination of both start and run capacitors, while others might only have a run capacitor that also assists with starting in less demanding applications.
Understanding which type you might have is helpful, but the troubleshooting steps are often similar. The key takeaway is that this component is vital for your motor’s ability to start and run effectively.
Signs of a Failing Motor Capacitor

Catching a failing capacitor early can save you a lot of frustration. Here are the most common symptoms to watch out for on your wood lathe:
- Slow or No Start: This is the most classic sign. You flip the switch, the motor hums loudly, and either spins very slowly or not at all.
- Overheating Motor Hazard: If the motor is trying to start but can’t get going properly due to a bad capacitor, it can draw excessive current and overheat. You might notice an unusual smell or find the motor housing is too hot to touch after a failed start attempt.
- Intermittent Operation: The lathe might start fine some days but not others. This often happens as the capacitor starts to degrade.
- Reduced Power/Torque: Even if the motor starts, it might feel weak. It could struggle to maintain speed when you apply a load (like during a heavy cut) or might stop spinning if you try to turn a larger piece of wood.
- Distinct Humming Noise: A persistent, loud humming without the expected rotation is a tell-tale sign that the motor isn’t getting the help it needs from the capacitor to start.
These symptoms can also sometimes be caused by other motor issues or electrical problems, but the capacitor is a highly frequent and relatively easy fix for these specific issues. If you observe any of these, it’s a good time to investigate the capacitor.
Safety First: Working with Capacitors

Before we dive into the repair, let’s talk safety. Capacitors, even small ones, can store a significant electrical charge, even when the machine is unplugged. This stored energy can give you a nasty shock if you’re not careful. Treat every capacitor as if it’s still charged.
Here are the essential safety steps to follow:
- Unplug the Lathe: Always, always, always disconnect the lathe from the power source before you open the motor housing or touch any electrical components. Make sure the switch is also in the “off” position.
- Discharge the Capacitor: Even when unplugged, a capacitor can hold a charge. The safest way to discharge it is by using an insulated screwdriver with a metal shaft. Carefully touch the metal shaft across the two terminals of the capacitor simultaneously. You might see a small spark, which is normal and indicates it’s discharging. Hold it for a few seconds to be sure. Repeat this for any other capacitors present.
- Caution: Ensure your screwdriver has good insulation on the handle so your hand doesn’t bridge the gap. If you’re not entirely comfortable with this, you can also buy a specific capacitor discharge tool.
- Wear Safety Gear: Always wear safety glasses to protect your eyes from any unexpected sparks or debris. If you’re working in a dusty area, consider a dust mask.
- Work in a Dry Area: Ensure the area you’re working in is dry to prevent electrical hazards.
- Proper Tooling: Use insulated tools whenever possible when working around electrical components.
- Identify Before Touching: Don’t touch any wires or components you haven’t identified. If you’re unsure about something, stop and consult a professional or find more information.
A quick search on the Occupational Safety and Health Administration (OSHA) provides extensive information on electrical safety in the workplace, much of which applies to your home workshop too. Prioritizing safety ensures that your DIY fix doesn’t turn into an unexpected accident.
How to Diagnose a Bad Capacitor
Diagnosing a capacitor can be done with a few simple checks. You don’t always need specialized tools beyond what you might already have in your DIY arsenal.
Visual Inspection
Sometimes, a bad capacitor will show obvious signs of failure. After unplugging and discharging the capacitor (as per safety steps above), carefully inspect it. Look for:
- Bulging or Swollen Casing: If the top or sides of the capacitor appear puffed out or distorted, it’s a definite sign of internal failure.
- Leaking Fluid: Some capacitors may leak oily or black fluid from their seams or vents. This is another clear indicator of a problem.
- Cracked or Burnt Casing: Any visible cracks or signs of burning on the capacitor’s exterior mean it needs to be replaced.
If you see any of these visual cues, you know for sure you need a new capacitor. If it looks perfectly fine, you’ll need to proceed to electrical testing.
Testing with a Multimeter
A multimeter is your best friend for more precise diagnosis. You’ll need a multimeter that can measure capacitance (usually indicated by a “µF” or “Farad” setting). If your multimeter doesn’t have a capacitance setting, you can at least test for basic continuity and resistance.
Testing Capacitance (Ideal Method):
- Ensure the capacitor is fully discharged.
- Set your multimeter to the appropriate capacitance setting (µF).
- Touch the multimeter probes to the capacitor’s terminals. Note that some multimeters require you to insert the capacitor into specific slots on the meter.
- Compare the reading to the capacitance value printed on the capacitor’s casing (e.g., 10µF, 20µF, etc.).
An ideal reading will be very close to the printed value. What constitutes “close”? Generally, within 5-10% is considered good. If the reading is significantly lower than the printed value, or if it reads zero, the capacitor has likely failed.
Testing Resistance/Continuity (Less Precise but Helpful):
- Ensure the capacitor is discharged.
- Set your multimeter to a high resistance (ohms, Ω) setting.
- Touch the probes to the capacitor terminals.
- Watch the reading:
- Initially, you should see a resistance reading that gradually increases towards infinity (OL or a very high number). This indicates the capacitor is accepting a charge from the multimeter and holding it, which is a good sign.
- If the resistance immediately reads infinity (OL) and doesn’t move, the capacitor might be open (failed).
- If the resistance stays very low or goes to zero, the capacitor might be shorted (failed).
This resistance test is less definitive than a capacitance test, but it can help identify a completely dead (shorted or open) capacitor.
Common Capacitor Specifications
When you locate the capacitor on your lathe, you’ll see numbers and symbols printed on its side. These tell you crucial information:
Table: Understanding Capacitor Markings
| Marking | Meaning | Example |
|---|---|---|
| µF (microFarads) | Capacitance value. This is the most critical number for replacement. | 15 µF, 20 µF, 10-12 µF (dual rating) |
| VAC (Volts AC) | Working voltage. Must be equal to or greater than the original. | 250 VAC, 370 VAC, 450 VAC |
| AC | Specifies AC (Alternating Current) voltage, common for motor capacitors. | N/A |
| 50/60 Hz | Frequency rating. Usually not critical as most mains power is 50 or 60 Hz. | 50/60 Hz |
| ± % (Tolerance) | How close the actual capacitance will be to the printed value. (e.g., ±10% means it can be 10% higher or lower). | ± 5%, ± 6%, ± 10% |
Pay close attention to the µF (microFarad) rating and the VAC (Volt) rating. These must be matched or the new capacitor’s voltage rating must be higher for replacement. For instance, if your old capacitor is 10µF ±6% at 370VAC, you need to find a new one that is 10µF (ideally with ±6% tolerance) and rated at 370VAC or higher (e.g., 450VAC is fine).
Where to Find Capacitors: You can often find replacement capacitors at electronics supply stores, online retailers like Amazon or eBay, or specialized woodworking tool parts suppliers. Always try to match the µF value precisely. If you can’t find the exact tolerance, a slightly larger tolerance (e.g., ±10% instead of ±6%) is usually acceptable for most home workshop applications.
Step-by-Step DIY Capacitor Replacement
Ready to get your hands dirty? This section will guide you through safely replacing the faulty capacitor.
Tools and Materials Needed
- Replacement capacitor (matched to original specs)
- Insulated screwdriver (for discharging and potentially for removing terminals)
- Safety glasses
- Work gloves (optional, but recommended for grip and protection)
- Pliers (if terminals are tight)
- Camera or smartphone (to take pictures of wiring before disconnecting)
- Wire strippers/crimpers (if replacing spade connectors)
- New spade connectors or wire nuts (if needed)
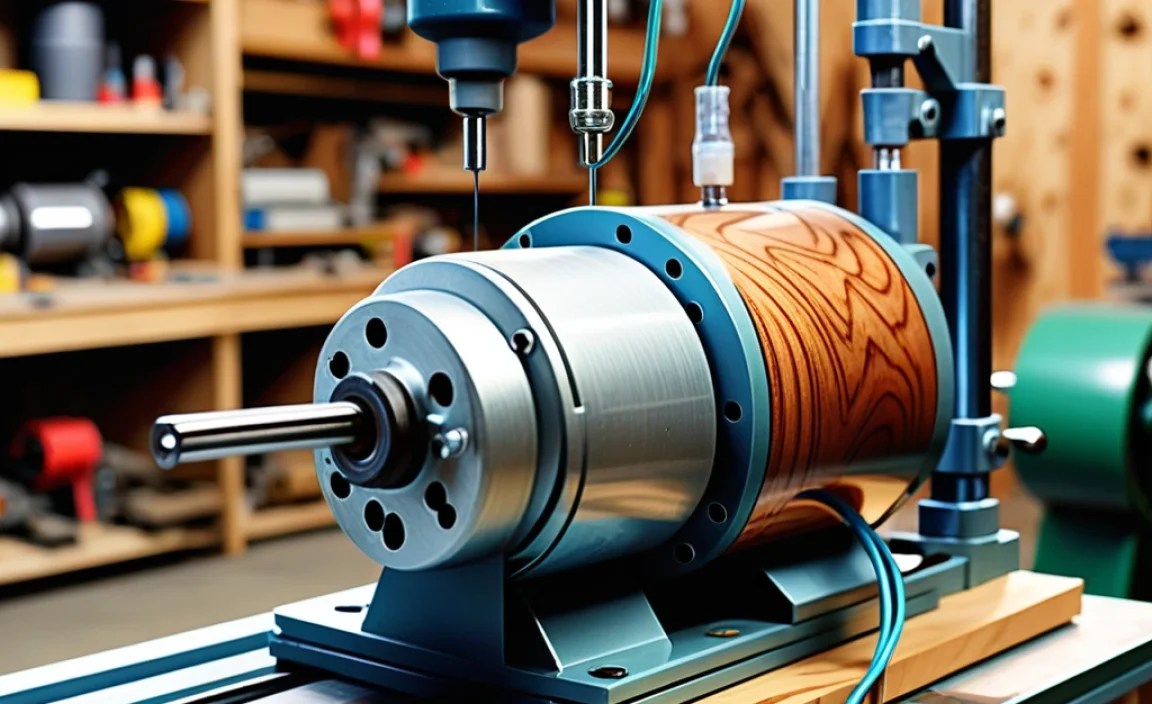
Locating the Capacitor on Your Lathe
The capacitor is usually housed within or very close to the motor assembly. You’ll typically need to remove a cover plate on the motor end bell or on the bottom of the lathe’s base where the motor is mounted.
- Access the Motor: Consult your lathe’s manual if you have it. Otherwise, identify where the motor is housed. This might be under a plastic shroud, a metal cover, or directly accessible.
- Remove Covers: Unscrew any necessary screws to remove the protective covers or access panels. Be careful to keep track of all screws so you can reassemble everything.
- Identify the Capacitor: Look for a small cylindrical component, usually black or metallic, with two wires or terminals coming out of it. It might be mounted with a bracket or simply tucked away. If your lathe has both start and run capacitors, they’ll often be grouped together. The start capacitor is typically smaller than a run capacitor.
Step 1: Discharging the Capacitor
As emphasized in the safety section, this is critical. Ensure the lathe is unplugged. Use your insulated screwdriver to bridge the two terminals of the capacitor. A small spark is normal. Repeat if unsure. If you see a capacitor discharge tool, use that.
Step 2: Document the Wiring
Before you disconnect anything, take clear photos of how the wires are connected to the capacitor terminals. This is your best reference for reassembly. Note the color of the wires and which terminal they connect to on the capacitor.
Step 3: Disconnecting the Old Capacitor
The wires are usually attached to the capacitor terminals via spade connectors or sometimes directly soldered. If they are spade connectors, gently pull them off the terminals. If they are stubborn, use pliers to carefully wiggle them off. If the wires are connected directly, you may need to carefully cut the wire close to the capacitor terminal, leaving enough wire to work with for the new connections, or use a soldering iron to desolder it.
Step 4: Removing the Old Capacitor
The capacitor is often held in place by a mounting bracket or clip. Unscrew any fasteners holding the capacitor in its mounting or release any clips. Then, carefully remove the old capacitor.
Step 5: Installing the New Capacitor
Place the new capacitor in the same location as the old one. Secure it using its mounting bracket or clip. Ensure it’s held firmly in place.
Step 6: Connecting the New Capacitor
Refer to your photos from Step 2. Connect the wires to the new capacitor’s terminals. If your new capacitor uses different terminals (e.g., screw terminals instead of spade), you may need spade connectors. If the wires have spade connectors, push them firmly onto the corresponding terminals of the new capacitor. Make sure the connections are snug and not loose.
If you had to cut wires, you’ll need to strip a small amount of insulation from the end of the wires connected to your lathe and attach new spade connectors, or connect them using appropriately sized wire nuts, ensuring all connections are secure and insulated.
Step 7: Reassembly and Testing
- Double-check all connections. Ensure no wires are pinched and that all connections are secure.
- Reinstall any covers or shrouds you removed.
- Ensure no tools or loose items are left inside the motor housing.
- Plug the lathe back into the power source.
- Turn on the lathe. The motor should now start up smoothly and quickly without excessive humming or hesitation.
