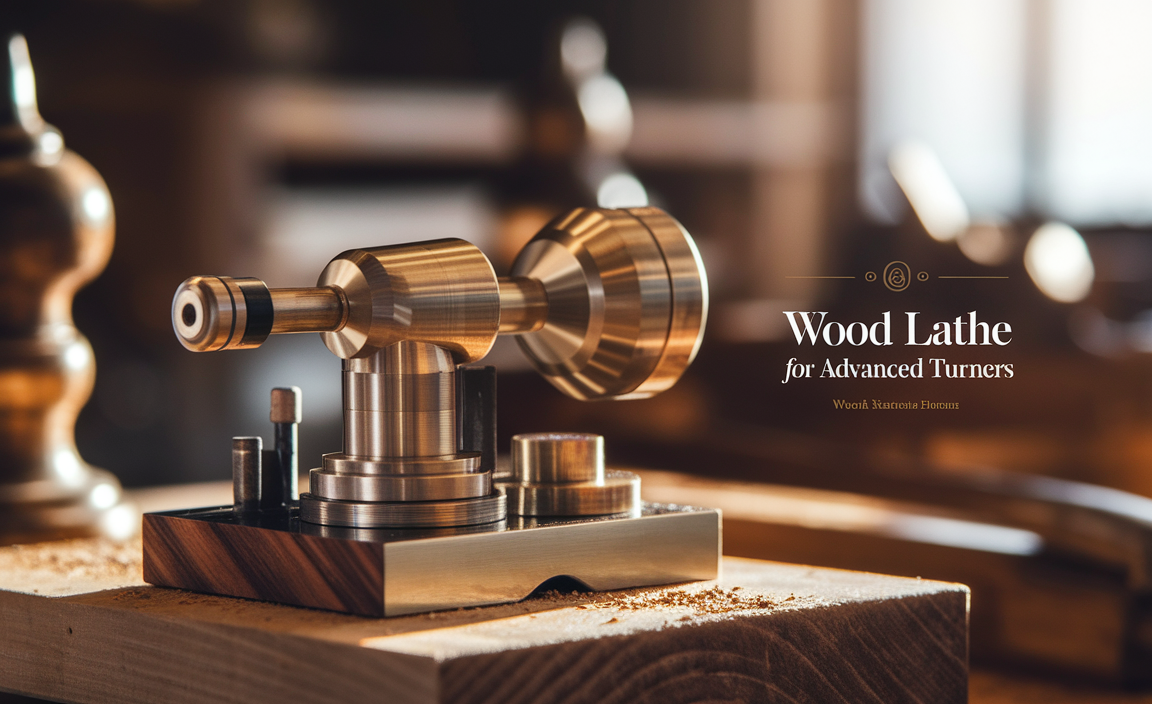
A wood lathe tool sharpening wheel kit will keep your turning tools razor-sharp, making every project easier and more enjoyable. It’s the key to clean cuts, perfect finishes, and safe operation.
Ever watched a perfectly turned bowl emerge from a block of wood? It looks effortless, but behind that smooth finish is a sharp tool. Dull tools fight back, leaving tear-out, rough surfaces, and a lot of frustration. For beginners, this can be a real confidence killer. But here’s the good news: maintaining that razor-sharp edge is totally achievable with the right setup. We’re talking about a wood lathe tool sharpening wheel kit. It might sound a bit technical, but it’s actually a straightforward way to bring your tools back to life. In this guide, we’ll walk you through exactly what you need to know to get your tools singing again, making your woodworking experience smoother, safer, and far more rewarding.
Why Sharpening Your Wood Lathe Tools is Non-Negotiable
Think of your wood lathe tools like the blades on a good kitchen knife. A dull knife is not only frustrating to use, but it’s also dangerous. It requires more force, increasing the chance of slipping and causing an injury. The same principle applies to woodturning. Sharp tools glide through wood with minimal effort, producing clean shavings and a smooth surface. Dull tools, on the other hand, will:
- Cause Tear-Out: Instead of cutting, dull tools will rip and tear the wood fibers, leaving a ragged, unfinished surface that requires significant sanding.
- Require More Force: You’ll have to push harder, leading to fatigue and an increased risk of losing control of the tool.
- Generate More Heat: Friction from dull edges can overheat your tools, potentially damaging the temper and making them harder to sharpen later.
- Produce Inferior Finishes: Achieving a truly smooth surface becomes nearly impossible, no matter how much you sand.
- Lead to Frustration: The joy of woodworking is lost when you’re constantly battling your equipment.
Regular sharpening isn’t just about making your life easier; it’s a crucial aspect of safe and effective woodworking. A sharp tool is a controlled tool, and control is paramount when working with a spinning piece of wood.
Understanding Wood Lathe Tool Sharpening Wheel Kits
A wood lathe tool sharpening wheel kit typically includes the essential components to get your tools honed to a keen edge. While specific kits can vary, here’s what you’ll generally find:
- Grinding Wheels: These are the heart of the system. You’ll usually get at least two:
- Coarse Grit Wheel: Used for reshaping tools, removing significant damage, or establishing a new bevel angle.
- Fine Grit Wheel: Used for refining the edge, removing the scratches from the coarse wheel, and creating a polished cutting surface.
- Tool Rests: Adjustable supports that hold your tool securely against the grinding wheel. Proper positioning is key to maintaining the correct bevel angle.
- Optional Accessories: Some kits might include grinding jigs, angle guides, water cooling systems (for some grinders), or diamond dressing sticks to keep the wheels clean and flat.
Types of Sharpening Systems
While “wheel kit” often implies a bench grinder setup, it’s worth knowing other methods that achieve a similar goal, though a dedicated wheel kit is often the most efficient for lathe tools.
For wood lathe tools, the primary methods revolve around:
- Bench Grinders with Mounted Wheels: This is the most common type of “tool sharpening wheel kit.” Usually, these are standard bench grinders (e.g., 6″ or 8″) fitted with specific grinding wheels designed for tool steel. They offer rapid material removal and are excellent for initial shaping and establishing bevels.
- Slow-Speed Grinders: These grinders spin at a much lower RPM (e.g., 400-600 RPM) compared to standard bench grinders (e.g., 3450+ RPM). They use water-cooled wheels which reduce the risk of overheating the tool’s temper. These are often favored by woodturners for their gentler approach and excellent finish.
- Honing and Stroping Systems: After grinding, a final honing using stones or a leather strop with polishing compound creates a mirror-sharp edge. While not a “wheel kit” itself, it’s a crucial follow-up step.
For this guide, we’ll focus on the bench grinder style wheel kit, as it’s the most prevalent and versatile for getting started and performing most sharpening tasks—from repair to routine maintenance.
Choosing the Right Wood Lathe Tool Sharpening Wheel Kit
When selecting a kit, consider these factors:
- Grinder Size: 6-inch or 8-inch grinders are most common for woodworking tools. Larger wheels can handle larger tools and may offer a slightly flatter grinding surface over time.
- Wheel Grit: Look for a combination of coarse (e.g., 36-60 grit) and fine (e.g., 80-120 grit) aluminum oxide wheels. Silicon carbide wheels are also available and can be good for certain steels.
- Motor Power: For occasional use, a 1/4 to 1/3 horsepower motor is usually sufficient. For frequent use or grinding tougher steels, a 1/2 horsepower motor provides more power and less bogging down.
- Included Accessories: Does it come with decent tool rests? Are there any angle guides or jigs included that will help you maintain consistent bevels?
- Brand Reputation and Reviews: Opt for brands known for quality and durability. Reading user reviews can reveal potential issues or confirm a kit’s reliability.
Don’t forget to also budget for safety gear, which we’ll cover shortly.
Essential Safety Gear for Sharpening
Safety first, always! Grinding wheels spin fast and throw off sparks and debris. Never skip these protective items:
- Safety Glasses or Face Shield: Essential. Sparks and metal fragments can cause serious eye injury. A full face shield offers maximum protection.
- Hearing Protection: Bench grinders can be loud. Earplugs or earmuffs will protect your hearing over time.
- Dust Mask or Respirator: Grinding creates fine dust, which isn’t good to breathe.
- Gloves: While some caution against gloves near spinning machinery due to entanglement risk, protective gloves are good for handling hot tools and keeping your hands clean. Just be mindful of keeping them away from the spinning wheel itself.
Setting Up Your Sharpening Station
A dedicated sharpening station will make the process much more efficient and enjoyable. It doesn’t need to be elaborate, but it should be:
- Stable: Mount your grinder securely to a workbench or a dedicated stand. Vibration can be a nuisance and affect precision. A solid surface prevents the grinder from “walking.”
- Well-Lit: Good lighting is crucial for seeing the bevel angle and the edge you’re creating.
- Accessible: Keep your tools, sharpening wheels, and safety gear within easy reach.
- Ventilated: Especially if you’re grinding in a small space, ensure there’s some airflow to clear dust and fumes.
Consider your woodworking area too. For woodturning, it’s often best to have a separate sharpening setup away from the main lathe area. This prevents dust and metal particles from contaminating your wood or getting into your lathe’s mechanisms. Many woodturners set this up in a corner of their workshop or even in a separate garage bay.
The Sharpening Process: Step-by-Step
This is where the magic happens! We’ll focus on sharpening common wood lathe tools like scrapers, gouges, and skew chisels. The core principle is to hold the tool at the correct bevel angle against the spinning wheel. Let’s break it down:
Step 1: Preparation and Safety Check
Before you even plug in the grinder:
- Put on all your safety gear (glasses/face shield, hearing protection, dust mask).
- Ensure the tool rests are properly secured and adjusted to be close to the wheels (about 1/8 inch gap is typical) but not touching.
- Inspect your grinding wheels for any cracks or damage. If a wheel looks compromised, do not use it.
- Make sure the area is clear of flammable materials.
Step 2: Reshaping Damaged Tools (Using the Coarse Wheel)
If your tool has nicks, chips, or a completely wrong bevel angle, you’ll start with the coarse wheel to fix it.
- Identify the Desired Bevel Angle: This is crucial. For most woodturning tools, common bevel angles are:
- Scrapers: Often around 60-75 degrees flat.
- Gouges (Spindle/Flute): Typically 30-45 degrees for general work.
- Skew Chisels: Varies, but a common general-purpose bevel is around 40-45 degrees.
- Position the Tool: Rest the tool’s bevel against the coarse grinding wheel.
- Adjust Tool Rest: Place your tool on the tool rest and adjust the rest so the wheel contacts the bevel at the correct angle. You can use an angle gauge or eyeball it based on your knowledge. Aim to grind the entire face of the bevel evenly.
- Grind in Short Bursts: Hold the tool handle firmly and sweep it back and forth across the wheel. Don’t let one spot overheat. Dip the tool in water frequently to cool it. This is critical to avoid drawing the temper from the steel.
- Check Progress: Periodically lift the tool to check your progress. You’re aiming to remove the damaged area and establish a consistent angle.
- Form the Cutting Edge: For tools like scrapers, you’ll be grinding the edge flat. For gouges and skews, you’ll be grinding the bevels that form the cutting edge.
Writer’s Tip on Bevel Angles: Don’t be afraid to experiment slightly with bevel angles to see what works best for your turning style and the types of wood you use. A lower angle (e.g., 30 degrees) is sharper but more fragile. A higher angle (e.g., 45 degrees) is more durable but may require more effort to cut. For beginners, starting around 40-45 degrees is a safe bet.
Step 3: Refining the Edge (Using the Fine Wheel)
Once the tool is reshaped with the coarse wheel, it’s time to refine the edge and remove the coarse scratches.
- Switch to the Fine Wheel: Ensure the grinder is off and unplugged before swapping or adjusting wheels.
- Position the Tool: Similar to step 2, rest the tool’s bevel against the fine grit wheel.
- Grind Lightly: With the fine wheel, you’re not removing much material. The goal is to smooth out the coarse scratches and hone the edge. Use light pressure and maintain the same bevel angle.
- Cool Frequently: Continue to dip the tool in water regularly. The fine grit wheel can still generate heat.
- Develop a Keen Edge: You should feel the edge becoming sharper as you refine it.
Step 4: Honing and Stroping (Crucial for a Razor Edge!)
Grinding creates a keen edge, but for that glass-smooth cut, you need to hone and strop. This step removes the “wire edge” or “burr” left by grinding and polishes the very apex of the cutting edge to a mirror finish.
- Honing Stones: Use fine-grit sharpening stones (water stones or oil stones are common). Angle the tool so the bevel rests on the stone at the same angle you ground it. Make light, smooth passes across the stone, moving from heel to toe of the bevel. Alternate sides.
- Leather Strop: This is a leather belt or paddle, often charged with a fine abrasive compound (like chromium oxide). With the bevel flat on the strop, pull the tool backward (away from the edge) in short strokes. Again, alternate sides and use light pressure. This final step removes any remaining burr and polishes the edge to perfection.
Pro Tip: Keeping your honing stones clean and flat (dressing them regularly) is key to effective sharpening. A diamond dressing stick is indispensable for this.
Sharpening Specific Wood Lathe Tools
Different tools have slightly different sharpening techniques. Here are a few common ones:
Sharpening Gouges (Spindle and Bowl)
Spindle Gouges:
- Bevel Angle: Typically 30-45 degrees.
- Technique: Hold the gouge with the flute facing upwards. Rest the tool on the tool rest so the bevel contacts the grinding wheel at your desired angle. Sweep the gouge back and forth along the wheel, grinding both bevels evenly. You’re sharpening the two sides of the flute.
- Follow-up: After grinding, a slip stone is excellent for honing the inside of the flute.
Bowl Gouges:
- Bevel Angle: Typically 40-55 degrees, depending on desired cut.
- Technique: These have a more swept-back wing shape. Hold the gouge with the flute about 45 degrees off vertical. Rest the tool on the rest, letting the wheel grind the wing bevel. Rotate the gouge and sweep it side-to-side to grind both wings evenly, maintaining the flute angle as much as possible.
- Follow-up: Strop the wings and the inner flute if accessible.
Sharpening Scrapers
Scrapers are used for fine finishing and removing tool marks.
- Bevel Angle: Flat or slight angle (just enough to create a burr).
- Technique: Hold the scraper flat on the tool rest. Grind the cutting edge. You’re essentially creating a tiny burr on the edge. Turn the scraper and grind the opposite edge if needed.
- Follow-up: Use a file or a diamond stone to create a very fine burr or “hook” on the edge. Then, hone with a fine stone.
Sharpening Skew Chisels
Skew chisels are versatile for planing, beading, and cutting tenons.
- Bevel Angle: Common angles are 30, 40, or 45 degrees.
- Technique: Hold the skew so the bevel contacts the wheel. You’ll be grinding one bevel. Rotate the skew to grind the other bevel. Maintain the sharp point and symmetrical bevels.
- Follow-up: Strop the bevels carefully to maintain the crisp edge.
Maintaining Your Grinding Wheels
Grinding wheels don’t stay perfect forever. They can glaze over with metal residue or become uneven.
- Dressing: Use a wheel dresser (a diamond-tipped tool or a star-shaped cutter) to clean the surface of the wheel and remove embedded metal. This exposes fresh abrasive particles and keeps the wheel flat. Do this regularly, especially if you notice reduced cutting action or excessive heat.
- Cooling: Always use water to keep wheels cool. A small bucket of water next to your grinder is essential. Dip your tool frequently.
- Flatness: A flat wheel provides a consistent bevel angle. Dress the wheel to maintain its flatness.
For more on wheel maintenance and understanding abrasive types, resources like Wood Magazine often provide excellent practical advice.
Common Sharpening Mistakes and How to Avoid Them
Even with the best intentions, beginners can make errors. Here are a few to watch out for:
| Mistake | Reason | How to Avoid |
|---|---|---|
| Overheating the Tool | Losing the temper means the steel won’t hold an edge. | Dip the tool in water frequently. Grind in short bursts. Use a fine grit wheel for final honing. |
| Inconsistent Bevel Angle | Results in an uneven cut and difficulty in achieving a sharp edge. | Use consistent pressure on the tool rest. Practice holding the tool at the desired angle. Consider angle guides if needed. |
| Not Removing the Burr (Wire Edge) | The tool will feel sharp but won’t cut cleanly. | Always follow grinding with careful honing and stropping. |