Have you ever seen a beautifully shaped bowl that seems to defy the ordinary? Woodworkers use a technique called lathe turning to create these amazing pieces. Preparing a winged bowl blank is an exciting step in this process. But what does that really mean?
Imagine holding a rough piece of wood. It looks unformed and plain. Yet, with careful preparation, that piece can transform into a stunning winged bowl. Did you know that the right preparation is key to making your design shine? It’s true! If you skip this step, your beautiful bowl might not turn out as you dream.
In this article, we will explore how to prepare a lathe turning winged bowl blank. We will share tips and tricks that will make your crafting adventure fun and successful. Are you ready to learn how to turn that simple wood into a masterpiece? Let’s dive in!
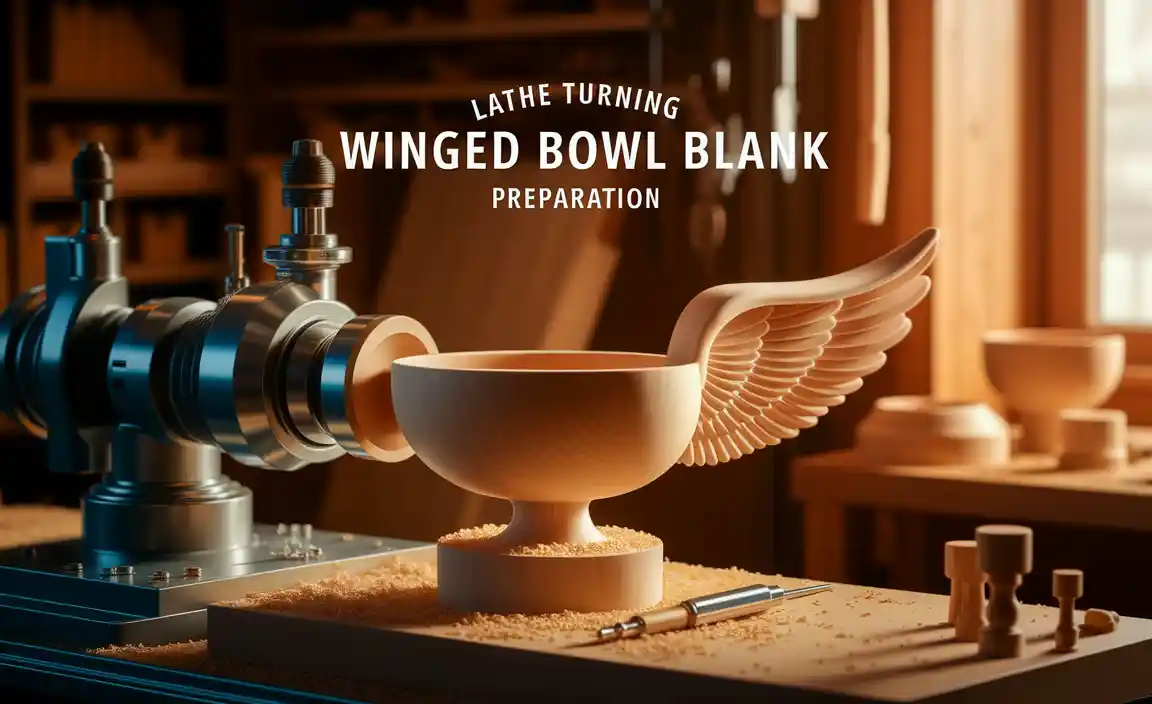
Lathe Turning Winged Bowl Blank Preparation Guide
Preparing a lathe turning winged bowl blank can be exciting and educational. First, choose a suitable wood type, like maple or cherry, for strength and beauty. Shape the wood into a solid, round form, which helps prevent splits. Did you know that a well-cut blank can highlight the wood’s unique grain patterns? Once the rough shape is ready, mount it securely on the lathe. Keeping it steady is crucial for smooth turning. By following these steps, you’ll create stunning winged bowls that impress everyone. Ready to start your adventure in woodturning?
Understanding Winged Bowls
Definition and characteristics of winged bowls. Benefits of creating winged bowls in woodworking.
Winged bowls are unique and beautiful creations. They have raised sides that give them a distinctive look. People love making winged bowls because they are fun and challenging. Here are some exciting traits:
- Artistic appeal: Winged bowls can be very eye-catching.
- Functional: They are great for serving or displaying items.
- Creative freedom: You can experiment with shapes and styles.
Creating winged bowls can boost your woodworking skills. This process improves hand-eye coordination and sharpens creativity. Plus, they make wonderful gifts or home décor. Who wouldn’t love a unique bowl made just for them?
What are the benefits of making winged bowls?
Making winged bowls improves your woodworking skills and lets your creativity shine. They can be functional art pieces too!
Selecting the Right Wood for Your Project
Types of wood suitable for winged bowls. Factors to consider: grain, stability, and workability.
Choosing the right wood is key for your winged bowl. Some great types include:
- Maple: Strong and easy to work.
- Cherry: Beautiful color that deepens over time.
- Walnut: Dark, rich tones for a stunning finish.
Consider factors like grain, stability, and workability. You want wood that looks good and won’t crack easily. Soft woods can be tough to shape, while hard woods hold their form well. Enjoy finding the perfect piece!
What’s the best wood for winged bowls?
Maple, cherry, and walnut are popular choices. These woods are strong and have nice looks. Choose the one that fits your project best!
Tools and Equipment Needed
Essential tools for lathe turning. Safety gear and protective equipment.
Starting with lathe turning, you will need some important tools. First, you’ll need a lathe. A lathe spins wood so you can shape it easily. Next, you need chisels to carve your design. Don’t forget a faceplate to hold the bowl blank. These tools help create the perfect shape.
Safety is key! Always wear safety goggles to protect your eyes. Also, ear protection guards your hearing from loud sounds. Here’s a quick list:
- Lathe
- Chisels
- Faceplate
- Safety goggles
- Ear protection
Preparing the Wood Blank
Stepbystep process of cutting and shaping the wood blank. Importance of sealing and drying the wood before turning.
First, grab your wood chunk and make it a bit smaller, like a haircut for trees. Cut it into a rough shape, maybe a square or rectangle. Use a saw—just don’t let it bite you! Next, use sandpaper to smooth those edges so no one gets splinters. It’s like a spa day for wood! Sealing and drying the wood is very vital; it helps prevent cracks during turning. Think of it as protecting your masterpiece before the big show!
| Step | Action |
|---|---|
| 1 | Cut the wood to size |
| 2 | Smooth edges with sandpaper |
| 3 | Seal and dry the wood |
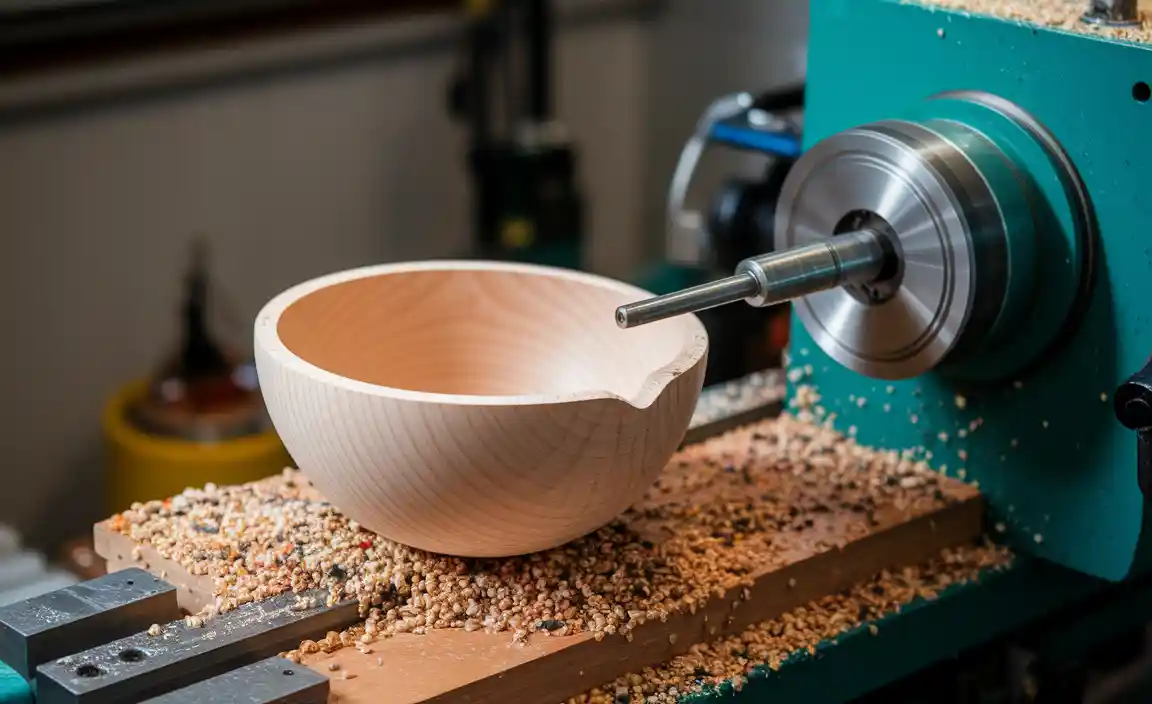
Mounting the Bowl Blank on the Lathe
Techniques for securely attaching the blank. Tips for ensuring balance and stability during turning.
To ensure your bowl blank is secure on the lathe, follow these techniques:
- Use a strong faceplate to attach the blank. This creates a solid hold.
- Check the jaw alignment if using a chuck. Alignment ensures it grips well.
- Use wooden spacers for extra stability on uneven pieces.
Balancing the bowl is key for smooth turning. Start by centering the blank carefully. Tap the blank lightly to find its balance point. If it wobbles, make adjustments. A well-balanced blank gives you better control and safer turning.
How do you ensure balance when using a lathe?
To achieve balance, center the blank carefully on the lathe. Check for wobbling and adjust as needed.
Turning Techniques for Winged Bowls
Unique methods specific to winged bowl turning. Handling challenges such as grain orientation and tool control.
Turning winged bowls is an art! Unique methods make it fun and challenging. One trick is to think about the wood grain and tool control. It’s all about knowing where that grain wants to go. If you don’t, it might just surprise you—like a wood surprise party! Practice makes perfect here. Balance is key. When your tools dance smoothly, the bowl sings, like a spoon in a jam! Remember, time and patience lead to great bowls.
| Technique | Description |
|---|---|
| Grain Awareness | Understand grain direction to minimize tearing. |
| Tool Control | Keep a steady hand for smooth curves. |
| Balanced Cuts | Make cuts from the inside out for better stability. |
Finishing Your Winged Bowl
Sanding techniques for a smooth finish. Options for applying finishes and sealants.
To get your winged bowl looking its best, start with sanding. Use different grit sandpaper, beginning with rough and moving to fine. Sanding takes time, but it makes a big difference. Think of it as giving your bowl a spa day!
Next, apply your finish. Options include oils and waxes that enhance the wood grain. Some even add a touch of shine that makes you want to wear sunglasses indoors!
| Finishing Type | Description |
|---|---|
| Oil Finish | PENETRATES wood for a natural look. |
| Wax Finish | GIVES a shiny surface that’s soft to the touch. |
| Varnish | CREATES a hard, protective layer. |
Choose what suits you best, and your bowl will shine bright like a diamond!
Common Mistakes to Avoid
Frequently encountered issues in winged bowl turning. Tips to troubleshoot and correct mistakes.
Making a winged bowl can be a bit tricky. Common mistakes include not securing the blank tight enough, which could turn your masterpiece into a flying saucer! Checking your tool angles is also key. Dull tools can lead to rough edges, making it look more like a potato than a bowl. If you hear strange noises, that’s your lathe begging for help! Keep your workspace neat, and watch out for loose debris. A little caution goes a long way!
| Mistake | Tip to Fix |
|---|---|
| Loose blank | Secure it tightly |
| Dull tools | Sharpen them regularly |
| Error in design | Sketch first |
Showcasing Your Finished Piece
Ideas for displaying or gifting winged bowls. How to photograph and market your work effectively.
Show off your beautiful winged bowls in fun ways! You can place them on a stand or hang them on the wall. They make thoughtful gifts for friends, especially at special events. To take great photos, use good light and a simple background. This helps your bowls look their best. Share your pictures on social media to reach more people!
What are some fun ways to display or gift winged bowls?
Consider these ideas:
- Use a decorative stand to elevate the bowl.
- Hang it on a wall for unique art.
- Wrap it in nice paper for a gift.
- Use it as a centerpiece on a table.
How can you market your winged bowls effectively?
Show them off using great photos on social media.
Good lighting helps your bowls shine. Use simple backgrounds to keep focus on the beauty of your work. Share stories about how you made each bowl to connect with buyers. Your creativity deserves to be seen!
Conclusion
In conclusion, preparing a lathe turning winged bowl blank is an exciting project. Start by selecting the right wood and cutting it to size. Secure your blank firmly in the lathe. Remember to work slowly and safely. We encourage you to practice these skills and read more about turning techniques. You’ll create beautiful bowls in no time!
FAQs
Sure! Here Are Five Questions Related To Lathe Turning Winged Bowl Blank Preparation:
Sure! Here are five questions about preparing a bowl blank for lathe turning: 1. What is a bowl blank? A bowl blank is a block of wood shaped like a rough bowl. 2. How do I choose the right wood? You should pick a sturdy, dry piece of wood without cracks. 3. Why is safety important? Safety is important to protect yourself from tools and flying wood pieces. 4. What tools do I need? You will need a lathe, chisels, and safety gear like goggles. 5. How do I start? First, secure the wood on the lathe. Then, slowly start shaping it.
Sure! Please ask your question, and I’ll be happy to help you with a short answer.
What Types Of Wood Are Commonly Used For Preparing Winged Bowl Blanks, And How Does The Choice Of Wood Affect The Final Piece?
Common woods for making winged bowl blanks are maple, cherry, and walnut. These woods are strong and look nice when finished. Choosing a wood affects the bowl’s color and grain pattern. Some woods are lighter, while others can be very dark. You can pick different woods to show off your style!
What Steps Should Be Followed To Secure And Stabilize A Winged Bowl Blank On The Lathe Before Turning?
To secure a winged bowl blank on the lathe, start by checking it for any loose or wobbly parts. Then, use a strong chuck to hold the blank tightly. Next, make sure the tailstock is pushing against the blank for extra support. Finally, turn the lathe on slowly to see if everything feels balanced and secure before you start shaping the bowl. Always wear safety gear while you work.
How Can You Effectively Balance A Winged Bowl Blank To Ensure Smooth Turning And Minimize Vibration During The Lathe Process?
To balance a winged bowl blank, start by checking its weight. Make sure the bowl is even on all sides. You can do this by placing it on a flat surface. If one side is heavier, trim off some wood from that side. This helps reduce any shaking when you use the lathe, making your project smoother and nicer.
What Specific Tools And Techniques Are Recommended For Shaping And Refining The Wings Of A Bowl During The Turning Process?
To shape and refine the wings of a bowl, you can use special tools like a bowl gouge, which has a curved edge. We also use scrapers to smooth the surface and make it nice. Sandpaper helps us make the wings look smooth and shiny. Always go slowly and check your work as you turn the bowl. This way, you can make it just the way you want!
What Safety Precautions Should Be Taken When Preparing And Turning A Winged Bowl Blank On A Lathe?
When you prepare a winged bowl blank on a lathe, you should always wear safety goggles to protect your eyes. Make sure your hair is tied back and your sleeves are rolled up to keep them away from the machine. Use a face shield to protect your face from flying chips. Keep your hands at a safe distance from the rotating blank. Finally, always check that your tools are sharp and in good condition before you start.