Have you ever watched a piece of wood spin on a lathe? It’s like magic! One moment, it’s just a block of wood. Then, with skillful hands, it becomes a shiny pen. This art is called pen turning. It turns simple wood into something special.
Imagine holding something you made yourself. How cool is that? Many people love pen turning because it’s fun and rewarding. The wood lathe is like a big helper in this hobby. It patiently spins the wood while you do the creative work. Here’s a fun fact: Did you know the wood lathe has been around for thousands of years? People used it in ancient Egypt! Now, you can try this ancient tool to make something beautiful. Why not give it a spin? Discover the world of pen turning and create your masterpiece.
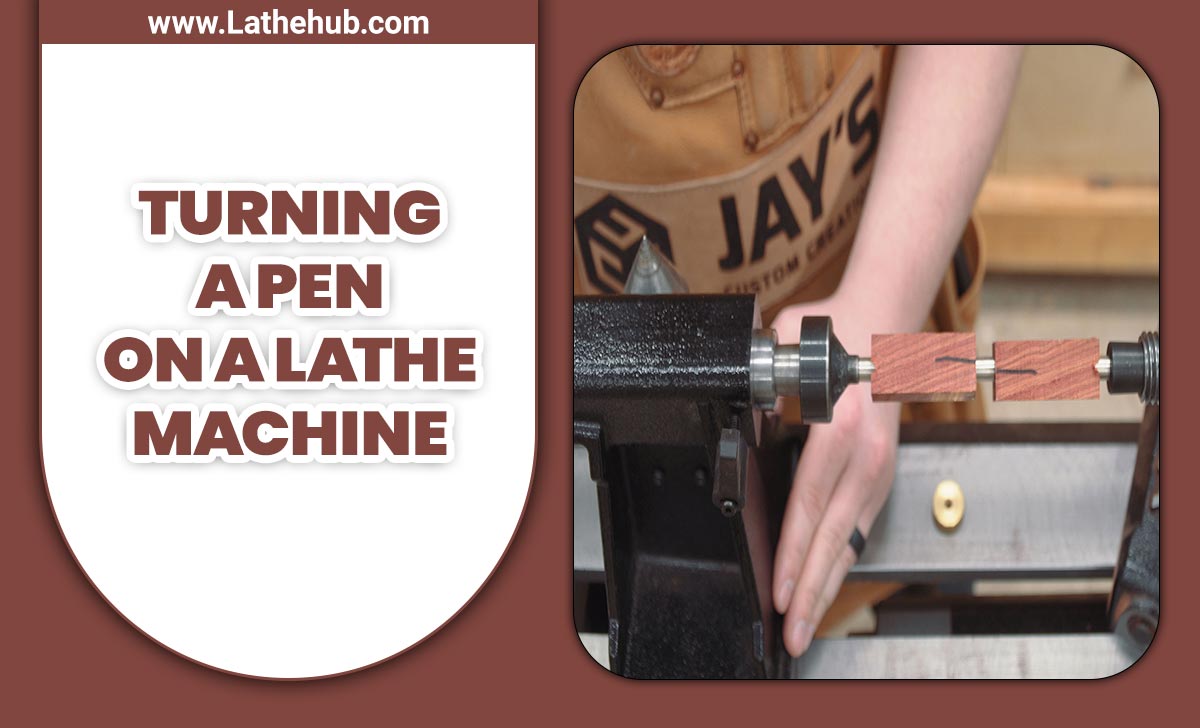
Discover the Joy of Pen Turning with a Wood Lathe
Have you ever wondered how a wooden pen is made? A pen turning wood lathe makes it happen! Picture spinning wood blocks transforming into beautiful, sleek pens right before your eyes. It’s almost like magic, but it’s real. Pen turning combines creativity with skill, offering an exciting, hands-on hobby. Anyone can learn this craft, shaping each pen with precision and care. Ready to start your crafting adventure?
Choosing the Right Wood Lathe for Pen Turning
Key features to look for in a wood lathe specific to pen turning. Comparing different types and brands of wood lathes.
Picking the right wood lathe for pen turning is a bit like shopping for shoes—comfort and fit are key! Look for features like adjustable speed and a sturdy base to ensure smooth crafting. Comparing brands can be like choosing your favorite flavor of ice cream—everyone’s got a preference. For beginners, brands like Jet and Rikon offer a perfect mix of reliability and ease of use.
| Feature | Jet | Rikon |
|---|---|---|
| Adjustable Speed | Yes | Yes |
| Sturdy Base | Yes | Yes |
| Price Range | Mid-High | Mid |
Both brands offer a solid grip on the basics, much like a good pen itself. So, test what suits your hand best, and you’ll be turning out masterpieces in no time! After all, Albert Einstein said, “Creativity is intelligence having fun.” Enjoy crafting, and remember to keep your lathe as sharp as your wit!
Preparing Your Wood Blank
Stepbystep guide to cutting and drilling the wood blank. Tips for selecting and preparing the right sized pen blank.
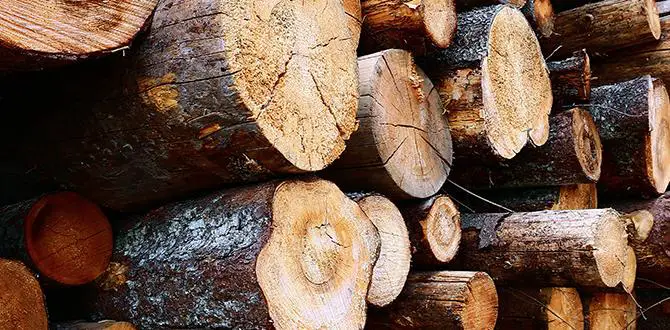
To prepare your wood blank for pen turning, follow these steps. First, pick a wood blank that is slightly larger than your pen kit’s size. This ensures enough room for mistakes. Cut your blank to the needed length using a saw.
- Hold the blank steady for a clean cut.
- Use a miter box if possible.
Next, drill a hole through the center using a drill press. Make sure the hole is straight. Why is this important? A straight hole keeps the pen aligned. Choose a drill bit that matches the pen kit’s tube size for perfect fitting.
Why is using the right-sized pen blank crucial?
Using the right size prevents wastage and makes turning easier. The blank should be a bit bigger than the pen components. This allows sanding and shaping without losing size.
Turning Techniques for Perfect Pens
Detailed walkthrough of the pen turning process on a lathe. Tips on achieving smooth finishes and avoiding common mistakes.
Pen turning on a wood lathe is a fun way to make beautiful pens. Start by choosing the right wood and cutting it to size. Place it on the lathe using a mandrel. Spin it at a moderate speed. Use sharp tools to shape the wood. Smooth the surface with fine sandpaper. Apply a finish for a shiny look. Avoid common mistakes by maintaining a steady hand. Use eye protection too! With practice, you’ll make pens with smooth finishes and cool designs.
What is the easiest type of wood to use for pen turning?
Basswood or maple are the best for beginners. These woods are soft and easy to shape. They are also less likely to splinter. Try them for the best results when starting out in pen turning.
Finishing and Assembling Your Pen
Techniques for sanding and finishing the pen for a polished look. Guide to assembling the pen components successfully.
Picture this: your crafted pen is almost ready, but like a superhero without a cape, it needs a final touch. Sanding is your trusty sidekick. Start with rough sandpaper and work your way up to finer grits. This makes the pen feel smooth as a sprinter’s legs at the Olympics! Next, apply a finish. Use a soft cloth to polish until it shines like a unicorn’s horn under the sun.
Now, it’s time to assemble. Match the pieces like a jigsaw puzzle and fit them perfectly, like Batman and Robin. The nib, cap, and body should come together harmoniously. A nicely assembled pen not only writes well but inspires you to write poems about macaroni and cheese. Check the table below for a quick assembly guide.
| Part | Action |
|---|---|
| Nib | Attach to the body |
| Body | Secure cap |
| Cap | Twist gently |
Remember, a well-made pen is your best friend in the world of words. Enjoy the satisfaction of giving your pen life!
Advanced Tips and Tricks for Professional Results
Exploring decorative techniques: inlays, dyes, and more. Troubleshooting common pen turning issues.
Want to make your pen turning project pop like a glitter bomb? Try adding inlays or using dyes. These techniques can turn plain wood into a stunning masterpiece. Don’t let mistakes slow you down! Common problems like rough finishes or crooked pens have solutions. Keeled over with frustration? Relax, most issues are minor and can be fixed with a bit of sanding or alignment. Remember, practice makes progress! Explore these ideas for smooth results and wow-worthy pens!
| Issue | Quick Fix |
|---|---|
| Rough Finish | Sand with finer grit |
| Crooked Pen | Adjust alignment |
Inlays and dyes aren’t just for art class; they add personality to your pens. As a woodturning wizard, overcoming small hiccups with ease will make the process much smoother. As they say, ‘Success is not whining, but winning with style and color!’
Resources and Communities for Pen Turners
Recommendations of online forums, groups, and tutorials. Suggested reading and courses for expanding pen turning skills.
Joining a pen turning community is like finding a group of wizards who turn wood into wonders. Online forums and groups, such as Woodturners Unlimited or The International Association of Penturners, let you chat and share tips with fellow enthusiasts. They are like Facebook, but for pen magicians! They offer tutorials, videos, and podcasts to sharpen skills. If you want a deeper dive, try courses. “The Pen Turner’s Bible” offers great wisdom, while platforms like Udemy host workshops for every skill level.
| Resource | Description |
|---|---|
| Woodturners Unlimited | Discuss ideas, share projects, and get advice. |
| The International Association of Penturners | Engage in forums, access tips, and view inspiring galleries. |
| “The Pen Turner’s Bible” | A book filled with secrets for perfect pen crafting. |
| Udemy Workshops | Online classes for honing your pen turning skills. |
As you glide through these resources, remember what Benjamin Franklin said, “Tell me and I forget. Teach me and I remember. Involve me and I learn.” Engaging in these communities ensures you’re never spinning your wheels alone!
Conclusion
Pen turning with a wood lathe lets you create unique, handcrafted pens. It’s a fun and creative hobby. You can experiment with different woods and designs. Start with basic tools, and you’ll improve over time. Remember to practice safely. To learn more, check out beginner guides or videos online. Enjoy transforming simple wood into beautiful pens!
FAQs
What Are The Essential Tools And Materials Needed For Turning A Pen On A Wood Lathe?
To turn a pen on a wood lathe, you need a few important tools and materials. First, you need a wood lathe, which spins the wood while you shape it. You also need pen blanks, which are pieces of wood to make the pen. A drill is important to make holes for the pen parts. Finally, you will need a set of turning tools to help you carve the pen neatly.
How Do You Select The Right Type Of Wood For Creating A Pen, And What Are Some Popular Choices?
To pick the right wood for making a pen, you should think about how it looks and feels. Some woods are really pretty, while others feel nice in your hand. Popular choices include maple, walnut, and cherry. Each type has a different color and grain pattern. Try to choose one that you like the most!
What Are The Steps Involved In Turning A Pen On A Wood Lathe, From Preparing The Blank To Finishing The Pen?
First, you choose a piece of wood called a blank. Next, you cut the blank to the right size. Then, you put the blank on the lathe, which spins it. As it spins, you use special tools to shape the pen. Finally, you smooth the pen and add a finish to make it shine.
What Safety Precautions Should Be Taken When Using A Wood Lathe For Pen Turning?
When you use a wood lathe for pen turning, always wear safety goggles to protect your eyes. Keep your hair tied back and wear a dust mask to avoid breathing in wood dust. Make sure your clothes are snug and watch your hands. Don’t use the lathe if you’re tired or distracted. Finally, always follow the instructions and ask for help if you’re unsure.
How Can You Customize And Embellish Your Pen Designs To Create Unique And Personalized Items?
You can make your pens special by adding stickers or drawings. Use colorful tape to wrap around the pen. You can also paint designs or write your name on it. Choose beads or charms to hang from the pen clip. These ideas help you create a pen that is truly yours!