A wood lathe sanding mandrel is crucial for smooth finishes on small turnings. This guide provides essential tips for selecting, using, and maintaining mandrels to achieve professional results safely and efficiently for all your small project needs.
Unlock the Secret to Flawless Finishes: Your Wood Lathe Sanding Mandrel Guide

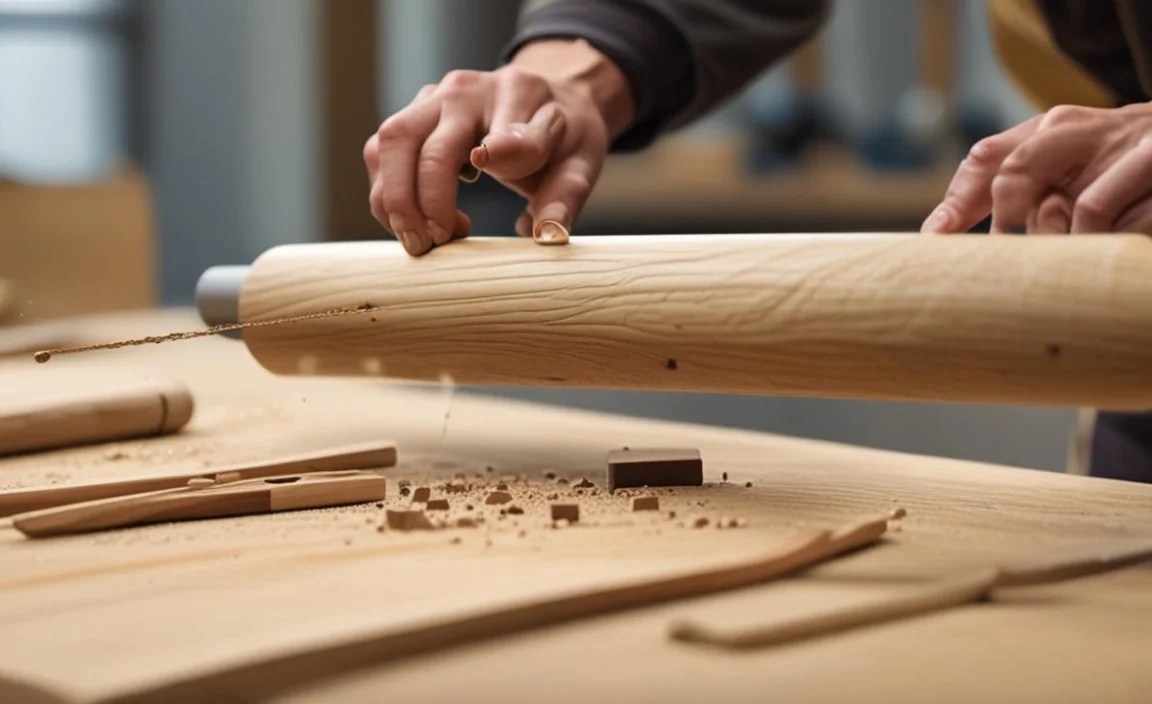
Ever feel like you’re wrestling with sandpaper on small wooden projects, only to end up with a less-than-perfect finish? You’re not alone! Getting that smooth, professional sheen on those intricate pieces can be tricky. The culprit is often not the sandpaper itself, but the tool used to hold it. That’s where the humble wood lathe sanding mandrel comes in. It’s a small but mighty tool that can make all the difference between a frustrating sanding session and a satisfying one. In this guide, we’ll demystify the sanding mandrel, covering everything you need to know to use it effectively and safely on your small projects, ensuring you get that beautiful, flawless finish every time.
What Exactly is a Wood Lathe Sanding Mandrel?

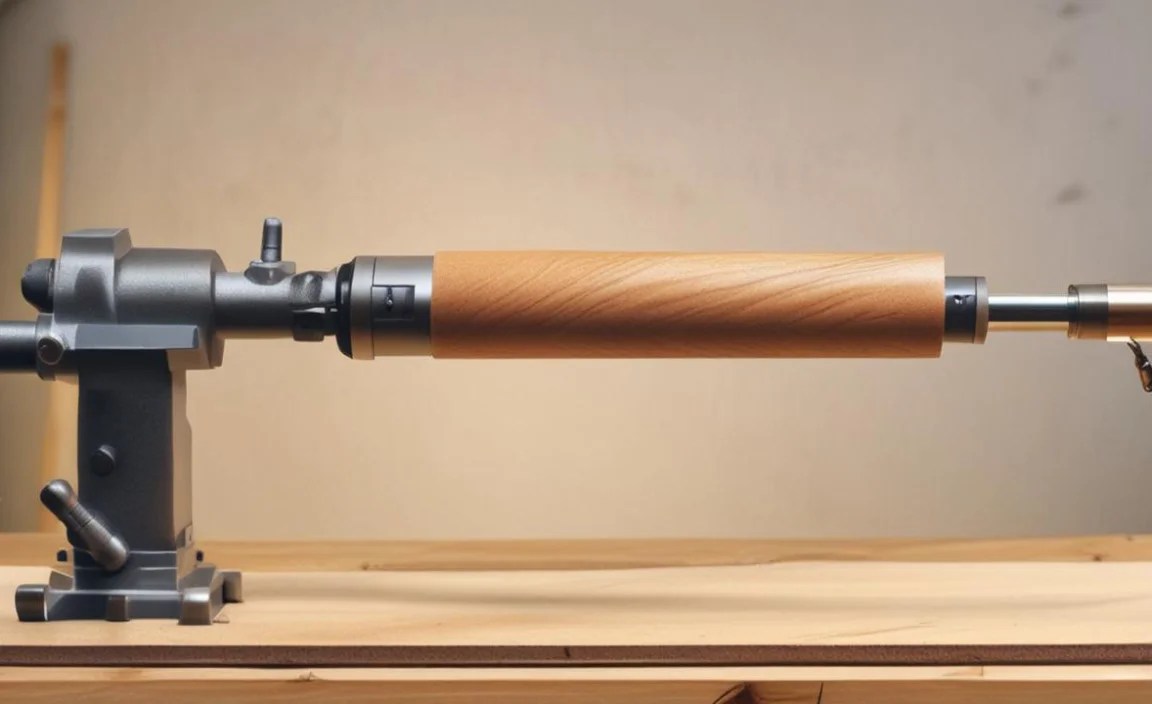
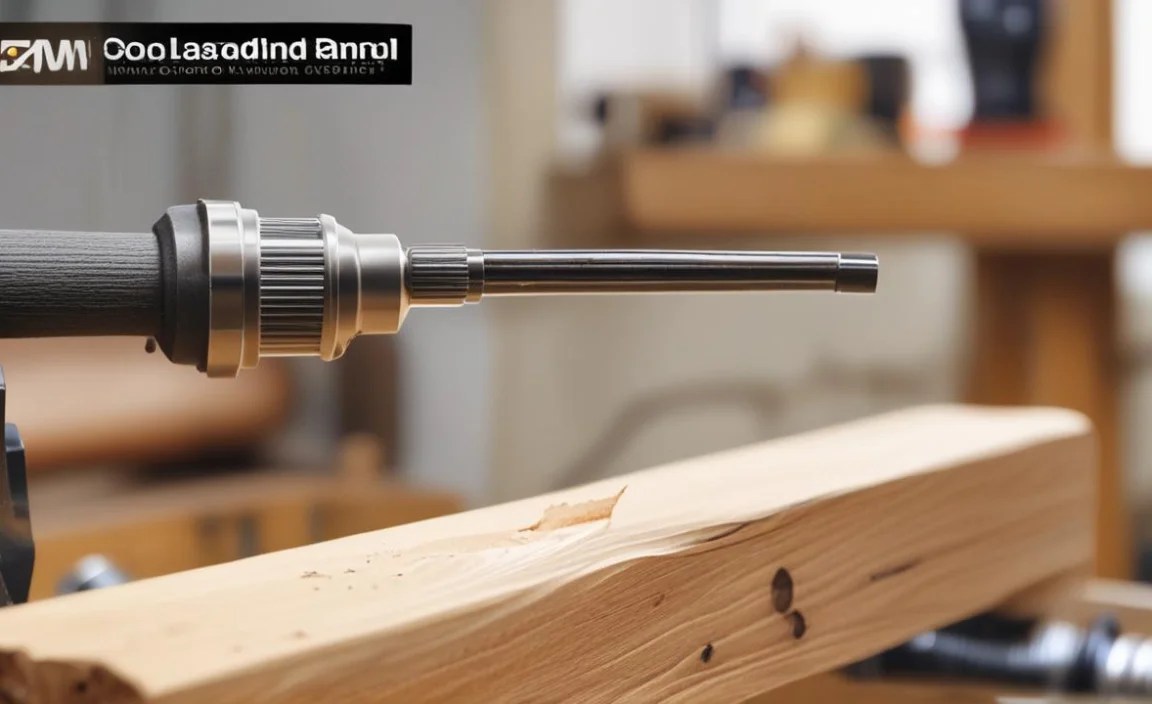
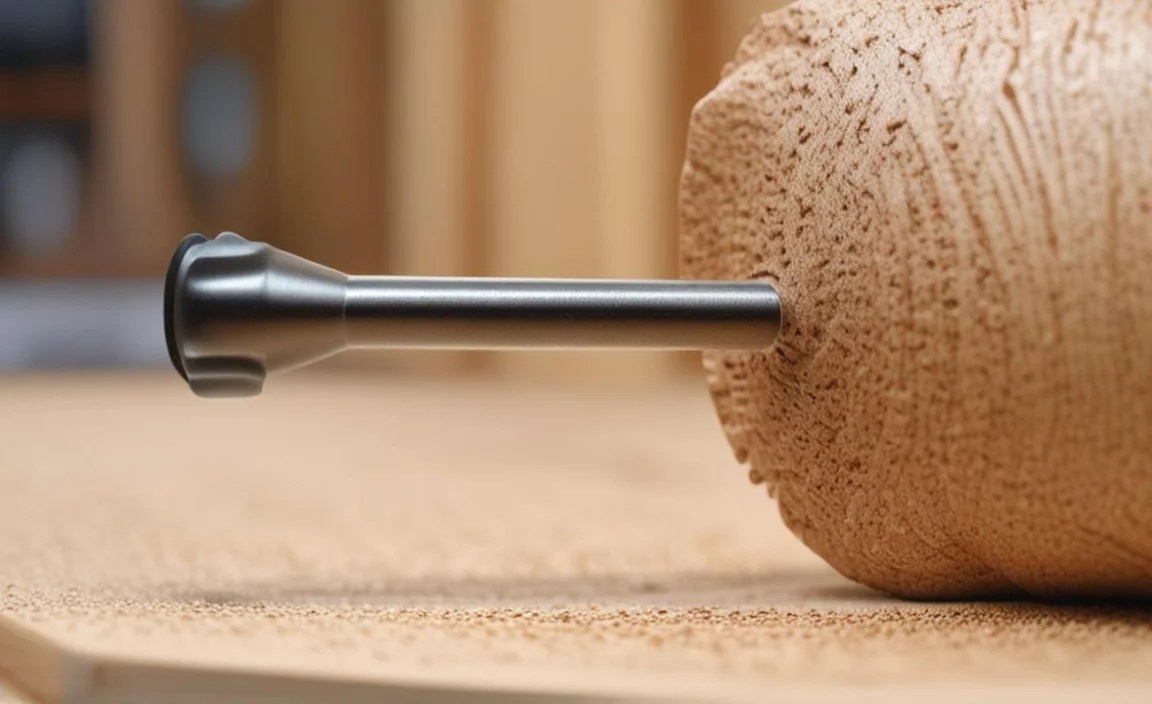
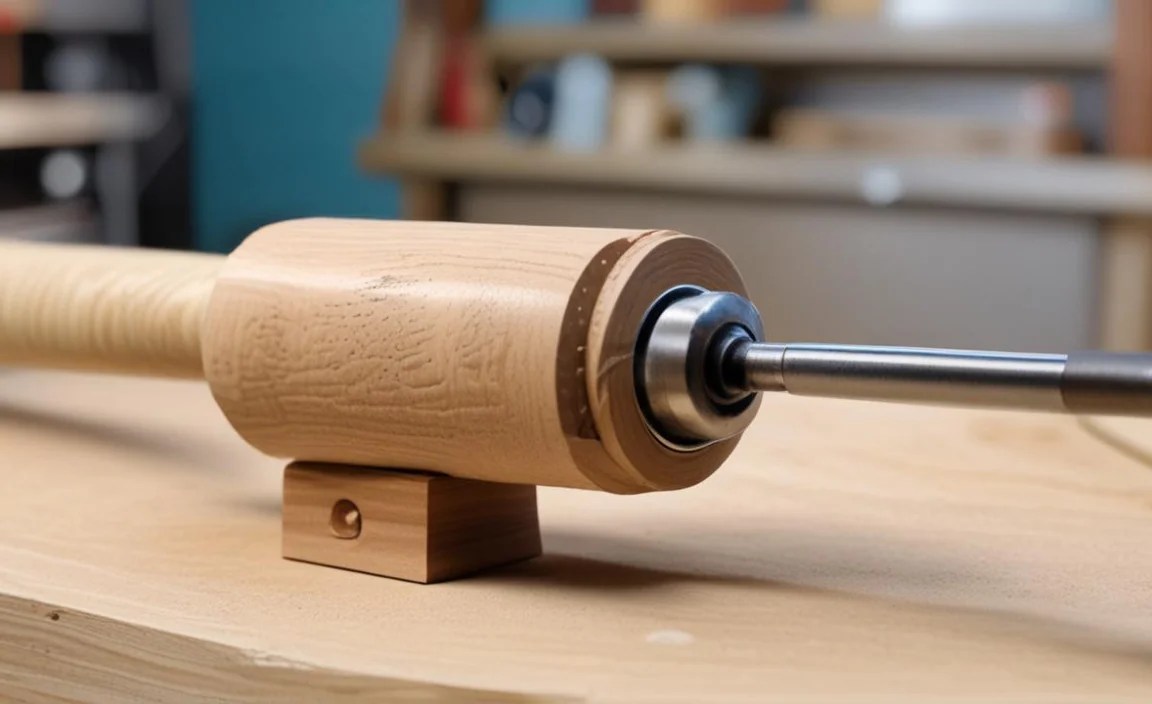
Think of a sanding mandrel as a specialized holder for sandpaper, designed specifically for use on a wood lathe. Unlike simply wrapping sandpaper around a project, a mandrel provides a firm, stable backing. This allows you to apply sandpaper evenly and with controlled pressure, which is vital for achieving a smooth, consistent surface, especially on smaller or intricately shaped pieces. They typically consist of a threaded rod or a simple shaft that mounts into your lathe’s headstock or tailstock, with a mechanism to securely attach abrasive material.
Why Use a Sanding Mandrel for Small Projects?
Small projects, like beads, small bowls, bottle stoppers, or miniature furniture pieces, present unique challenges when it comes to sanding. Their size makes it difficult to get even pressure with just your hands or a simple sanding block. This is where a sanding mandrel shines:
Even Pressure: It ensures the sandpaper contacts the wood uniformly, preventing low spots or uneven abrasion.
Controlled Application: You can apply pressure more deliberately and consistently, leading to a better finish.
Access to Tight Areas: Specific mandrel designs allow you to reach into corners and curves that would otherwise be hard to sand.
Efficiency: Sanding becomes faster and less physically demanding, allowing you to complete more projects.
Reduced Frustration: Say goodbye to sandpaper slipping, tearing, or clogging prematurely.
Types of Wood Lathe Sanding Mandrels

When you start looking for a sanding mandrel, you’ll notice a few common types. Each has its strengths and is suited for different tasks and user preferences.
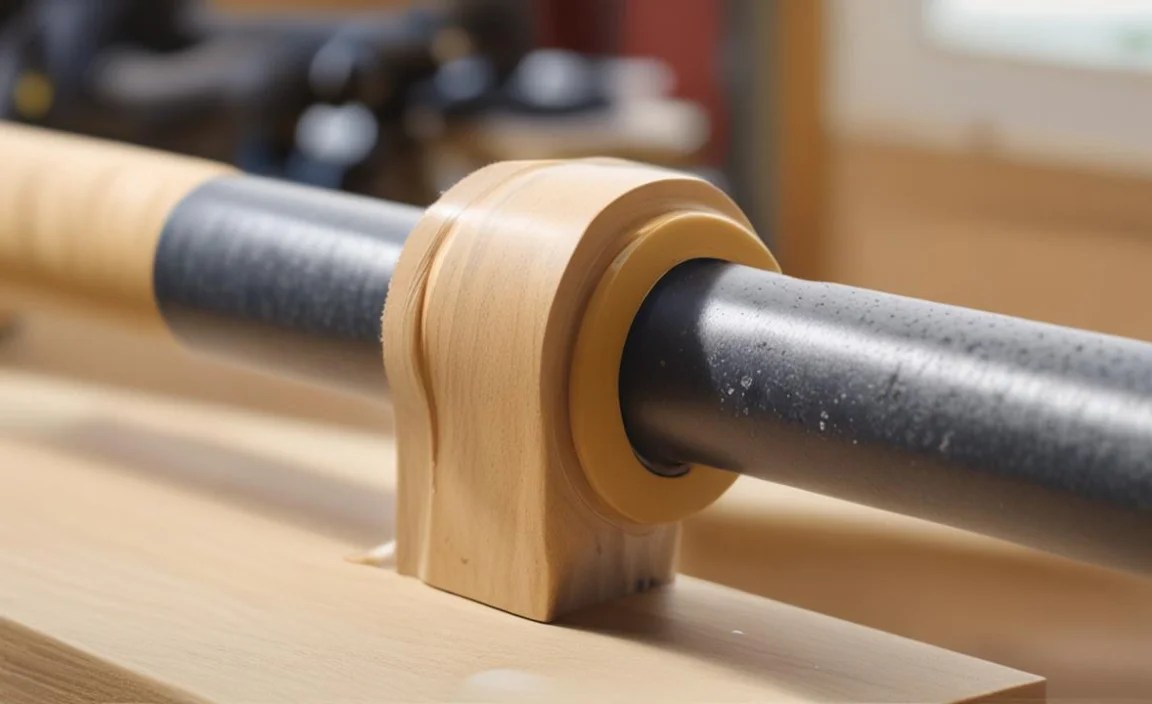
1. Expandable Rubber Mandrels

These are perhaps the most common and versatile type, especially for beginners. They feature a rubber cylinder that expands slightly when a screw is tightened. This expansion grips the sandpaper firmly.
How they work: You wrap a strip of sandpaper around the rubber cylinder and then tighten a screw (usually located at the tip of the mandrel). This tightens the sandpaper against the rubber.
Pros:
Very easy to use.
Accommodates various grit sandpapers.
Good for general-purpose sanding.
Relatively inexpensive.
Cons:
Rubber can wear down over time.
May not provide the absolute stiffest backing for very aggressive sanding.
Can be tricky to get perfectly uniform pressure if not tightened correctly.
2. Screw-Type Sanding Mandrels

These mandrels have a threaded shaft onto which you screw a disc or segment of sandpaper.
How they work: You typically cut or fold a strip of sandpaper and thread it onto the mandrel. As you tighten the sandpaper by turning it against the wood, it becomes more secure. Sometimes, a nut or washer is used to further secure it.
Pros:
Provides a very rigid backing.
Excellent for aggressive sanding or when you need a firm surface.
Durable construction.
Cons:
Can be more challenging to get the sandpaper securely attached.
Limited to the diameter of the threaded shaft for contact area.
Sandpaper can sometimes come loose if not properly installed or if too much pressure is applied.
3. Hook-and-Loop (Velcro) Sanding Mandrels
These are essentially small, round pads with a hook-and-loop surface that attach to similarly backed sanding discs.
How they work: You attach a hook-and-loop backed sanding disc (like those used with random orbital sanders) to the mandrel. These mandrels usually have a threaded arbor that fits into a drive center or spur.
Pros:
Extremely quick and easy to change sandpaper grits.
Excellent for achieving very flat and uniform surfaces.
Good for larger curved areas on small projects.
Cons:
Requires specific hook-and-loop backed sanding discs.
May not be ideal for very intricate shapes where you need to wrap sandpaper.
Can be more expensive due to the need for specialized discs.
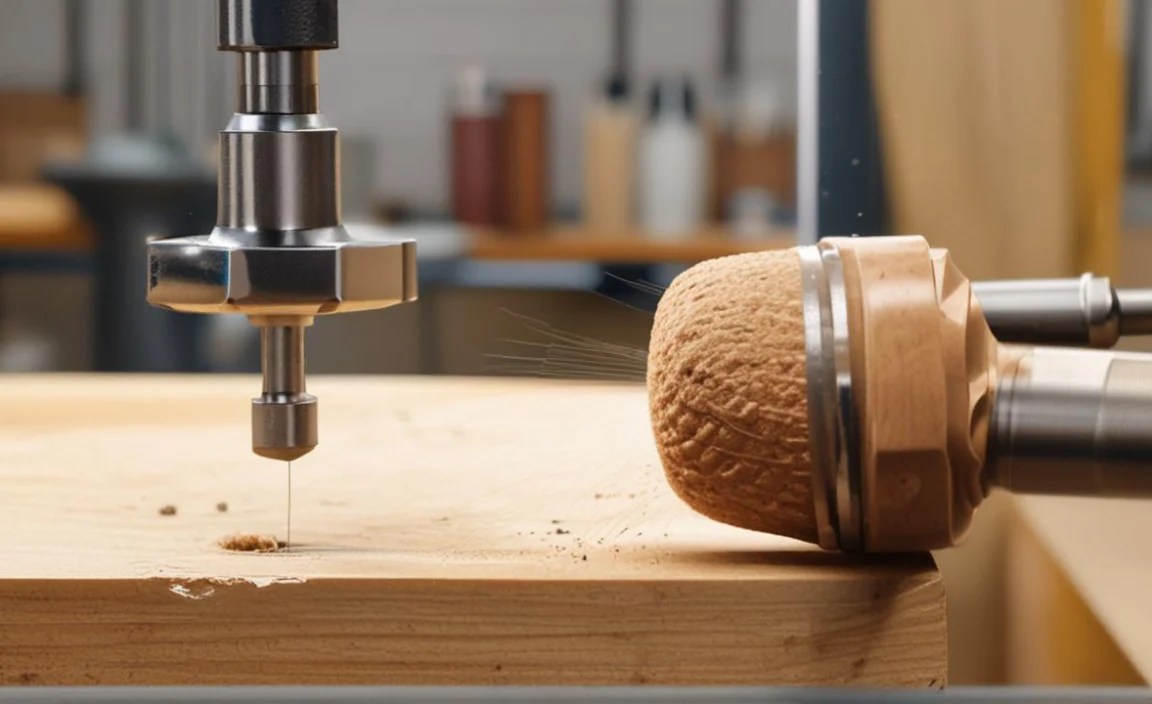
4. Drum Mandrels

These are typically used for larger projects, but smaller versions can be useful for specific tasks on smaller turnings where you need to sand a concave curve. They are essentially a cylinder with a shaft.
How they work: Sandpaper is wrapped around the drum and secured with a screw or a split in the drum.
Pros:
Great for hollowing out curves or large radii.
Can cover a good surface area quickly.
Cons:
Less versatile for precise sanding on small, detailed items.
Can be difficult to manage on very small turnings.
Choosing the Right Mandrel for Your Small Projects
Selecting the best sanding mandrel depends on what you’re making and your personal preference.
For general small turnings (beads, bottle stoppers): An expandable rubber mandrel is often the best starting point. It offers versatility and ease of use.
For very small, delicate details or when a stiff surface is needed: A screw-type mandrel can be excellent, though it requires practice to load effectively.
For quick grit changes and flat surfaces on components: Hook-and-loop mandrels are superb, provided you have the appropriate discs.
For internal curves or bowls: A small drum mandrel might be useful.
It’s often beneficial to have more than one type in your workshop as your projects and skills evolve.
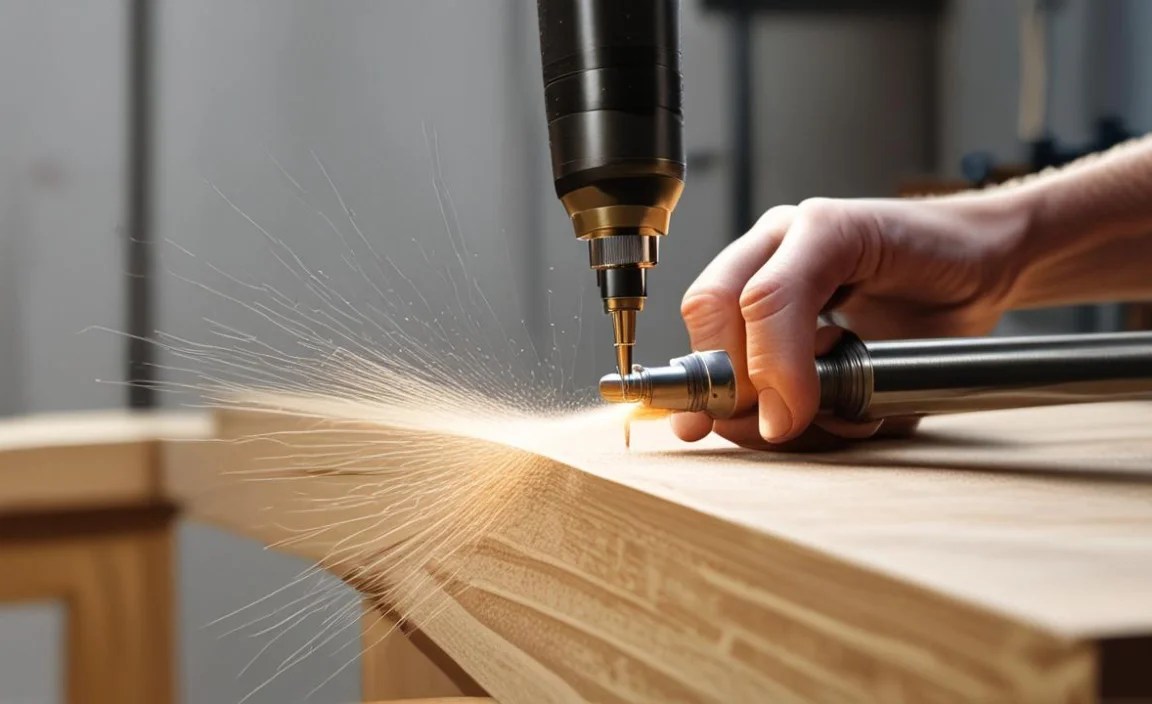
Essential Sanding Tips for Small Projects Using a Mandrel
Using a mandrel is just the first step. Here are key tips to get the most out of it and achieve that professional finish.
1. Mount Your Mandrel Securely
Headstock Mount: For mandrels that screw directly into the headstock (like some screw-type mandrels), ensure the spindle threads are clean and the mandrel is screwed in snugly.
Tailstock Mount: Many expandable and drum mandrels fit into a Jacobs chuck or a live center mounted in your tailstock. Ensure the chuck is tight and the mandrel is centered. Always lock off your tailstock to prevent it from winding back unexpectedly.
2. Prepare Your Sandpaper Correctly
This is crucial for both expandable and screw-type mandrels.
Expandable Mandrels: Cut a strip of sandpaper slightly longer than the circumference of the rubber. Wrap it snugly around the rubber. Ensure the grit side is facing outwards. Tighten the screw firmly but avoid over-tightening, which can damage the rubber or the sandpaper.
Screw-Type Mandrels: Cut or fold a strip of appropriate grit sandpaper. Thread it onto the mandrel, ensuring it’s snug against the shaft. You might need to experiment with how much paper to use and how to fold it for the best grip. Using a washer and nut can help secure it on some designs.
3. Apply Sandpaper Liberally

Don’t be afraid to use enough sandpaper. For expandable mandrels, a strip that’s just a bit too long is better than one that’s too short. This ensures full coverage and a secure grip.
4. Start with Lower Speeds
Begin your sanding at slower lathe speeds, especially with lower grit sandpaper. This gives you more control and reduces the risk of the sandpaper catching or tearing. As you move to finer grits and your confidence grows, you can gradually increase the speed. A good rule of thumb is to start around 500-800 RPM for initial sanding and increase as needed.
For reference on lathe speeds, check out the Woodworking Stack Exchange for community-driven advice on optimal RPMs for various tasks.
5. Sand “Against the Grain” (in a Sense)

When using a mandrel, you’re essentially holding a rotating tool against a stationary (or slowly rotating) workpiece. The mandrel moves across the surface of your turning. You want to move the mandrel gradually along the length of the piece, applying light to moderate pressure.
6. Work Through Grit Progression
Just like with any sanding, it’s essential to move through a grit progression. Don’t jump from 80-grit to 400-grit.
A typical sanding progression for wood might look like this:
- 80-grit (if needed for shaping or removing tool marks)
- 120-grit
- 180-grit
- 220-grit
- 320-grit
- 400-grit (or finer, depending on the finish desired)
Remember to remove all dust between grits. A tack cloth or a vacuum with a brush attachment works well.
7. Sand with the Lathe Off (Initially and for Inspection)

For very fine finishing and to check your work, you can turn off the lathe and use the mandrel with sandpaper like a hand sanding block. This allows for maximum control and prevents any accidental gouging. It’s also a good habit for inspecting your progress without the lathe running.
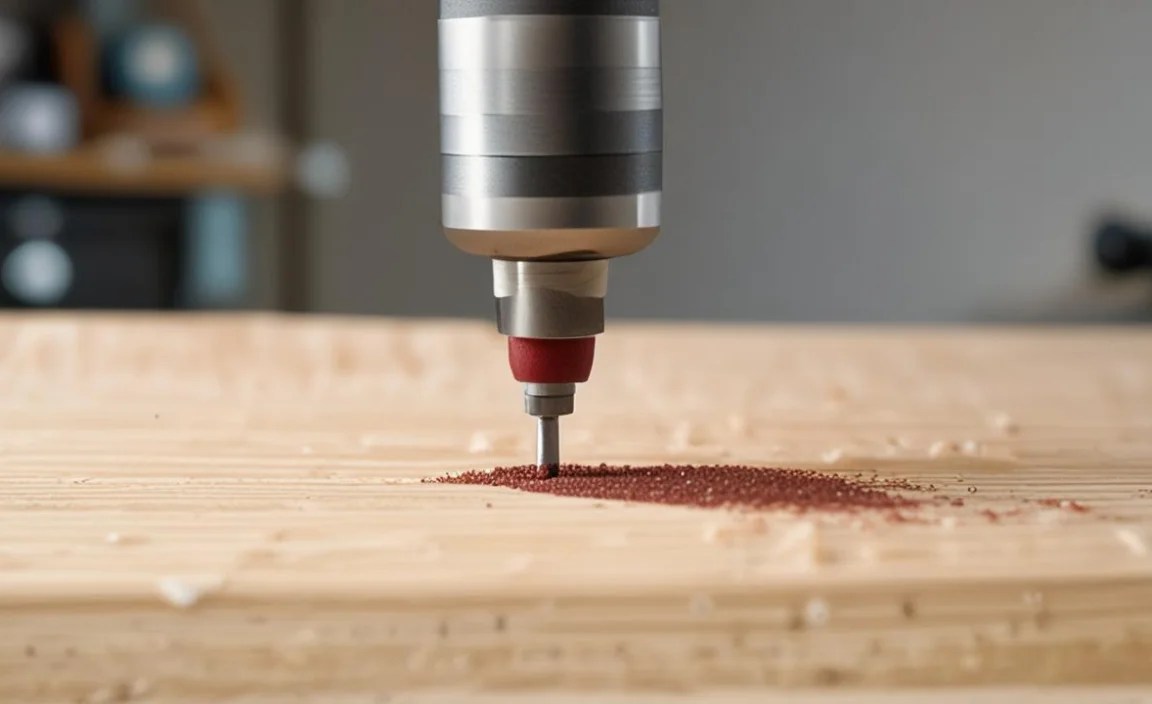
8. Control Dust!
Wood dust is a hazard. Always use appropriate dust collection if available, wear a dust mask or respirator, and consider safety glasses or a face shield. A good dust collection system on your lathe is invaluable.
9. Listen to Your Lathe and Mandrel

Pay attention to any unusual sounds or vibrations. If the mandrel or sandpaper seems to be slipping, stop the lathe and adjust. If you hear a chattering sound, you might be moving too fast or applying uneven pressure.
10. Keep Mandrels Clean and Maintained
Rubber on expandable mandrels can wear down or harden over time. Screw-type mandrels can get threads clogged with debris. Clean them regularly. For rubber mandrels, a light sanding of the rubber can sometimes restore grip.
Table: Sanding Mandrel Pros and Cons at a Glance

To help you decide, here’s a quick comparison of the most common types:
| Mandrel Type | Key Advantages | Key Disadvantages | Best Use Cases |
| Expandable Rubber | Easy to use, versatile, good for general sanding | Rubber wears, slightly less rigid | Beads, pens, small decorative items, general use |
| Screw-Type | Rigid backing, good for aggressive sanding | Can be tricky to load sandpaper, sandpaper may slip | Initial sanding, removing tool marks, denser woods |
| Hook-and-Loop (Velcro) | Quick grit changes, very flat surfaces | Requires specific discs, less suitable for tight curves | Larger curves on small items, fast grit changes |
| Drum Mandrel | Excellent for sanding internal curves, concave radii | Less versatile for detailed sanding on small items | Small bowls, cupped areas, or hollow forms |
Safety First: Working with Sanding Mandrels

Safety is paramount when working with any lathe tool. Here are key points for sanding mandrels:
Wear Eye Protection: Always wear safety glasses or a full face shield. Dust particles can fly unexpectedly.
Use a Dust Mask/Respirator: Fine wood dust is harmful to your lungs.
Secure Your Workpiece: Ensure your mandrel is firmly attached to the lathe.
Lock the Tailstock: If using a tailstock-mounted mandrel, ensure it is securely locked in place.
Start Slow: Begin sanding at lower lathe speeds and gradually increase.
Avoid Over-Tightening: Don’t force the sandpaper or the mandrel. This can cause damage or dangerous kickbacks.
Keep Hands Clear: Never place your hands directly on the spinning sandpaper. Use a tool or a piece of wood to guide it.
Be Aware of Clothes and Hair: Loose clothing or long hair can get caught in a spinning lathe. Tie back hair and avoid loose garments.
Disconnect Power When Changing Sandpaper: Always turn off the lathe and wait for it to stop completely before changing sandpaper or making adjustments.
Advanced Techniques and Troubleshooting
Once you’re comfortable with the basics, you might encounter specific challenges or want to refine your technique.
Dealing with Sandpaper Slipping
Expandable Mandrels: Ensure the rubber is clean and slightly roughed up with sandpaper if it’s become smooth. Tighten the screw more firmly. Ensure the sandpaper strip is long enough to get a good grip all around.
Screw-Type Mandrels: Use sandpaper that is folded to a thickness that creates friction. Some woodturners add a thin rubber washer or a bit of friction material to the shaft to help grip. Ensure the threads are clean and tight.
Achieving Ultra-Fine Finishes

For the smoothest finishes, consider using very fine grits (600, 800, 1000+) and potentially adding a sanding sealer or applying a finish like shellac between grits to create a finer surface for sanding. Remember to let sealers and finishes dry completely.
Sanding Burnt Areas
Lathe work can sometimes lead to small burnt spots, especially with softer woods or friction. Lower speeds and sharper tools at the shaping stage help prevent this. If you do get a burnt spot, it will need to be sanded out. Start with a coarser grit and work your way back up through the progression. Ensure the spot is fully removed before moving to finer grits.
Using Different Abrasives
While sandpaper is common, you can also find abrasive wheels or specialty abrasive pads that can be mounted on mandrels for specific tasks. Exploring these can open up new possibilities.
The Importance of Regular Maintenance

Like any tool, your sanding mandrels will perform best and last longer with proper care.
Cleaning: Regularly clean any dust or debris from the mandrel shaft, threads, and rubber grip. A stiff brush or compressed air can be effective.
Inspection: Check the rubber on expandable mandrels for signs of wear, cracking, or excessive hardening. Inspect screw threads for damage.
Lubrication (if applicable):** Some mandrels might benefit from a touch of lubricant on threaded parts if they feel stiff, but be cautious not to use anything that will transfer to your wood.
Where to Find More Information
For those looking to delve deeper into woodworking tools and techniques, resources can be found from various reputable organizations. The Woodturners Guild of Ontario (and similar provincial/state organizations) often have local chapters with experienced members who share knowledge. Additionally, online forums and educational platforms dedicated to woodworking provide a wealth of information and project ideas.
Frequently Asked Questions About Wood Lathe Sanding Mandrels
Q1: What is the best sandpaper grit to use with a mandrel?
A1: It depends on the stage of sanding. Start with coarser grits (like 80 or 120) to remove tool marks, then progress through finer grits (180, 220, 320, 400, and even higher) for a smooth finish. Always remove dust between grit changes.
Q2: How do I prevent sandpaper from tearing or coming loose on my mandrel?
A2: For expandable mandrels, ensure the sandpaper is cut to the correct length and wrapped tightly. For screw-type mandrels, ensure the sandpaper is securely threaded and snug. Avoid excessive speed and pressure, especially with lower grits.
Q3: Can I use a sanding mandrel on very small projects like beads?
A3: Absolutely! Sanding mandrels are ideal for small projects. Expandable rubber mandrels are particularly well-suited for beads and other small items because they conform slightly to the shape and provide even pressure.
Q4: How do I clean my sanding mandrel?
A4: For expandable rubber mandrels, clean the rubber surface with a damp cloth and ensure it’s dry. A light scuffing with fine sandpaper can help restore grip if it becomes smooth. For screw-type parts, clean threads with a brush and compressed air.
Q5: Is it safe to sand at high speeds with a mandrel?
A5: It’s generally safer to sand at moderate to slower speeds, especially when starting or using coarser grits. High speeds can increase the risk of the sandpaper catching, tearing, or potentially flying off if not securely attached. Always increase speed gradually and listen to your lathe.
